
1. Киришүү
This manual provides essential instructions for the safe and efficient operation, setup, and maintenance of your Longer LK5 Pro 3D Printer. It covers the main printer unit, the upgraded dual blower kit, the filament breakage detection sensor, and the included copper nozzles. Please read this manual thoroughly before using the printer to ensure optimal performance and longevity.

Figure 1.1: Longer LK5 Pro 3D Printer with accessories. This image displays the complete package, including the main printer unit, the filament breakage detection sensor kit (visible on the right, consisting of two small circuit boards and a blue-tipped housing), and a set of five copper nozzles (bottom right).
2. Коопсуздук нускамалары
- Принтерди ар дайым жакшы желдетилген жерде иштетиңиз.
- Принтерди тез күйүүчү материалдардан жана жылуулук булактарынан алыс кармаңыз.
- Иштеп жатканда ысык саптамага же ысытылган керебетке тийбеңиз. Колдонуудан мурун компоненттерди муздатыңыз.
- Электр булагы туура туташтырылганын жана жерге туташтырылганын текшериңиз.
- Иштеп жатканда балдарды жана үй жаныбарларын принтерден алыс кармаңыз.
- Принтердин электрдик компоненттерин өзгөртүүгө аракет кылбаңыз.
- Тейлөө же тазалоо иштерин жүргүзүүдөн мурун принтерди розеткадан сууруп коюңуз.
3. Орнотуу
3.1 Таңгактан чыгаруу жана баштапкы чогултуу
The Longer LK5 Pro 3D Printer arrives 90% pre-assembled, significantly reducing setup time. Modular design allows for assembly within approximately 15 minutes.

Figure 3.1: 90% Pre-assembled Printer. The image highlights the modular components, indicating the minimal steps required to complete the assembly. Key components are numbered for easy identification during the assembly process.
3.2 Structural Stability: Diagonal Rod Design
The printer features a diagonal rod reinforced design, forming a stable triangular structure. This design effectively minimizes vibration during printing, especially at higher print heights, preventing the deepening of layer patterns and ensuring print quality.
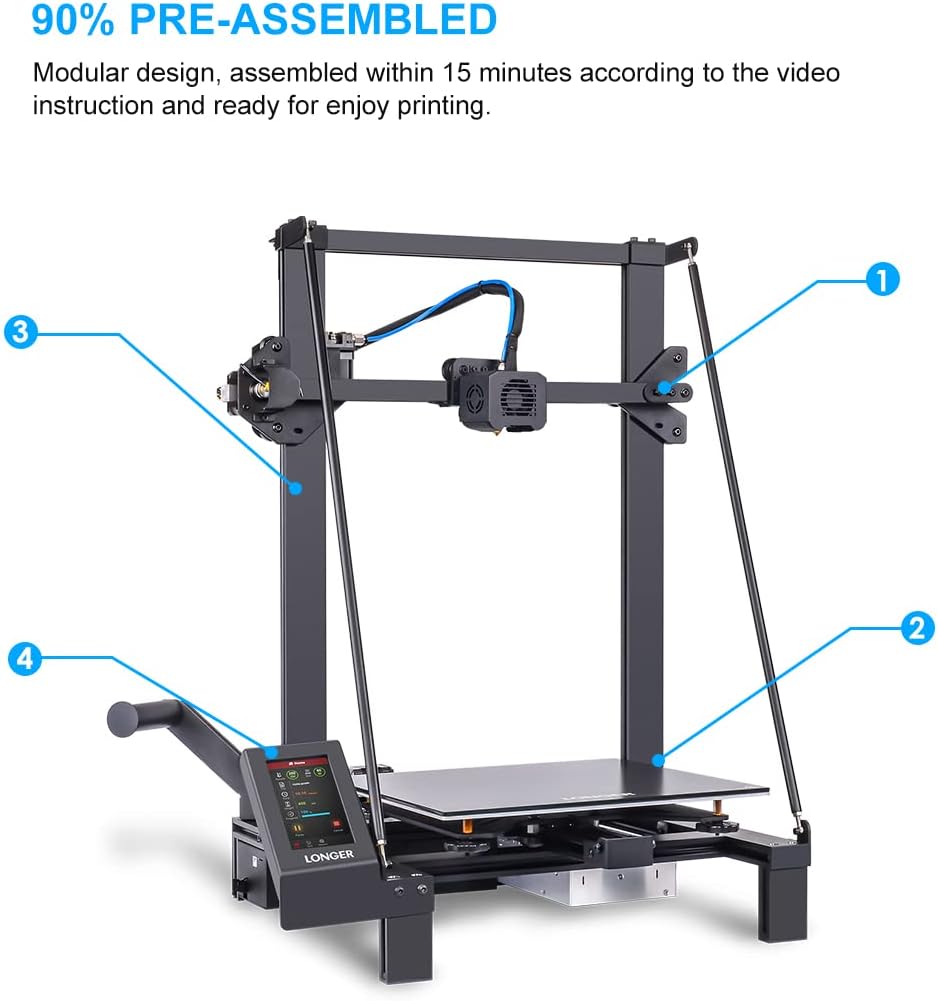
Figure 3.2: Diagonal Rod Design. This diagram visually represents the reinforced diagonal rods that contribute to the printer's overall stability, crucial for precise printing.
3.3 Print Platform: Lattice Glass
The Longer LK5 Pro utilizes a removable lattice glass platform, offering several advantages for 3D printing:
- Easy to take off: Prints adhere well during printing but are easy to remove once cooled.
- Туруктуу: Resistant to wear and tear.
- Strong adhesion: Provides excellent first-layer adhesion.
- High temperature resistant: Can withstand the necessary printing temperatures.
- No warping: Maintains flatness over time, ensuring consistent print quality.
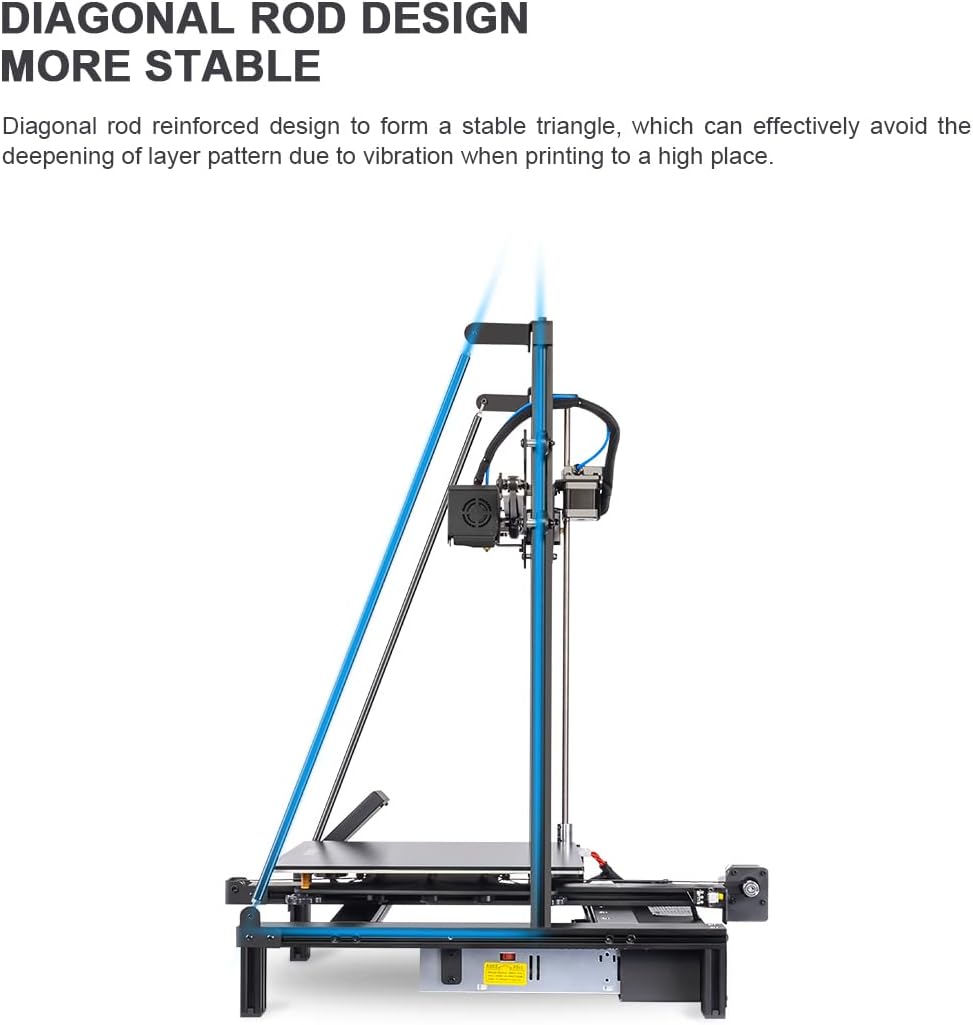
Figure 3.3: Lattice Glass Platform. This image provides a detailed view of the print surface, emphasizing its texture and the 'LONGER' branding, along with icons representing its key benefits.
3.4 Dual Blower Kit Installation
The upgraded dual blower kit provides enhanced cooling for printed models, which is crucial for bridging, overhangs, and overall print quality. Ensure the blowers are securely mounted and connected according to the provided wiring diagram (refer to separate installation guide if included).
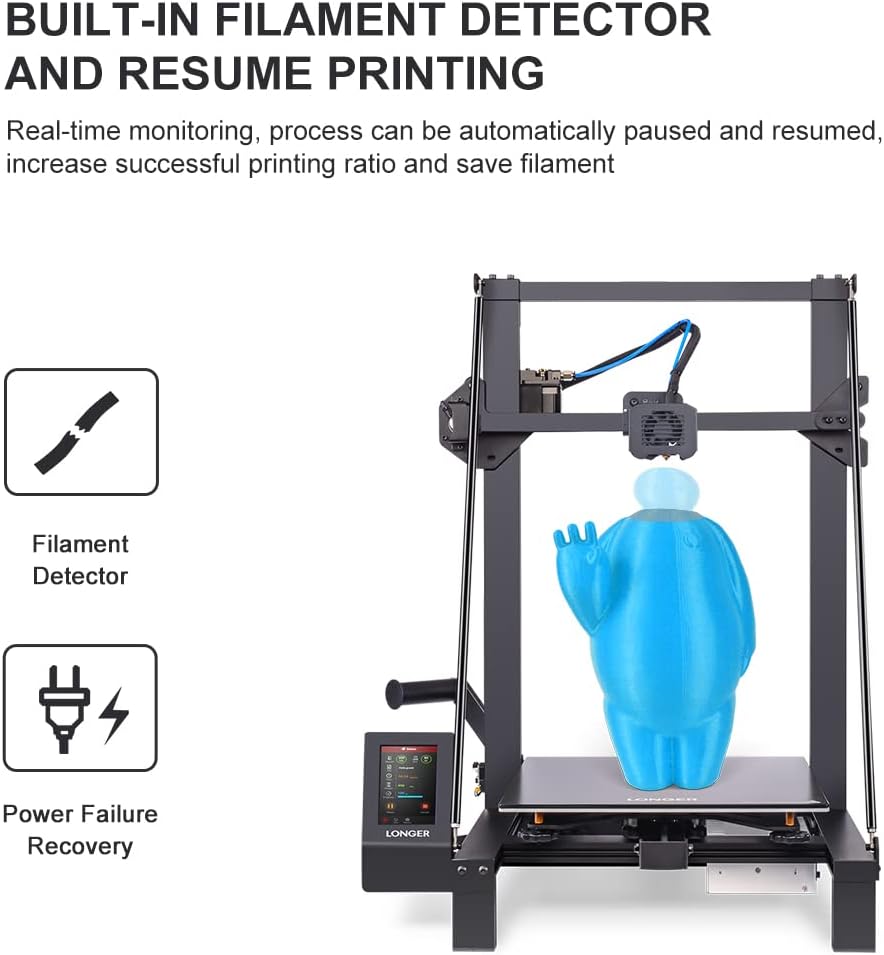
Figure 3.4: Enhanced Cooling System. This image focuses on the dual blower setup, visually representing the airflow for efficient cooling of the printed object.
3.5 Filament Breakage Detection Sensor Installation
The filament breakage detection sensor monitors the filament path. If the filament runs out or breaks, the printer will automatically pause, preventing failed prints and saving material. Install the sensor in the designated location on the printer's frame, ensuring the filament passes through it correctly.
4. Иштөө нускамалары
4.1 Жүктөө Filament
- Heat the nozzle to the appropriate temperature for your filament type.
- Insert the filament into the filament detection sensor, then guide it through the extruder mechanism.
- Manually feed the filament until it extrudes smoothly from the nozzle.
4.2 Басып чыгарууну баштоо
- Prepare your 3D model using a compatible slicing software (e.g., Cura, PrusaSlicer). The LK5 Pro is an open-source printer, allowing flexibility with software.
- Кесилген G-кодду сактоо file SD картага.
- SD картаны принтердин карта уячасына салыңыз.
- Каалаганды тандаңыз file from the printer's touchscreen interface to begin printing.
4.3 Резюме басып чыгаруу функциясы
The LK5 Pro features a power failure recovery function. In the event of a power outage or accidental disconnection, the printer can resume printing from where it left off once power is restored. This feature, combined with the filament detector, increases the success rate of long prints.
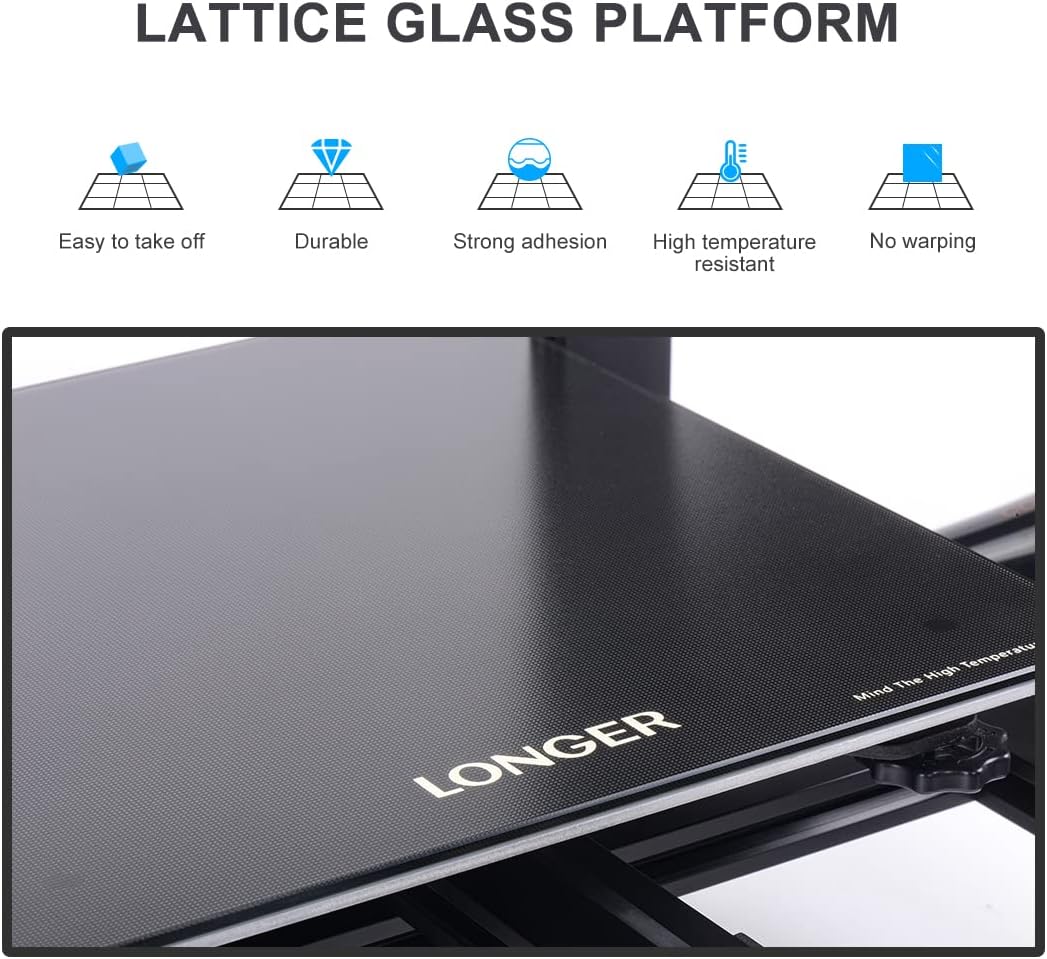
Figure 4.1: Built-in Filament Detector and Resume Printing. This image illustrates the printer's capability to monitor filament status and recover from power interruptions, indicated by the respective icons on the display.
4.4 Large Print Volume
The Longer LK5 Pro offers a generous print size of 11.8" x 11.8" x 15.7" (300 x 300 x 400mm), allowing for the creation of large-scale models or multiple smaller objects in a single print job.

Figure 4.2: Large Print Size Capability. This image showcases the printer's ability to produce substantial objects, exemplified by the large engine block model being printed on its bed.
5. Техникалык тейлөө
5.1 Басып чыгаруу платформасын тазалоо
After each print, allow the lattice glass platform to cool. Once cool, prints should detach easily. Clean the surface with isopropyl alcohol to remove any residue and ensure optimal adhesion for subsequent prints.
5.2 Соплолорду алмаштыруу
Over time, nozzles can wear out or become clogged. The Longer LK5 Pro uses standard 0.4mm copper nozzles. To replace:
- Heat the hotend to the filament's printing temperature.
- Carefully unscrew the old nozzle using a wrench while holding the heater block steady.
- Screw in the new copper nozzle, ensuring it is tightened securely but not overtightened.
- Perform a test print to verify proper extrusion.

Figure 5.1: Copper Nozzles. This image displays a set of five 0.4mm copper nozzles, which are standard replacement parts for the Longer LK5 Pro 3D Printer.
5.3 Майлоо
Periodically lubricate the Z-axis lead screws and smooth rods with a small amount of lithium grease or specialized 3D printer lubricant to ensure smooth movement and prevent wear.
6. Кыйынчылыктарды
- Print not sticking to bed: Ensure the bed is level, clean, and heated to the correct temperature. Adjust Z-offset if necessary.
- Filament not extruding: Check for clogged nozzle (perform cold pull or replace nozzle), ensure filament is loaded correctly, and verify hotend temperature.
- Layer shifting: Check belt tension, ensure all axes move freely, and verify print speed settings. The diagonal rod design helps mitigate this issue.
- Filament detection sensor error: Ensure filament is properly inserted through the sensor. Check sensor wiring for loose connections.
- Poor print quality (stringing, blobs): Adjust retraction settings, print temperature, and cooling fan speed (utilize the dual blower kit's capabilities).
7. Техникалык шарттар
| Өзгөчөлүк | Спецификация |
|---|---|
| Бренд | Узунураак |
| Модел | LK5 Pro |
| Print Size (L×W×H) | 300 x 300 x 400 мм (11.8" x 11.8" x 15.7") |
| Басып чыгаруу технологиясы | FDM (Fused Deposition Modeling) |
| Сопло диаметри | 0.4 мм (стандарт) |
| Басып чыгаруу платформасы | Lattice Glass |
| Filament шайкештиги | PLA, ABS, PETG, TPU, etc. |
| Операция системасы | Linux (internal system) |
| Байланыш | SD карта |
| Өзгөчөлүктөр | Dual Blower Kit, Filament Breakage Detection, Resume Printing, Open Source, Diagonal Rod Design |
8. Кепилдик жана колдоо
For warranty information and technical support, please refer to the official Longer website or contact your retailer. Keep your purchase receipt as proof of purchase. Support resources often include FAQs, troubleshooting guides, and contact details for direct assistance.