
Cuifati Cuifati9ue1rxghng
Cuifati B75 S Mining Mainboard User Manual
Model: Cuifati9ue1rxghng
Introduction
This manual provides comprehensive instructions for the installation, operation, and maintenance of your Cuifati B75 S Mining Mainboard. This ATX DDR3 LGA1155 Desktop Motherboard is designed to support various Intel Core processors and offers robust performance for desktop computing and mining applications. It features dual-channel DDR3 memory slots, multiple output interfaces including VGA, DVI, and HD Multimedia Interface, and Gigabit Ethernet support.

Figure 1: ашыкview of the Cuifati B75 S Mining Mainboard.
Орнотуу жана орнотуу
Follow these steps to properly install your B75 S Mining Mainboard into your computer system.
1. Аналык платаны даярдоо
Ensure you are working in a static-free environment. Place the motherboard on an anti-static mat or in its original anti-static bag before installation.
2. CPU орнотуу
- LGA1155 CPU розеткасын энелик платадан табыңыз.
- Жүктөө рычагын акырын көтөрүп, CPU уячасынын капкагын ачыңыз.
- Align the CPU with the socket, ensuring the golden triangle on the CPU matches the triangle on the socket. Do not force the CPU into place.
- CPUну розеткага түшүрүп, капкакты жаап, жүктөө рычагы менен бекитиңиз.

Figure 2: Diagram illustrating the various components and interfaces on the B75 S Mainboard, including the LGA1155 CPU socket.
3. Оперативдик эс тутумду (DDR3 эс тутумун) орнотуу
The motherboard features dual-channel DDR3 memory slots for enhanced performance.
- DDR3 эс тутум уячаларынын эки учундагы клиптерди ачыңыз.
- DDR3 эстутум модулундагы оюкту эс уячасындагы ачкыч менен тууралаңыз.
- Эстутум модулунун эки учуна кысылганчалар орнотулганга чейин катуу басыңыз.

Figure 3: The DDR3 dual channel memory slots, designed to significantly improve motherboard performance.
4. Электр булагы
- Connect the 24-pin ATX power connector from your power supply unit (PSU) to the corresponding port on the motherboard.
- Connect the 4-pin CPU power connector (ATX_12V) to its designated port near the CPU socket.
5. Installing Storage Devices (SATA)
Connect your SATA hard drives or SSDs to the SATA ports on the motherboard. This motherboard supports SATA 2.0 and SATA 3.0.

Figure 4: Illustrates the process of connecting a SATA cable for storage devices.
6. Алдыңкы панелдин туташтыргычтарын туташтыруу
Connect the power switch, reset switch, HDD LED, and power LED connectors from your PC case to the corresponding pins on the motherboard's front panel header. Refer to the motherboard diagram for exact pin locations.
7. Перифериялык түзүлүштөрдү туташтыруу
Connect your monitor to the appropriate video output (VGA, DVI, or HD Multimedia Interface) on the motherboard's rear I/O panel. Connect USB devices, keyboard, and mouse to the available ports.
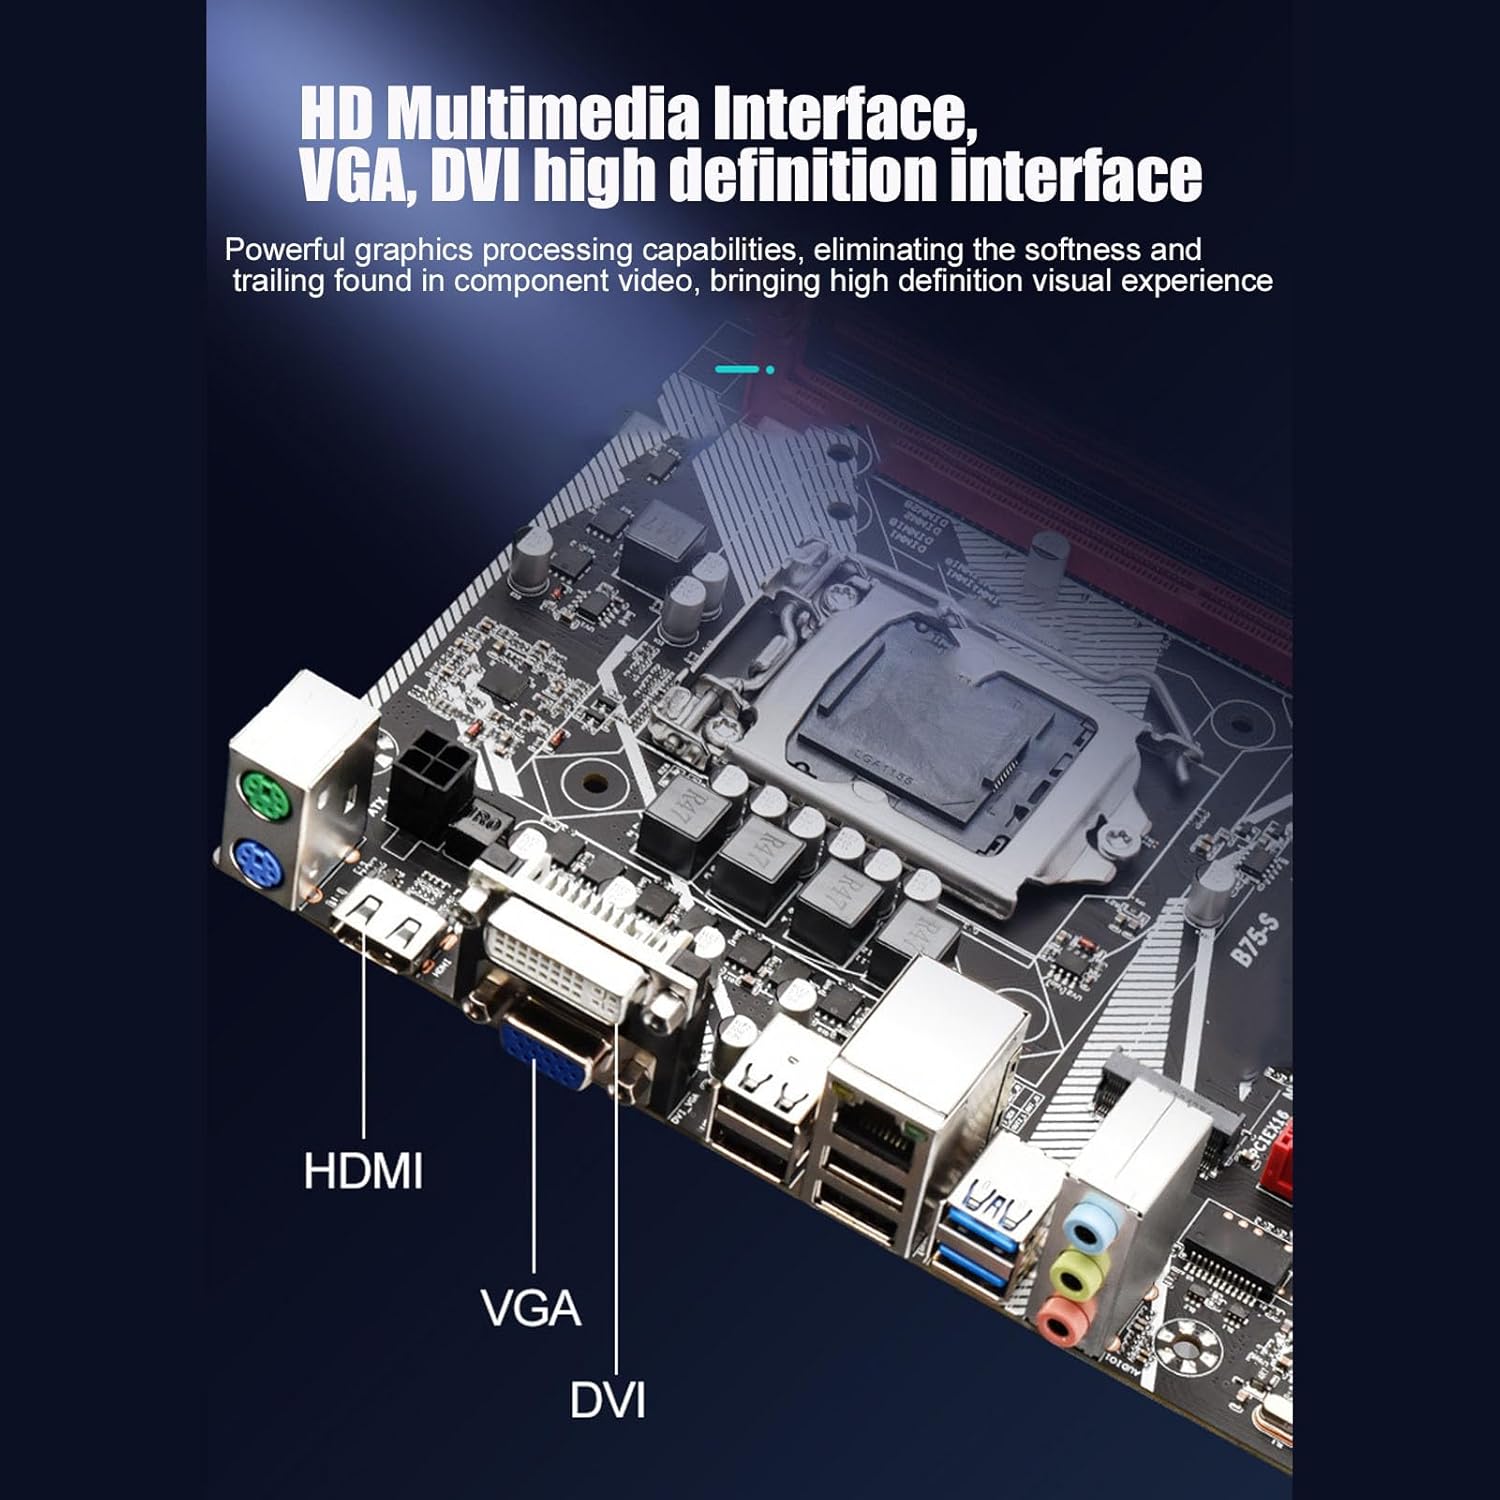
Figure 5: The rear I/O panel featuring HD Multimedia Interface, VGA, and DVI ports for high-definition visual output.

6-сүрөт: Детальдуу view of the rear I/O ports, including USB 2.0, USB 3.0, Gigabit Ethernet, and audio jacks.
Иштөө нускамалары
Бардык компоненттер орнотулуп, туташтырылгандан кийин, сиз тутумуңузду иштете аласыз.
1. Биринчи жүктөө
- After connecting all necessary cables, turn on the power supply.
- Компьютериңиздин корпусундагы кубат баскычын басыңыз.
- The system should boot up and display the BIOS/UEFI screen or begin the operating system installation process.
2. BIOS/UEFI конфигурациясы
During the initial boot, press the designated key (usually DEL or F2) to enter the BIOS/UEFI setup. Here you can configure boot order, system time, and other advanced settings. Ensure your storage devices are recognized and set the correct boot priority for your operating system installation media.
3. Операциялық системаны орнотуу
Insert your Windows 10 (or other compatible OS) installation media (USB drive or DVD) and follow the on-screen prompts to install the operating system. After installation, install the necessary drivers for the motherboard components, including chipset, audio, LAN, and graphics drivers.
4. Utilizing Features
- Front USB 3.0 Interface: Connect compatible devices to the front USB 3.0 ports for faster data transfer speeds (up to 10x faster than USB 2.0).
- Гигабит Ethernet: For high-performance network connectivity, connect your Ethernet cable to the Gigabit LAN port. This is ideal for online gaming and high-speed data transfer.
- HD Multimedia Interface: Use the HD Multimedia Interface port for high-definition audio and video output to compatible displays.
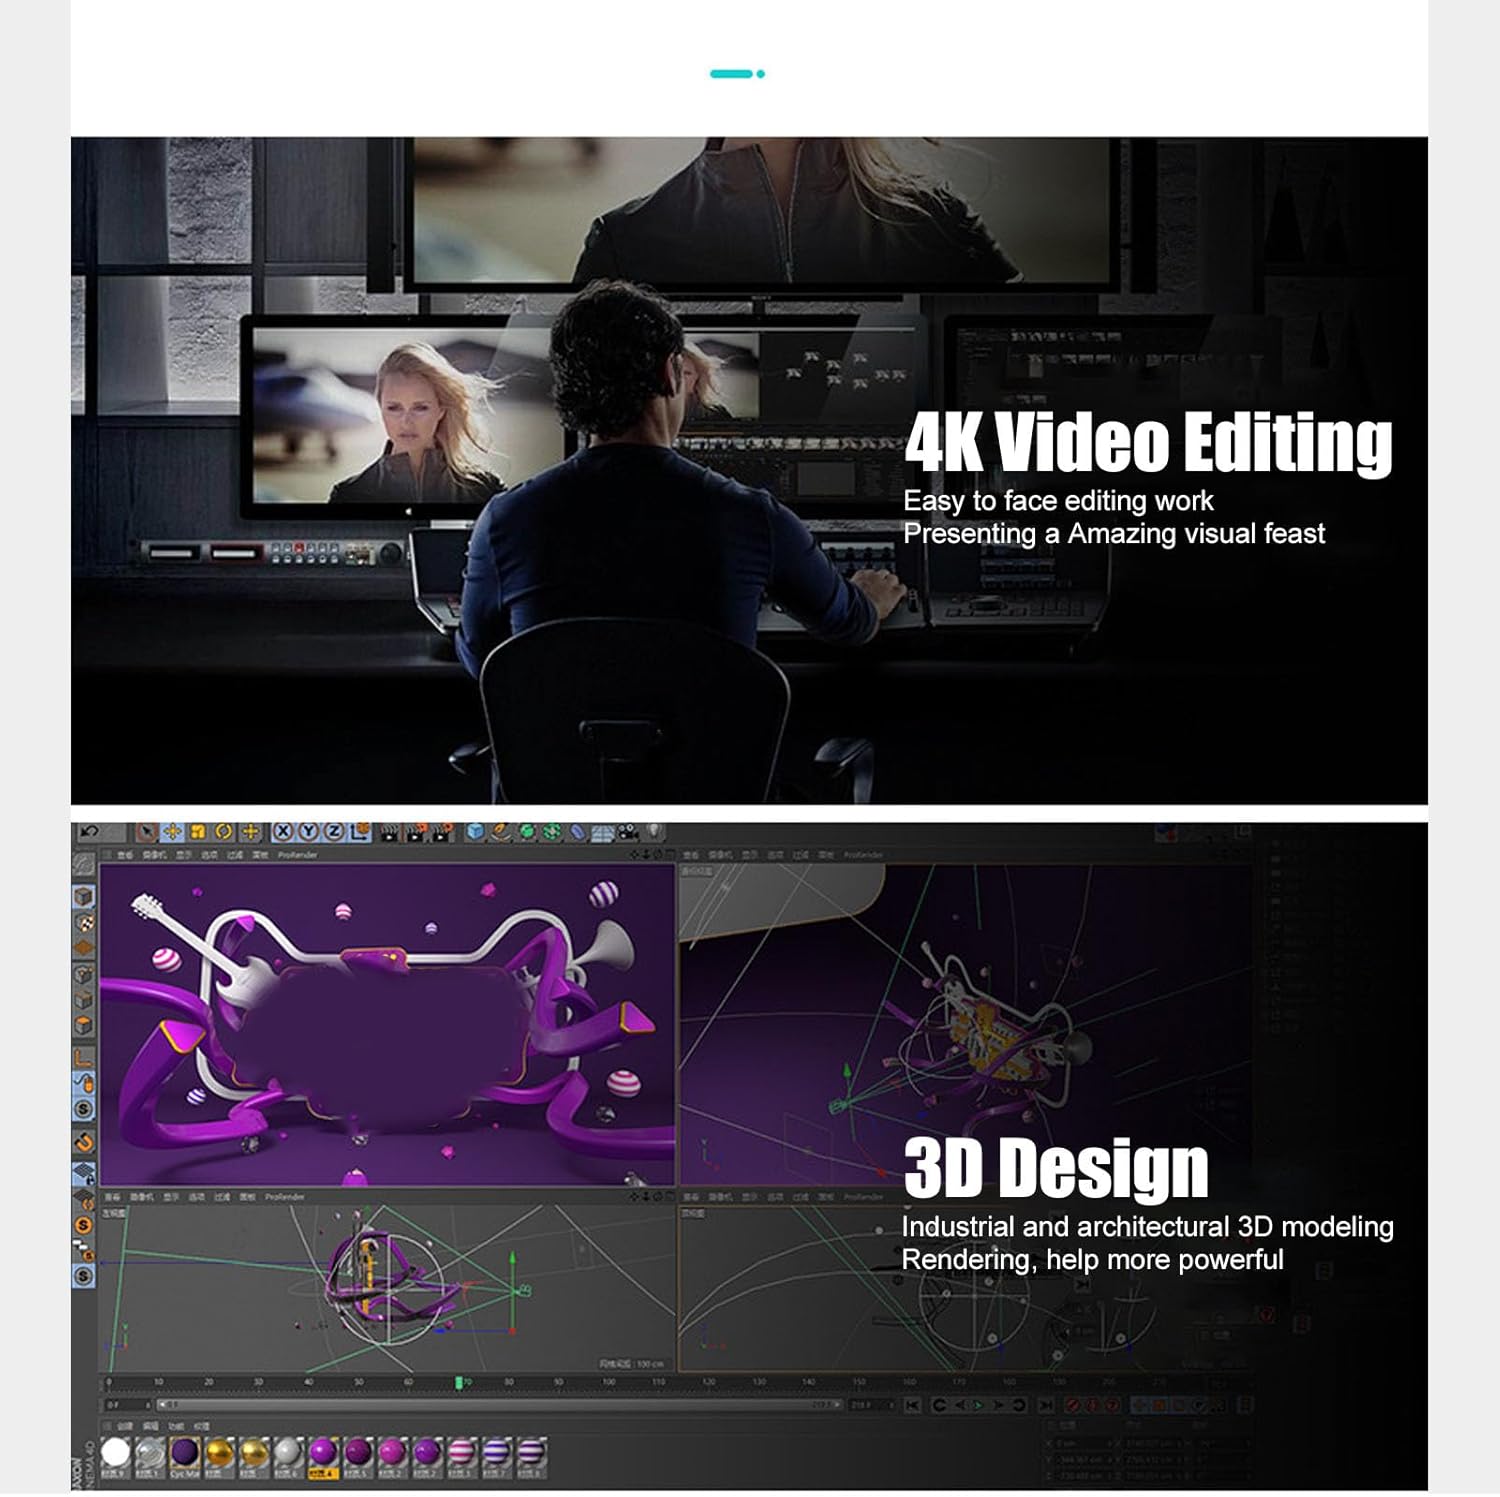
Figure 7: The motherboard's capabilities support demanding tasks such as 4K video editing and 3D design, providing a powerful visual experience.
Техникалык тейлөө
Туура тейлөө сиздин Motherboard узак жана оптималдуу иштешин камсыз кылат.
- Чаңды тазалоо: Regularly clean dust from inside your PC case, especially around the motherboard, CPU cooler, and fan vents. Use compressed air for best results. Ensure the system is powered off and unplugged before cleaning.
- Температура мониторинги: Monitor CPU and chipset temperatures using system monitoring software to prevent overheating. Ensure adequate airflow within the PC case.
- Драйвер жаңыртуулары: Keep your motherboard drivers (chipset, audio, LAN, etc.) updated to the latest versions from the manufacturer's webтуруктуулукту жана иштин натыйжалуулугун жакшыртуу үчүн сайт.
- Solid Capacitors: The motherboard utilizes all solid-state capacitors, which contribute to its stability and extended lifespan. While these are highly durable, proper cooling and power supply are still essential.
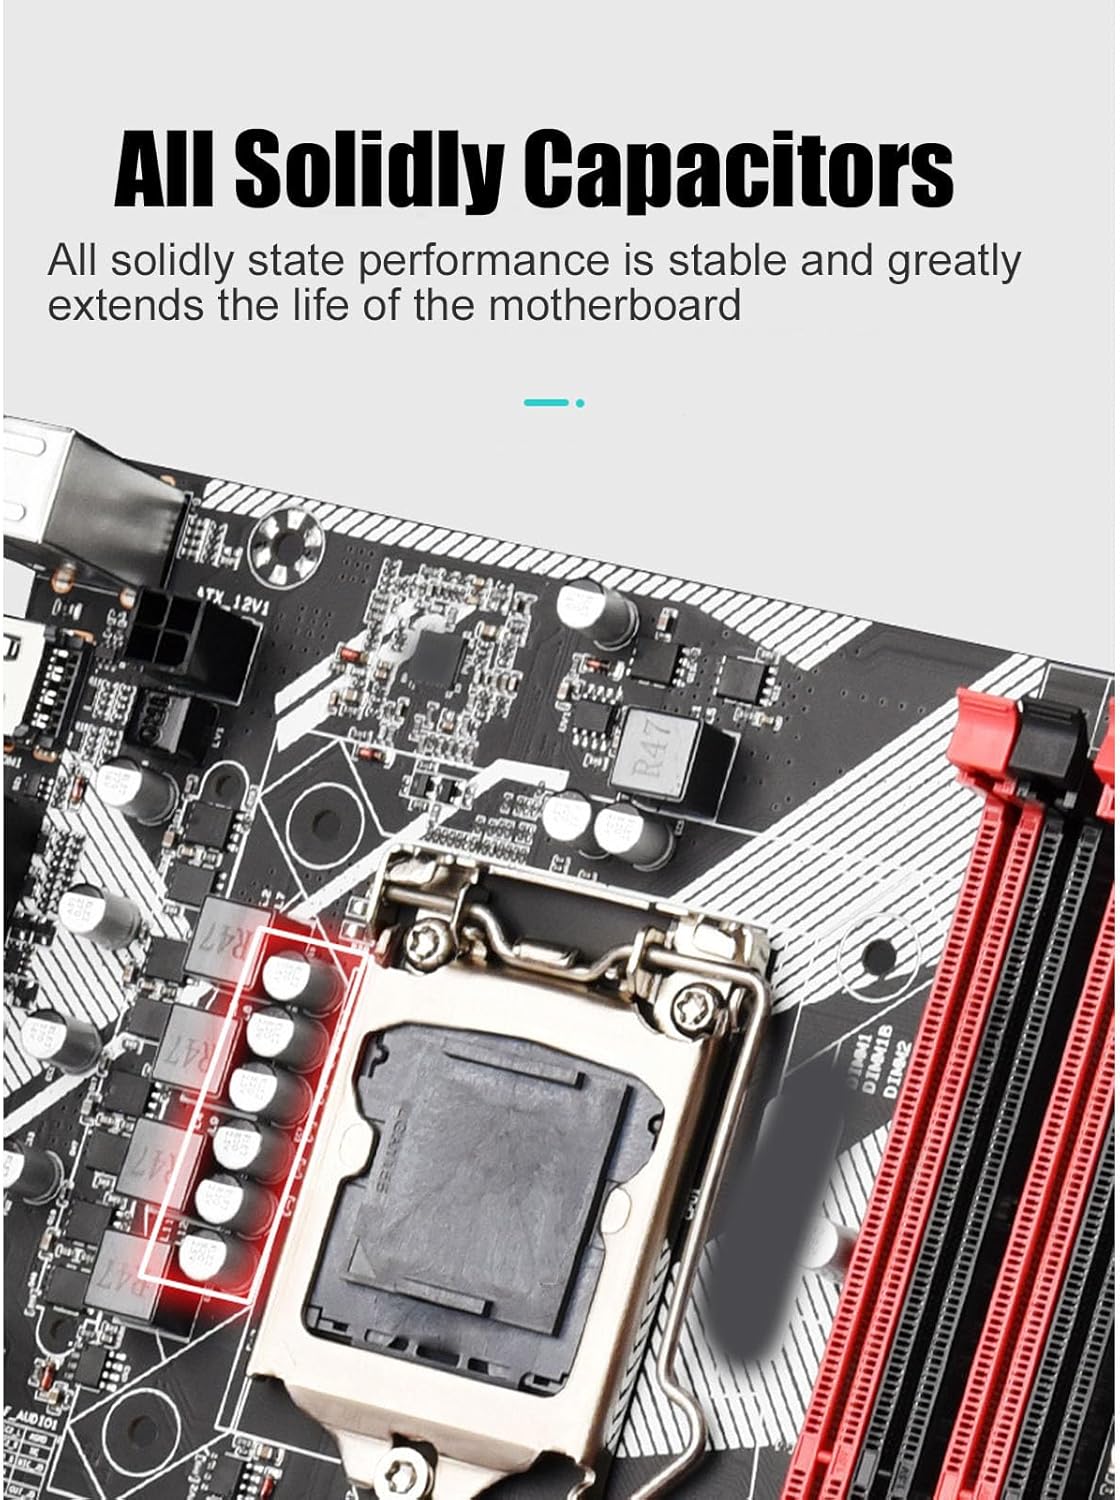
Figure 8: The all solid-state capacitors on the motherboard ensure stable performance and extended durability.
Проблемаларды чечүү
Бул бөлүм сиз кабылышы мүмкүн болгон жалпы көйгөйлөрдү карайт.
- Кубат жок/жүктөө жок:
- Check if the power supply unit (PSU) is properly connected to the motherboard (24-pin ATX and 4-pin CPU power).
- Ensure the front panel power switch connector is correctly attached to the motherboard.
- Verify the PSU is switched on and receiving power from the wall outlet.
- Дисплей жок:
- Ensure the monitor is properly connected to the motherboard's video output (VGA, DVI, or HD Multimedia Interface) and is powered on.
- RAM модулдарын кайра орнотуңуз. RAM туура эмес орнотулгандыктан, дисплейдин жоктугу кеңири таралган.
- If using a dedicated graphics card, ensure it is properly seated in the PCIe slot and has adequate power.
- Системанын туруксуздугу/бузуулар:
- Ашыкча ысып кеткендигин текшериңиз. CPU муздаткычы туура орнотулганын жана желдеткичтер иштеп жатканын текшериңиз.
- RAM бузулганын текшерүү үчүн эстутум диагностикалык куралдарын иштетиңиз.
- Update motherboard chipset drivers and BIOS/UEFI firmware.
- USB түзмөктөрү таанылбайт:
- Ensure USB drivers are installed.
- Аппаратты башка USB портуна туташтырууга аракет кылыңыз.
- Check BIOS/UEFI settings to ensure USB ports are enabled.
Техникалык шарттар
| Өзгөчөлүк | Деталь |
|---|---|
| Бренд | Cuifati |
| Модель аты | Cuifati9ue1rxghng |
| CPU розетка | LGA 1155 |
| Шайкеш процессорлор | Intel Core i3-3xxx, Intel Core i5-3xxx, Intel Core i7-3xxx, Intel Core i3-4xxx, Intel Core i5-4xxx, Intel Core i7-4xxx |
| RAM эс технологиясы | DDR3 |
| Memory Clock Speed | 2400 МГц |
| Эстутум сактоо сыйымдуулугу (макс) | 64 ГБ |
| Чипсет түрү | Intel B75 Express |
| Шайкеш түзмөктөр | Персоналдык компьютер |
| Платформа | Windows 10 |
| Output Interfaces | HD Multimedia Interface, VGA, DVI |
| Ethernet | Гигабит Ethernet |
| USB интерфейстери | Front USB 3.0, USB 2.0 |
| Конденсаторлор | All Solid State Capacitors |
| Пакеттин өлчөмдөрү | 11.57 x 9.53 x 2.4 дюйм |
| Элемент Салмагы | 1.67 фунт |
| Өндүрүүчү | Cuifati |
| Дата биринчи жеткиликтүү | 18-июль, 2023-жыл |

Figure 9: Key performance features of the Cuifati B75 S Mainboard.
Кепилдик жана колдоо
Кепилдик жөнүндө маалымат жана техникалык колдоо алуу үчүн, расмий Cuifati сайтына кайрылыңыз webсайтына кириңиз же сатуучуңузга кайрылыңыз. Кепилдик талаптары үчүн сатып алуунун далили катары сатып алуу дүмүрчөгүңүздү сактап коюңуз.
- Кайтаруу саясаты: The product typically comes with a 30-day return/replacement policy from the date of purchase.
- Коргоо пландары: Additional protection plans (e.g., 3-Year or 4-Year Protection Plans) may be available for extended coverage. Please check with your retailer for details.
Ask a question about this manual
Ask about setup, troubleshooting, compatibility, parts, safety, or missing instructions. Manuals+ will review the question and use this page’s manual context to help answer it.