
1. Киришүү
Thank you for choosing the ssontong A16W Dual Dash Cam. This manual provides detailed instructions for the proper installation, operation, and maintenance of your dash camera system. Please read this manual thoroughly before use to ensure optimal performance and safety.
2. Пакеттин мазмуну
Төмөндө тизмеленген нерселердин баары пакетиңизге камтылганын текшериңиз:
- 1440P Dash cam (Front Camera)
- 1080P Rear Car Camera
- 64GB Memory Card (pre-installed or separate)
- USB порту бар унаа кубаттагычы
- TYPE C USB Data Cable
- Suction Cup Mount (x2)
- Car Mount (Sticky Mount)
- Memory Card Reader
- Wiping Cloth (for lens cleaning)
- User Manual

Figure 2.1: Complete package contents of the ssontong A16W Dash Cam.
3. Продукт бүтүп калдыview & Өзгөчөлүктөрү
The ssontong A16W Dash Cam is designed to provide comprehensive vehicle surveillance with advanced features for safety and convenience.
3.1 High-Resolution Dual Recording
Simultaneously records front at 2.5K (2560x1440P@30fps) and rear at 1080P (1920x1080@30fps), ensuring crystal clear video quality for capturing license plates and road details day and night. The front camera features a 170° wide angle and the rear camera a 140° wide angle to minimize blind spots.
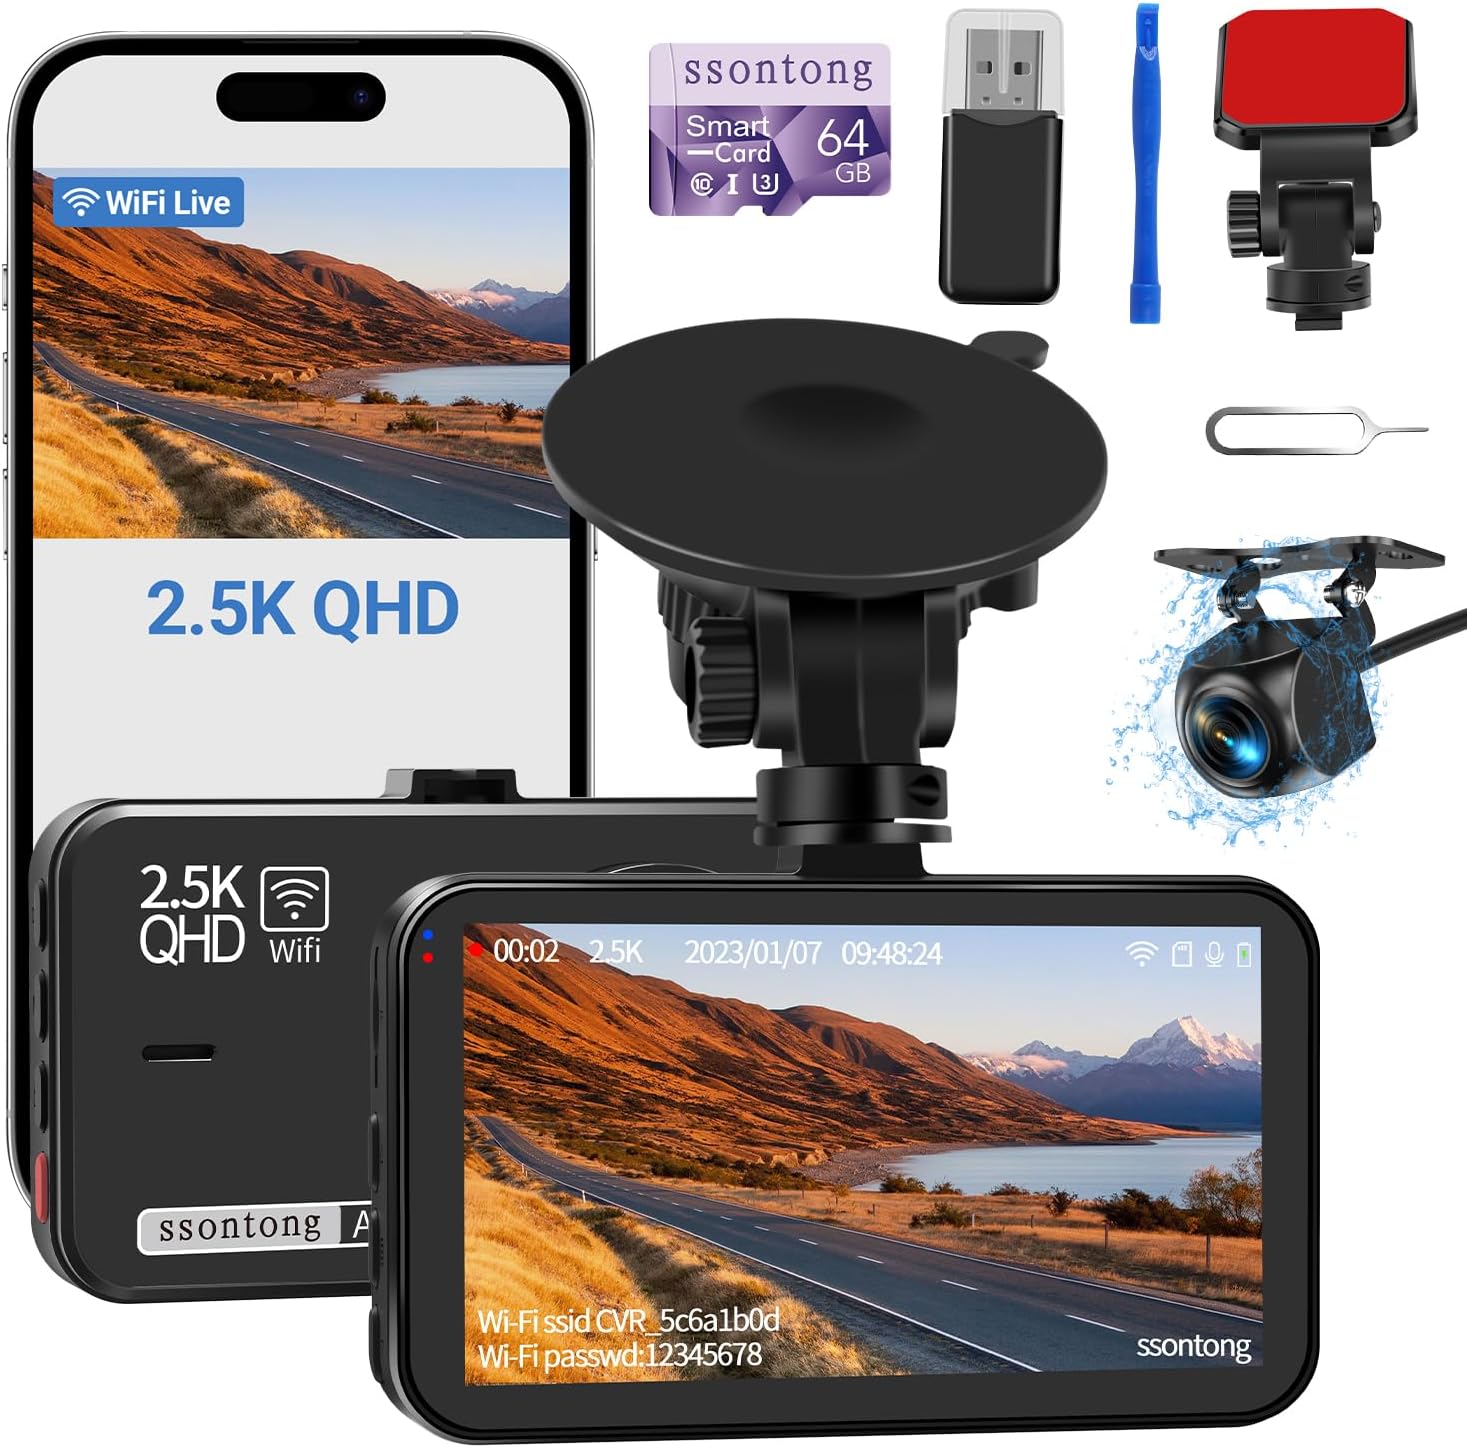
Figure 3.1: Front and rear camera recording capabilities.
3.2 Built-in WiFi & App Control
Connect your dash cam to your iOS or Android smartphone via built-in WiFi using the "Viidure" app. This allows for live viewing, video playback, settings adjustment, and easy downloading/sharing of footage.

Figure 3.2: Seamless control and access via the "Viidure" smartphone app.
Download the "Viidure" app from your phone's application store or by scanning the QR code in the user manual. For direct download, visit: https://www.6zhentan.com/app/d0001/index.html
3.3 Супер түнкү көрүү
Equipped with a high-resolution CMOS sensor, excellent 6-layer optical lens, and F1.8 large aperture. HDR/WDR technology automatically balances exposure in low-light conditions, ensuring superb night vision and clear video clips even in challenging weather.

Figure 3.3: Enhanced night vision for clear recordings in low-light conditions.
3.4 Loop Recording & G-Sensor
Seamless loop recording overwrites the oldest videos when the memory card is full (except locked files). The G-sensor automatically locks the current video upon detecting shaking or collision, preventing it from being overwritten and saving it in the event folder for accident evidence.

Figure 3.4: Core features for continuous and secure accident recording.
3.5 Унаа токтоочу жай
When your car is parked and a collision or theft is detected, the dash cam will automatically switch on and record for about ten seconds and lock the video. Continuous 24-hour recording requires a separate hardwire kit for power.
3.6 Reverse Camera with Parking Aid
The included 1080P rear camera provides a clear rear view and offers a reversing aid line to assist with safe parking. Connect the red wire of the rear camera to the positive pole of the reversing light for this feature.

3.5-сүрөт: Арткы камера view унаа токтотуучу жайга жардам берүүчү линиялар менен.
3.7 Upgraded Type C Charger Port & Dual USB Charger
Features an upgraded Type C charger port for more stable power delivery, reducing reboots and crashes. The car charger also includes a USB port, allowing you to charge other electronic devices while powering the dash cam.
3.8 Көрсөтүү режимдери
The 3-inch IPS screen allows switching between various display modes: Front only, Rear only, Front + Rear (split), and Picture-in-Picture (Front + Rear in right corner).

Figure 3.6: Various display options for optimal viewing.
4. Орнотуу жана орнотуу
4.1 Front Dash Cam Installation
The dash cam can be mounted using either the suction cup mount or the sticky mount. Choose a location on your windshield that does not obstruct your view. Ensure the windshield is clean and dry before applying the mount.
- Сорулуучу чөйчөк орнотуу: Attach the suction cup to the dash cam. Press the suction cup firmly against the windshield and flip the lever to secure it.
- Sticky Mount: Attach the sticky mount to the dash cam. Peel off the protective film from the adhesive and firmly press the mount onto the desired location on the windshield.
4.2 Арткы камераны орнотуу
The rear camera comes with a 19-foot cable, suitable for most vehicles. Before permanent installation, test the rear camera by connecting it to the front dash cam and ensuring it displays correctly.
- Зымдар: Route the rear camera cable from the front dash cam to the rear of your vehicle. You can hide the cable along the roof lining, A-pillars, and door sills for a neat installation.
- Connecting to Reversing Light (Optional): If you desire the parking aid line feature, connect the red wire of the rear camera cable to the positive pole of your car's reversing light. If not needed, simply wrap the red wire securely.
- Монтаждоо: Mount the rear camera near your license plate lamp or on the rear window, ensuring a clear view.
4.3 Эстутум картасын орнотуу
A 64GB Micro SD card is included with your dash cam. The dash cam supports up to 256GB. Ensure you use a Class 10, U3 or higher speed card for optimal performance.
- Insert the Micro SD card into the TF port on the side of the dash cam until it clicks into place.
- Before first use, it is highly recommended to format the memory card within the dash cam's settings to ensure compatibility and proper function.
4.4 Кубат туташтыруу
Use the original car charger provided to power the dash cam. Plug the charger into your car's cigarette lighter socket. The dash cam will automatically start recording when your car is turned on.

Figure 4.1: Powering the dash cam and charging other devices.
5. Иштөө нускамалары
5.1 Негизги операция
- Күйгүзүү/өчүрүү: The dash cam automatically powers on and starts recording when connected to power and the vehicle ignition is on. It powers off automatically when the ignition is turned off.
- Кол менен жаздыруу: Once powered on, the dash cam automatically begins loop recording.
- Сүрөткө тартуу: Press the designated button (refer to user manual diagram) to take a still photo during recording.
- Экран сактагыч: To prevent distraction while driving, the screen can be set to turn off automatically after a set period. The dash cam will continue recording even if the screen is off. LED indicators will show the operating status.
5.2 WiFi жана колдонмолорду башкаруу
To connect to the "Viidure" app:
- Turn on the WiFi function on your dual dash cam (refer to manual for specific button).
- On your smartphone, open WLAN settings. Turn off auto-join for previously connected networks.
- Find the dash cam's WiFi network (e.g., "CVR_8e1b7818") and connect using the default password (usually "12345678").
- Open the "Viidure" app. Click "Into Camera" to access the live view жана жазылган files.
Video 5.1: Demonstration of the ssontong A16W Dash Cam's WiFi connectivity and app control features, showing live view жана file башкаруу.
6. Техникалык тейлөө
6.1 SD картаны форматтоо
Regularly format the Micro SD card (at least once a month) to ensure stable recording performance and prevent data corruption. This can be done through the dash cam's settings menu.
6.2 Тазалоо
Use the provided wiping cloth or a soft, lint-free cloth to clean the camera lenses. Avoid using abrasive cleaners or solvents that could damage the lens coating.
6.3 Жалпы кам көрүү
Avoid exposing the dash cam to extreme temperatures or direct sunlight for prolonged periods when not in use. Ensure cables are not pinched or damaged during installation or daily use.
7. Кыйынчылыктарды
If you encounter any issues with your ssontong A16W Dash Cam, please refer to the following common solutions:
- Dash Cam Not Working: Try restoring factory settings. If the issue persists, gently poke the reset hole with a card pin (refer to manual for location).
- WiFi Connection Unsuccessful: Ensure WiFi is enabled on the dash cam. On your phone, turn off auto-join for other networks before connecting to the dash cam's WiFi. If the app shows a black loading screen, your phone may have disconnected from the dash cam's WiFi; try re-linking.
- Арткы камера көрүнбөйт: Check all cable connections to ensure they are securely plugged in. You can switch the display of front and rear views by long-pressing the UP button on the dash cam.
- Screen Turning On/Off While Driving: For daily driving, it is recommended to turn off motion detection and screensavers in the settings to prevent the camera from frequently turning on and off. These features are primarily for parking mode.
- Dash Cam Reboots/Crashes: Ensure you are using the original car charger. An unstable power supply can cause such issues.
8. Техникалык шарттар
| Продукциянын өлчөмдөрү | 3.3 x 2.08 x 1.38 дюйм |
| Элемент Салмагы | 1.03 фунт |
| Алдыңкы камеранын чечилиши | 2.5K (2560x1440P@30fps) |
| Арткы камеранын чечилиши | 1080P (1920x1080@30fps) |
| Экранды көрсөтүү | 3 дюймдук IPS экраны |
| Байланыш | Wi-Fi |
| Эстутум картасын колдоо | 256 ГБ чейин (64 ГБ кошо алганда) |
| Өзгөчөлүктөр | Super Night Vision, Loop Recording, G-Sensor, Parking Monitor, Reverse Camera, Dual Supercapacitor, Dual USB Charger |
| Power Source | Car Charger (Type C) |
9. Кепилдик жана колдоо
ssontong is committed to providing high-quality products and excellent customer service. For any questions, concerns, or technical support regarding your A16W Dash Cam, please contact the seller directly through your purchase platform. Many users have reported positive experiences with ssontong's customer service.