
1. Киришүү
This manual provides essential information for the safe and efficient operation of your Optoma X341 DLP Portable Projector. Please read this manual thoroughly before using the projector and retain it for future reference. The Optoma X341 is designed for clear XGA projection, suitable for various environments including small classrooms and businesses, offering accurate color reproduction and image enhancement features.
2. Коопсуздук маалыматы
- l болгондо проектордун объективине тике карабаamp күйүк. Жарык жарык көзгө зыян келтириши мүмкүн.
- Тийиштүү желдетүүнү камсыз кылыңыз. Желдетүү тешиктерин жаппаңыз. Ашыкча ысып кетүү бузулууга же өрткө алып келиши мүмкүн.
- Do not place the projector on an unstable cart, stand, or table. The projector may fall, causing serious injury to a child or adult, and serious damage to the unit.
- Өрт же электр тогуна урунуу коркунучун азайтуу үчүн проекторду жамгырдын же нымдуулуктун таасирине дуушар кылбаңыз.
- Бардык тейлөөлөрдү квалификациялуу тейлөө кызматкерлерине тапшырыңыз.
- Disconnect the power cord from the wall outlet if the projector is not to be used for an extended period.
3. Пакеттин мазмуну
Төмөндө тизмеленген нерселердин баары пакетиңизге камтылганын текшериңиз:
- Optoma X341 DLP Portable Projector
- Электр кабели
- Алыстан башкаруу
- HDMI кабели
- Колдонуучунун Колдонмосу (бул документ)
4. Проектор бүттүview
4.1 Арткы панелдин туташуулары
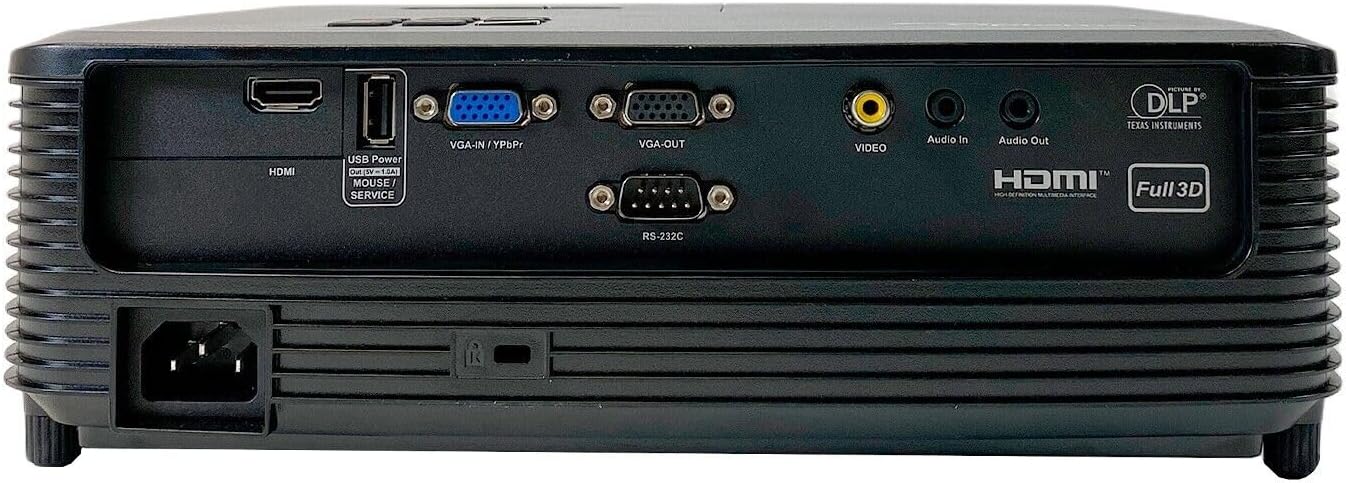
This image displays the rear panel of the Optoma X341 projector, highlighting its connectivity options. From left to right, you can see the power input, an HDMI port, a USB Power/Service port, VGA-IN/YPbPr, VGA-OUT, Video input (RCA), Audio In, Audio Out, and an RS-232C port for control. These ports allow connection to various devices such as computers, gaming consoles, and audio systems.
4.2 Жогорку панелдин башкаруу элементтери

The top panel of the Optoma X341 projector features the focus and zoom rings for image adjustment, along with an array of control buttons. These buttons include power on/off, menu navigation, source selection, and other function keys for direct control of the projector settings.
4.3 Side Panels and Ventilation
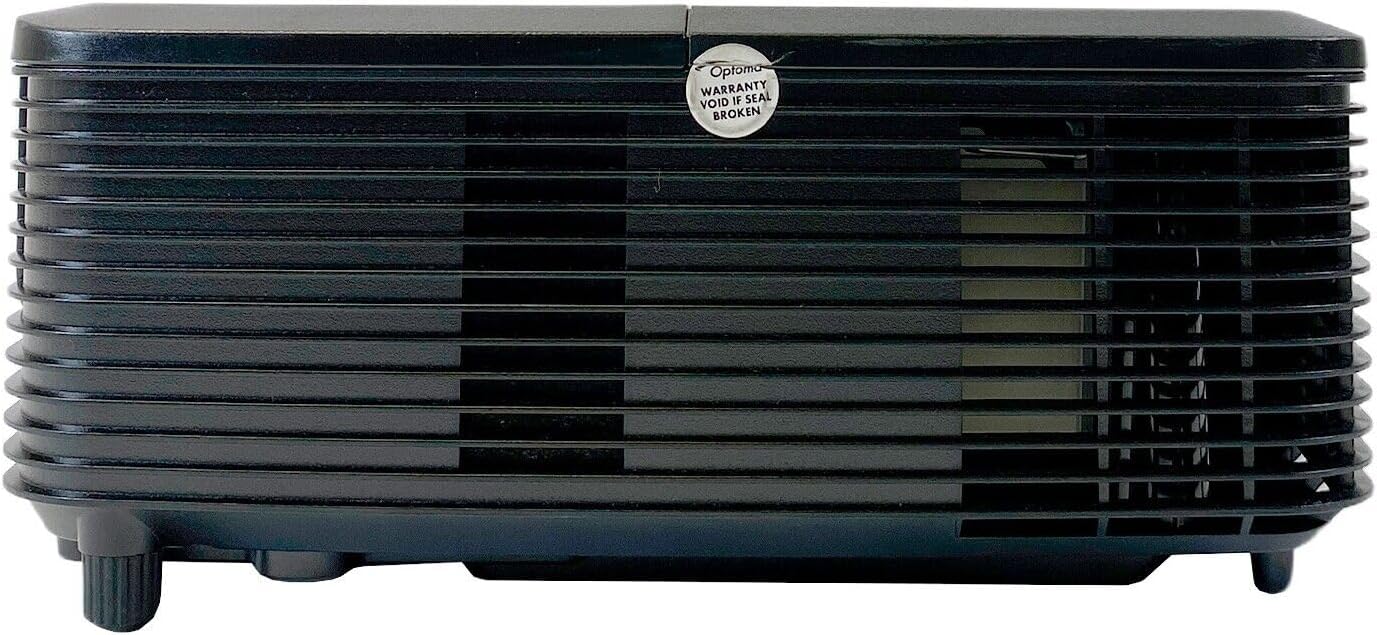
Бул сүрөттө бир тарабы көрсөтүлгөн view of the Optoma X341 projector, emphasizing the ventilation grilles. These grilles are crucial for dissipating heat generated during operation, ensuring the projector maintains optimal performance and longevity. It is important to keep these vents unobstructed.
4.4 Bottom Panel and Label
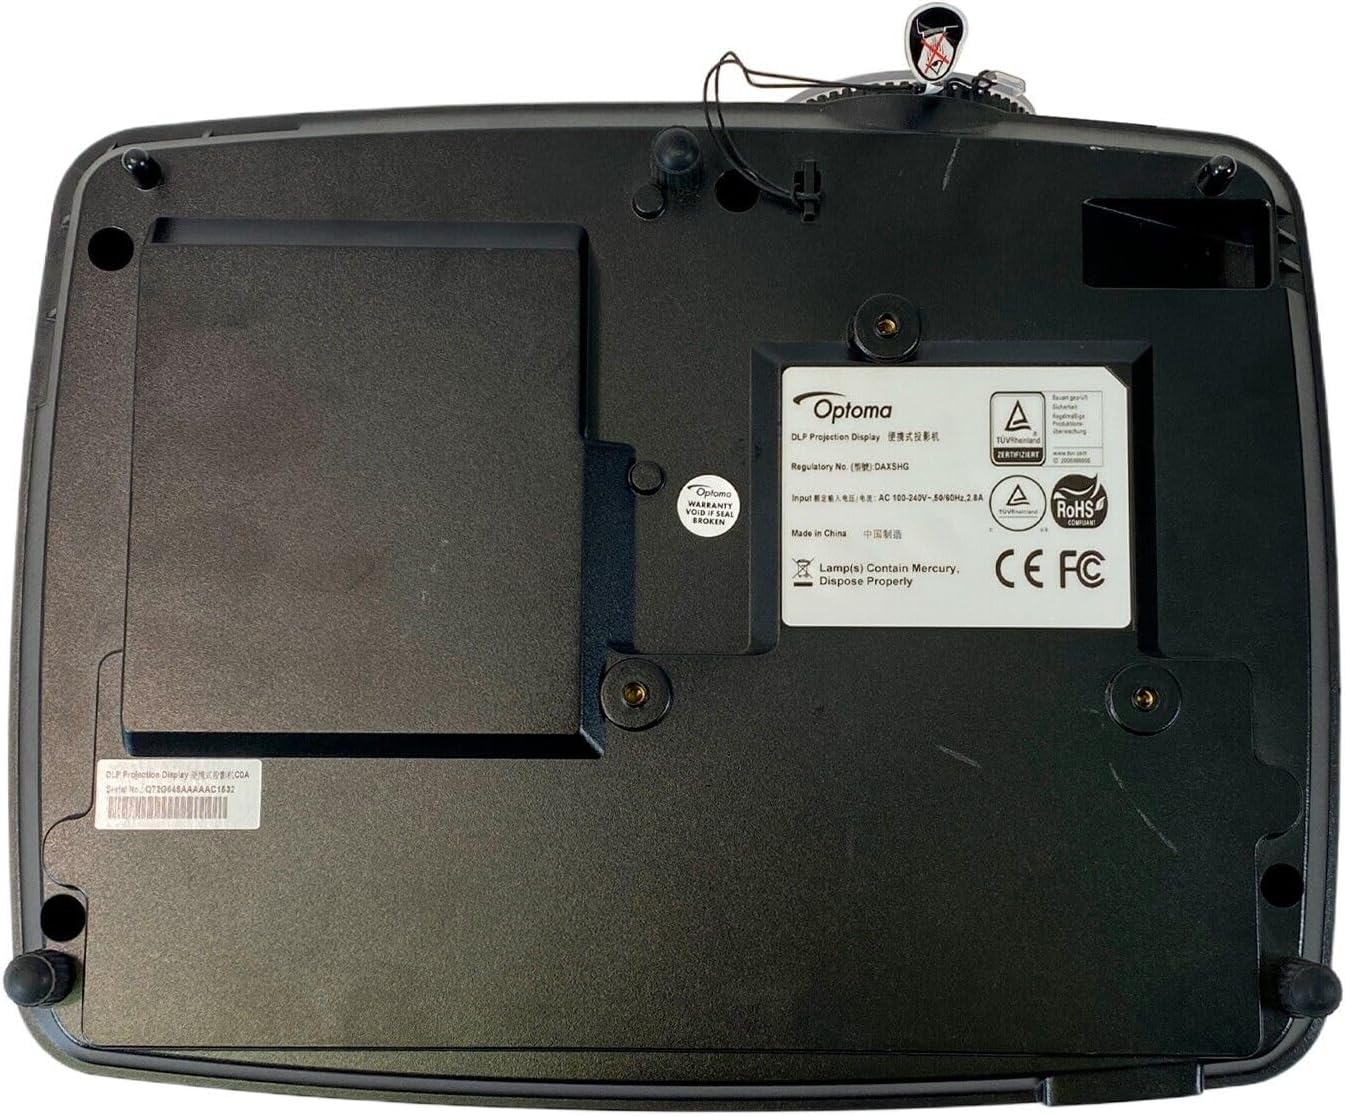
The bottom panel of the Optoma X341 projector is visible in this image, displaying the mounting points for ceiling or tabletop installation. Also visible is the product information label, which includes regulatory details, model number (DAXSHG), power requirements, and manufacturing origin.
5. Орнотуу
5.1 Орнотуу
- Place the projector on a stable, flat surface or mount it securely.
- Проектордун айланасында желдетүү үчүн жетиштүү орун бар экенин текшериңиз.
- Оптималдуу сүрөт геометриясы үчүн проекторду экранга перпендикулярдуу жайгаштырыңыз.
- The maximum throw distance is 10 feet for optimal image size and clarity.
5.2 Кубатты туташтыруу
- Connect the provided power cable to the projector's power input port (located on the rear panel).
- Электр кабелинин экинчи учун жерге туташтырылган электр розеткасына сайыңыз.
5.3 Киргизүү булактарын туташтыруу
- HDMI: Connect an HDMI cable from your source device (e.g., laptop, gaming console, Blu-ray player) to the HDMI port on the projector.
- VGA: Connect a VGA cable from your computer to the VGA-IN port on the projector.
- Видео (RCA): Use an RCA composite video cable to connect older video sources to the yellow 'VIDEO' port.
- Аудио: Connect external audio sources to the 'Audio In' port or use the 'Audio Out' port to connect to external speakers.
5.4 Фокусту жана масштабды тууралоо
- Проекторду күйгүзүңүз жана сүрөттү көрсөтүңүз.
- айлантыңыз Масштабдуу шакек on the top of the projector to adjust the image size.
- айлантыңыз Фокус шакеги to sharpen the image until it is clear and legible.
6. Проекторду иштетүү
6.1 Күйгүзүү/өчүрүү
- Күйгүзүү: Проектордун башкаруу панелиндеги же пульттагы кубат баскычын басыңыз. Кубат индикаторунун жарыгы көк түскө айланат.
- Өчүрүү: Press the power button twice. The projector will enter a cooling cycle before shutting down completely. Do not unplug the projector during the cooling cycle.
6.2 Киргизүү булагын тандоо
- Press the 'Source' button on the projector or remote control.
- Use the arrow keys to navigate through the available input sources (HDMI, VGA, Video) and press 'Enter' to select.
6.3 Меню Навигациясы
- Press the 'Menu' button to access the On-Screen Display (OSD) menu.
- Меню параметрлери боюнча багыт алуу үчүн жебе баскычтарын колдонуңуз.
- Press 'Enter' to select an option or confirm a setting.
- Press 'Menu' again to exit the OSD.
6.4 Сүрөттү тууралоо
- Жарыктык/Контраст: Adjust these settings in the OSD menu to optimize image visibility for your viewчөйрө.
- Түсү: The projector supports sRGB color space for accurate color reproduction. Adjust color settings as needed.
- Дубал түсүн тууралоо: This feature uses various gamma profiles to improve brightness and color accuracy when projecting onto non-white surfaces. Access this setting in the OSD menu.
- Четтеги маска: This technology helps eliminate soft edges and jaggies at the border of the projection image, resulting in a smoother, more consistent display. Enable or disable this feature via the OSD menu.
6.5 3D операциясы
The Optoma X341 supports Full HD 3D content. To view 3D content, you will need compatible 3D glasses and a 3D-enabled source device. Refer to your 3D source device's manual for specific setup instructions.
7. Техникалык тейлөө
- Линзаны тазалоо: Gently wipe the lens with a soft, lint-free cloth specifically designed for optical surfaces. Do not use abrasive cleaners or solvents.
- Projector Body Cleaning: Проектордун сыртын тазалоо үчүн жумшак, кургак чүпүрөктү колдонуңуз. Өжөр тактар үчүн бир аз сүртүңүз.amp cloth with mild detergent can be used, followed by a dry wipe.
- Вентиляция: Regularly check and clean the ventilation grilles to ensure proper airflow. Use a soft brush or compressed air to remove dust accumulation.
- Lamp Алмаштыруу: Проектор лamp чектүү өмүрү бар. Качан лamp indicator lights up or the image becomes dim, the lamp may need replacement. Consult a qualified technician for lamp replacement to ensure proper handling and safety.
8. Кыйынчылыктарды
| Көйгөй | Мүмкүн чечим |
|---|---|
| Экранда сүрөт жок | Check power connection. Ensure input source is correctly selected. Verify source device is powered on and outputting a signal. |
| Сүрөт бүдөмүк | Adjust the focus ring on the projector lens. Ensure the projector is within the recommended throw distance. |
| Сүрөт бурмаланган же трапеция формасында | Adjust the keystone correction in the OSD menu. Ensure the projector is placed perpendicular to the screen. |
| Аудио жок | Check audio cable connections. Ensure volume is not muted or set too low on both the projector and the source device. |
| Проектор ысып, өчүп калат | Ensure ventilation openings are not blocked. Clean any dust from the vents. Operate in a well-ventilated area. |
9. Техникалык шарттар
| Өзгөчөлүк | Спецификация |
|---|---|
| Модел | X341 |
| Дисплей технологиясы | DLP |
| Native Resolution | 1024 x 768 (XGA) |
| Maximum Resolution | 1920 x 1080 (Full HD) |
| Жарыктык | 3300 ANSI челинин |
| Контраст катышы | 22,000:1 |
| Байланыш | HDMI, VGA-IN/YPbPr, VGA-OUT, Video (RCA), Audio In, Audio Out, RS-232C, USB Power/Service |
| Өзгөчөлүктөр | Portable, Full 3D Support, Wall Color Adjustment, Edge Mask |
| Башкаруу ыкмасы | Алыстан башкаруу |
| Өлчөмдөрү (L x W x Y) | 10"L x 12"W x 8"H |
10. Кепилдик жана колдоо
For warranty information and technical support, please refer to the documentation provided with your purchase or visit the official Optoma website. Keep your proof of purchase for warranty claims. Do not attempt to service the projector yourself, as this may void your warranty and expose you to electrical hazards.