
1. Киришүү
The Xigmatek Hero II Air 3F is a mid-tower PC case designed for optimal airflow and component compatibility. It features a tempered glass side panel, support for various motherboard form factors, and pre-installed cooling fans. This manual provides detailed instructions for the installation of components, operation, maintenance, and troubleshooting of your PC case.
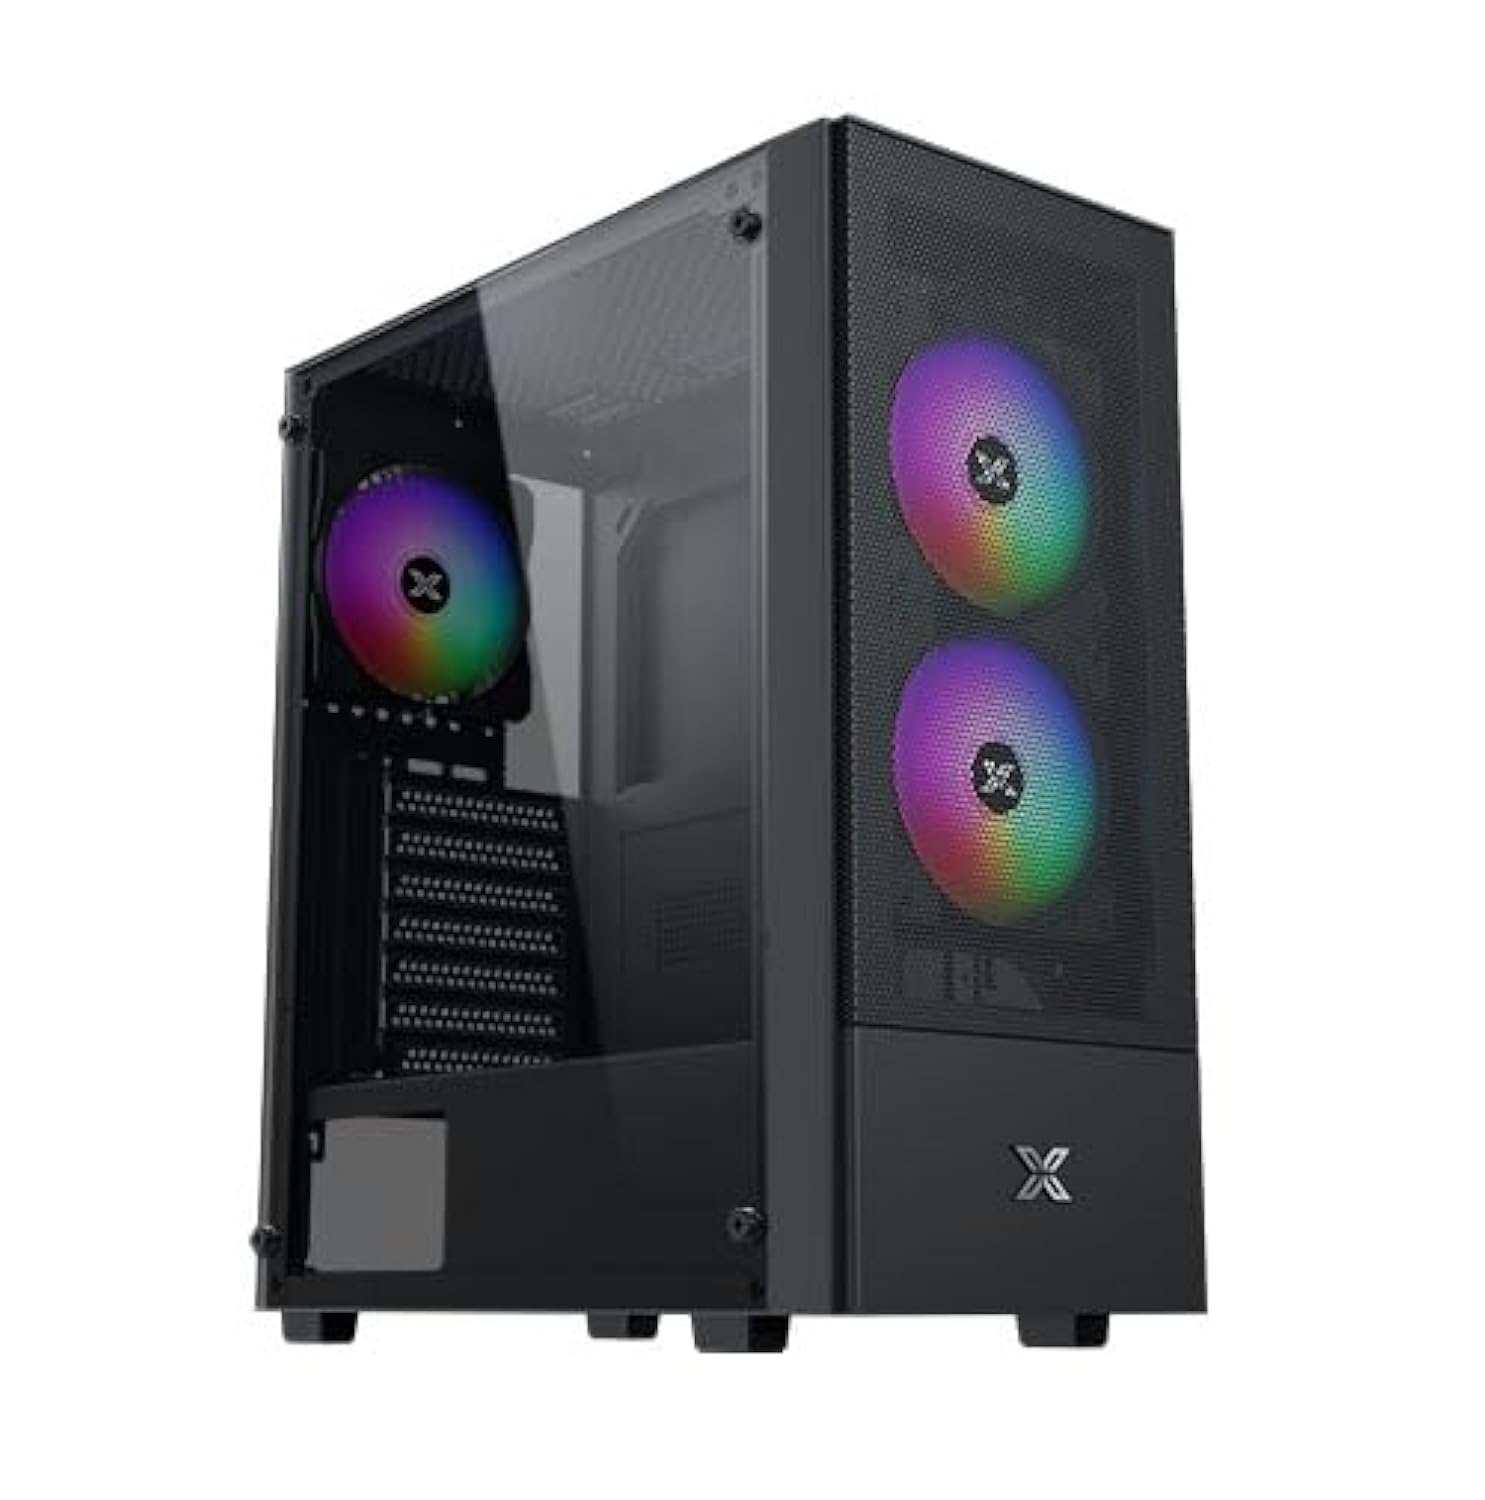
Figure 1: Xigmatek Hero II Air 3F Mid-Tower PC Case overview.
2. Коопсуздук маалыматы
Please read and understand all safety instructions before installing components into the PC case.
- Орнотуу же техникалык тейлөө иштерин жүргүзүүдөн мурун ар дайым кубат булагын розеткадан сууруп коюңуз.
- Сезимтал компоненттердин электростатикалык разряддан (ЭСД) жабыркашын алдын алуу үчүн антистатикалык билек боону тагыныңыз.
- Физикалык зыянды болтурбоо үчүн компоненттерди кылдаттык менен иштетиңиз.
- Майда тетиктерди жана бурамаларды балдардан алыс кармаңыз.
- Ашыкча ысып кетүүнүн алдын алуу үчүн PC корпусунун айланасында туура желдетүүнү камсыз кылыңыз.
- Do not operate the PC case with the side panel removed unless necessary for troubleshooting or maintenance.
3. Пакеттин мазмуну
Пакетте бардык буюмдар бар экенин текшериңиз:
- Xigmatek Hero II Air 3F Mid-Tower PC Case
- Кошумча кутуча (бурамаларды, кабелдик байлагычтарды жана башка майда бөлүктөрдү камтыйт)
- 3 x 120mm fixed RGB fans (pre-installed)
- Колдонуучунун Колдонмосу (бул документ)
4. Орнотуу жана Компонентти орнотуу
Follow these steps to install your PC components into the Xigmatek Hero II Air 3F case.
4.1 Motherboard орнотуу
Иш ATX, Micro-ATX жана Mini-ITX энелик платаларды колдойт.
- Баш бармактын бурамаларын бурап алуу менен чыңалган айнек каптал панелин алып салыңыз.
- Иштин арткы тешигине I/O калкан орнотуңуз (эгерде сиздин энелик платаңызга алдын ала тиркелбесе).
- Align your motherboard with the standoffs inside the case. Ensure the standoffs match your motherboard's form factor.
- Берилген бурамалар менен энелик тактаны бекитиңиз.
- Install the CPU cooler. The case supports CPU air coolers up to 165mm in height.

Figure 2: Component clearance for motherboard (ATX), CPU cooler (165mm), and graphics card (340mm).
4.2 Сактоочу дискти орнотуу
The case offers multiple storage options:
- HDD Cage: Supports 2 x 3.5" HDDs or 2 x 2.5" SSDs in a combo cage located at the bottom.
- MB панели: Supports 2 x 2.5" SSDs mounted behind the motherboard tray.
- For 3.5" HDDs or 2.5" SSDs in the cage, slide the drive into the bay and secure with screws.
- For 2.5" SSDs behind the motherboard tray, mount the SSDs directly onto the designated spots using screws.

Figure 3: Locations for SSDs (behind motherboard tray) and HDD/SSD combo cage.
4.3 Электр менен камсыздоо блогун (PSU) орнотуу
The case supports standard PS2 ATX PSUs up to 165mm in length.
- Корпустун арткы түбүнөн PSU орнотуу кронштейнин табыңыз.
- Slide the PSU into the designated compartment from the rear of the case.
- Кубат булагын корпустун сыртынан бурама менен бекитиңиз.
4.4 Графикалык картаны (GPU) орнотуу
The case accommodates graphics cards up to 340mm in length.
- Корпустун артындагы керектүү кеңейтүү уячасынын капкактарын алып салыңыз.
- Insert the graphics card into the appropriate PCIe slot on your motherboard.
- Графикалык картаны бурамалар менен корпуска бекитиңиз.
4.5 Fan and Liquid Cooling Installation
The Hero II Air 3F comes with three pre-installed 120mm fixed RGB fans. Additional fan and liquid cooling support is available:
- Алдыңкы: 3 x 120mm fans (pre-installed)
- Жогорку: 2 x 120mm or 2 x 140mm fans
- Арткы: 1 x 120mm fan (pre-installed)
- Суюк муздатуучу радиаторду колдоо: Front 360mm, Top 240mm, Rear 120mm.
- Mount additional fans or radiators to the designated locations using the appropriate screws.
- Ensure proper airflow direction for optimal cooling (intake at front, exhaust at rear/top).

Figure 4: Illustration of superior airflow design with front intake and rear exhaust.
4.6 Кабелди башкаруу
The case provides space behind the motherboard tray and cutouts for efficient cable routing.
- Route power cables and data cables through the designated cutouts to the back of the motherboard tray.
- Use cable ties (provided in the accessory box) to bundle and secure cables, ensuring a clean interior and unobstructed airflow.
5. Компьютер корпусун иштетүү
Once all components are installed and cables are connected, you can operate your PC.
5.1 Алдыңкы киргизүү/чыгаруу порттору
The top-mounted I/O panel provides convenient access to essential ports and controls:
- Кубат баскычы: Системаны күйгүзүү/өчүрүү үчүн.
- Калыбына келтирүү баскычы: Системаны кайра иштетүү үчүн.
- USB 2.0 порттору (x2): USB 2.0 түзмөктөрүн туташтыруу үчүн.
- USB 3.0 порту (x1): USB 3.0 түзмөктөрүн туташтыруу үчүн.
- HD Audio Jack: Кулакчындарды жана микрофондорду туташтыруу үчүн.
- LED которуу: To control the lighting of the pre-installed RGB fans.

Figure 5: Diagram of the top-mounted I/O ports including Power, Reset, USB 2.0, USB 3.0, HD Audio, and LED Switch.
5.2 Fan Operation and RGB Control
The pre-installed fans provide cooling for your system. The LED Switch on the I/O panel allows you to cycle through different lighting modes for the fixed RGB fans. Note that the pre-installed fans use Molex connectors for power.
6. Техникалык тейлөө
Үзгүлтүксүз тейлөө сиздин PC компоненттеринин оптималдуу иштешин жана узак иштөөсүн камсыз кылууга жардам берет.
- Чаңды тазалоо: Periodically clean dust filters and the interior of the case using compressed air or a soft brush. Dust accumulation can impede airflow and lead to overheating.
- Кабель башкаруу текшерүү: Ensure cables remain neatly organized and do not obstruct airflow.
- желдеткич текшерүү: Check fans for any obstructions or unusual noises.
7. Кыйынчылыктарды
Бул бөлүм сиз кабылышы мүмкүн болгон жалпы көйгөйлөрдү карайт.
- Күйөрмандар айланбай жатат же RGB күйбөйт:
- Ensure all fan power connectors (Molex) are securely connected to the power supply.
- Verify that the LED Switch cable from the I/O panel is correctly connected to the fan controller or motherboard header (if applicable). Note that the pre-installed fans have fixed RGB and are controlled by the LED switch.
- Система иштебей жатат:
- Бардык кубат туташууларын, анын ичинде 24-пин ATX, 8-пин CPU жана GPU электр кабелдерин текшериңиз.
- Ensure the power button cable from the I/O panel is correctly connected to the motherboard's front panel header.
- PSU которгучу "ON" абалында экенин текшериңиз.
- Poor airflow or high temperatures:
- Check for dust buildup on fans and filters and clean them.
- Оптималдуу алуу жана чыгаруу үчүн күйөрмандардын туура багыт алганын текшериңиз.
- Аба агымынын жолдоруна эч кандай кабелдер тоскоол болбогонун текшериңиз.
8. Техникалык шарттар
Detailed specifications for the Xigmatek Hero II Air 3F PC Case.

Figure 6: Official specifications table for the Hero II Air 3F.
| Өзгөчөлүк | Спецификация |
|---|---|
| Продукт аты | Hero II Air 3F |
| Материал | Steel Alloy |
| Өлчөмдөрү (L x W x Y) | 390 x 195 x 450 мм |
| Drive Bays | HDD Cage: 2 x 3.5" & 2.5" combo; MB Panel: 2 x 2.5" SSD |
| Кеңейтүү уячалары | 7 Standard Slots |
| Motherboard Support | ATX, M-ATX, Mini ITX |
| Power Supply Support | Standard PS2 ATX PSU (Max 165mm length) |
| Күйөрмандардын колдоосу | Top: 2 x 120mm or 2 x 140mm; Front: 3 x 120mm; Rear: 1 x 120mm |
| Суюк муздатуу колдоо | Front: 360mm; Top: 240mm; Rear: 120mm |
| I/O панели | 1 x USB 3.0, 2 x USB 2.0, HD Audio, LED Switch |
| CPU муздаткычтын бийиктиги | Макс 165мм |
| VGA картасынын узундугу | Макс 340мм |
| PSU узундугу | Макс 165мм |
| Алдын ала орнотулган күйөрмандар | 3 x 120mm Fixed RGB Fans |
| Өзгөчөлүктөрү | Tempered glass side panel, advanced cooling system, easy cable management |
9. Кепилдик маалыматы
The Xigmatek Hero II Air 3F PC Case comes with a 2 жылдык кепилдик from the date of purchase. This warranty covers manufacturing defects and material faults under normal use. It does not cover damage caused by misuse, accident, modification, or unauthorized repair. Please retain your proof of purchase for warranty claims.
10. Колдоо
For further assistance, technical support, or warranty inquiries, please contact Xigmatek customer service through their official webсайтка же жергиликтүү дистрибьютериңизге.