
1. Коопсуздук маалыматы
Before beginning installation, ensure the power supply is disconnected at the circuit breaker. All wiring must comply with national and local electrical codes. If you are unfamiliar with electrical wiring, consult a qualified electrician. Ensure the mounting structure can support the fan's weight. Maintain a minimum clearance of 7 feet from the floor to the fan blades and 18 inches from the wall to the blade tips. Do not connect the fan to a dimmer switch or fan speed switch, as this can cause operational malfunctions.
2. Пакеттин мазмуну
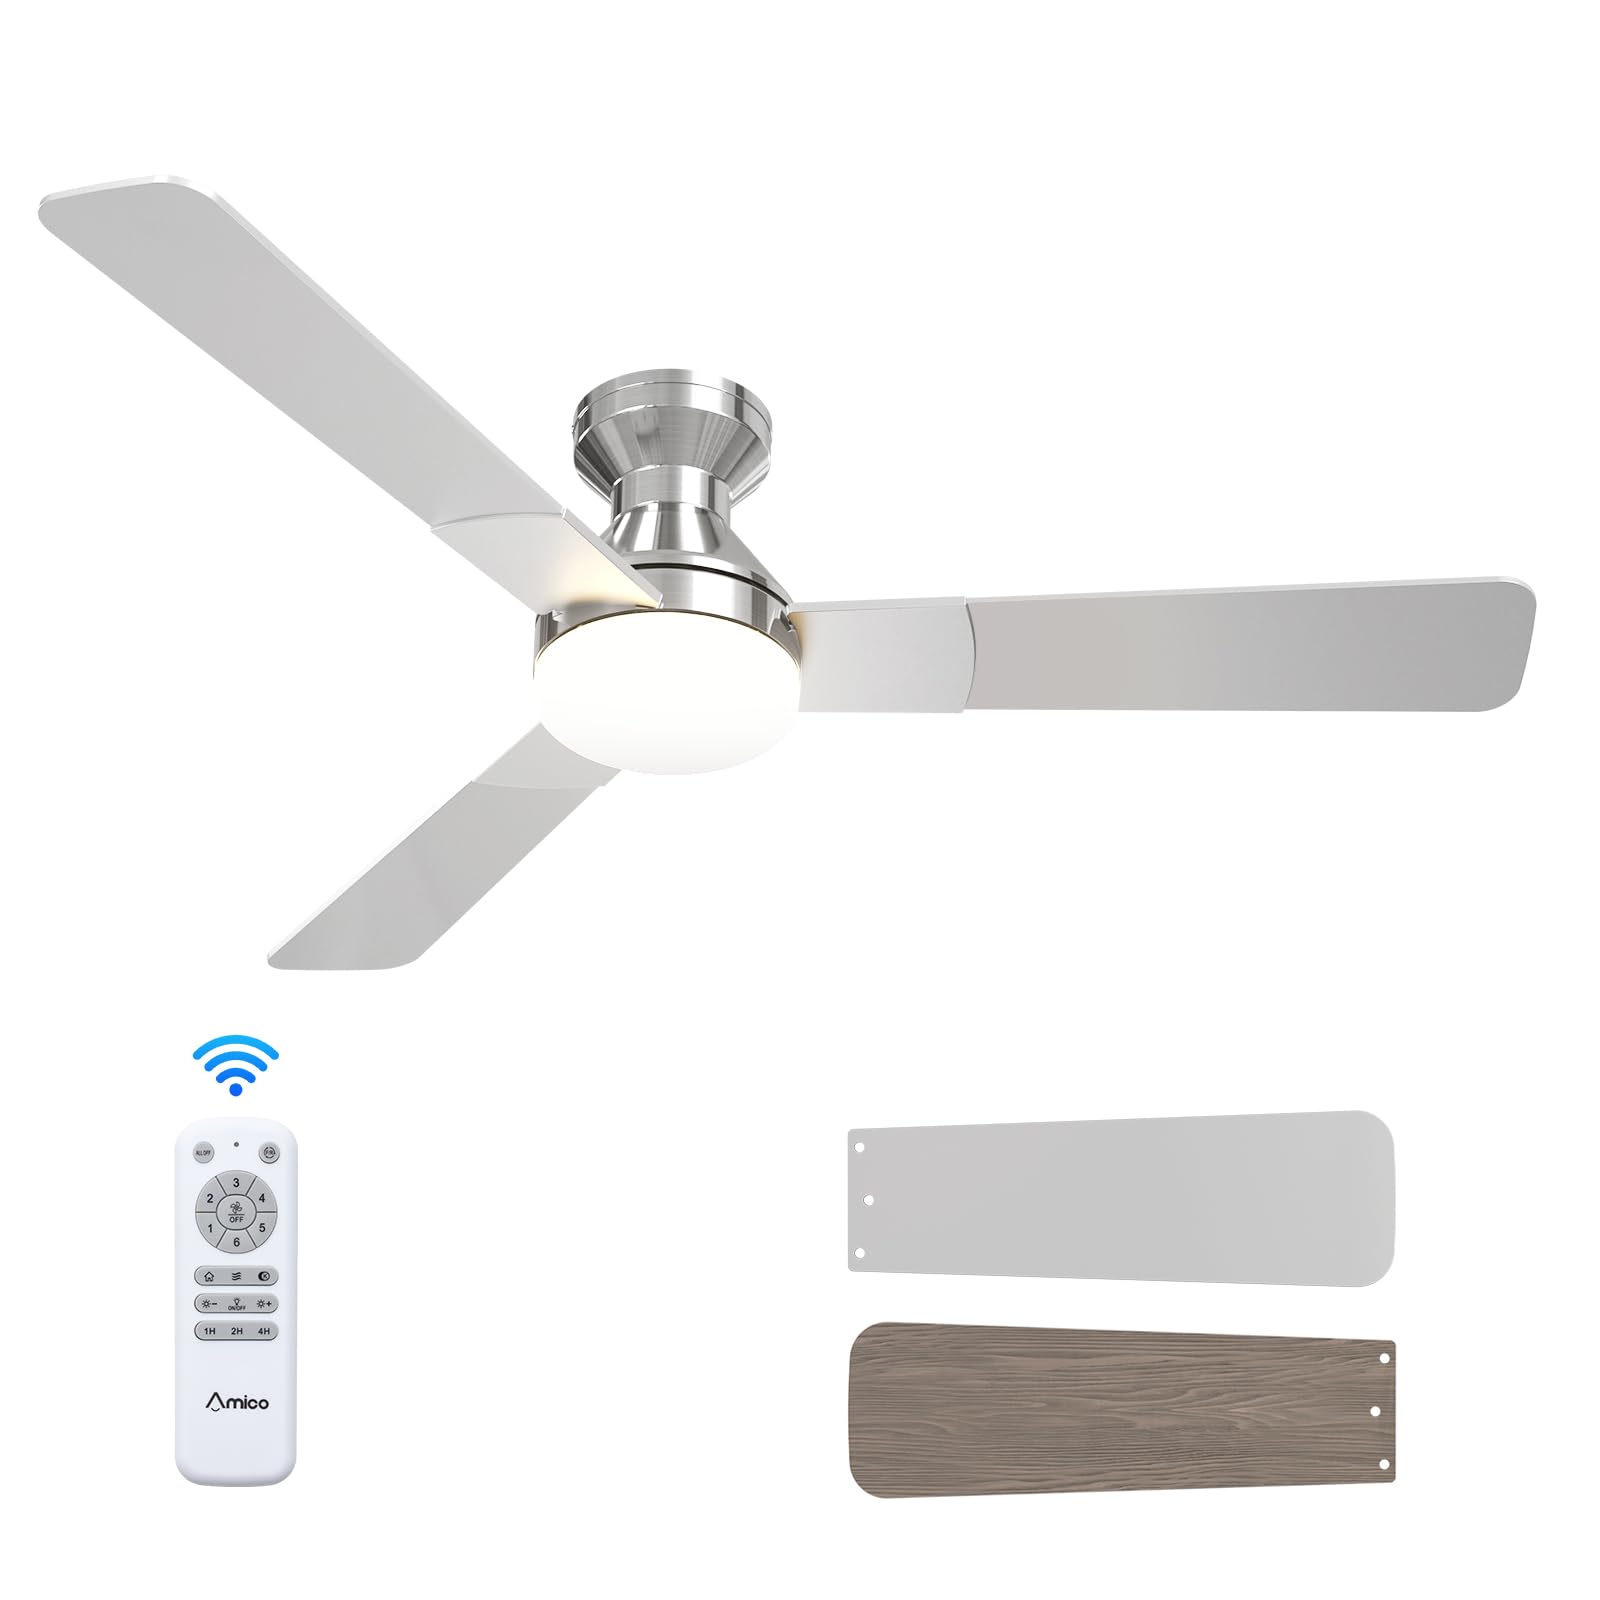
Орнотууну баштоодон мурун, бардык компоненттердин бар экендигин текшериңиз:
- Шыпка желдеткич бирдиги
- ABS Lampкөлөкө
- Light Kit (LED)
- Монтаждоочу жабдык
- Алыстан башкаруу
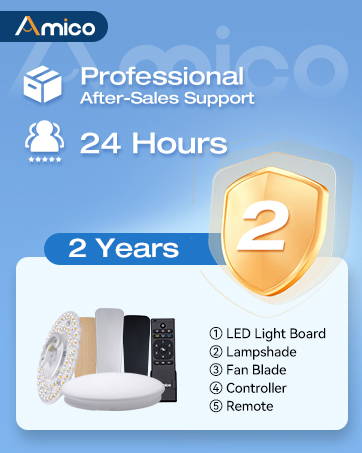
Illustration of various ceiling fan components included in the package.
Кутудан чыгаруу жана Component Overview
Бул видеодо толук маалымат берилетview of the Amico ceiling fan components as they are unboxed, highlighting the included parts and instructions for easy installation.
3. Продукттун спецификациялары
| Бренд | Amico |
| Модель номери | KFM52PLY3B02R1 |
| Өлчөмү | 52 дюйм |
| Түс | Никель |
| Продукциянын өлчөмдөрү | 52"D x 52"W x 15.7"H |
| Power Source | 120V AC киргизүү, DC мотор |
| Blades саны | 3 |
| Бычактын материалы | Инженердик жыгач |
| Жарык түрү | LED (алмаштырылган) |
| Ылдамдыктын саны | 6 |
| Ызы-чуу деңгээли | 35 децибел |
| Башкаруу ыкмасы | Алыстан башкаруу |
| Ички/тышкы колдонуу | Үй ичинде, Сыртта (D)amp Рейтинг) |
4. Орнотуу
Follow these steps for a safe and efficient installation of your Amico ceiling fan. It is recommended to have a second person assist during certain stagорнотуу.
4.1 Орнотууга чейинки текшерүүлөр
- Ensure the power is OFF at the circuit breaker before starting.
- Confirm your ceiling junction box is securely mounted and capable of supporting the fan's weight (at least 35 lbs).
- Керектүү шаймандарды чогултуңуз: бурагыч, зым чечкич, электр лентасы, тепкич.

Image illustrating the mounting bracket and electrical wiring connections for installation.
4.2 Кронштейнди орнотуу
Attach the mounting bracket to the ceiling junction box using the provided screws. Ensure it is firmly secured to prevent wobbling.

Diagram showing the ceiling fan mounting directly to a standard ceiling junction box for easy DIY installation.
4.3 Электр зымдары
Connect the fan's electrical wires to the household wiring according to the color codes: Black (Live), White (Neutral), Yellow/Green (Earth). Use wire nuts to secure connections. Ensure all connections are tight and insulated. Important: Do not connect to dimmer switches or fan speed switches to prevent operational malfunctions.

Illustration showing compatible conventional wall switches and incompatible dimmer/fan speed switches.
4.4 Attaching Motor and Blades
Carefully lift the fan motor assembly and attach it to the mounting bracket. Secure it with the designated screws. Then, attach the three fan blades to the motor housing. The blades are reversible, with a nickel finish on one side and an oak grain on the other, allowing you to choose the aesthetic that best suits your decor.

Жакын план view of the fan motor assembly with reversible blades, showing the nickel and oak grain sides.
4.5 Жарык топтомун орнотуу
Connect the LED light kit to the fan's wiring. Secure the light kit to the fan motor assembly using the provided screws. Ensure the connections are firm.
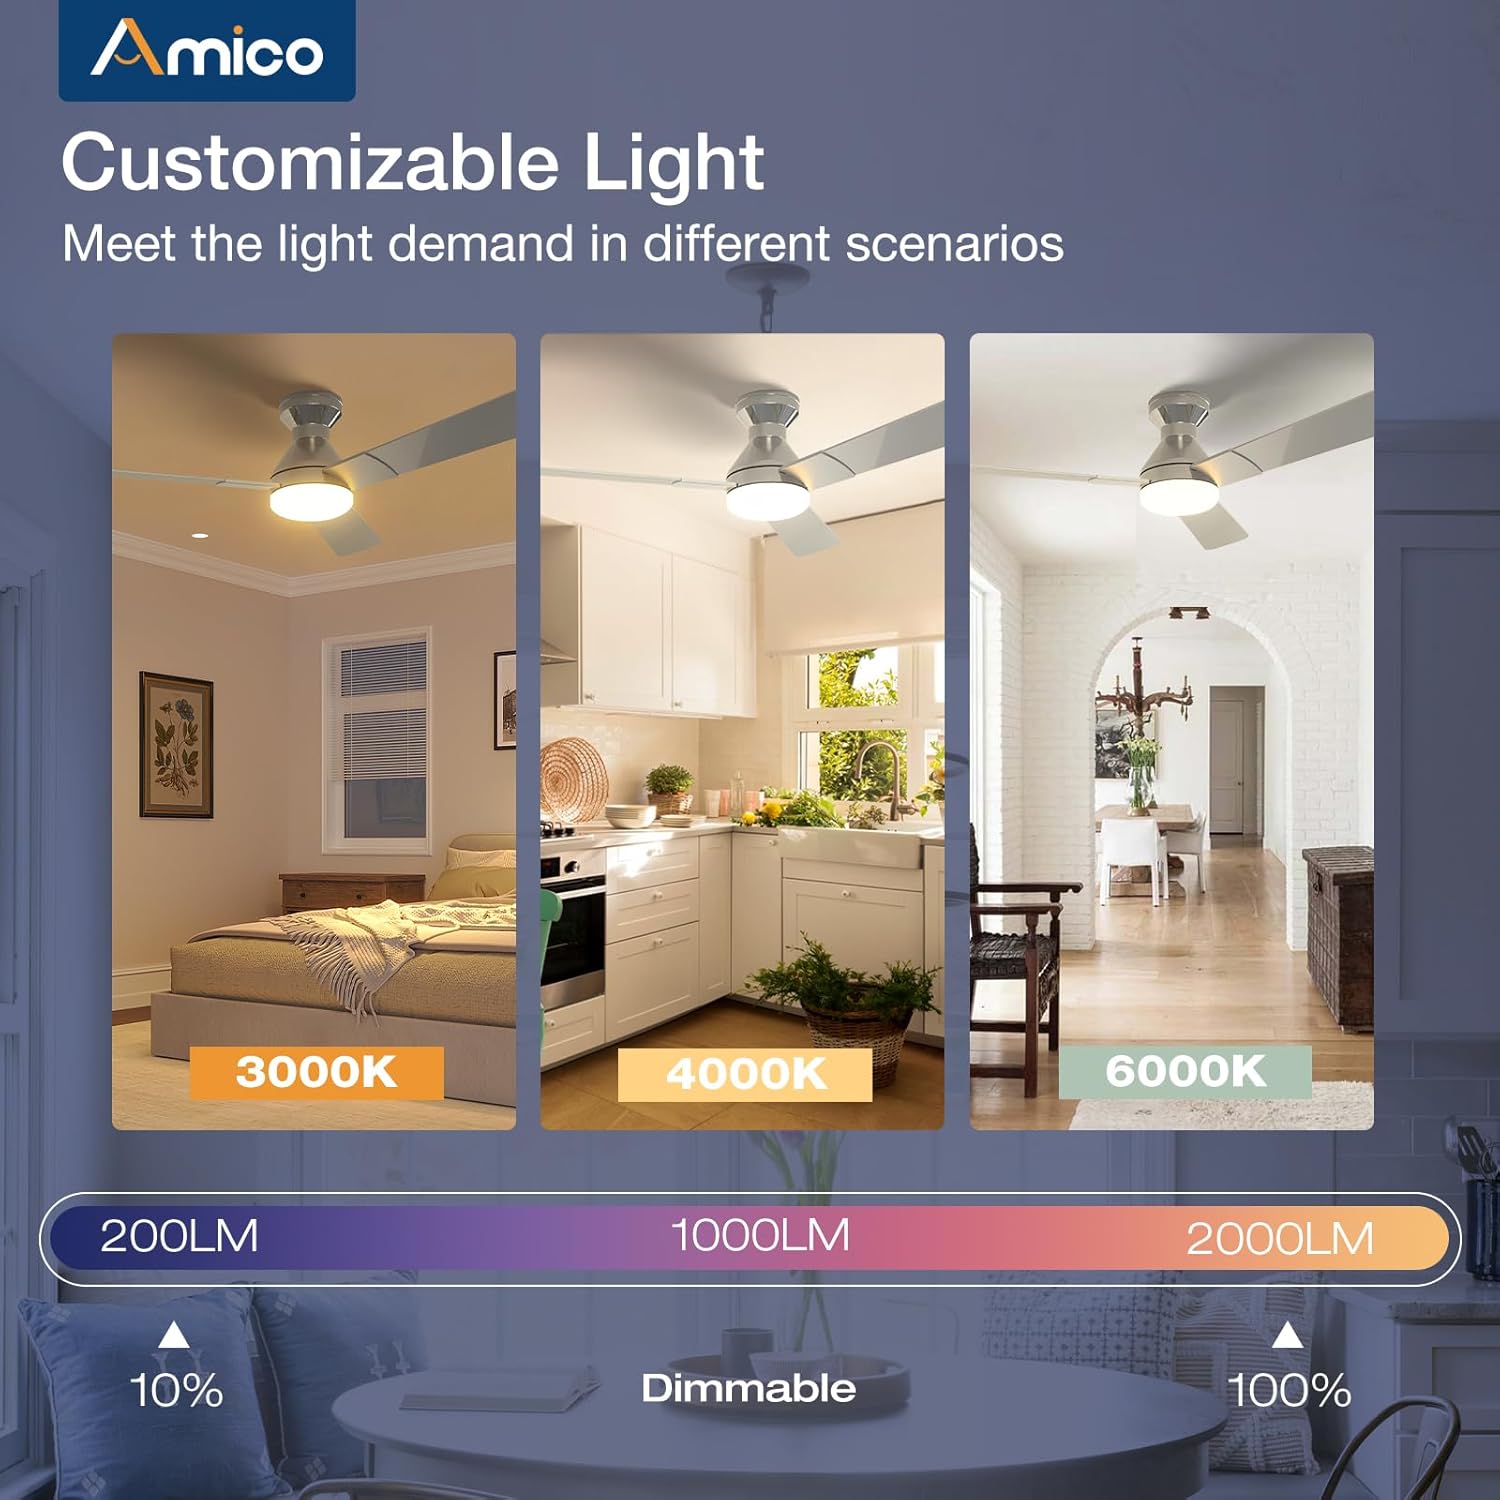
Image detailing the installation of the LED light kit onto the ceiling fan.
4.6 Жыйынтыктоочу Ассамблея
l тиркеңизampshade or light cover to the light kit, twisting or securing it into place as per the design. Restore power at the circuit breaker and test the fan and light functions using the remote control.

Image showing the final step of attaching the light cover to the ceiling fan.
Орнотуу боюнча видео көрсөтмө
This video demonstrates the installation process, highlighting how easy it is to set up the Amico ceiling fan, even for remodels.
5. Иштөө нускамалары
Your Amico ceiling fan is designed for ease of use with a comprehensive remote control.
5.1 Алыстан башкаруу функциялары

Image of the remote control with labeled buttons for various functions.
- Кубат баскычы: Вентиляторду жана жарыкты күйгүзөт/өчүрөт.
- Желдетүүчү ылдамдык (1-6): Adjusts fan speed from gentle breeze (1) to strong wind (6).
- Тескери функция: Changes the direction of blade rotation for summer (downward airflow) or winter (upward airflow) use.
- Жарык күйгүзүү/өчүрүү: Жарыкты өз алдынча күйгүзөт.
- Жарык жарыктыгы (+/-): Dims or brightens the light (10%-100%).
- Түс температурасы: Cycles through 3000K (warm white), 4000K (natural white), and 6000K (cool white).
- Таймер (1 саат, 2 саат, 4 саат): Sets the fan and/or light to turn off automatically after the selected duration.
Remote Control Demonstration
This video demonstrates the various functions of the remote control, including fan speed, light temperature, and dimming capabilities.
5.2 Вентилятордун ылдамдыгы жана аба агымы
The fan offers 6 adjustable speeds to suit your comfort needs, from a gentle, comfortable breeze to a strong cooling wind. The DC motor ensures powerful yet quiet operation.

Diagram illustrating the 6 adjustable fan speeds and their corresponding wind levels.
5.3 Customizable Light
The integrated LED light is dimmable from 10% to 100% and offers three color temperature options: 3000K (warm), 4000K (natural), and 6000K (cool). Adjust the light to match your activity or mood.
Image showing the three color temperature options (3000K, 4000K, 6000K) and dimmable range of the fan light.
5.4 Reversible DC Motor
The reversible DC motor allows you to change the direction of the fan blades. In summer, set the fan to rotate counter-clockwise for a downward airflow that creates a cooling effect. In winter, set it to rotate clockwise for an upward airflow that helps circulate warm air trapped near the ceiling.

Diagram illustrating the summer (cooling) and winter (warming) modes of the reversible DC motor.
5.5 Таймерди орнотуу
Utilize the timer function to automatically turn off the fan and/or light after 1, 2, or 4 hours, promoting energy efficiency and convenience, especially during sleep.

Graphic showing the 1-hour, 2-hour, and 4-hour timer settings for the fan.
5.6 Эстутум функциясы
The fan and light feature memory functions. Once you select your desired light brightness, color temperature, and fan speed, these settings will be retained even after turning the unit off and on via the wall switch. This avoids the need to reset your preferences each time.

Illustration demonstrating how the fan and light settings are remembered after being turned off and on.
5.7 Тынч иштөө
Engineered for minimal noise, the fan operates at a low 35dB, comparable to the sound of falling leaves, ensuring a quiet living environment suitable for bedrooms and nurseries.

Graphic comparing the fan's low noise level (35dB) to common ambient sounds.
6. Техникалык тейлөө
Үзгүлтүксүз тейлөө сиздин шыптын желдеткичиңиздин оптималдуу иштешин жана узак иштөөсүн камсыз кылат.
- Тазалоо: Вентилятор калактарын жана мотор корпусун мезгил-мезгили менен жумшак, d менен сүртүп туруңуз.amp кездеме. Абразивдүү тазалагычтарды же эриткичтерди колдонбоңуз.
- Light Cover: The ABS lampshade can be removed and cleaned with mild soap and water. Ensure it is completely dry before reattaching.
- Бычак бурамалары: Check all blade attachment screws periodically to ensure they are tight.
- LED жарык комплекти: The LED light kit is replaceable. If replacement is needed, contact customer support for compatible parts.
7. Кыйынчылыктарды
If you encounter any issues with your Amico ceiling fan, refer to the following common troubleshooting steps:
- Вентилятор иштебей жатат:
- Check that power is supplied to the fan.
- Бардык зым байланыштары коопсуз экенин текшериңиз.
- Алыстан башкаруу пультунун батареялары иштеп турганын жана туура салынганын текшериңиз.
- Жарык иштебейт:
- Check the light kit's electrical connections.
- Алыстан башкаруу пультундагы жарык функциясы иштетилгенин текшериңиз.
- Желдеткичтин чайпалышы:
- Ensure the mounting bracket is securely fastened to the ceiling junction box.
- Бардык бычак бурамалар бекем тартылганын текшериңиз.
- Verify blades are not bent or damaged.
- Алыстан башкаруу жооп бербейт:
- Пульттун батарейкаларын алмаштырыңыз.
- Алыстан башкаруу пульту менен желдеткичтин кабыл алгычынын ортосунда эч кандай тоскоолдуктар жок экенин текшериңиз.
8. Кепилдик жана колдоо
Amico is committed to customer satisfaction. Your ceiling fan comes with a 24 айлык тынчсыздануу-эркин кепилдик. Биз да беребиз 24 сааттык техникалык колдоо to assist with any issues during use or installation.
Байланыш маалыматы:
- Электрондук почта: support@amicolight.com
- Телефон: +1 (888) 676-1042 (Monday - Friday from 9:00 AM - 5:00 PM PT)

Graphic detailing Amico's after-sales support and warranty information.