
1. Киришүү
This manual provides detailed instructions for the FUNLAB Grily Hall Effect Wireless Controller. Please read this manual thoroughly before use to ensure proper operation and to maximize your gaming experience. This controller is designed for use with Nintendo Switch, Switch OLED, and Switch Lite consoles, as well as PC, Steam Deck, iOS, and Android devices.

This image displays the pink FUNLAB Grily Hall Effect Wireless Controller from a top-down perspective, showcasing its cat paw pattern design and button layout.
2. Продукциянын өзгөчөлүктөрү
- Hidden-til-lit Display: Unique design where patterns illuminate when the LED is active, remaining subtle when off.
- Polychrome Breathing LED: Features 7 LED colors with 4 lighting modes: breathing, quick flash, vibration lighting, and always-on.
- Холл эффектисинин джойстиктери: Provides precise and sensitive control, reducing mechanical wear and preventing stick drift.
- Sensing Motion & Turbo Function: Equipped with precise motion control and a turbo function for continuous input.
- Батареянын узак иштөө мөөнөтү: Built-in 3.7V/950mAH Lithium battery offers up to 12.5 hours of gameplay with lights off.
- Programmable Back Paddle Buttons: Two customizable back buttons for enhanced control and personalized gameplay.
- Эргономикалык дизайн: Shaped for comfortable handling during extended gaming sessions.
- Дирилдөө функциясы: Оюн учурунда иммерсивдүү тактильдүү кайтарым байланышты камсыз кылат.
- Кеңири шайкештик: Supports Nintendo Switch (2/OLED/Lite), Windows PC, Steam Deck, iOS, and Android devices.
2.1 Detailed Feature Overview

This image illustrates the controller's unique hidden-til-lit display, where the cat paw patterns glow when the internal LEDs are active, creating a distinct visual effect.

The image highlights the controller's 7-color breathing LED feature, demonstrating various lighting modes such as always-on, breathing, quick flash, and vibrating.

This diagram illustrates the Hall Effect joystick technology, emphasizing its precision and resistance to stick drift compared to traditional joysticks.

The image displays the controller's battery specifications, indicating a 12-hour playing time and a 950mAh battery capacity.
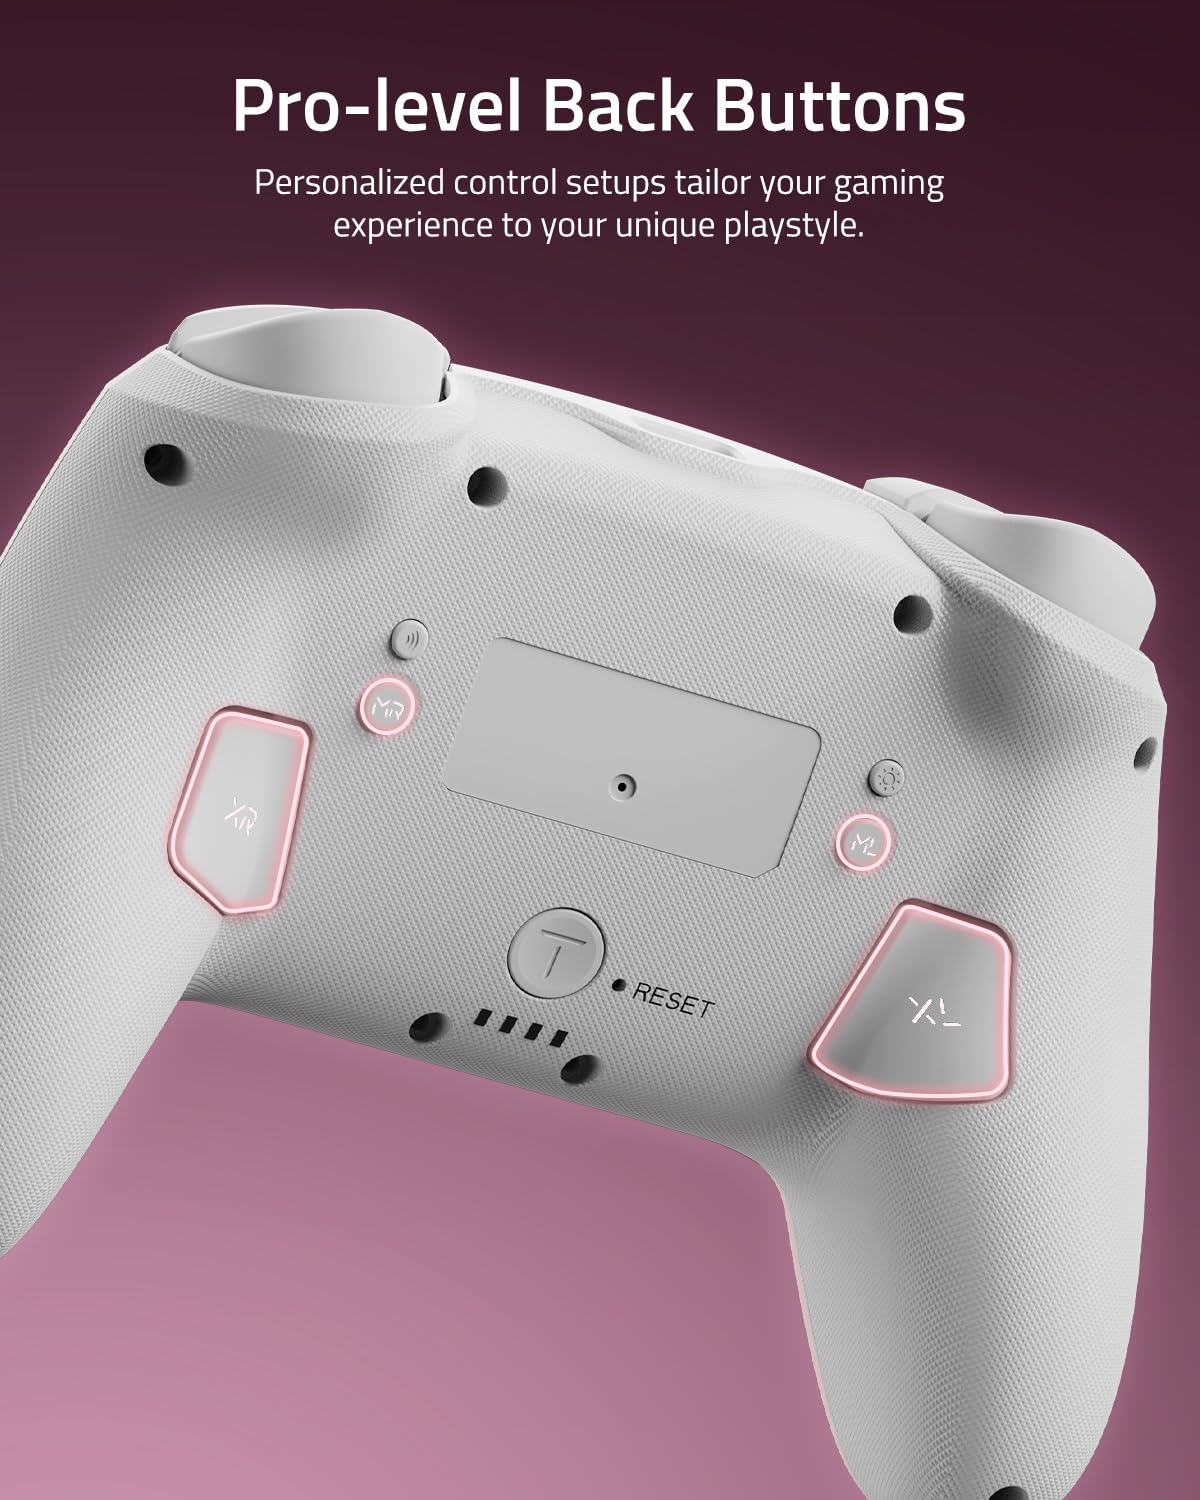
Бул жакын план view shows the two programmable back paddle buttons (XL and XR) located on the underside of the controller, designed for custom assignments.
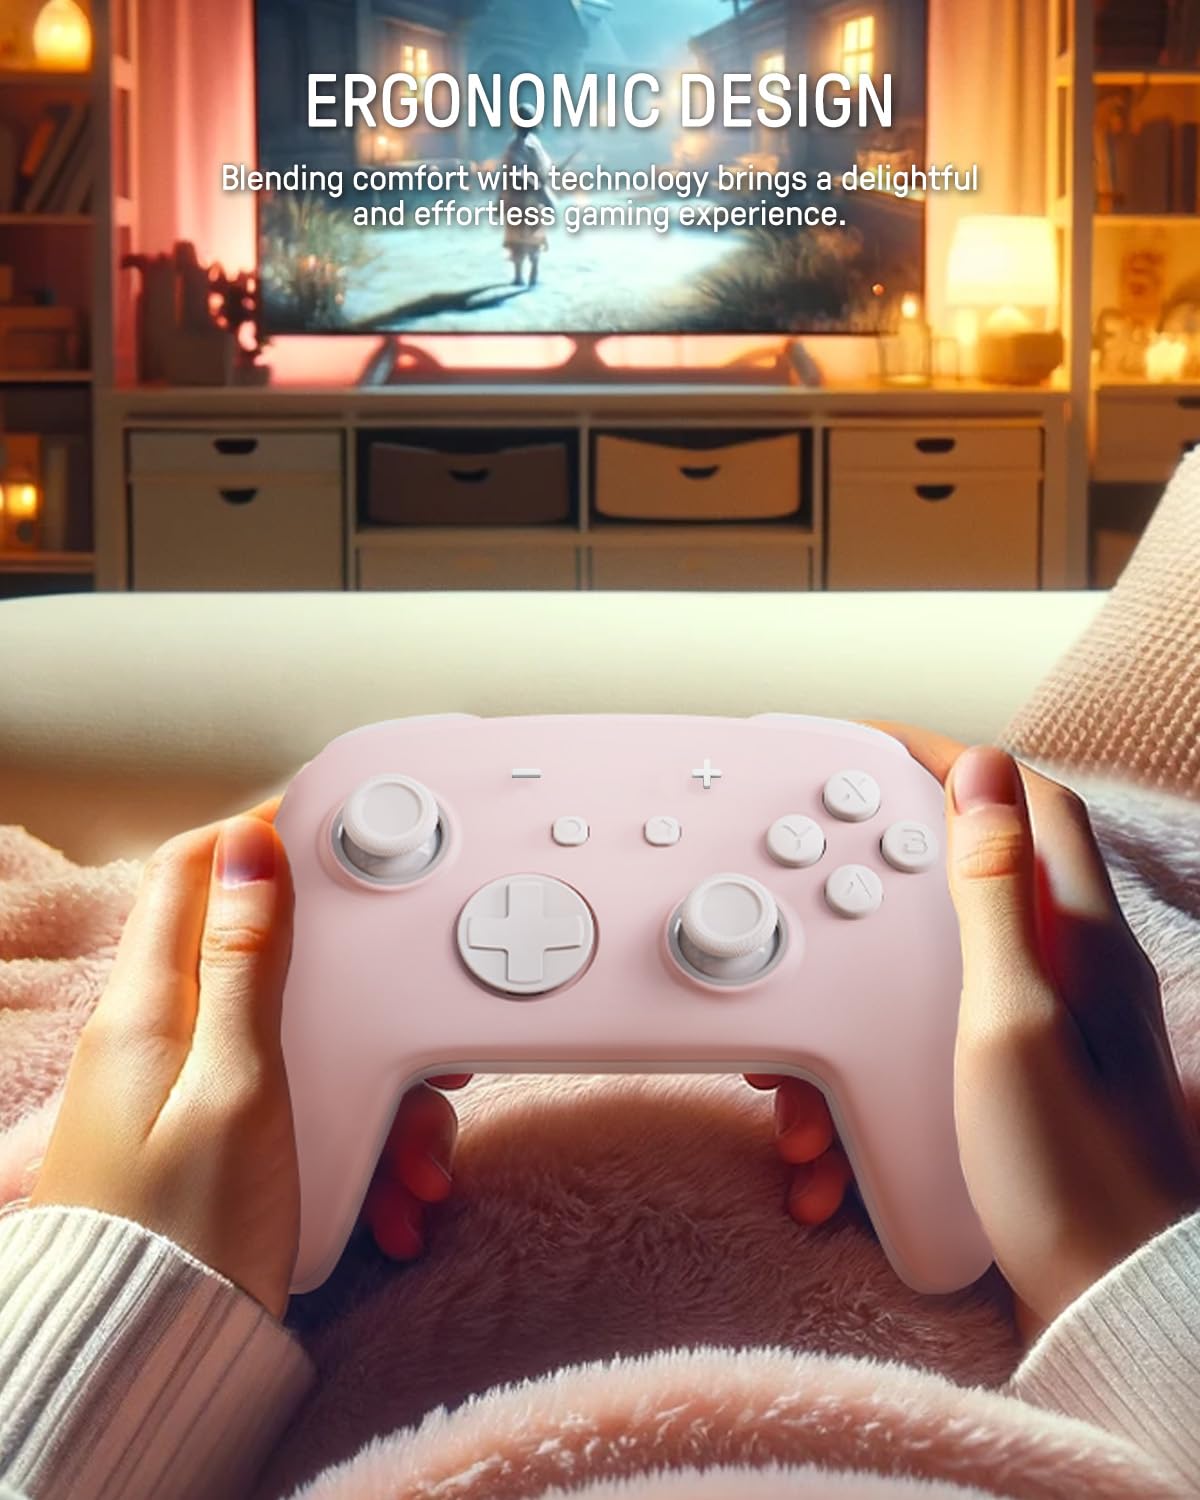
The image depicts a person holding the controller, highlighting its ergonomic shape designed for comfortable and extended gameplay.
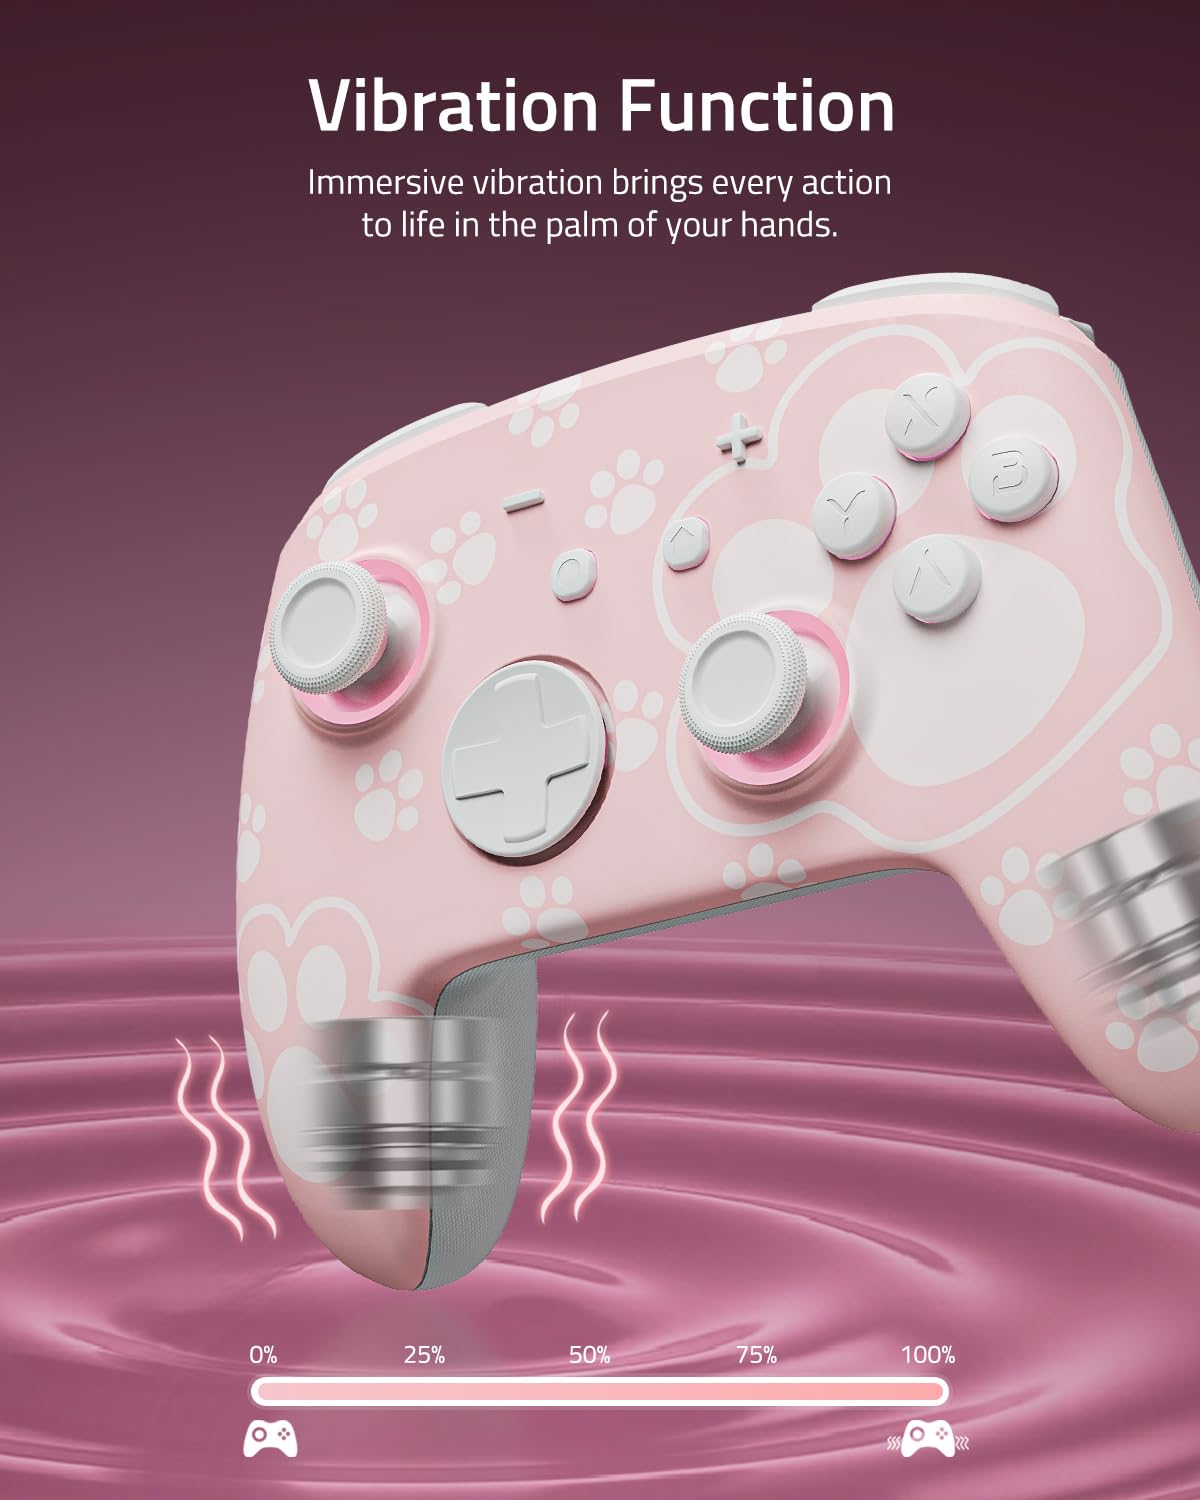
This image visually represents the controller's vibration function, with intensity levels shown to indicate immersive haptic feedback.

The image demonstrates the controller's broad compatibility with multiple platforms, including Nintendo Switch systems, Windows PCs, Steam Deck, iOS, and Android devices.
3. Орнотуу жана туташуу
3.1 Контроллерди заряддоо
Before first use, fully charge the controller. Connect the included USB-C cable to the controller's charging port and the other end to a USB power source (e.g., Nintendo Switch dock, PC, or USB wall adapter). The LED indicators will show charging status and turn off or change color when fully charged.
3.2 Nintendo Switch менен жупташтыруу
- HOME Менюсунан тандаңыз Контроллер > Катуу/Тартипти өзгөртүү.
- Контроллерде баскычты басып, кармап туруңуз Жупташтыруу баскычы (usually a small button on the top or back) for a few seconds until the indicator lights begin to flash rapidly.
- Once paired, the player indicator LED(s) on the controller will remain lit.
3.3 Pairing with PC (Windows)
- Компьютериңизде Bluetooth иштетилгенин текшериңиз.
- барыңыз Орнотуулар > Түзмөктөр > Bluetooth жана башка түзмөктөр > Bluetooth же башка аспапты кошуңуз.
- Тандоо Bluetooth.
- Контроллерде баскычты басып, кармап туруңуз Жупташтыруу баскычы until the indicator lights flash rapidly.
- Select the controller from the list of available devices on your PC.
3.4 Pairing with iOS Devices
- iOS түзмөгүңүздө төмөнкүгө өтүңүз: Орнотуулар > Bluetooth жана Bluetooth күйгүзүңүз.
- Контроллерде баскычты басып, кармап туруңуз Жупташтыруу баскычы until the indicator lights flash rapidly.
- Select the controller from the list of available devices on your iOS device.
3.5 Android түзмөктөрү менен жупташуу
- Android түзмөгүңүздө төмөнкүгө өтүңүз Орнотуулар > Туташкан түзмөктөр > Bluetooth жана Bluetooth күйгүзүңүз.
- Контроллерде баскычты басып, кармап туруңуз Жупташтыруу баскычы until the indicator lights flash rapidly.
- Select the controller from the list of available devices on your Android device.
4. Операция
4.1 Basic Button Layout
The controller features standard gamepad buttons including A/B/X/Y, D-pad, Left/Right Joysticks, L/R, ZL/ZR, Home, Capture, Plus (+), Minus (-), and two programmable back paddle buttons (XL, XR).
4.2 Adjusting LED Lighting Modes
басыңыз Жарык баскычы (refer to controller diagram for location) to cycle through the 7 LED colors. To change lighting modes (breathing, quick flash, vibration lighting, always-on), consult the specific instructions provided with your controller or the manufacturer's website for the exact button combination.
4.3 Турбо функциясын колдонуу
The Turbo function allows for rapid, continuous input of a button press. To activate Turbo for a button:
- басып, кармап туруңуз Турбо баскычы.
- While holding Turbo, press the desired action button (e.g., A, B, X, Y, L, R, ZL, ZR).
- Release both buttons. The selected action button will now continuously input when held.
To deactivate Turbo for a button, repeat the process. To clear all Turbo settings, press and hold the Turbo button for 5 seconds.
4.4 Programming Back Paddle Buttons (XL, XR)
The XL and XR back paddle buttons can be assigned to replicate other button inputs or perform macro sequences. Refer to the specific programming instructions that came with your controller, as the method may vary. Typically, this involves a combination of holding a programming button (often labeled 'M' or 'MR') and pressing the desired input button(s).
4.5 Motion Control Functionality
The controller supports motion control for compatible games. Ensure the controller is paired correctly with your device. Calibration may be required within the game or system settings if motion controls are not responding accurately.
5. Техникалык тейлөө жана кам көрүү
5.1 Тазалоо
- Use a soft, dry cloth to wipe the controller's surface.
- өжөр кир үчүн, бир аз гampчүпүрөктү суу же жумшак, абразивдүү тазалагыч менен жууп салыңыз.
- Avoid using harsh chemicals, solvents, or abrasive materials, as these can damage the controller's finish.
- Суюктуктардын контроллердин тешиктерине киришине жол бербеңиз.
5.2 Сактоо
- Контроллерди түз күн нурунан жана экстремалдык температурадан алыс салкын, кургак жерде сактаңыз.
- If storing for an extended period, ensure the controller is fully charged before storage and recharge it periodically (e.g., every 3-6 months) to maintain battery health.
- Keep the controller away from dust and moisture.
6. Кыйынчылыктарды
6.1 Байланыш маселелери
- Контроллер туташпай жатат: Ensure the controller is charged. Try re-pairing the controller by following the setup instructions for your specific device.
- Үзгүлтүксүз туташуу: Move closer to the console/device. Ensure there are no strong interference sources (e.g., Wi-Fi routers, other Bluetooth devices) nearby.
- Контроллер таанылган жок: Restart your console/device and the controller, then attempt pairing again.
6.2 Контроллер жооп бербей жатат
- No input: Check battery level. If the battery is low, charge the controller.
- Баскычтар жооп бербейт: Perform a soft reset by pressing the small reset button (if available, often located in a pinhole on the back) with a thin object like a paperclip.
6.3 LEDs Not Working
- Контроллер күйгүзүлгөнүн текшериңиз.
- басыңыз Жарык баскычы to cycle through colors and modes.
- If still unresponsive, try resetting the controller.
6.4 Батарея заряддалбай жатат
- Verify the USB-C cable is securely connected to both the controller and the power source.
- Башка USB-C кабелин же кубат адаптерин колдонуп көрүңүз.
- Кубат булагынын активдүү экенин жана жетиштүү кубат берип жатканын текшериңиз.
6.5 Stick Drift
While Hall Effect joysticks are designed to prevent stick drift, if you experience any unintended input from the joysticks, try the following:
- Recalibrate the joysticks through your console's or device's system settings.
- Ensure the controller's firmware is up to date (check the FUNLAB webжаңыртуулар үчүн сайт).
7. Техникалык шарттар
| Өзгөчөлүк | Деталь |
|---|---|
| Модел | Grily Hall Effect Controller |
| Өлчөмдөр | 5.91 x 2.36 x 4.33 дюйм |
| Салмагы | 8.8 унция |
| Батарея | 1 Lithium Ion battery (included), 3.7V/950mAH |
| Батареянын иштөө мөөнөтү | Up to 12.5 hours (lights off) |
| Байланыш | Зымсыз (Bluetooth) |
| Шайкештик | Nintendo Switch (2/OLED/Lite), Windows PC, Steam Deck, iOS, Android |
| Өзгөчөлүктөр | Hall Effect Joysticks, Polychrome LED, Turbo Function, Programmable Back Buttons, Motion Control |
8. Колдоо маалыматы
For further assistance, product registration, or warranty information, please visit the official FUNLAB website or contact customer support through the retailer where the product was purchased.
Өндүрүүчү: FUNLAB
Биринчи жеткиликтүү болгон күнү: 4-ноябрь, 2023-жыл