
1. Киришүү
This manual provides essential information for the safe and effective operation, maintenance, and troubleshooting of your Total TWS10501 1050W Drywall Sander with LED Lights. Please read these instructions carefully before using the tool to ensure proper function and to prevent injury or damage. Keep this manual for future reference.
2. Продукт бүтүп калдыview
The Total TWS10501 is a powerful and efficient drywall sander designed for professional and DIY use. It features a 1050W motor, a 9-inch (225mm) sanding pad, and integrated LED lights for improved visibility. The built-in dust collection system helps maintain a clean work environment.
Негизги өзгөчөлүктөрү:
- Күчтүү мотор: 1050W for efficient material removal.
- Large Sanding Pad: 225mm diameter for covering large surfaces quickly.
- Интегралдык LED жарыктары: Illuminates the work area for precision and balanced finish.
- Чаңды чогултуу системасы: Minimizes airborne dust for a cleaner and safer workspace.
- Эргономикалык дизайн: Soft grip and lightweight for reduced fatigue during extended use.
- Жөнгө салынуучу ылдамдык: Variable no-load speed from 600-2300 RPM.
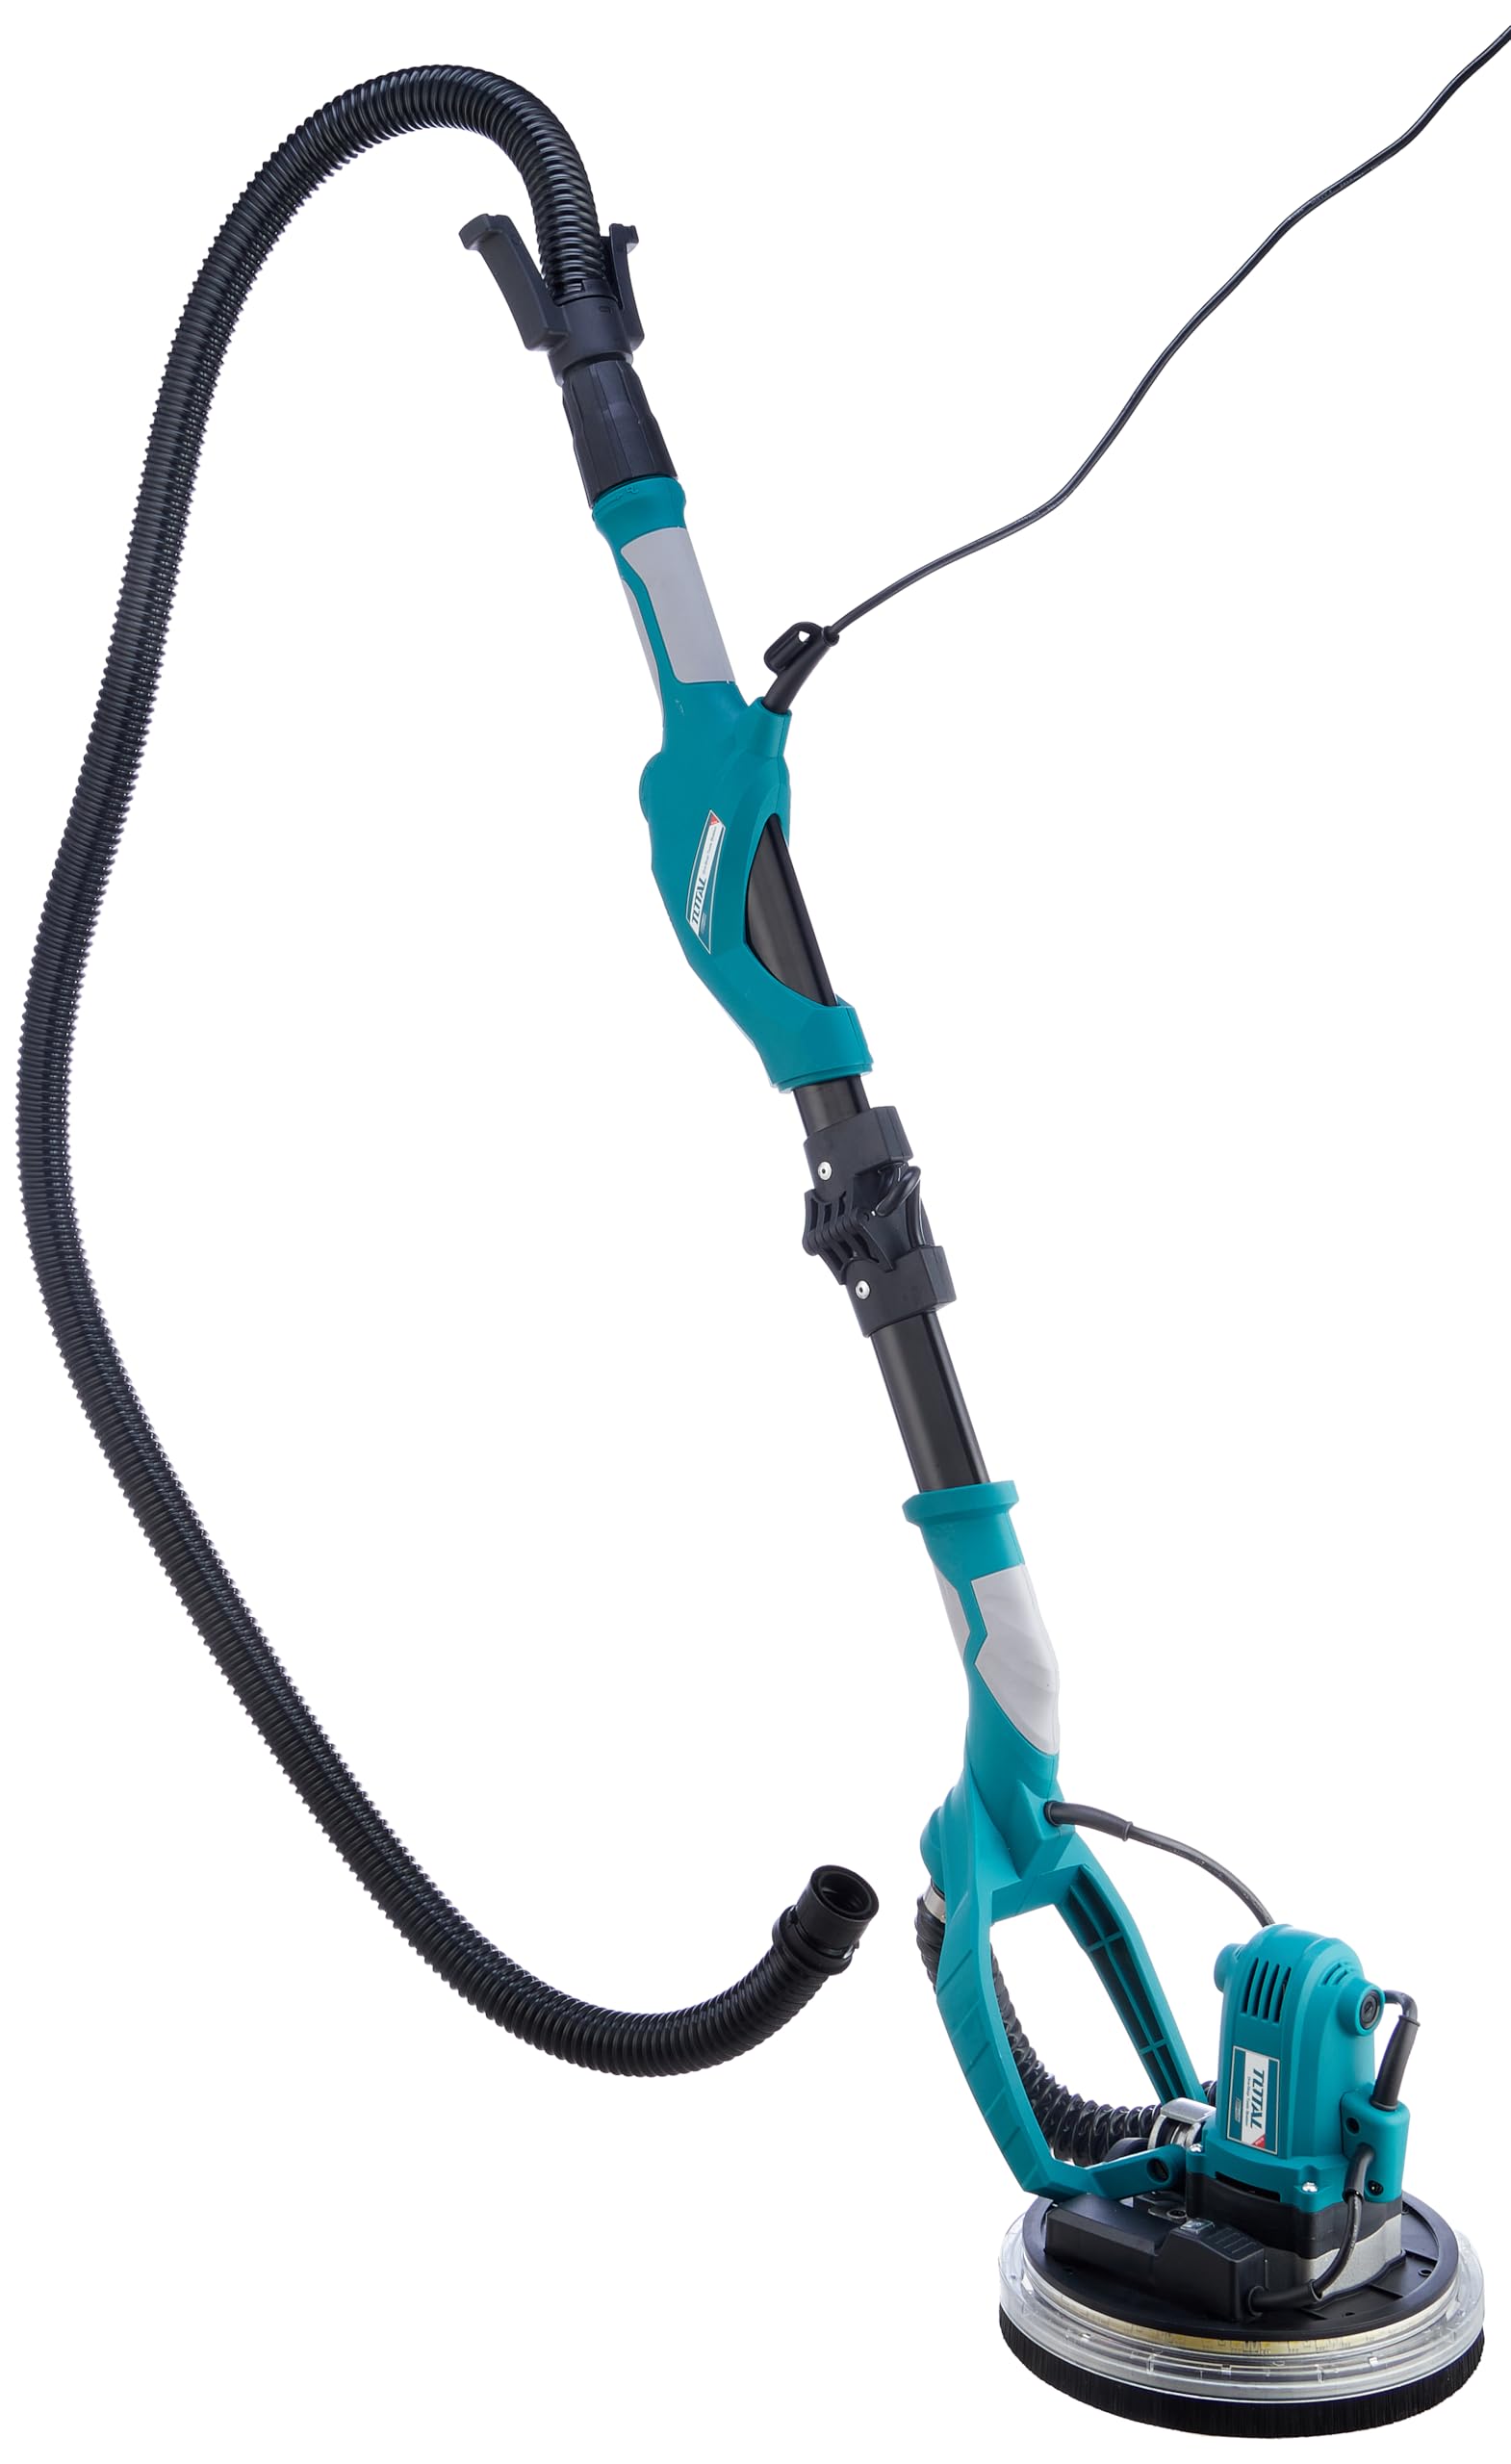
Figure 2.1: Total TWS10501 Drywall Sander with its flexible dust hose and extension bar.

Figure 2.2: Detail of the adjustable handle and locking mechanism on the Total TWS10501.

Figure 2.3: The sanding head of the TWS10501, showing the integrated LED work lights and brush skirt.
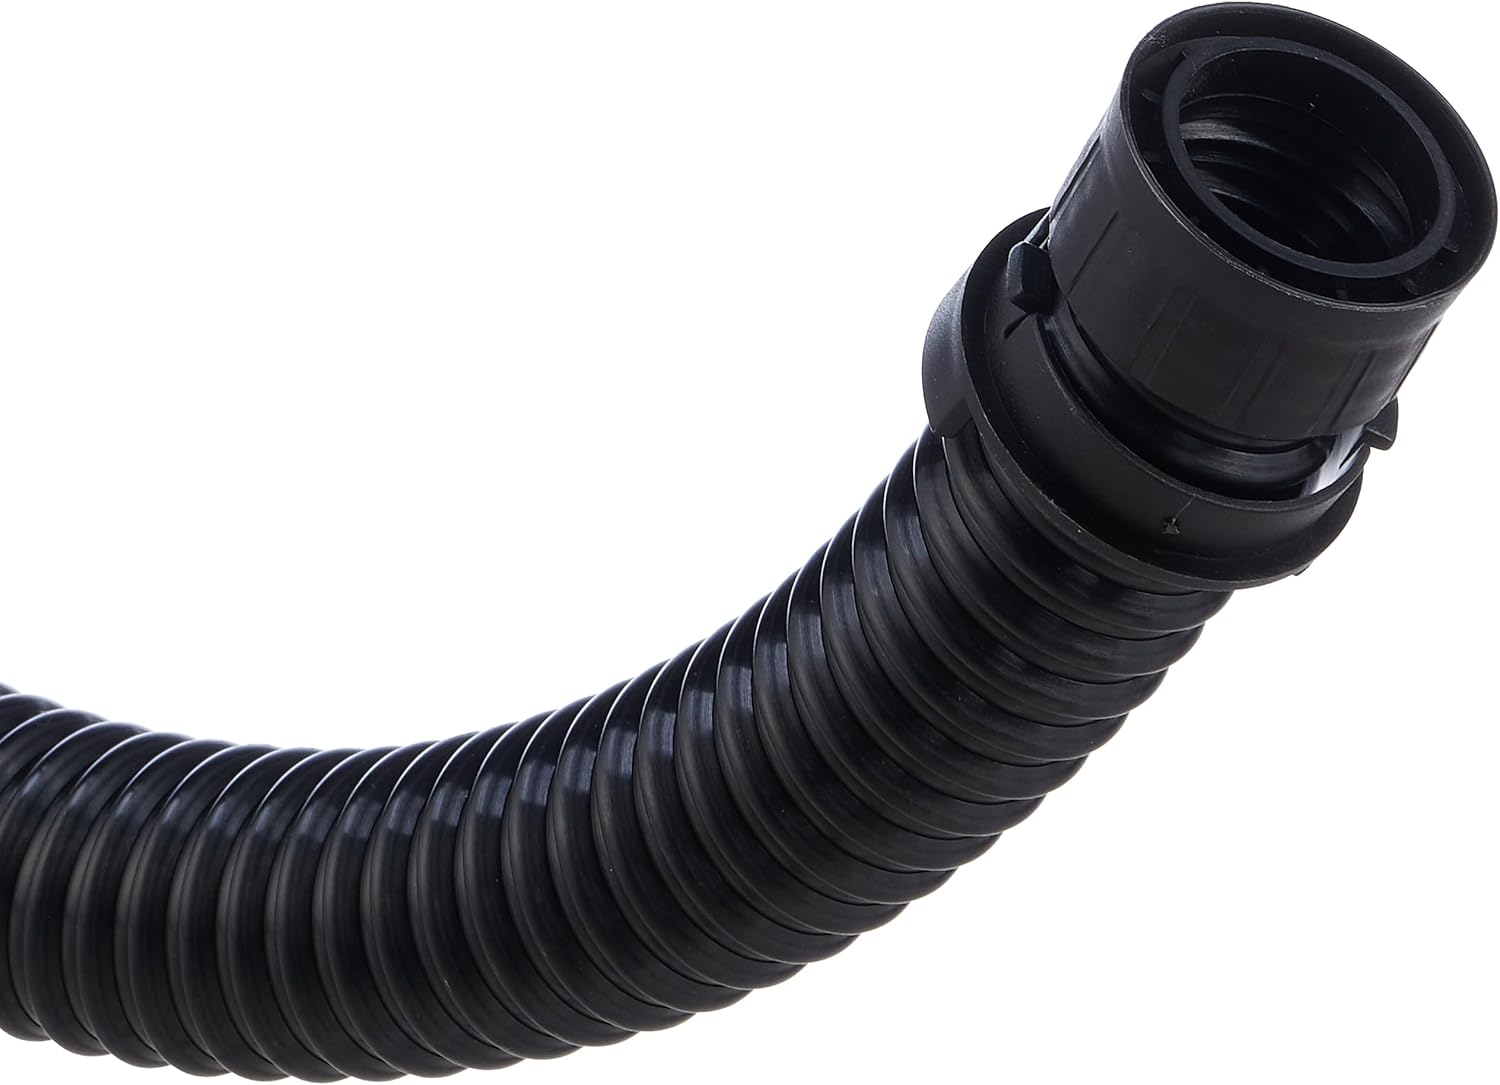
Figure 2.4: Connection point for the flexible dust hose on the Total TWS10501.
3. Коопсуздук нускамалары
Өрт, электр тогуна урунуу жана жеке жаракат алуу коркунучун азайтуу үчүн электр шаймандарын колдонууда ар дайым негизги коопсуздук чараларын сактаңыз.
Жалпы коопсуздук:
- Иш чөйрөсү: Иштеген жериңизди таза жана жарыктандырыңыз. Башаламан же караңгы жерлер кырсыкка чакырат.
- Электр коопсуздугу: Do not expose power tools to rain or wet conditions. Ensure the power cord is undamaged.
- Жеке коопсуздук: Always wear eye protection, a dust mask, and hearing protection. Dress properly; avoid loose clothing or jewelry.
- Куралды колдонуу жана кам көрүү: Куралды күч менен колдонбоңуз. Колдонууңузга туура келген куралды колдонуңуз. Кандайдыр бир жөндөөлөрдү жасоодон, аксессуарларды алмаштыруудан же электр шаймандарын сактоодон мурун сайгычты кубат булагынан сууруп алыңыз.
Specific Drywall Sander Safety:
- Dust Hazard: Drywall dust can be harmful if inhaled. Always use the dust collection system and wear a suitable dust mask. Ensure adequate ventilation in the work area.
- Коопсуз жумуш бөлүгү: Ensure the surface being sanded is stable and secure.
- Ашыкча чектен чыгуудан качыңыз: Ар дайым туура бутту жана тең салмактуулукту сактаңыз.
- Inspect Sanding Pad: Before each use, check the sanding pad for wear or damage. Replace if necessary.
4. Орнотуу
Follow these steps to prepare your drywall sander for use.
- Пакеттен чыгаруу: Carefully remove all components from the packaging. Verify that all included items are present: drywall sander, 6 pieces of sandpapers, two connection adapters, 4m flexible tube, one extension bar, one dust bag, and one set of extra carbon brushes.
- Assemble Extension Bar (if needed): If working on high walls or ceilings, attach the extension bar to the main body of the sander. Ensure it clicks securely into place.
- Attach Dust Hose: Connect one end of the 4m flexible tube to the dust port on the sander. Use the appropriate connection adapter if connecting to an external vacuum cleaner. Connect the other end of the flexible tube to the provided dust bag or an external dust extractor. Ensure all connections are tight to prevent dust leakage.
- Install Sandpaper: The sanding pad uses hook-and-loop (Velcro) fastening. Align the holes on the sandpaper with the holes on the sanding pad for optimal dust extraction. Press the sandpaper firmly onto the pad to secure it.
- Кубат туташуу: Ensure the power switch is in the 'OFF' position. Plug the power cord into a suitable 220-240V 50/60Hz power outlet.
5. Иштөө нускамалары
Proper operation ensures efficient sanding and extends the life of your tool.
- Күйгүзүү/өчүрүү: To start the sander, press the ON/OFF switch. To stop, press the switch again.
- Ылдамдыкты жөндөө: Use the variable speed dial to select the desired sanding speed (600-2300 RPM). Start with a lower speed for delicate work or initial passes, and increase as needed for faster material removal.
- LED жарыктарын иштетүү: The integrated LED work light can be switched on or off independently to illuminate the work surface, helping to identify imperfections and ensure an even finish.
- Тыюу техникасы:
- Сандерди эки колуңуз менен бекем кармаңыз.
- Place the sanding pad flat against the surface to be sanded.
- Apply light, even pressure. Let the tool do the work.
- Move the sander in smooth, overlapping circular or sweeping motions. Avoid holding the sander in one spot for too long to prevent gouging the surface.
- Regularly check the surface for desired smoothness.
- Чаңды чогултуу: Ensure the dust collection system (dust bag or external extractor) is properly connected and functioning throughout operation. Empty the dust bag regularly to maintain optimal suction.
- Бүтүрүү: Once sanding is complete, switch off the tool and unplug it from the power source.
6. Техникалык тейлөө
Regular maintenance ensures optimal performance and extends the lifespan of your drywall sander.
- Тазалоо: Ар бир колдонуудан кийин, куралды тазалагыч менен сүртүңүз, гamp cloth. Do not use harsh chemicals or solvents. Clear any dust buildup from ventilation openings.
- Sandpaper алмаштыруу: Replace worn or clogged sandpaper promptly. Worn sandpaper reduces efficiency and can damage the sanding pad.
- Dust Bag/Filter: Empty the dust bag frequently. If using an external dust extractor, clean or replace its filter as recommended by the manufacturer.
- Көмүртек щеткалары: The sander comes with a set of extra carbon brushes. Periodically inspect the carbon brushes for wear. When they are worn down to approximately 1/4 inch (6mm), they should be replaced. Refer to a qualified service technician for carbon brush replacement if you are unsure.
- Шнур текшерүү: Электр шнурунун бузулуу, кесилүү же сыйрылып кетүү белгилерин үзгүлтүксүз текшерип туруңуз. Эгерде бузулган болсо, аны квалификациялуу техникке алмаштыртыңыз.
- Сактагыч: Сандерди таза, кургак жерде, балдар жетпеген жерде сактаңыз.
7. Кыйынчылыктарды
This section addresses common issues you might encounter with your drywall sander.
| Көйгөй | Мүмкүн себеп | Чечим |
|---|---|---|
| Сандер баштабайт | No power supply; Damaged power cord; Faulty switch; Worn carbon brushes. | Check power outlet and connection; Inspect power cord for damage; Contact service for switch or carbon brush replacement. |
| Начар жылмалоо көрсөткүчү | Worn or incorrect sandpaper; Insufficient pressure; Low speed setting. | Replace sandpaper; Apply light, even pressure; Increase speed setting. |
| Ашыкча чаң | Dust hose not connected properly; Dust bag full; Sandpaper holes not aligned; Damaged dust skirt. | Ensure dust hose is securely attached; Empty dust bag; Align sandpaper holes; Inspect and replace dust skirt if damaged. |
| Сандер ашыкча дирилдейт | Damaged sanding pad; Unbalanced sandpaper; Loose components. | Replace sanding pad; Ensure sandpaper is centered and flat; Check for loose screws or parts. |
If you encounter problems not listed here or if solutions do not resolve the issue, please contact Total customer support or a qualified service center.
8. Техникалык шарттар
| Спецификация | Нарк |
|---|---|
| Өндүрүүчү | Бардыгы |
| Элемент моделинин номери | TWS10501 |
| Бөлүмдүн номери | 202211006847 |
| Тtage | 220-240V |
| Жыштык | 50/60 Гц |
| Ватtage (Input Power) | 1050 Вт |
| Жүк жок ылдамдык | 600-2300 RPM |
| Grinding Pad Diameter | 215 мм |
| Sandpaper диаметри | 225 мм |
| Түтүк диаметри | 32 мм |
| Dust Hose Diameter | 38 мм |
| Элемент Салмагы | 7.3 килограмм |
| Продукциянын өлчөмдөрү | 68.59 x 31.2 x 30 см |
| Кубат булагынын түрү | AC/DC (шнурдуу электр) |
| Камтылган компоненттер | 1 x Drywall Sander TWS10501, 6 x Sandpapers, 2 x Connection Adapters, 1 x 4m Flexible Tube, 1 x Extension Bar, 1 x Dust Bag, 1 x Set of Extra Carbon Brushes |
| Батареялар керекпи? | Жок |
| Түс | Көп түстүү |
9. Кепилдик жана колдоо
For warranty information, please refer to the warranty card included with your product or contact Total customer service. Keep your purchase receipt as proof of purchase.
Кардарларды колдоо:
If you have any questions, require technical assistance, or need to order replacement parts, please contact Total customer support through their official webсайт же продукт таңгагында көрсөтүлгөн байланыш маалыматы.