
1. Киришүү
Thank you for choosing the Proventa Universal Dimmer Switch. This dimmer is designed for dimmable LED and halogen lamps, offering automatic phase cut-off and phase control selection. It features a sleek white gloss design cover and is suitable for replacing standard light switches in alternating circuits. Please read this manual carefully before installation and use to ensure safe and optimal performance.
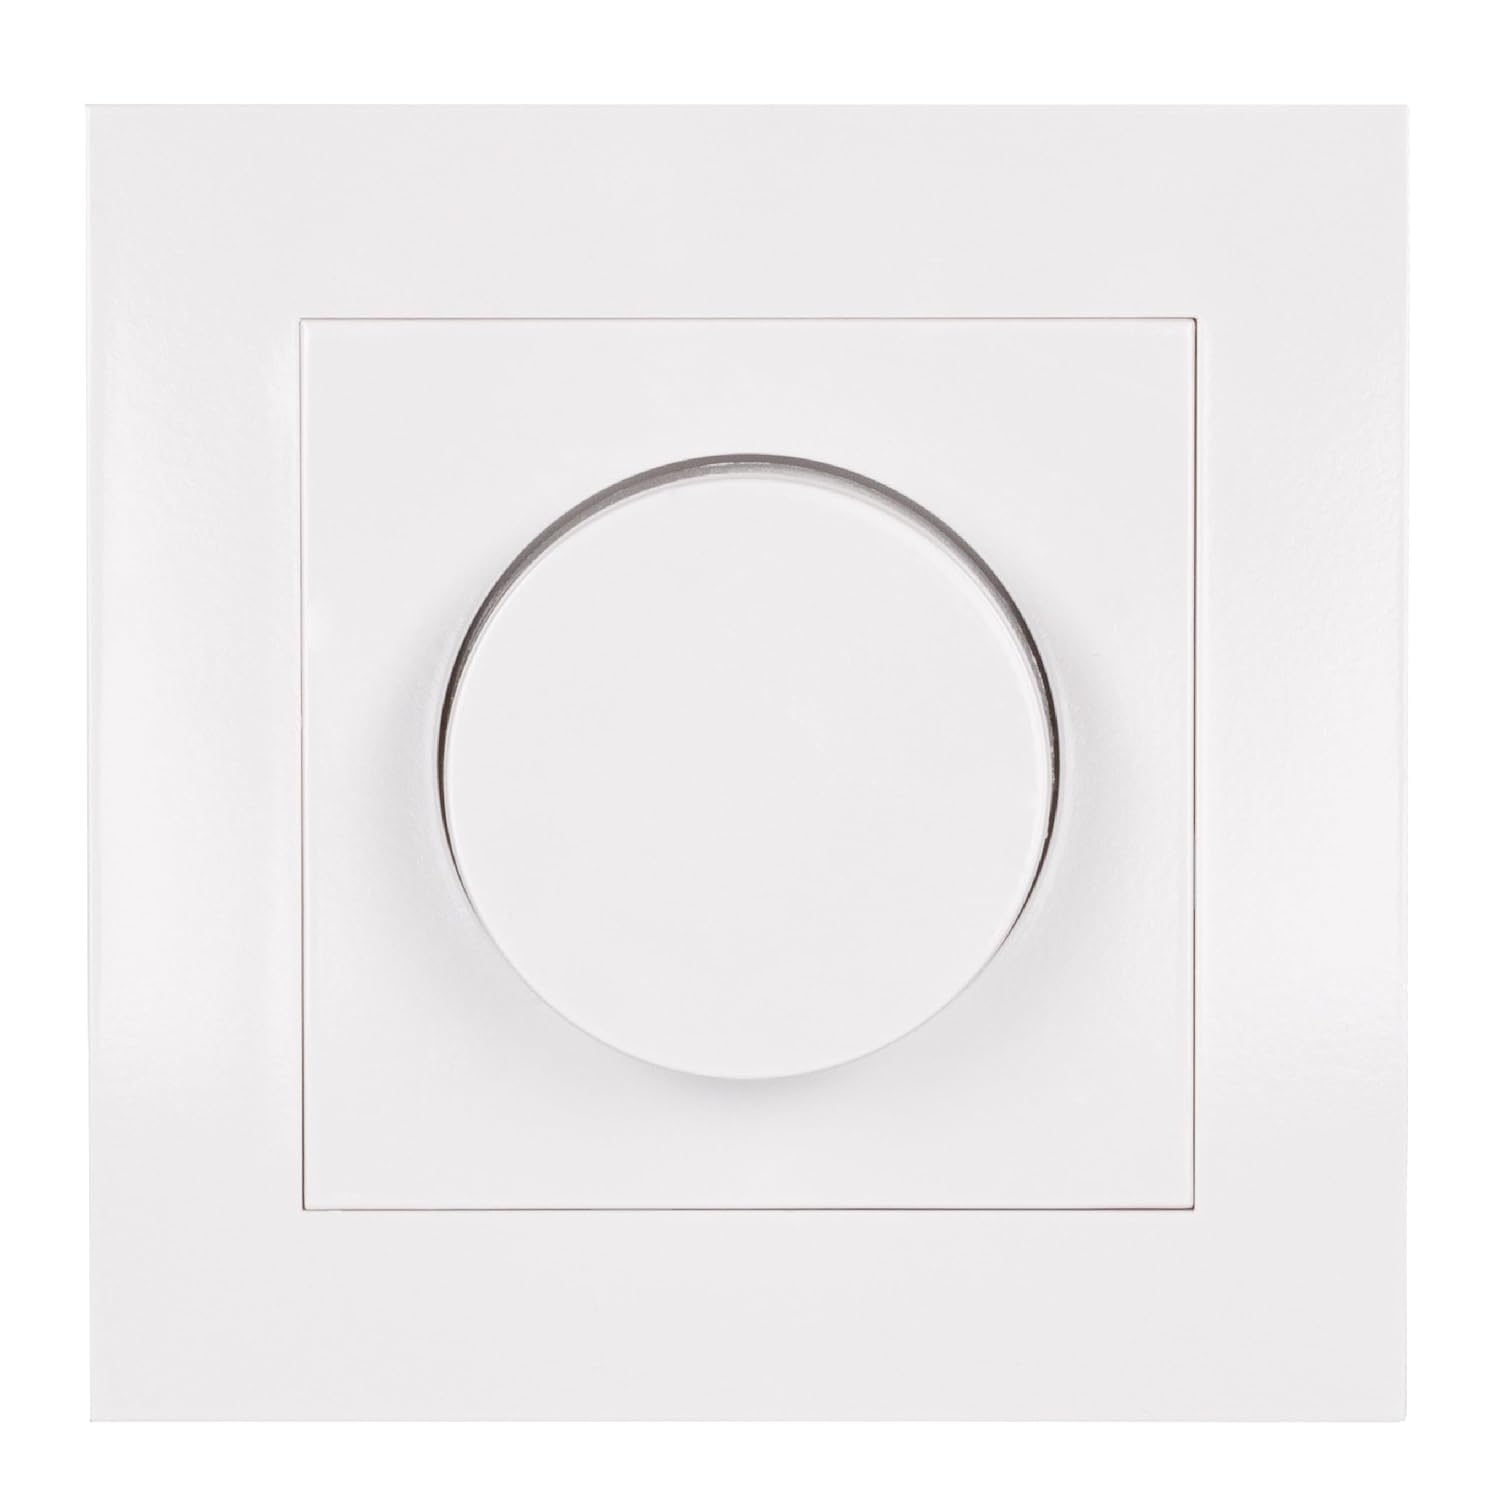
Сүрөт 1: Алдыңкы view of the Proventa Universal Dimmer Switch with white gloss cover.
2. Коопсуздук маалыматы
ЭСКЕРТҮҮ: Электр орнотууну квалификациялуу электрик гана жүргүзүшү керек. Туура эмес орнотуу электр шокуна, өрткө же аппараттын бузулушуна алып келиши мүмкүн.
- Always disconnect the main power supply before attempting any electrical work.
- Ensure the dimmer is compatible with your lighting fixtures. This dimmer is suitable only for күңүртөлүүчү LED lamps (3-225W) жана галоген лamps (3-250W).
- Do not exceed the maximum load capacity of 250W for halogen or 225W for LED.
- The device is designed for indoor use only (IP20 rating).
- This dimmer includes short-circuit protection and thermal shutdown for safety.
- Операциялык томtage: 220-240V, 50/60Hz.
3. Пакеттин мазмуну
Пакетте бардык компоненттер бар экенин текшериңиз:
- Universal Dimmer модулу
- Dimmer Cover (white gloss)
- Frame
- Mounting accessories (nut, ring, plate, adapter)

Figure 2: Included mounting accessories for the dimmer switch.
4. Техникалык шарттар
| Өзгөчөлүк | Нарк |
|---|---|
| Модель номери | 4251263227383 |
| Өлчөмдөрү (L x W x Y) | 46 x 84 x 84 мм |
| Салмагы | 140 грамм |
| Operating Voltage | 220-240 Вольт |
| Жыштык | 50/60 Гц |
| Максималдуу учурдагы рейтинг | 1080 мА |
| Кубат (LED) | 3-225 Watts (Min-Max) |
| Power (Halogen) | 3-250 Watts (Min-Max) |
| Материал | Aluminium, Polycarbonate |
| Которуу түрү | Ротари |
| Монтаж түрү | Чачка орнотулган куту |
| IP рейтинги | IP20 |
| Шайкештик | IEC 60669-2-1:2002, CE |
| Иштөө температурасы | 40°Сге чейин |

Figure 3: Dimensions of the Proventa Universal Dimmer Switch.
5. Орнотуу жана орнотуу
This dimmer is designed for flush-mounted installation and can replace a standard light switch. It uses a 2-wire connection, meaning no neutral conductor is required. Suitable for alternating circuits.
5.1 Орнотуудан мурун
- Кубатты өчүрүү: Turn off the main power supply at the circuit breaker before starting any installation.
- Шайкештикти текшерүү: Сиздин l камсыз кылууamps are dimmable LED or halogen and do not exceed the specified wattage.
- Зымдарды даярдоо: Identify the live (L) and switched live (L1 or L2) wires from your existing switch.
5.2 Электр өткөргүч схемасы

4-сүрөт: Арткы view of the dimmer module showing wiring terminals.

Figure 5: Close-up of the wiring terminals (B, L1, L2).
- Connect the incoming live wire (from the power supply) to the terminal marked "B".
- Connect the switched live wire (to the lamp) to the terminal marked "L1" or "L2". For a single circuit, either L1 or L2 can be used.
- The dimmer automatically detects phase cut-off (trailing edge) or phase control (leading edge) mode.
5.3 Mounting the Dimmer
- After wiring, carefully place the dimmer module into the flush-mounted box.
- Secure the module using the provided screws or clamps.
- Attach the frame and then the dimmer cover with the rotary knob. Ensure the knob is properly seated.
- The installation depth is only 24mm.
5.4 Minimum Brightness Adjustment
The dimmer features an adjustable minimum brightness setting. This can be adjusted via a small screw on the dimmer module (refer to Figure 4, labeled "Min."). Adjust this screw to prevent flickering or ensure stable dimming at low light levels for your specific lamps.
6. Иштөө нускамалары
Once installed and power is restored, the Proventa dimmer switch is ready for use.
- Күйгүзүү/өчүрүү: Press the rotary knob to switch the lights on or off.
- алсыздатуу: Жарыктыкты жогорулатуу үчүн баскычты саат жебеси боюнча, ал эми жарыктыкты азайтуу үчүн саат жебесине каршы буруңуз.
- Жумшак баштоо функциясы: The dimmer incorporates a soft start function (light delay of less than 2 seconds) to extend the lifespan of both the dimmer and the LED lamps.
7. Техникалык тейлөө
The Proventa dimmer switch requires minimal maintenance.
- Тазалоо: To clean the surface, wipe with a soft, dry cloth. Do not use abrasive cleaners, solvents, or excessive moisture.
- Электр энергиясын өчүрүү: Тазалоодон же кандайдыр бир техникалык тейлөө иштерин жүргүзүүдөн мурун ар дайым электр кубатынан ажыратыңыз.
- Колдонуучу тейлей турган бөлүктөр жок: There are no user-serviceable parts inside the dimmer module. Do not attempt to open or repair the device.
8. Кыйынчылыктарды
Эгерде сизде диммериңизде көйгөйлөр пайда болсо, төмөнкү жалпы көйгөйлөрдү жана чечимдерди караңыз:
| Көйгөй | Мүмкүн себеп | Чечим |
|---|---|---|
| Жарыктар күйбөйт. | No power supply; incorrect wiring; faulty lamp. | Check circuit breaker. Verify wiring connections (refer to Section 5.2). Test with a known working lamp. |
| Жарыктар жымыңдайт же ызы-чуулайт. | Lamps are not dimmable; minimum brightness setting too low; incompatible lamp түрү. | камсыз кылуу лamps are explicitly marked as dimmable. Adjust the minimum brightness screw (Section 5.4). Replace with compatible dimmable lamps. |
| Dimmer does not respond. | Overload protection activated; short circuit; internal fault. | Disconnect power, check for short circuits. Reduce total wattage if overloaded. If problem persists, contact support. |
| Dimming range is poor. | Minimum brightness not optimized. | Adjust the minimum brightness screw (Section 5.4) to fine-tune the dimming range. |
If the problem persists after attempting these solutions, please contact Proventa customer support.
9. Кардарларды колдоо жана кепилдик
For technical assistance, warranty claims, or further information, please contact Proventa customer support through your retailer or visit the official Proventa webсайт.
Өндүрүүчү: proventa
Өндүрүүчү бөлүгүнүн номери: 190014PVT
Сураныч, кепилдик максаттары үчүн сатып алганыңыздын далилин сактап коюңуз.