
1. Киришүү
Thank you for choosing the LEDLUX 72-inch Ceiling Fan with Light. This manual provides essential information for the safe installation, operation, and maintenance of your new ceiling fan. Please read these instructions thoroughly before beginning installation and retain them for future reference.
Маанилүү коопсуздук маалыматы
- Орнотуудан же тейлөөдөн мурун ар дайым негизги автоматтык өчүргүчтөн электр кубатын өчүрүңүз.
- All electrical wiring must be in accordance with national and local electrical codes. If you are unfamiliar with wiring, consult a qualified electrician.
- Ensure the installation site can support the fan's weight (approximately 15-20 kg).
- Орнотуу же тазалоо учурунда бычак кармагычтарды ийбеңиз.
- Иштеп жатканда балдарды желдеткичтен алыс кармаңыз.
2. Пакеттин мазмуну
Орнотууну баштоодон мурун бардык компоненттер бар экендигин текшериңиз:
- Мотор корпусунун монтажы
- Вентилятор бычактары (9 даана)
- Downrods (4.5", 12", 24" options)
- Чатыр
- Кронштейн орнотуу
- LED Жарыктар Топтому
- Remote Control with Receiver
- Аппараттык пакет (буроолор, шайбалар, зым гайкалар)
- Instruction Manual

Image: All components of the LEDLUX 72-inch ceiling fan laid out on a white surface.
3. Техникалык шарттар
| Бренд | LEDLUX |
| Модел | 72-inch Ceiling Fan with Light |
| Түс | Кара |
| Өлчөмү | 72 дюйм |
| Blades саны | 9 |
| Бычактын материалы | Пластик |
| Мотор түрү | Туруктуу токтун мотору (кайтарылуучу) |
| Ылдамдыктын саны | 6 |
| Controller Type | Алыстан башкаруу |
| Ватtage | 65 ватт |
| Ызы-чуу деңгээли | 45 децибел |
| Ички/тышкы колдонуу | Indoor |
| Төмөнкү жол параметрлери | 4.5", 12", 24" |

Image: Diagram showing the dimensions of the 72-inch ceiling fan and available downrod lengths.
4. Орнотуу боюнча колдонмо
Follow these steps for proper installation. It is recommended to have a qualified electrician perform the installation.
4.1 Assemble the Fan Blades
- Attach each fan blade to the motor housing using the provided screws. Ensure they are securely fastened.

Image: Close-up of a hand using a drill to attach a fan blade to the motor housing.
4.2 Prepare the Downrod
- Select the appropriate downrod length for your ceiling height.
- Feed the fan wires through the downrod.
- Secure the downrod to the motor housing using the provided pin and screws.
4.3 Кабылдагычты туташтыруу
- Connect the receiver wires to the corresponding fan wires and household wiring using wire nuts. Ensure all connections are secure.
- Carefully tuck the wired receiver into the mounting bracket.
Video: This video demonstrates the step-by-step installation process for the LEDLUX ceiling fan with light, including blade assembly, downrod attachment, and electrical wiring connections.
4.4 Mount the Fan
- Монтаждык кронштейнди шыптын бириктиргич кутусуна бекитиңиз.
- Желдетүүчү түзүлүштү монтаждык кронштейнге илип коюңуз.
- Secure the canopy to the mounting bracket with screws.

Image: Diagrams illustrating installation on flat, sloped, and high ceilings.
4.5 Install the Light Kit
- Connect the light kit wires to the fan's light wires.
- Attach the LED light panel to the fan motor housing.
- Secure the light cover.
5. Иштөө нускамалары
Your LEDLUX ceiling fan is controlled by the included remote control. Ensure the remote has fresh batteries installed.
5.1 Алыстан башкаруу функциялары
- Желдеткичти күйгүзүү/өчүрүү: Желдеткичти күйгүзүү же өчүрүү үчүн желдеткичтин сүрөтчөсүн басыңыз.
- желдеткич ылдамдыгы: Use the '1' through '6' buttons to adjust the fan speed. '1' is the lowest speed, '6' is the highest.
- Жарык күйгүзүү/өчүрүү: Жарыкты күйгүзүү же өчүрүү үчүн лампочканын сүрөтчөсүнүн баскычын басыңыз.
- Түс температурасы: Press the 'CCT' button to cycle through 3 color temperatures: 3000K (Warm White), 4500K (Natural White), and 6000K (Cool White).
- Таймер функциясы: Set the fan to turn off automatically after 1H, 2H, 4H, or 8H using the respective timer buttons.
- Reversible мотор: Press the 'F/R' button to change the direction of the fan blades.

Image: Remote control with labeled functions for fan speed, light, timer, and reverse.
5.2 Reversible DC Motor
The DC motor allows for reversible blade rotation, providing comfort in different seasons:
- Жайкы режим (сааттын жебесине каршы): Муздатуу эффектин жаратып, ылдый карай аба агымын жаратат.
- Кышкы режим (сааттын жебеси боюнча): Шыптын жанында кармалып калган жылуу абаны айландырып, өйдө карай аба агымын түзөт.
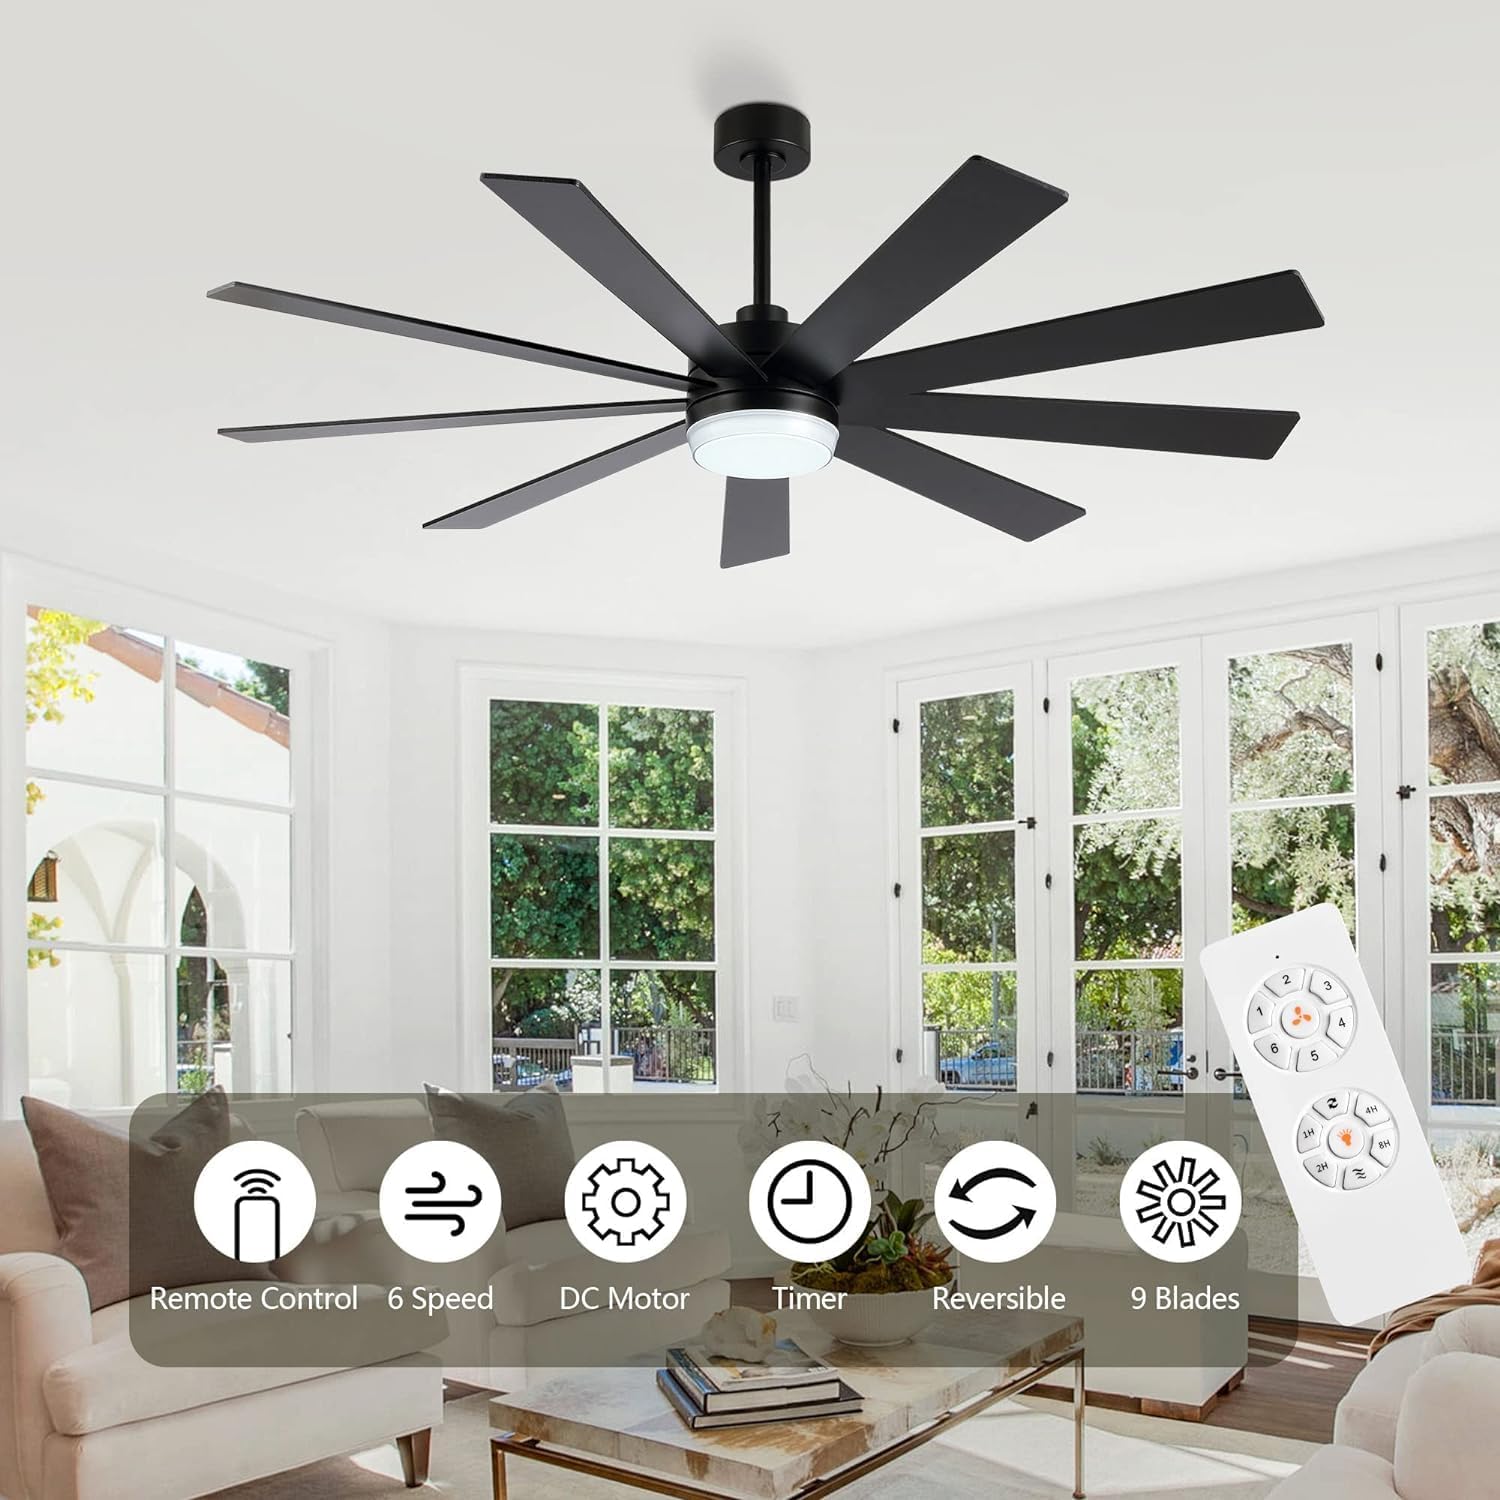
Image: Fan blade direction for summer (cooling) and winter (air circulation) modes.
5.3 Light Color Temperature
The integrated LED light offers three color temperature options to suit your preference:
- 3000K: Warm White, ideal for a cozy atmosphere.
- 4500K: Natural White, suitable for general illumination.
- 6000K: Cool White, bright and invigorating.
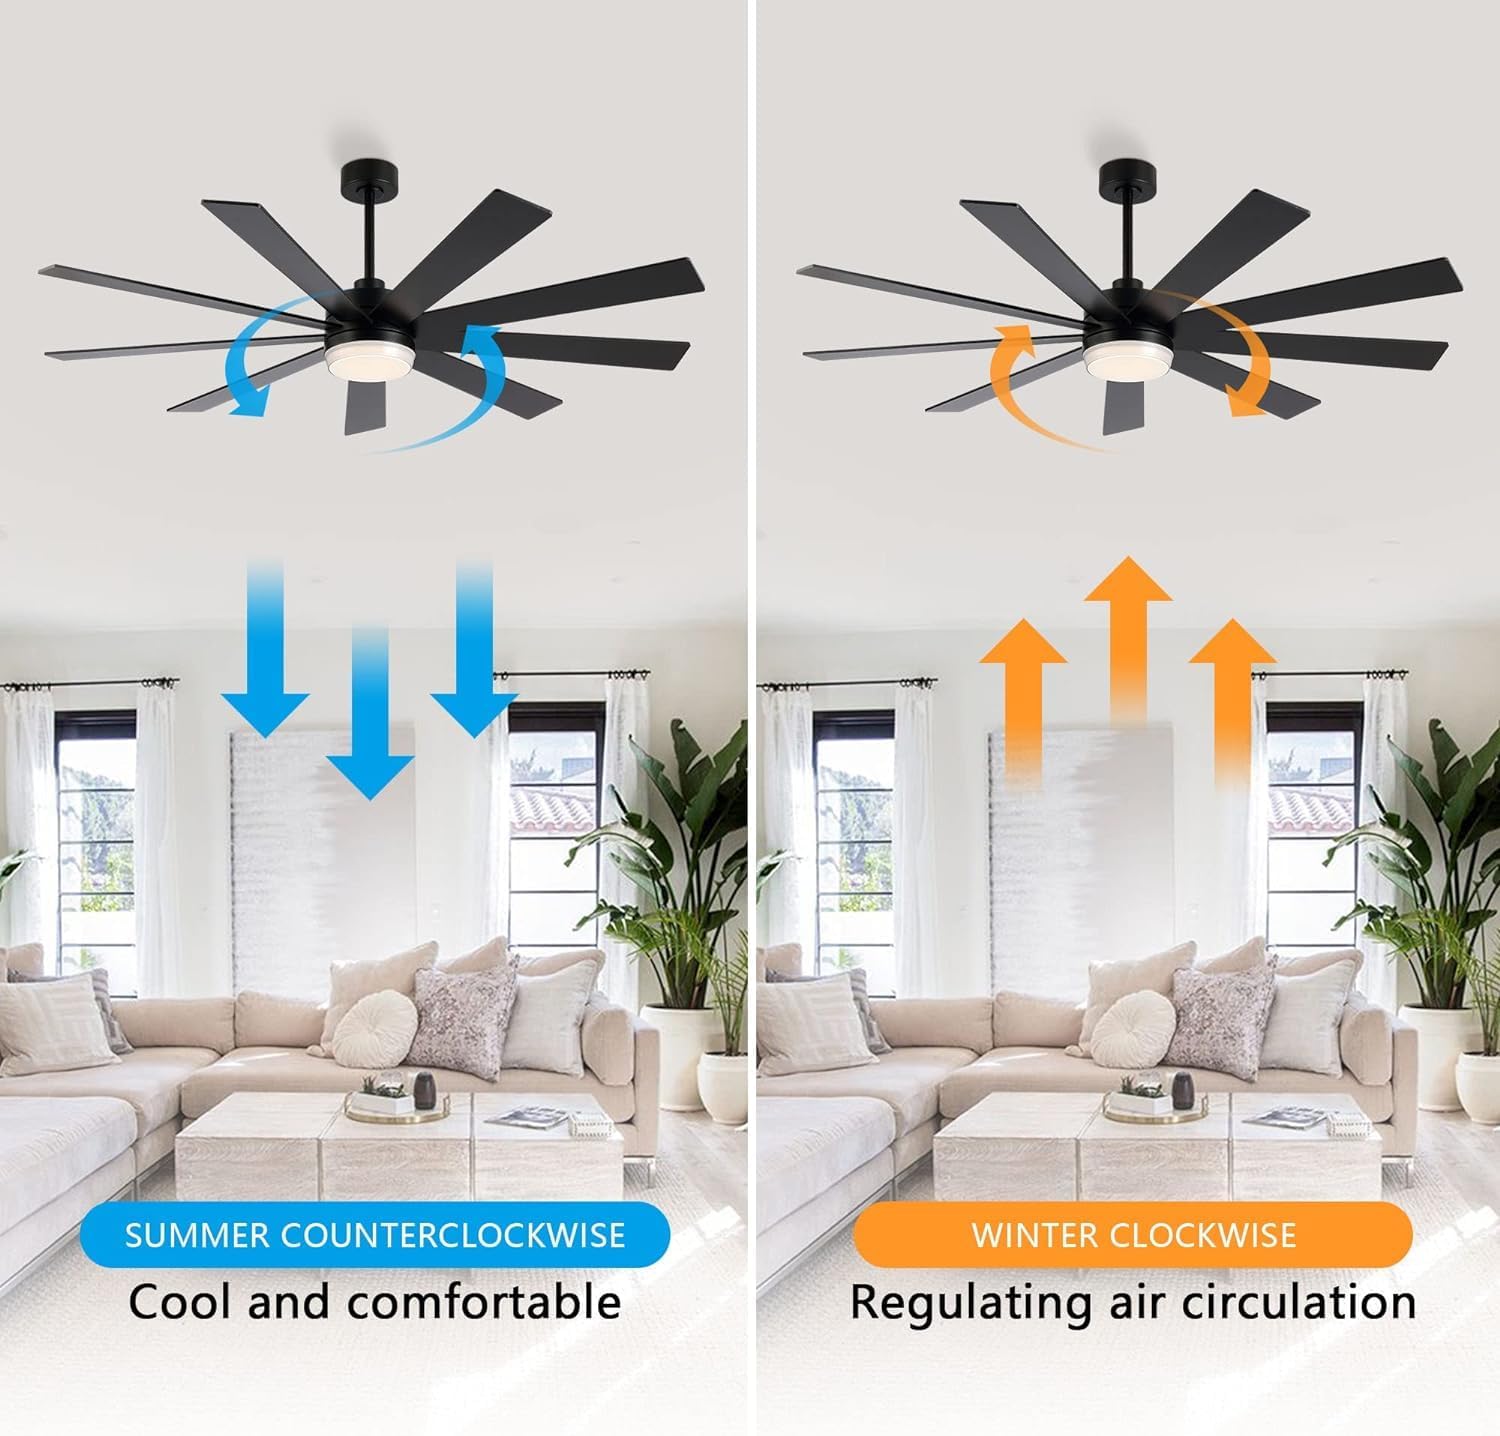
Image: Ceiling fan light demonstrating 3000K, 4500K, and 6000K color temperatures.
6. Техникалык тейлөө
Үзгүлтүксүз тейлөө сиздин шыптын желдеткичиңиздин оптималдуу иштешин жана узак иштөөсүн камсыз кылат.
6.1 Тазалоо
- Тазалоодон мурун ар дайым негизги автоматтык өчүргүчтөгү желдеткичтин кубатын өчүрүңүз.
- жумшак колдонуу, damp Желдеткичтин калактарын жана мотордун корпусун тазалоо үчүн чүпүрөк колдонуңуз. Абразивдүү тазалоочу каражаттарды же эриткичтерди колдонбоңуз.
- Periodically check all screws for tightness. Re-tighten as necessary.
6.2 Бычактарды тең салмактоо
If the fan wobbles, ensure all blade screws are tight. If wobbling persists, a blade balancing kit (not included) may be used to correct the issue.
7. Кыйынчылыктарды
Before attempting any repairs, ensure the power is disconnected at the circuit breaker.
| Көйгөй | Мүмкүн себеп | Чечим |
|---|---|---|
| Күйөрман иштебейт | желдеткичке кубат жок; Бошоң зым байланыштары; Алыстан башкаруунун батареясы аз. | өчүргүчтү текшерүү; Бардык зым байланыштары коопсуз экендигин текшериңиз; Алыстан башкаруунун батареясын алмаштырыңыз. |
| Жарык иштебейт | Loose wire connection to light kit; Faulty LED light kit. | Check light kit wiring; Contact customer support for replacement if faulty. |
| Күйөрман солкулдайт | бош бурамалар; Туура эмес балансталган бычактар; Бошоң монтаждык кронштейн. | Бардык бычак бурамаларын тартыңыз; Бычакты тең салмактоочу комплектти колдонуңуз; Монтаждоо кронштейнинин шыпка бекем бекитилишин текшериңиз. |
| Ызы-чуу операция | Loose screws; Motor housing rubbing against canopy; Incorrect installation. | Check and tighten all screws; Ensure proper clearance between motor housing and canopy; Re-check installation steps. |
8. Кепилдик жана колдоо
LEDLUX stands behind the quality of its products.
8.1 Кепилдик маалыматы
- 10-Year Motor Warranty: The DC motor is covered by a 10-year free replacement warranty.
- 3 жылдык толук кепилдик: All other parts of the ceiling fan are covered by a 3-year warranty.
Image: LEDLUX Warranty details: 3-Year Full Warranty and 10-Year Motor Warranty.
8.2 Кардарларды колдоо
For any installation, pre-sales, or after-sales questions, please contact our professional service team via Amazon mail. We are committed to resolving your issues within 24 hours.


