
1. Киришүү
The Overmax Multipic 6.1 is a Full HD 1080p LED projector designed for a versatile viewing experience. It features advanced functionalities such as autofocus, automatic keystone correction, Wi-Fi 6, and Bluetooth 5.0 connectivity. This manual provides essential information for setting up, operating, and maintaining your projector to ensure optimal performance and longevity.

1.1-сүрөт: Алдыңкы оң жак view of the Overmax Multipic 6.1 projector, showcasing the lens and ventilation.
2. Пакеттин мазмуну
Төмөндө тизмеленген нерселердин баары пакетиңизге камтылганын текшериңиз. Эгерде кандайдыр бир нерселер жок болсо же бузулса, кардарларды колдоо менен байланышыңыз.
- Overmax Multipic 6.1 Projector
- Алыстан башкаруу
- Электр кабели
- HDMI кабели

Image 2.1: Included HDMI and power cables.

Image 2.2: The remote control for the Overmax Multipic 6.1 projector.
3. Продукт бүтүп калдыview
3.1 Проектордун компоненттери
Проектордун негизги компоненттери менен таанышып алыңыз.
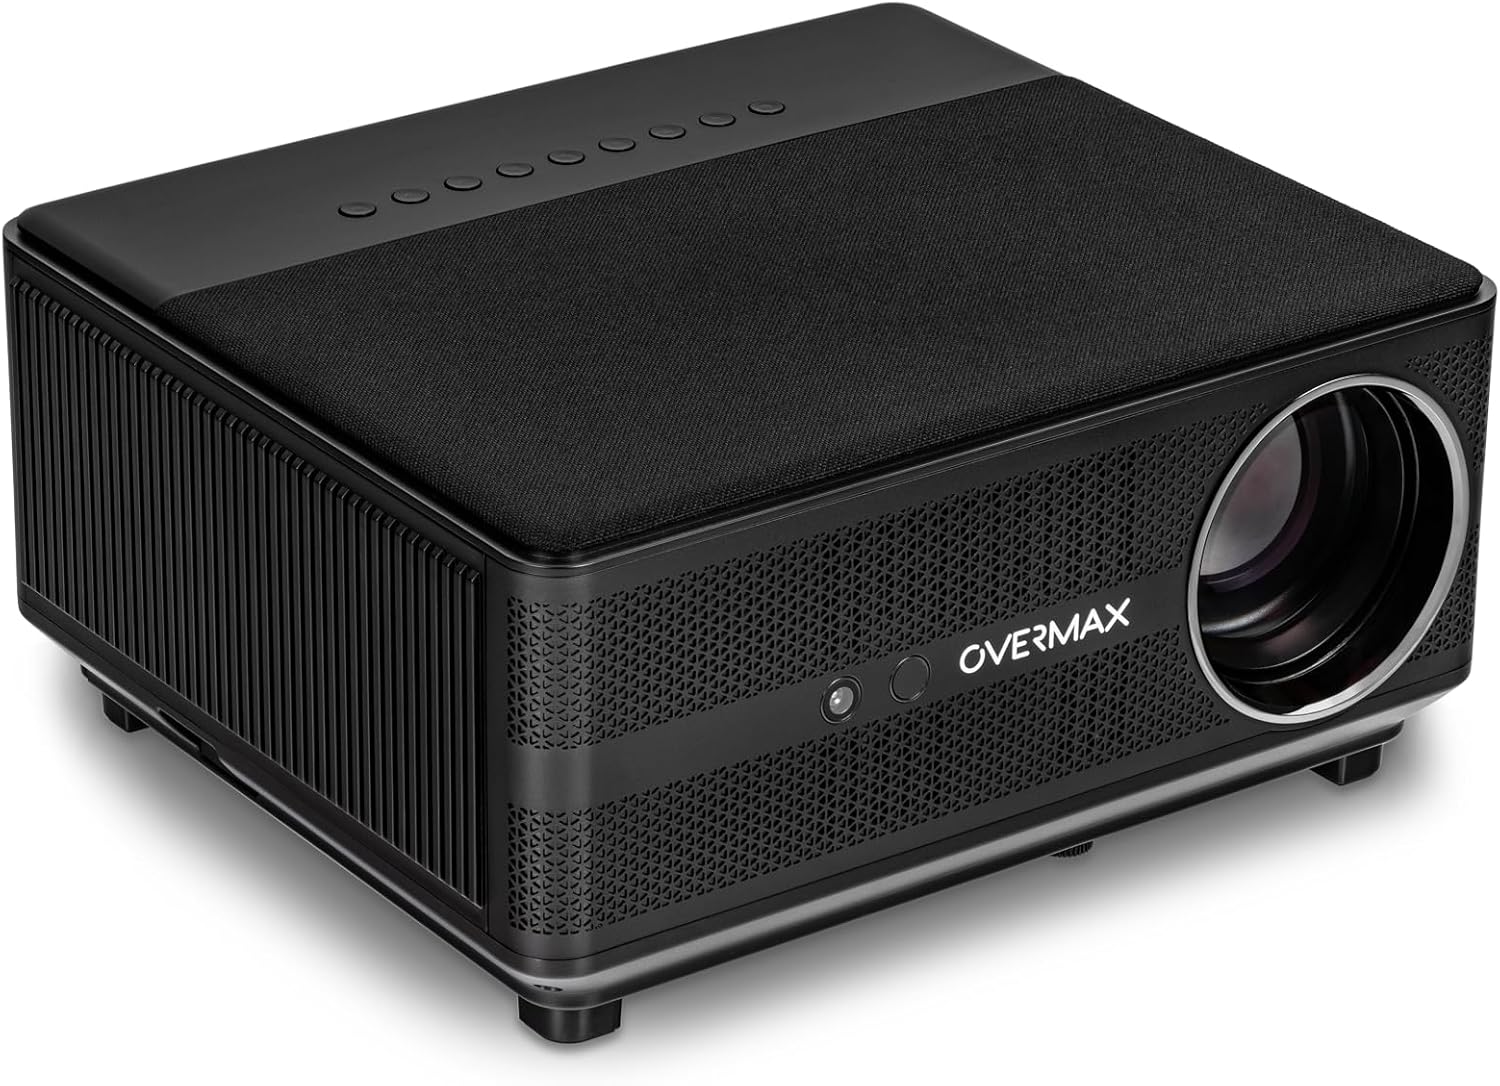
Image 3.1: Top-front-right view of the projector, showing the lens and top panel.

Сүрөт 3.2: Жогорку view of the projector, highlighting the integrated control buttons.
3.2 Киргизүү/чыгыш порттору
The projector features various ports for connecting external devices.

Сүрөт 3.3: Арткы view of the projector, displaying the AV, USB, HDMI 1, HDMI 2, and RJ45 ports.

Сүрөт 3.4: Жакыныраак view of the input/output panel, detailing each port.
4. Орнотуу
4.1 Орнотуу
Place the projector on a stable, flat surface. Ensure there is adequate ventilation around the unit to prevent overheating. The projector can project an image size from 40 to 150 inches, allowing flexibility in placement based on your desired screen size.

Image 4.1: Projector with its adjustable front foot, useful for minor angle adjustments.
4.2 Кубат туташтыруу
- Электр кабелин проектордун кубат киргизүү портуна туташтырыңыз.
- Электр кабелинин экинчи учун ылайыктуу электр розеткасына сайыңыз.
4.3 Баштапкы күйгүзүү
Түзмөктү күйгүзүү үчүн проектордогу же пульттагы күйгүзүү баскычын басыңыз. Проектор ишке киргизүү ыраатын баштайт.
4.4 Фокусту жана Keystone жөндөөсүн
The Multipic 6.1 features automatic focus and AUTO KEYSTONE (horizontal and vertical four-point automatic correction). This eliminates the need for manual adjustments, ensuring a clear and perfectly centered image automatically upon startup or repositioning.
4.5 Тармакка туташуу (Wi-Fi)
To access online applications and streaming services, connect your projector to a Wi-Fi network:
- Navigate to the 'Settings' menu on the projector.
- "Тармак жана Интернет" бөлүмүн тандаңыз.
- Wi-Fi күйгүзүңүз жана тизмеден каалаган тармакты тандаңыз.
- Суралган болсо, сырсөздү киргизип, туташыңыз.
4.6 Bluetooth байланышы
Connect Bluetooth devices such as speakers, keyboards, or mice:
- Go to 'Settings' and select 'Connected Devices' or 'Bluetooth'.
- Bluetooth иштетүү.
- Түзмөгүңүздү жупташтыруу үчүн жеткиликтүү түзмөктөрдүн тизмесинен тандаңыз.
5. Иштөө
5.1 Алыстан башкаруу менен негизги иштөө
The included remote control allows full navigation and control of the projector's functions, including voice commands.
- Кубат баскычы: Проекторду күйгүзөт/өчүрөт.
- Чабыттоо баскычтары: Use the arrow keys to move through menus and the 'OK' button to confirm selections.
- Үндү көзөмөлдөө: Adjust the audio output.
- Булак баскычы: Select input sources (HDMI, USB, AV).
- Үн менен башкаруу баскычы: Activate voice commands for easier navigation and content search.
5.2 Тышкы түзмөктөрдү туташтыруу
The projector supports various external devices:
- HDMI: Connect laptops, gaming consoles, Blu-ray players, etc., using an HDMI cable. Select the corresponding HDMI input (HDMI 1 or HDMI 2) from the source menu.
- USB: Медиа ойнотуу үчүн USB дисктерин сайыңыз fileтүздөн-түз с.
- OF: Эски түзмөктөрдү AV кабели аркылуу туташтырыңыз.
- RJ45: Зымдуу интернет байланышы үчүн.
5.3 Android ОС жана тиркемелер
The projector runs on Android 9.0, providing access to a wide range of applications. You can download and install apps from the pre-installed app store or other compatible sources.
5.4 Image Size Adjustment
The projector can display images from 40 to 150 inches. Adjust the distance between the projector and the projection surface to achieve your desired screen size. The autofocus and auto keystone features will automatically optimize the image.
6. Техникалык тейлөө
6.1 Dust-Proof Function
The projector incorporates a Dust-Proof function designed to improve cooling efficiency and protect internal components from dust accumulation. This feature contributes to increased performance and extends the lifespan of the projector.
6.2 LED Lamp Жашоо
110W LED lamp has a long service life of up to 50,000 hours. This means the lamp is designed to last for the entire lifespan of the projector under normal usage conditions, minimizing the need for replacement.
6.3 Жалпы тазалоо
- Сырткы: Use a soft, dry cloth to wipe the projector's exterior. Do not use abrasive cleaners or solvents.
- Объектив: Проектордун линзасын линза тазалоочу чүпүрөк же атайын линза кагазы менен акырын тазалаңыз. Линзага манжаларыңыз менен түздөн-түз тийүүдөн алыс болуңуз.
- Вентиляция: Ensure the ventilation openings are clear of dust and obstructions to maintain proper airflow.
7. Кыйынчылыктарды
Эгерде сиз проекторуңуз менен көйгөйлөргө туш болсоңуз, төмөнкү кеңири таралган чечимдерди караңыз:
- Кубат жок: Электр кабелинин проекторго да, розеткага да бекем туташтырылганын текшериңиз. Башка розетканы колдонуп көрүңүз.
- Сүрөт жок: Check the input source selection. Ensure the connected device is powered on and sending a signal. Verify cables are properly connected.
- бүдөмүк сүрөт: The projector features autofocus. If the image remains blurry, try restarting the projector. Ensure the projection surface is flat and the projector is stable.
- Үн жок: Check the projector's volume settings and the volume of the connected source device. If using external speakers, ensure they are properly connected and powered.
- Алыстан башкаруу иштебейт: Пульттагы батареяларды текшериңиз. Пульт менен проектордун инфракызыл кабыл алгычынын ортосунда эч кандай тоскоолдуктар жок экенин текшериңиз.
For persistent issues, please contact Overmax customer support.
8. Техникалык шарттар
| Өзгөчөлүк | Спецификация |
|---|---|
| Бренд | Overmax |
| Модель аты | Multipic 6.1 |
| Дисплей түрү | LED |
| Display Resolution | 1920 x 1080 (Full HD) |
| Жарыктык | 7000 Lumens |
| Сүрөттүн карама-катышы | 4500:1 |
| Аспект катышы | 16:9, 4:3 |
| Проекциянын өлчөмү | 40ден 150 дюймга чейин |
| Lamp Жашоо | 50,000 саатка чейин |
| Операция системасы | Android 9.0 |
| Зымсыз байланыш | Wi-Fi 6, Bluetooth 5.0 |
| Өзгөчөлүктөр | Autofocus, Auto Keystone Correction, Dust-Proof Function, Voice Control |
| Аппараттык интерфейс | HDMI (x2), USB, AV, RJ45 |
| Шайкеш түзмөктөр | Laptop, Smartphone, Speaker, Tablet |
| Ватtage | 110 ватт |
| Продукциянын өлчөмдөрү | 30.2 x 27 x 14.5 см |
| Салмагы | 1.9 кг |
9. Кепилдик жана колдоо
Your Overmax Multipic 6.1 projector comes with a standard manufacturer's warranty. Please refer to the warranty card included in your package for specific terms and conditions. For technical support, service, or warranty claims, please contact Overmax customer service through their official webсайт же продукт документациясында көрсөтүлгөн байланыш маалыматы.