
1. Бүттүview
The Tork 562000 A1 Air Freshener Dispenser is designed to provide continuous fresh air and effective odor management in washrooms and other commercial environments. Its user-friendly design allows for simple programming and quick refills, ensuring a pleasant atmosphere 24 hours a day. This manual provides detailed instructions for proper installation, operation, and maintenance of your dispenser.

Figure 1: Tork 562000 A1 Air Freshener Dispenser (white model).
2. Коопсуздук маалыматы
- Орнотуудан жана колдонуудан мурун бардык нускамаларды окуп чыгыңыз.
- Keep the dispenser out of reach of children and unauthorized personnel.
- Use only Tork A1 system air freshener refills and specified batteries.
- Do not expose the dispenser to excessive moisture or direct water spray.
- Ensure proper ventilation when using air freshener aerosols.
- Dispose of used batteries and aerosol cans according to local regulations.
3. Пакеттин мазмуну
Пакетте бардык буюмдар бар экенин текшериңиз:
- 1 x Tork 562000 A1 Air Freshener Dispenser (white)
- Монтаждоо бурамалар жана дубал сайгычтар
- Колдонмо
Note: Batteries and air freshener refills are sold separately.
4. Орнотуу жана орнотуу
4.1 Дубалга орнотуу
- Choose a suitable location for the dispenser, ensuring it is at an appropriate height and away from direct airflow or heat sources.
- Диспенсердин капкагын ачыңыз.
- Mark the drilling points on the wall using the dispenser's mounting holes as a template.
- Тешиктерди бургулап, берилген дубал тыгындарын киргизиңиз.
- Secure the dispenser to the wall using the mounting screws.

2-сүрөт: Ички view of the Tork A1 dispenser, illustrating the refill and battery compartments.
4.2 Батареяны орнотуу
- Диспенсердин капкагын ачыңыз.
- Батарея бөлүкчөсүн табыңыз.
- Insert 1 Lithium-ion battery (not included) according to the polarity markings (+/-).
- Батарея отсегин бекем жабыңыз.
4.3 Air Freshener Refill Insertion
- Диспенсердин капкагын ачыңыз.
- Insert a Tork A1 system aerosol air freshener refill into the designated slot. Ensure it is seated correctly.
- Диспенсердин капкагын жабыңыз.
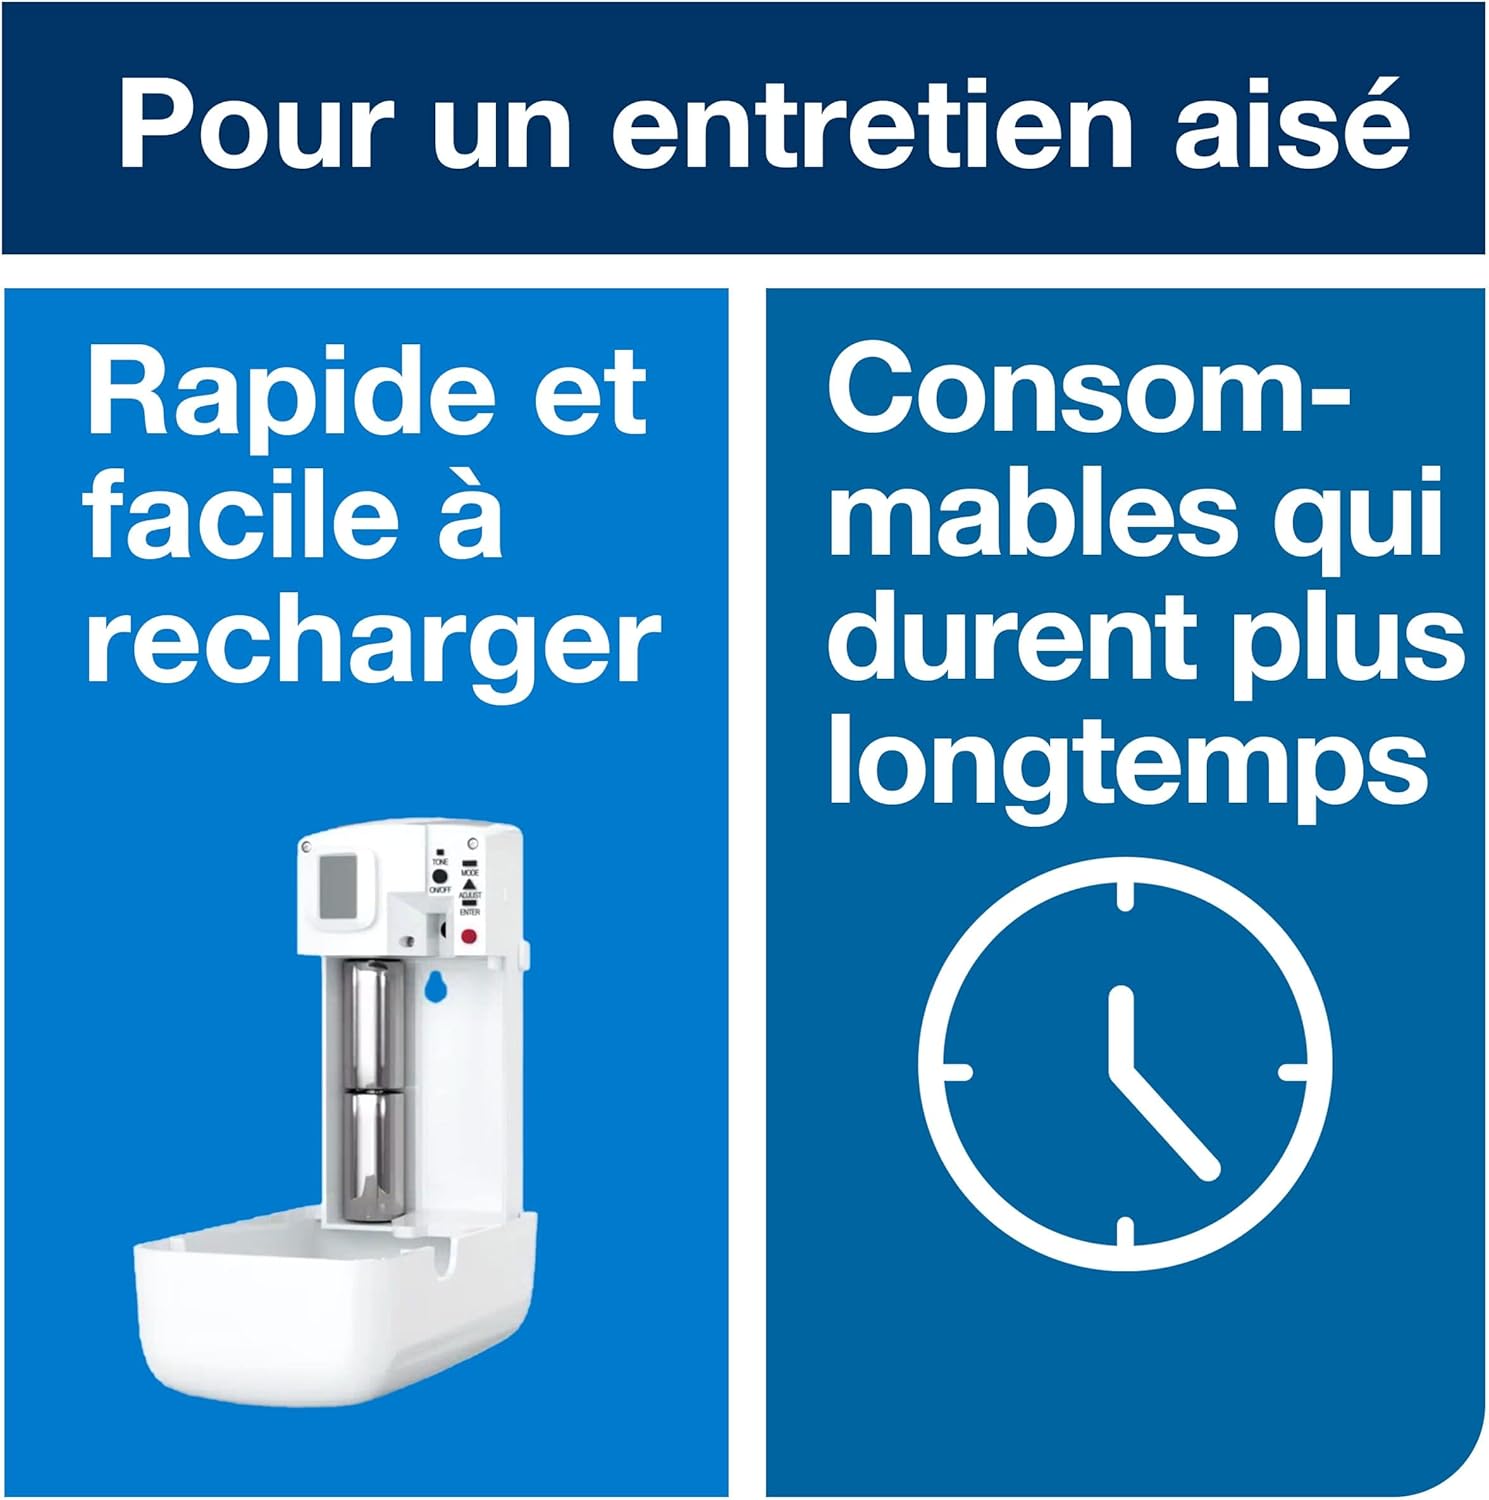
Figure 3: Dispenser with cover open, ready for refill and battery insertion.
For a visual guide on installation and setup, please refer to the video below:
Video 1: Tork A1/A2 Air Freshener Systems overview, demonstrating flexible settings, controlled dosage, and easy refilling. This video highlights the features and benefits of the Tork A1 and A2 systems, including how they adapt to different washroom environments and help reduce maintenance time.
5. Иштөө нускамалары
5.1 Programming Spray Intervals
The Tork A1 dispenser features simple programming to set the desired spray intervals, ensuring continuous freshness. Refer to the internal controls for setting options (e.g., spray frequency, operating hours). Adjust settings based on the size of the area and desired intensity.

Figure 4: Key features of the Tork A1 dispenser, including the refill indicator and controlled dosage mechanism.
5.2 Odor Management and Dosage
The dispenser is designed for controlled dosage to effectively manage odors. The system adapts to various sanitary environments and traffic levels:
- Low Traffic: Minimal spray frequency.
- Medium Traffic: Moderate spray frequency.
- High Traffic: Increased spray frequency.
- High Traffic & Peak Hours: Maximum spray frequency for continuous freshness.

Figure 5: Guide for adjusting dosage based on washroom traffic levels.
6. Техникалык тейлөө
6.1 Refill Replacement
The dispenser features a refill indicator to signal when the aerosol needs to be replaced. When the indicator shows low, open the dispenser cover, remove the empty aerosol can, and insert a new Tork A1 system refill. Close the cover securely.

Figure 6: Tork A1 system aerosol refills are available in various fragrances like Citrus, Floral, Fruity, and Odor Neutralizer.
6.2 Батареяны алмаштыруу
When the dispenser stops spraying or the battery indicator (if present) signals low power, replace the battery. Open the dispenser, remove the old battery, and insert a new 1 Lithium-ion battery, observing correct polarity. Long-lasting batteries reduce maintenance frequency.
6.3 Тазалоо
The plastic material of the dispenser is easy to clean. Use a soft, damp cloth and mild detergent to wipe down the exterior. Avoid abrasive cleaners or solvents that could damage the surface.
7. Кыйынчылыктарды
| Көйгөй | Мүмкүн себеп | Чечим |
|---|---|---|
| Dispenser not spraying |
|
|
| Алсыз же туруксуз спрей |
|
|
| Dispenser cover not closing |
|
|
8. Техникалык шарттар
- Модель номери: 562000 (7322540355116)
- Бренд: Торк
- Түсү: Ак
- Өлчөмдөрү (L x W x Y): 21.2 x 21.2 x 19.2 см (8.35 x 8.35 x 7.56 дюйм)
- Салмагы: 280 грамм (0.62 фунт)
- Кубат булагы: Battery powered (1 Lithium-ion battery required)
- Система: A1 Air Freshener System
- Сунушталган колдонуу: Odor control in washrooms and commercial spaces
9. Кепилдик жана колдоо
This Tork dispenser comes with a 2 жылдык өндүрүүчүнүн кепилдиги. For warranty claims, technical support, or further assistance, please contact Tork customer service or visit the official Tork webсайт.
For more information on Tork products and solutions, visit: Tork Brand Store