1. Коопсуздук боюнча маанилүү маалымат
Please read this manual thoroughly before operating the ABBREE AR-M7 CB Radio. Retain this manual for future reference.
- Электр камсыздоо: Use only the specified 13.8V DC power supply. Incorrect voltage блокту бузуп, кепилдикти жокко чыгарышы мүмкүн.
- Антенна: Ensure the antenna is properly connected before transmitting to prevent damage to the radio's final ampөмүрлүү.
- Орнотуу: Install the radio in a secure location, away from direct sunlight, excessive heat, dust, and moisture.
- Операция: Do not operate the radio while driving if it distracts you from safe vehicle operation.
- Тейлөө: Do not attempt to open or repair the unit yourself. Refer all servicing to qualified technicians.
2. Пакеттин мазмуну
Пакетиңизде бардык буюмдар бар экенин текшериңиз:
- ABBREE AR-M7 CB Radio Unit
- Кол микрофон
- DC Power Cable
- Кронштейн орнотуу
- Screw and Accessory Kit
- Колдонуучунун Колдонмосу (бул документ)

Сүрөт 2.1: Камтылган пакеттин мазмуну
If any items are missing or damaged, please contact your retailer or ABBREE customer support.
3. Продукт бүтүп калдыview
The ABBREE AR-M7 is a compact, dual-mode AM/FM CB radio designed for reliable communication. It features a full-color LCD display and essential functions for various mobile applications.
3.1 Front Panel Controls and Connectors

Figure 3.1: Front Panel Layout and Functions
- Микрофон интерфейси: Connects the hand microphone.
- КҮЧ баскычы: Радиону күйгүзүү же өчүрүү үчүн басыңыз.
- MT/LOCK Button: Mute function / Keypad lock.
- LCD дисплей: Shows channel, frequency, mode, and other status indicators.
- SQ/M1 Button: Squelch function / Store memory channel function button.
- VOX/M2 Button: Voice Operated Exchange function / Store memory channel function button.
- ASQ/M3 Button: Automatic Squelch Control / Store memory channel function button.
- Канал баскычы: Rotate to select channels.
- CH/M3 Button: Channel switch / Store memory channel function button.
- A/F Button: Modulation switch (AM/FM).
- TSQ/M4 Button: CTCSS/DCS function / Store memory channel function button.
- SCAN баскычы: Scan channel function button.
- EMG Button: Emergency channel button (CH9/19).
3.2 Арткы панелдин туташтыргычтары
- Антенна интерфейси: Connects to the external CB antenna.
- Power Cable Port: Connects the DC power cable.
- Тышкы динамик Джек: For connecting an optional external speaker.
4. Орнотуу жана орнотуу
4.1 Радиону орнотуу
Use the provided mounting bracket and screws to secure the radio in a suitable location within your vehicle. Ensure the location allows for proper ventilation and easy access to controls.
4.2 Кубат туташтыруу
Connect the supplied DC power cable to the radio's power port and to your vehicle's 13.8V DC power source. Ensure correct polarity (red to positive, black to negative) to prevent damage.
4.3 Антеннаны туташтыруу
Connect your CB antenna to the antenna interface on the rear of the radio. Ensure the connection is secure. Never transmit without a properly connected antenna.
4.4 Микрофон туташуу
Plug the hand microphone into the microphone interface on the front panel. Ensure it clicks into place securely.

Figure 4.1: Connecting the Hand Microphone
5. Негизги операция
5.1 Күйгүзүү/өчүрүү
басып, кармап туруңуз КҮЧ button to turn the radio on or off. The LCD display will illuminate upon power-on.
5.2 Үндү башкаруу
айлантыңыз Канал баскычы (when not in channel selection mode) or use the UP/DOWN buttons on the microphone to adjust the audio volume.
5.3 Канал тандоо
айлантыңыз Канал баскычы to select your desired operating channel (1-40). Alternatively, use the UP/DOWN buttons on the microphone.

Figure 5.1: 40 Channel Capacity
5.4 Squelch Control (SQ/ASQ)
Squelch eliminates background noise when no signal is present.
- Manual Squelch (SQ): басыңыз SQ/M1 button. Rotate the Channel Knob to adjust the squelch level. A higher number means stronger squelch.
- Автоматтык өчүрүү (ASQ): басыңыз ASQ/M3 button to activate or deactivate automatic squelch. This feature automatically adjusts the squelch level for optimal reception.
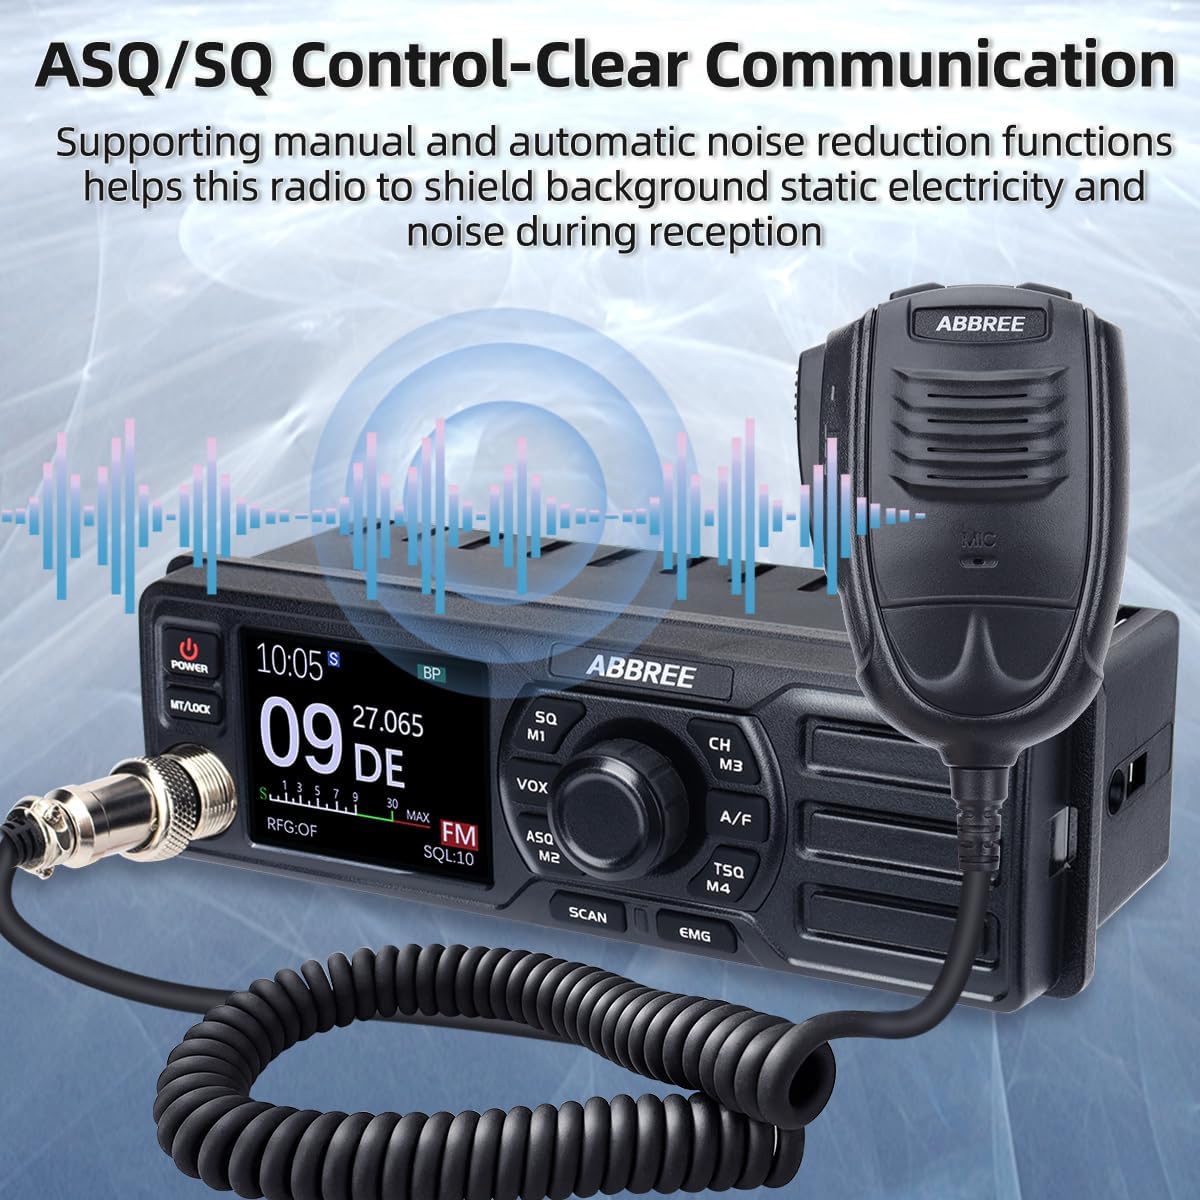
Figure 5.2: ASQ/SQ Control for Clear Communication
6. Өркүндөтүлгөн функциялар
6.1 AM/FM Mode Selection
басыңыз A/F button to switch between AM (Amplitude Modulation) and FM (Frequency Modulation) modes. The selected mode will be displayed on the LCD.
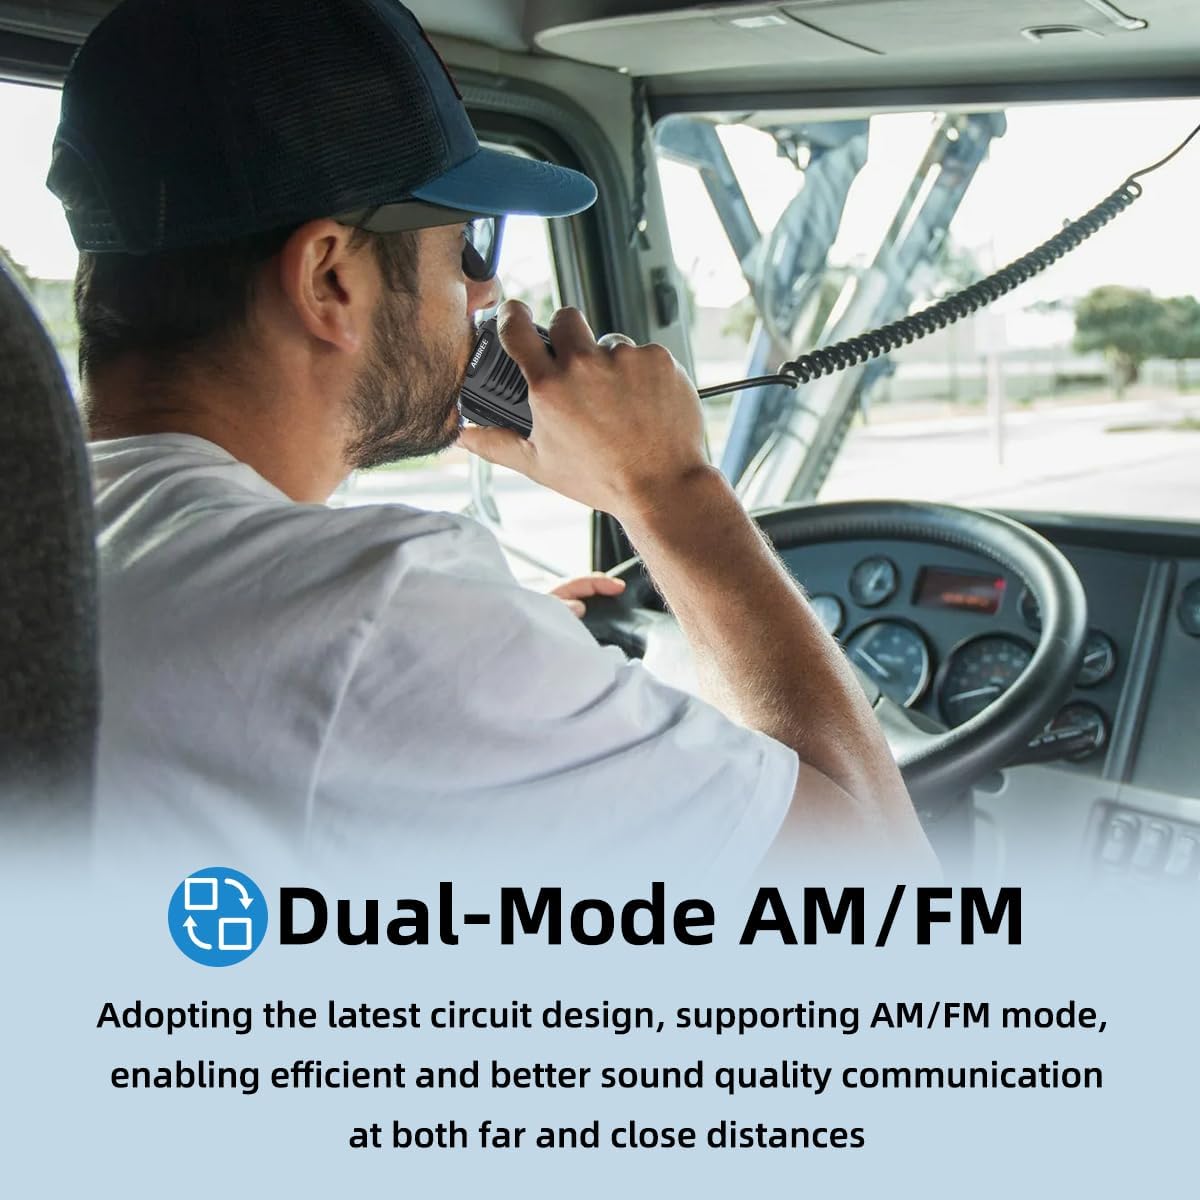
Figure 6.1: Dual-Mode AM/FM Operation
6.2 Emergency Channels (CH9/19)
басыңыз ЭМГ button for instant access to emergency channels. Channel 9 is typically used for emergency communications, and Channel 19 for truck drivers. Press again to return to the previous channel.

Figure 6.2: Instant Access to Emergency Channels
6.3 VOX функциясы (Үн менен башкарылуучу алмашуу)
The VOX function allows hands-free transmission. When activated, the radio will transmit automatically when it detects your voice.
- басыңыз VOX/M2 button to activate or deactivate VOX.
- Adjust VOX sensitivity through the menu settings (refer to the full manual for detailed menu navigation).

Figure 6.3: Hands-Free Communication with VOX
6.4 Скандоо функциясы
басыңыз SCAN button to initiate channel scanning. The radio will scan through active channels and stop when a signal is detected. It will resume scanning after a short delay or when the signal disappears.
6.5 CTCSS/DCS (Үндү басуу)
CTCSS (Continuous Tone-Coded Squelch System) and DCS (Digital Coded Squelch) are used to filter out unwanted conversations.
- басыңыз TSQ/M4 button to access CTCSS/DCS settings.
- Select the desired tone or code from the available options.
6.6 TOT (Time-Out Timer)
The Time-Out Timer limits the duration of a single transmission to prevent accidental long transmissions and channel hogging. If the transmission exceeds the set time, the radio will stop transmitting automatically.
6.7 RFG (RF Gain)
RF Gain adjusts the sensitivity of the receiver. Lowering the RF Gain can help reduce background noise from weak signals or distant stations, improving clarity for stronger, closer signals.
7. Техникалык тейлөө
Proper maintenance ensures the longevity and optimal performance of your AR-M7 CB Radio.
- Тазалоо: Радионун сыртын тазалоо үчүн жумшак, кургак чүпүрөктү колдонуңуз. Абразивдүү тазалоочу каражаттарды же эриткичтерди колдонбоңуз.
- Курчап турган чөйрө: Keep the radio away from extreme temperatures, direct sunlight, and excessive moisture.
- Байланыштары: Periodically check all cable connections (power, antenna, microphone) for security and signs of wear.
8. Кыйынчылыктарды
If you experience issues with your AR-M7 CB Radio, refer to the following common problems and solutions:
| Көйгөй | Мүмкүн себеп | Чечим |
|---|---|---|
| Радио күйбөйт. | No power connection; incorrect voltagд; күйүп кеткен сактагыч. | Check power cable connection; ensure 13.8V DC supply; check vehicle's fuse box. |
| Кабыл алуу жок же начар кабыл алуу. | Antenna not connected; squelch too high; incorrect channel/mode. | Ensure antenna is connected; adjust squelch level (SQ/ASQ); verify channel and AM/FM mode. |
| Өткөрүүгө болбойт. | Microphone not connected; antenna issue; TOT activated. | Check microphone connection; ensure antenna is properly connected; wait for TOT to reset or reduce transmission time. |
| Ашыкча фондук ызы-чуу. | Squelch too low; RF Gain too high; electrical interference. | Increase squelch level; adjust RF Gain; check for nearby electrical interference sources. |
If the problem persists after attempting these solutions, please contact ABBREE customer support for assistance.
9. Техникалык шарттар
| Өзгөчөлүк | Спецификация |
|---|---|
| Модел | AR-M7 |
| Жыштык диапазону | 26.965-27.405 МГц |
| Каналдар | 40 CB каналдары |
| Модуляция режими | AM/FM |
| Чыгуу күчү | 4 Ватт |
| Киргизүү көлөмүtage | 13.8V DC |
| Өлчөмдөрү (W x Y x D) | 7.3 x 3 x 2.2 дюйм (болжол менен 185 x 76 x 56 мм) |
| Салмагы | Болжол менен 2.92 фунт (1.32 кг) |
| Эл аралык коргоо рейтинги | IP65 |

Figure 9.1: Compact Dimensions of the AR-M7
10. Кепилдик жана колдоо
ABBREE products are designed for reliability and performance. For warranty information, technical support, or service inquiries, please contact your authorized ABBREE dealer or visit the official ABBREE webсайт.
Please have your model number (AR-M7) and purchase information ready when contacting support.