
1. Киришүү
Welcome to the instruction manual for your new Xiaomi Curved Gaming Monitor G34WQi. This guide provides essential information for the safe and optimal setup, operation, and maintenance of your monitor. Please read this manual thoroughly before use to ensure you get the best experience from your device.
The Xiaomi G34WQi features a 34-inch UWQHD (3440x1440) ultrawide curved display with a 1500R curvature, designed to provide an immersive viewing experience. It boasts a high 180Hz refresh rate and a rapid 1ms response time (MPRT) for smooth, fluid gameplay. With FreeSync Premium technology, it minimizes screen tearing and stuttering. The monitor also offers a wide color gamut (95% DCI-P3, 100% sRGB) and a low blue light mode for eye comfort.
2. Орнотуу
2.1 Пакеттин мазмуну
Монтаждоодон мурун, бардык компоненттердин бар экендигин текшериңиз:
- Xiaomi Curved Gaming Monitor G34WQi
- Монитор стенд (негизги жана кол)
- Кубаттуу адаптер жана кабель
- DisplayPort кабели
- HDMI кабели
- User Manual
2.2 Стендди чогултуу
- Чийилбеш үчүн мониторду кылдаттык менен жумшак, таза бетке ылдый каратып коюңуз.
- Attach the stand arm to the back of the monitor using the provided screws. Ensure it is securely fastened.
- Connect the stand base to the arm and tighten the thumb screw at the bottom of the base.
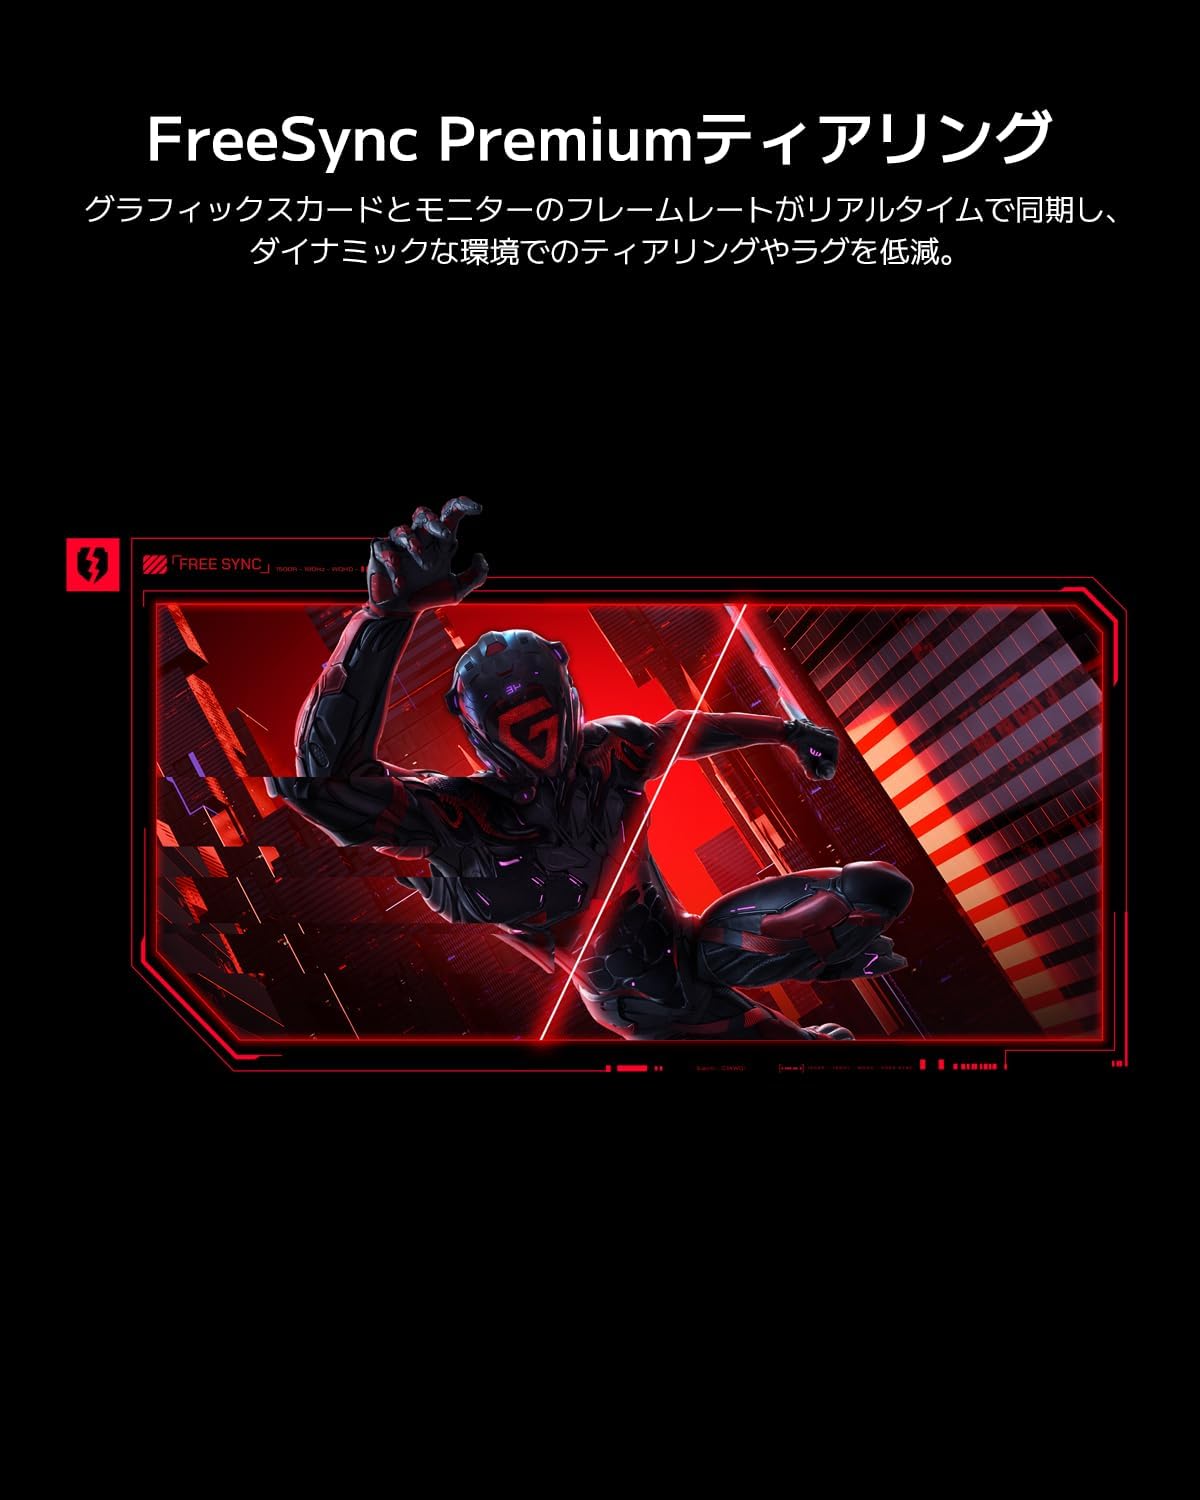
Image: The Xiaomi G34WQi monitor securely mounted on its adjustable stand.
2.3 Туташтыруучу кабельдер
Монитордун арткы портторуна керектүү кабелдерди туташтырыңыз:
- Кубат кабели: Кубат адаптерин монитордун кубат киргизүү булагына туташтырыңыз, андан кийин кубат кабелин розеткага сайыңыз.
- DisplayPort (Recommended for Gaming): For optimal performance, including 180Hz refresh rate and FreeSync Premium, connect the DisplayPort cable from your computer's graphics card to the monitor's DisplayPort input.
- HDMI: Alternatively, connect an HDMI cable from your computer to one of the monitor's HDMI inputs. Note that HDMI may have limitations on refresh rate at UWQHD resolution compared to DisplayPort.
- Аудио чыгышы: Кааласаңыз, тышкы динамиктерди же гарнитураны 3.5 мм аудио чыгаруу уячасына туташтырыңыз.

Сүрөт: Арткы view of the monitor highlighting the input ports for connectivity.
2.4 Баштапкы күйгүзүү
After connecting all cables, press the power button, usually located on the back or bottom of the monitor, to turn it on. The monitor should automatically detect the input signal. If not, you may need to manually select the input source using the OSD menu.
3. Иштөө нускамалары
3.1 Күйгүзүү/өчүрүү
Press the power button to turn the monitor on or off. A status indicator light will show the monitor's power state.
3.2 Экрандагы дисплей (OSD) менюсу
The OSD menu allows you to adjust various monitor settings. It is typically controlled by a joystick or a set of buttons located on the back or bottom of the monitor.
Навигация:
- Press the joystick/center button to open the OSD menu.
- Move the joystick (up/down/left/right) or use the directional buttons to navigate through menu options.
- Press the joystick/center button again to select an option or confirm a setting.
- Move the joystick left or press a dedicated 'Back' button to exit a sub-menu or the OSD.
3.3 Негизги жөндөөлөр
- Жарыктык/Контраст: Бул орнотууларды сизге ылайыктуу кылып тууралаңыз viewчөйрө.
- Түс жөндөөлөрү: Fine-tune color temperature, gamma, and saturation. The monitor supports 95% DCI-P3 and 100% sRGB for accurate color reproduction.
- Жаңыртуу ылдамдыгы: Ensure your refresh rate is set to 180Hz in both the monitor's OSD and your computer's display settings for the smoothest experience.
- Жооп убактысы: The monitor offers a 1ms MPRT (Moving Picture Response Time). This can often be adjusted in the OSD, sometimes referred to as 'Overdrive' or 'Response Speed'.
- FreeSync Premium: Enable FreeSync Premium in the OSD menu and in your AMD graphics card settings to synchronize the monitor's refresh rate with your GPU's frame rate, eliminating screen tearing and stuttering.

Image: Visual representation of FreeSync Premium preventing screen tearing.
- Төмөн көк жарык режими: Activate this mode to reduce blue light emissions, which can help reduce eye strain during prolonged use.

Image: The monitor displaying content with low blue light mode enabled for eye protection.
4. Техникалык тейлөө
4.1 Экранды тазалоо
Экранды тазалоо үчүн аны жумшак, түксүз чүпүрөк менен акырын сүртүңүз. өжөр белгилери үчүн, жеңил гampчүпүрөккө суу же атайын экран тазалоочу каражат. Эч качан суюктукту түздөн-түз экранга чачпаңыз.
4.2 Cleaning the Monitor Body
Use a soft, dry cloth to wipe the monitor's body. Avoid using abrasive cleaners or solvents, as they can damage the surface.
4.3 Жалпы кам көрүү
- Монитор же анын кабелдерине оор нерселерди коюудан алыс болуңуз.
- Мониторду күн нурунан, жылуулук булактарынан жана ашыкча нымдуулуктан алыс кармаңыз.
- Ашыкча ысып кетүүнүн алдын алуу үчүн монитордун айланасында туура желдетүүнү камсыз кылыңыз.
5. Кыйынчылыктарды
Мониторуңузда көйгөйлөргө туш болсоңуз, төмөнкү жалпы көйгөйлөрдү жана чечимдерди караңыз:
5.1 Кубат жок / Дисплей жок
- Электр кабели мониторго да, электр розеткасына да бекем туташтырылганын текшериңиз.
- Verify that the power adapter is functioning correctly.
- Монитордун күйүп турганын текшерүү үчүн анын кубат баскычын басыңыз.
5.2 Сигнал жок
- Видео кабели (DisplayPort же HDMI) мониторго жана компьютериңиздин графикалык картасына бекем туташтырылганын текшериңиз.
- Компьютериңиз күйгүзүлгөнүн жана уйку режиминде эмес экенин текшериңиз.
- Use the OSD menu to manually select the correct input source (e.g., DisplayPort 1, HDMI 1).
- Try a different video cable or port on your graphics card/monitor to rule out a faulty connection.
5.3 Flickering or Tearing Screen
- Ensure FreeSync Premium is enabled in both the monitor's OSD and your graphics card settings.
- Verify that your graphics card drivers are up to date.
- Check the video cable. Some users have reported better stability with DisplayPort cables for high resolutions and refresh rates compared to HDMI.
- If using multiple monitors, ensure your system can handle the combined load, as some configurations might cause instability.
5.4 Incorrect Resolution or Refresh Rate
- Go to your computer's display settings (e.g., Windows Display Settings, NVIDIA Control Panel, AMD Radeon Software) and set the resolution to 3440x1440 and the refresh rate to 180Hz.
- Ensure you are using a DisplayPort cable, as some HDMI versions may not support UWQHD at 180Hz.
5.5 Image Reflection
- The monitor has a non-glare (VA) panel, but reflections can still occur in brightly lit environments. Adjust the monitor's position or room lighting to minimize reflections.
6. Техникалык шарттар
| Өзгөчөлүк | Спецификация |
|---|---|
| Бренд | Xiaomi |
| Модель номери | G34WQi |
| Screen Size | 34 дюйм |
| Резолюция | UWQHD (3440 x 1440 pixels) |
| Аспект катышы | 21:9 |
| Ийрилик | 1500R |
| Панел түрү | VA (Non-glare) |
| Жаңыртуу ылдамдыгы | 180 Гц |
| Жооп убактысы | 1 мс (MPRT) |
| Түс гаммасы | 95% DCI-P3, 100% sRGB |
| Байланыш | HDMI, DisplayPort, 3.5mm Audio Out |
| Power Voltage | 12 вольт |
| Продукциянын өлчөмдөрү (D x W x Y) | 99.1 x 18.8 x 46 см (болжол менен) |
| Продукт Салмагы | 6.9 кг |
| Монтаж түрү | Дубалга орнотуу (VESA шайкеш) |
7. Кепилдик маалыматы
This Xiaomi Curved Gaming Monitor G34WQi comes with a 1 жылдык өндүрүүчүнүн кепилдиги. Please retain your proof of purchase for warranty claims. For detailed terms and conditions, refer to the warranty card included in your product packaging or visit the official Xiaomi support webсайт.
8. Колдоо
For further assistance, technical support, or service inquiries, please contact Xiaomi customer service:
- Телефондук колдоо: 0120-767-378 (Reception hours: 9:00-18:00, excluding year-end and New Year holidays)
- Электрондук почта колдоо: service.jp@support.mi.com
You can also visit a Xiaomi Service Center for in-person support:
Xiaomi Service Center Akihabara Store
Address: 4-6-7 Kanda Sakumacho, Chiyoda-ku, Tokyo
Business Hours: 10:00-19:00
Closed: Wednesdays
(Last reception is at 18:00)

Image: A collection of Xiaomi products, showcasing the brand's commitment to smart living.