1. Киришүү
Thank you for choosing the OTIC 10.1-inch Portable Dual Screen Car DVD Player. This device is designed to provide versatile entertainment on the go, featuring two synchronized screens, a long-lasting rechargeable battery, and broad media compatibility. This manual will guide you through the proper setup, operation, and maintenance of your new DVD player to ensure optimal performance and longevity.
2. Пакеттин мазмуну
Бардык буюмдардын бар экенин жана жакшы абалда экенин текшерүү үчүн таңгакты кылдаттык менен текшериңиз. Эгерде кандайдыр бир буюмдар жок болсо же бузулуп калса, сатуучуга кайрылыңыз.
- 1 x Main DVD Player Unit
- 1 x Slave Monitor Unit
- 1 x AC/DC Power адаптери
- 1 x DC to DC Connection Cable
- 1 x AV Connection Cable
- 1 x Унаа кубаттагыч адаптери
- 1 x Алыстан башкаруу (батареялар камтылган)
- 2 x Кулакчын
- 2 x монтаждоо кайыштары
- 1 х Колдонуучунун колдонмосу (бул документ)
- 1 x Quick Start Guide

Эскертүү: The remote control requires 2 AAA batteries, which are included.
3. Негизги өзгөчөлүктөрү
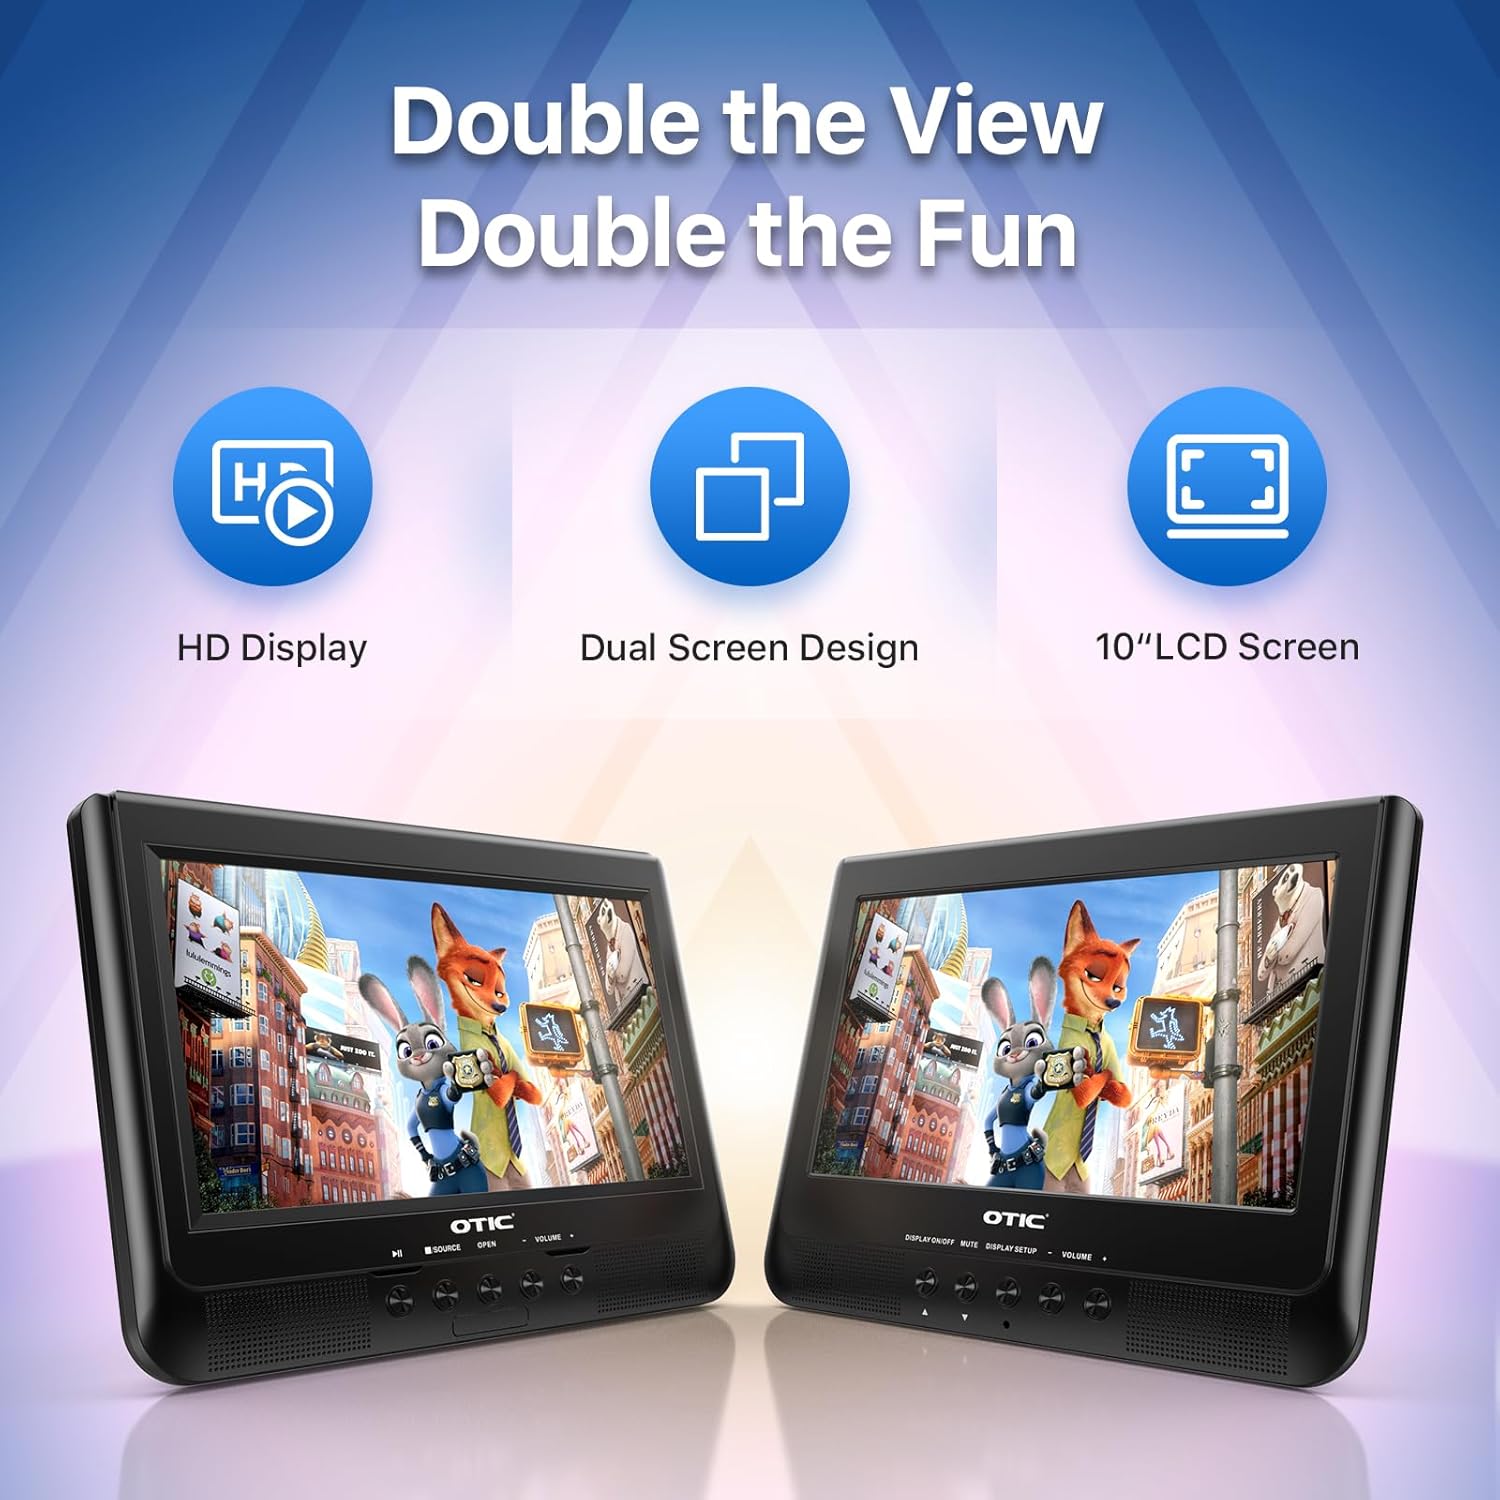
- Dual Display Capability: Connect the host DVD player to the slave monitor using the included AV cable for synchronized viewing of the same content.
- High-Resolution Screens: Both 10.1-inch displays feature a resolution of 1024 x 600 pixels. The main unit's screen can rotate 270° and flip 180° for optimal viewбурчтар.
- Узартылган батареянын иштөө мөөнөтү: Equipped with a built-in 2500 mAh rechargeable battery, providing 3-5 hours of continuous video playback.
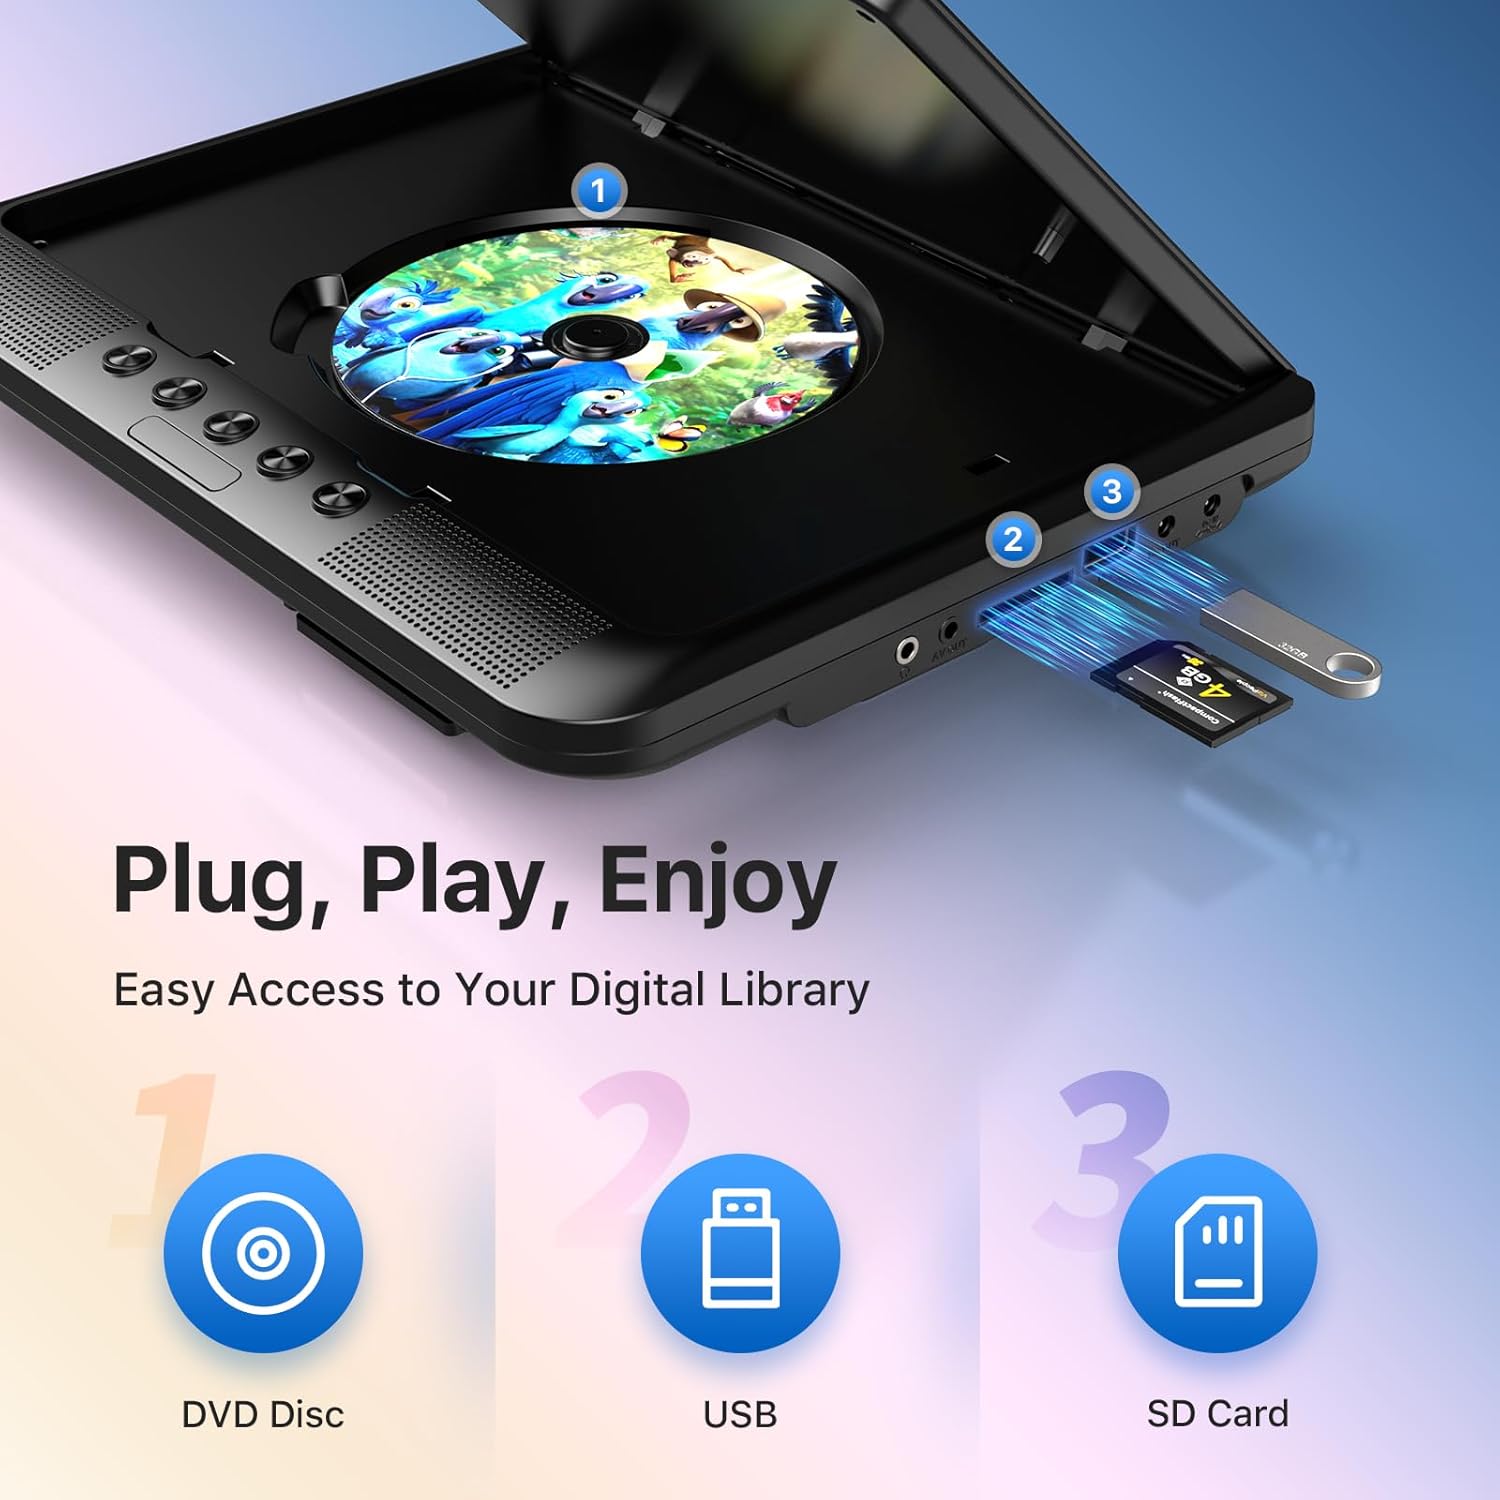
- Versatile Media Support: Plays various formats including CD, DVD, CD-R/RW, DVD±R/±RW, VCD/SVCD. Supports USB drives and SD cards up to 32GB for video (VOB, AVI, MPEG1, MPEG2, XVID), audio (MP3, WMA), and image (JPG, JPEG) files. (Note: Blu-ray DVDs are not supported.)
- Акыркы эс тутум функциясы: Automatically resumes playback from where you left off, ensuring a seamless viewтажрыйбасы.
- Жакшыртылган аудио: Integrated dual stereo speakers deliver clear sound. A 3.5mm headphone jack is available for private listening.
- AV киргизүү/чыгаруу: Allows connection to larger TV screens for shared viewing or to external video sources.
4. Орнотуу колдонмосу
4.1 Алгачкы заряддоо
Before first use, fully charge the main DVD player unit. Connect the AC/DC power adapter to the player's DC IN port and plug it into a wall outlet. The charging indicator light will typically turn off or change color when fully charged.
4.2 Connecting the Dual Screens
- Locate the AV OUT port on the main DVD player unit.
- Locate the AV IN port on the slave monitor unit.
- Connect the included AV connection cable between the AV OUT of the main unit and the AV IN of the slave unit.
- Connect the DC to DC connection cable from the main unit's DC OUT port to the slave unit's DC IN port to power the slave monitor.
4.3 Аппаратты кубаттоо
- AC кубаттуулугу: Use the AC/DC power adapter for home use.
- Унаанын кубаттуулугу: Use the car charger adapter to power the unit from your vehicle's 12V power outlet.
- Батарея кубаттуулугу: The built-in rechargeable battery provides portable power for outdoor use.
4.4 Mounting in a Vehicle
Use the provided mounting straps to securely attach the DVD player and slave monitor to the headrests in your car. Ensure they are positioned safely and do not obstruct the driver's view же аба жаздыктарын ачуу.

5. Иштөө нускамалары
5.1 Негизги ойнотуу
- Күйгүзүү: Press the 'POWER' button on the unit or remote control.
- Диск салыңыз: Gently open the disc cover and place a DVD or CD onto the spindle, label side up. Close the cover firmly.
- USB/SD ойнотуу: Insert a USB drive into the USB port or an SD card into the SD card slot. The player should automatically detect the media or allow you to select the source using the 'SOURCE' button.
- Ойнотуу башкаруулары: Use the 'PLAY/PAUSE', 'STOP', 'NEXT', 'PREVIOUS', 'FF' (Fast Forward), and 'REW' (Rewind) buttons on the unit or remote control to manage playback.
- Үндү тууралоо: Үндү тууралоо үчүн 'VOL+' жана 'VOL-' баскычтарын колдонуңуз.

5.2 Алыстан башкарууну колдонуу
The included remote control provides full functionality for convenient operation from a distance. Point the remote control directly at the main DVD player unit's IR sensor.
5.3 Last Memory Function
The player automatically remembers the last playback point. To resume from where you left off, simply power on the device and press 'PLAY'. This function is active for most disc and digital media formats.
5.4 Connecting to an External Display (TV)
To share your viewing experience on a larger screen, use the AV OUT port on the main DVD player unit and connect it to the AV IN ports of your television using the included AV cable. Select the correct AV input on your TV.

6. Media Compatibility
The OTIC DVD player supports a wide range of media formats:
- Диск форматтары: DVD, DVD+R, DVD-R, DVD+RW, DVD-RW, CD, CD+R, CD-R, CD+RW, CD-RW, VCD, SVCD. (Blu-ray discs are not supported.)
- Video Formats (USB/SD): VOB, AVI, MPEG1, MPEG2, XVID.
- Audio Formats (USB/SD): MP3, WMA.
- Image Formats (USB/SD): JPG, JPEG.
USB drives and SD cards up to 32GB capacity are supported.

7. Техникалык тейлөө
7.1 Агрегатты тазалоо
Ойноткучтун сыртын жумшак, кургак чүпүрөк менен сүртүңүз. Эгерде өжөр тактар болсо, бир аз сүртүңүз.ampen the cloth with water. Do not use abrasive cleaners or solvents, as they may damage the surface.
7.2 Дискке кам көрүү
Handle discs by their edges. Keep discs clean and free of scratches. Store them in their cases when not in use. A dirty or scratched disc can cause playback issues.
7.3 Батареяга кам көрүү
To prolong battery life, avoid fully discharging the battery frequently. If storing the unit for an extended period, charge it to about 50% every few months.
8. Кыйынчылыктарды
If you encounter issues with your OTIC DVD player, please refer to the following common problems and solutions:
| Көйгөй | Мүмкүн себеп | Чечим |
|---|---|---|
| Оюнчу күйбөйт. | Батарея түгөндү; Кубат адаптери туташтырылган эмес же бузук. | Charge the battery; Ensure power adapter is securely connected and functional. |
| Экранда сүрөт жок. | Disc is dirty/scratched; Incorrect source selected; AV cable loose (for slave monitor/TV). | Clean or replace disc; Press 'SOURCE' button to select correct input; Check AV cable connections. |
| Үн жок. | Volume too low; Mute function active; Headphone connected. | Increase volume; Press 'MUTE' button on remote; Disconnect headphones if using speakers. |
| Disc skipping or freezing. | Dirty/damaged disc; Player is on an unstable surface; Excessive vibration. | Clean or replace disc; Place player on a stable surface; Reduce vibrations if in a moving vehicle. |
| Пульт иштебей жатат. | Batteries depleted; Obstruction between remote and player; Incorrect angle. | Replace batteries; Ensure clear line of sight to IR sensor; Point remote directly at player. |
If the problem persists after trying these solutions, please contact OTIC customer support for further assistance.
9. Техникалык шарттар
| Өзгөчөлүк | Спецификация |
|---|---|
| Бренд | OTIC |
| Модель номери | DP-2123A |
| Screen Size | 10.1 Inches (visible display area) |
| Экран түрү | LCD |
| Display Resolution | 1024 x 600 пиксель |
| Батарея сыйымдуулугу | 2500 mAh (built-in rechargeable) |
| Батареяны ойнотуу убактысы | 3-5 саат |
| Туура келген диск форматтары | CD, CD-R/RW, DVD, DVD+R/RW, DVD-R/RW, VCD, SVCD |
| Compatible Digital Media | USB drives (up to 32GB), SD cards (up to 32GB) |
| Колдоого алынган видео форматтары | VOB, AVI, MPEG1, MPEG2, XVID |
| Колдоого алынган аудио форматтары | MP3, WMA |
| Колдоого алынган сүрөт форматтары | JPG, JPEG |
| Байланыш | AV In, AV Out, USB, SD Card Slot, 3.5mm Headphone Jack, DC In, DC Out |
| Өлчөмдөрү (Негизги бирдик) | Болжол менен 35.56 x 13.46 x 25.4 см (14 x 5.3 x 10 дюйм) |
| Салмагы | Болжол менен 2.23 кг (4.92 фунт) |
| Түс | Кара |
10. Кепилдик жана колдоо
For information regarding warranty coverage, technical support, or service, please refer to the warranty card included in your package or contact the retailer from whom you purchased the product. You may also visit the official OTIC webакыркы колдоо маалымат үчүн сайт.
Кепилдик дооматтары үчүн сатып алганыңыздын далилин сактап коюңуз.