1. Киришүү
Thank you for choosing the IMIPAW 4L Automatic Pet Feeder. This device is designed to provide scheduled and portion-controlled meals for your pets, ensuring a consistent feeding routine. Please read this manual thoroughly before use to ensure proper operation and maintenance.
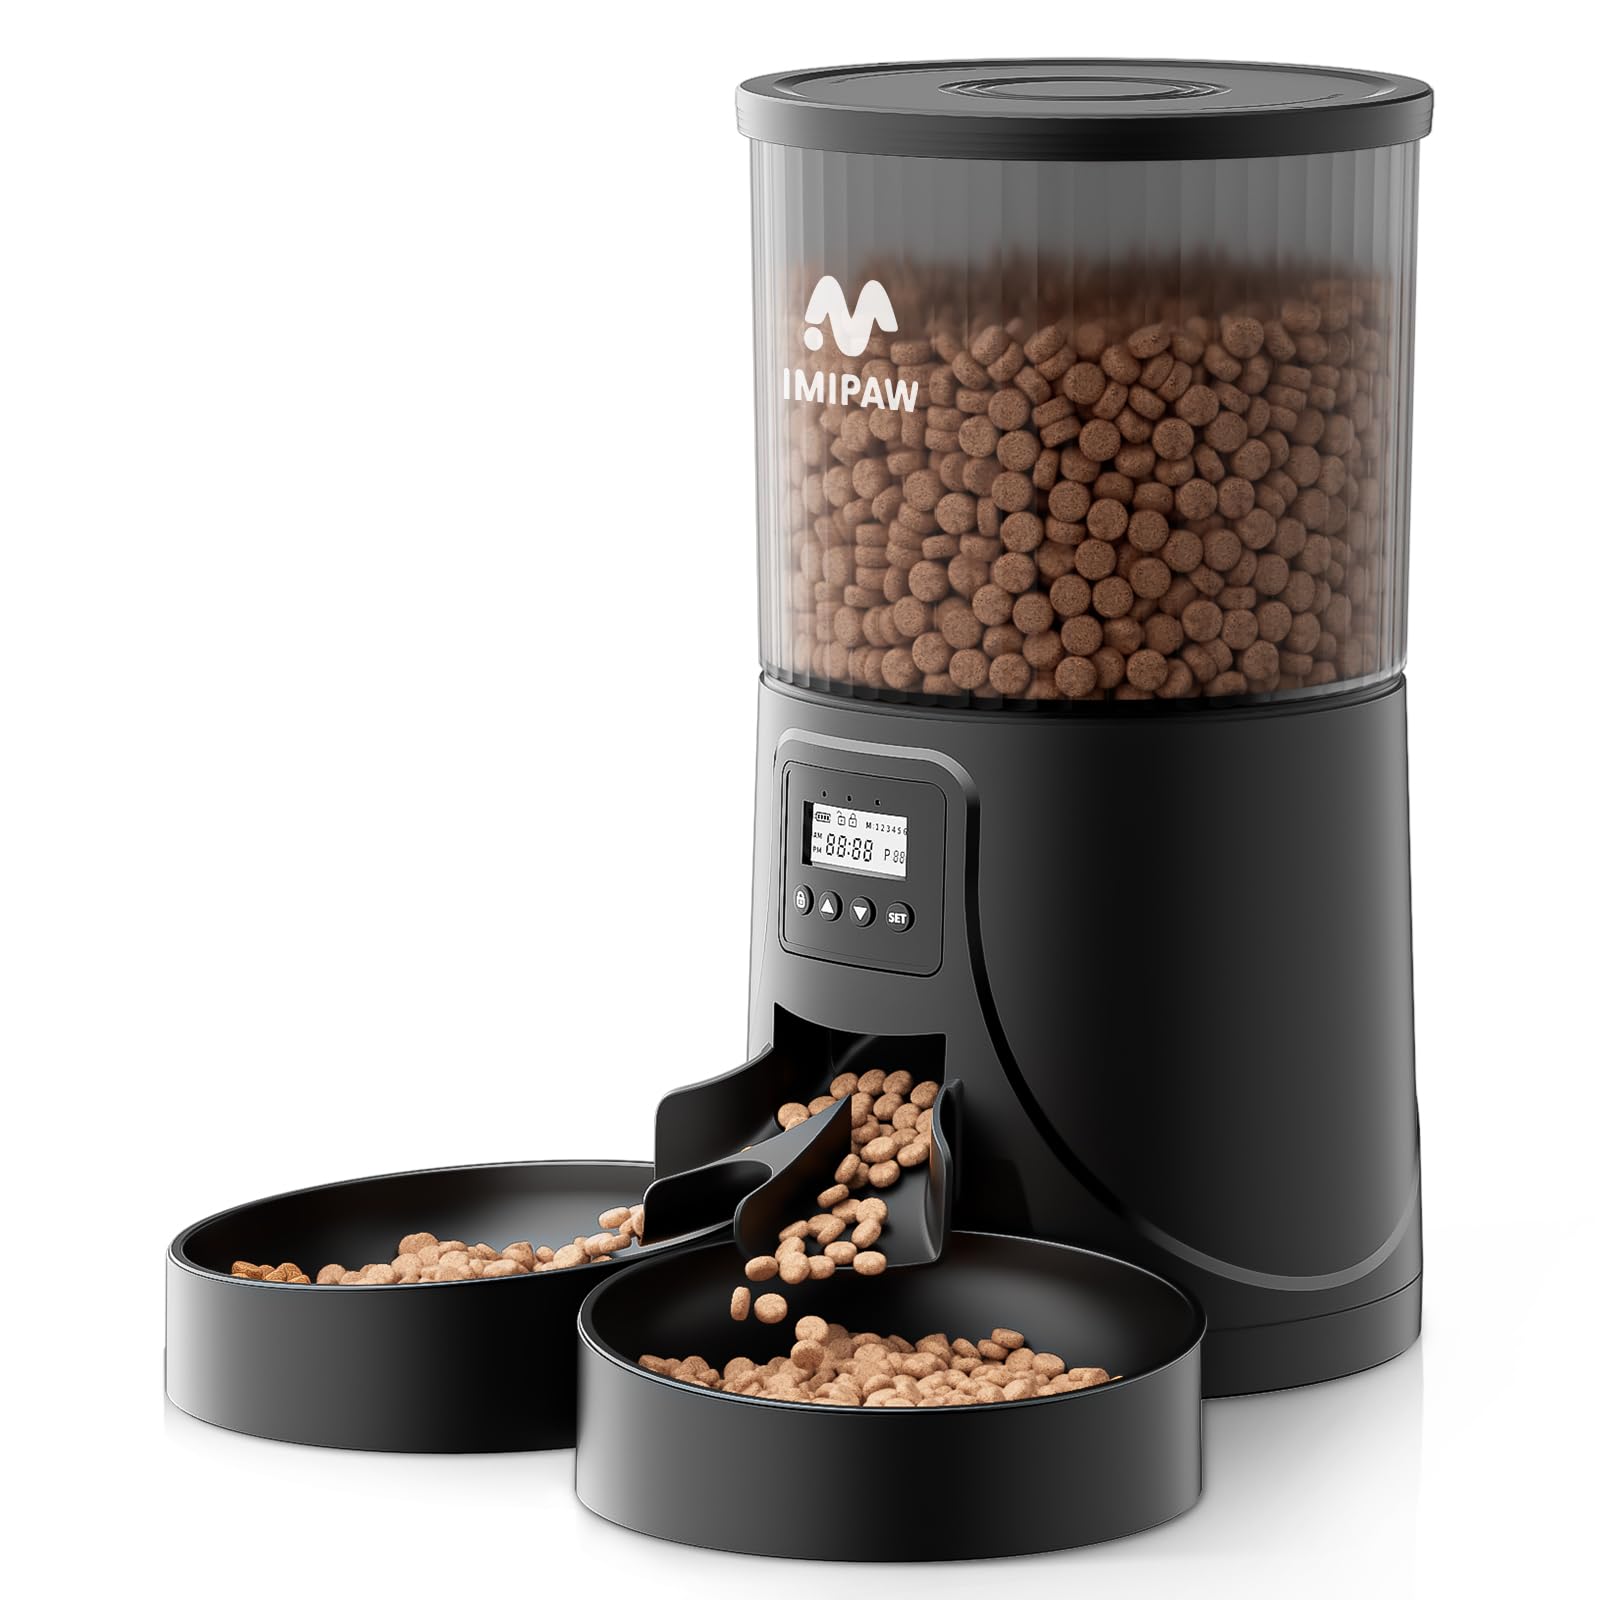
Image 1: The IMIPAW 4L Automatic Pet Feeder, featuring a transparent food container and dual feeding bowls.
2. Продукт бүтүп калдыview
2.1 Компоненттер
- Main Feeder Unit (4L capacity)
- Food Container Lid
- Dual Feeding Bowls
- Тамак-аш бөлгүч
- Кубаттуу адаптер
- USB-C кубат кабели
- Desiccant Bag (for freshness)
- Instruction Manual

Сүрөт 2: An overview of all included accessories: the main feeder, dual bowls, food separator, power cable, and power adapter.
2.2 Негизги өзгөчөлүктөрү
- 4L Food Capacity: Stores a significant amount of dry pet food.
- Dual Bowls: Allows two pets to eat simultaneously.
- Программалануучу таймер: Schedule up to 6 meals per day.
- Бөлүктү көзөмөлдөө: Dispense 1 to 20 portions per meal.
- Бөгөт коюуга каршы дизайн: Dual rotor and 40-degree slope ensure smooth food dispensing.
- Кош энергия менен камсыздоо: Operates with an AC adapter or 3 D-cell batteries (not included) for backup.
- Тамак-аштын жаңылыгы: Includes a desiccant bag and secure locking lid to keep food fresh.
- Тазалоо оңой: Detachable components for thorough cleaning.

Image 3: Illustration of the anti-clogging mechanism and recommended dry kibble sizes (2-10mm) for optimal performance.

Image 4: The food separator and dual bowls, designed for feeding two pets simultaneously.
3. Орнотуу
3.1 Кутудан чыгаруу жана чогултуу
- Таңгактан бардык компоненттерди алып салыңыз.
- Twist the lid counter-clockwise to remove it from the food container.
- Insert the food separator into the dispenser chute, ensuring it is securely in place.
- Place the dual feeding bowls at the base of the feeder.

Image 5: Visual guide for initial setup: removing the lid, inserting internal components, placing bowls, adding food, securing the lid, and plugging in the power.
3.2 Электр энергиясы
The feeder can be powered by the included AC adapter or by 3 D-cell batteries (not included) as a backup. It is recommended to use both for uninterrupted operation in case of a power outage.
- AC кубаттуулугу: Connect the USB-C cable to the feeder and the adapter to a wall outlet.
- Батареянын камдык көчүрмөсү: Open the battery compartment at the bottom of the feeder and insert 3 D-cell batteries, ensuring correct polarity.

Image 6: The feeder can be powered by a 5V DC adapter or 3 D-cell batteries (not included) for backup. The power cable is designed to be bite-resistant.

Сүрөт 7: Детальдуу view of the battery compartment for backup power and the AC power connection point.
3.3 Тамак-аш идишти толтуруу
- Ensure the lid is removed.
- Pour dry kibble into the container. The transparent design allows you to monitor food levels easily.
- Place the desiccant bag into the designated slot on the underside of the lid to maintain food freshness.
- Securely twist the lid clockwise until it locks into place.

Image 8: The desiccant bag is placed in the lid to absorb moisture and keep the pet food dry and fresh.

Image 9: The transparent food container allows for easy monitoring of the remaining food quantity. The 4-liter capacity can hold up to 16 cups of food.
4. Иштөө нускамалары
4.1 Башкаруу панелинин үстүнөview
The control panel features a display screen and several buttons for programming. The screen shows the current time, battery status, meal number, and portion size.
- Кулпу баскычы: Press and hold for 3 seconds to unlock the panel for programming.
- Өйдө жебе: Increase values when unlocked. When locked, press and hold for 5 seconds to reset the feeding plan.
- Төмөн жебе: Decrease values when unlocked.
- SET баскычы: Confirm selection and move to the next programming step.

Image 10: The control panel showing the display and buttons for programming meal times and portions.
4.2 Азыктандыруунун графигин орнотуу
You can program up to 6 meals per day, with each meal consisting of 1 to 20 portions. Each portion is approximately 10g of dry kibble.
- Кулпуну ачуу: Press and hold the Lock button for 3 seconds until the display unlocks.
- Учурдагы убакытты коюу: Use the Up/Down arrows to set the current hour, then press SET. Repeat for minutes.
- Program Meal 1: The display will show 'M1'. Use Up/Down arrows to set the desired feeding time for Meal 1 (hour then minute), pressing SET after each.
- Set Portions for Meal 1: Use Up/Down arrows to select the number of portions (1-20) for Meal 1, then press SET.
- Program Subsequent Meals: Repeat steps 3 and 4 for Meals 2 through 6 as needed. If you do not wish to set all 6 meals, simply press SET to skip to the next step after setting the last desired meal.
- Жөндөөлөрдү сактоо: After setting all desired meals, the feeder will automatically save the settings and return to the current time display.

Сүрөт 11: Мурункуample of a programmed feeding schedule, showing multiple meals throughout the day with varying portion sizes. The feeder supports 1-6 meals per day and 1-20 portions per meal.

Image 12: A visual representation of a customized feeding schedule, demonstrating how different meal times and portion sizes can be set to maintain a healthy diet for your pet.
4.3 Кол менен тамактандыруу
To dispense food manually, press the Down arrow button once. This will dispense one portion of food immediately. You can repeat this as needed.
Video 1: A demonstration of the IMIPAW Automatic Pet Feeder in action, showing food dispensing, cats eating, dual power options, and cleaning. This video provides a comprehensive overview продуктунун өзгөчөлүктөрү жана функционалдуулугу жөнүндө.
5. Техникалык тейлөө
5.1 Бергичти тазалоо
Regular cleaning ensures hygiene and extends the life of your feeder. The food container, lid, food separator, and bowls are all detachable and washable.
- Unplug the feeder from the power source and remove any batteries.
- Remove the lid and empty any remaining food from the container.
- Detach the food container, food separator, and feeding bowls.
- Wash these components with mild soap and water. Rinse thoroughly and allow them to air dry completely before reassembling.
- Wipe the main feeder base with a damp кездеме. Do not submerge the base in water, as it contains electronic components.
- Reassemble all dry components.

Image 13: The detachable components of the feeder, including the food container, separator, and bowls, can be easily washed for deep cleaning.

Image 14: The simple and removable construction allows for easy cleaning of the food-contact parts. Remember not to wash the main base unit.
6. Кыйынчылыктарды
- Азык берүүчү тамакты бербейт:
- Check if the power adapter is securely plugged in and if batteries are installed correctly.
- Ensure the food container has enough kibble.
- Verify that the feeding schedule is programmed correctly.
- Check for any food blockages in the dispensing chute. Clean if necessary.
- Тамак-аш тыгылып калат:
- Ensure kibble size is between 2-10mm. Larger kibble may cause blockages.
- Clean the dispensing mechanism regularly to prevent buildup.
- Дисплей иштебейт:
- Check power connection and battery status.
- Try resetting the feeder by holding the Up arrow button for 5 seconds when the panel is locked.
- Pets accessing stored food:
- Ensure the lid is securely twisted and locked.
- The feeder is designed with a secure lid to prevent pets from opening it.
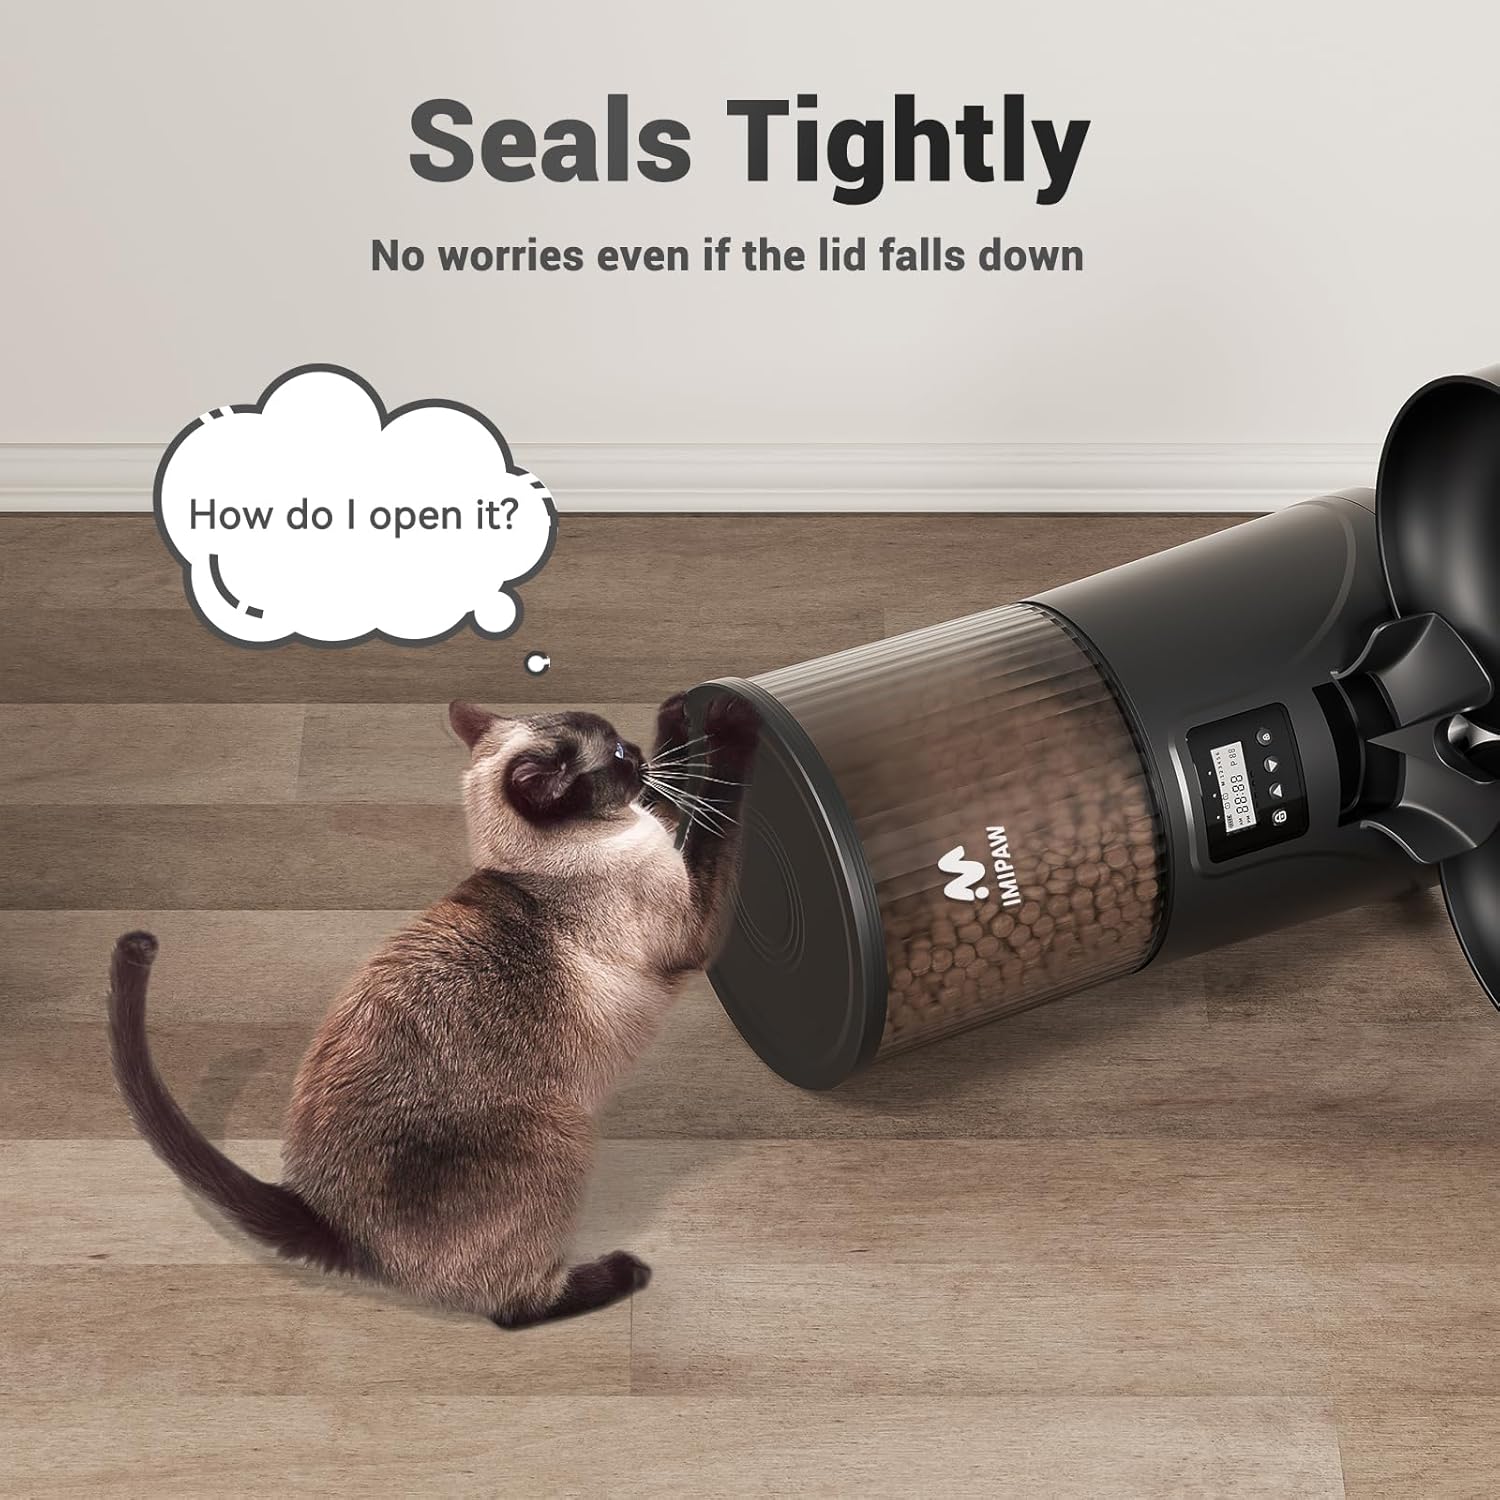
Image 15: A cat attempting to open the feeder lid, illustrating the secure locking mechanism designed to prevent pets from accessing the stored food.
7. Техникалык шарттар
| Өзгөчөлүк | Деталь |
|---|---|
| Модель номери | DU4LB-KYD |
| Өлчөмдөрү (L x W x Y) | 19.5 x 19 x 30.5 см |
| Салмагы | 1.2 кг |
| Материал | Акрилонитрил бутадиен стирол (ABS) |
| Кубаттуулугу | 4 литр |
| Күнүнө тамактануу | 1-6 (Programmable) |
| Тамакка порциялар | 1-20 (Programmable) |
| Power Source | AC Adapter (included), 3 x D-cell Batteries (not included) |
| Максаттуу түрлөр | Мышыктар, кичинекей иттер |
| Өзгөчөлүктөр | Anti-clogging, Portion Control, Timer, Programmable, Non-slip |

Image 16: Detailed dimensions of the IMIPAW 4L Automatic Pet Feeder.
8. Кепилдик жана колдоо
The IMIPAW 4L Automatic Pet Feeder comes with a one-year warranty from the date of purchase. If you encounter any issues or have questions, please contact our customer support team.
Кардарларды колдоо: For assistance, please email us. Our team is available to provide friendly support.

Image 17: The automatic feeder ensures your cats are fed on time, anytime, anywhere, providing peace of mind during business trips, work, or vacations.