
1. Коопсуздук боюнча маанилүү маалымат
Орнотуудан жана колдонуудан мурун бул көрсөтмөлөрдү кунт коюп окуп чыгыңыз. Бул колдонмону келечекте колдонуу үчүн сактап коюңуз.
- Электр коопсуздугу: Always disconnect power at the main circuit breaker before installation, maintenance, or bulb replacement. Consult a qualified electrician if you are unsure about electrical wiring.
- Тtage: электр менен жабдууну камсыз кылуу voltage арматуранын талаптарына дал келет (240 вольт).
- Лампочканын түрү: Use only G9 bulbs, maximum 28 Watts. Do not exceed the recommended wattagд. Лампалар камтылган эмес.
- Орнотуу: This fixture is designed for ceiling mounting. Ensure the mounting surface can support the weight of the chandelier (5.84 kg).
- Курчап турган чөйрө: For indoor use only (IP20 rating). Do not expose to moisture or extreme temperatures.
- Тазалоо: Тазалоо үчүн жумшак, кургак чүпүрөктү колдонуңуз. Абразивдүү тазалагычтарды же эриткичтерди колдонбоңуз.
2. Продукт бүтүп калдыview
The MAYTONI Dallas Chandelier (MOD545PL-25B) is a modern decorative lighting fixture designed to enhance various indoor spaces such as living rooms, dining rooms, bedrooms, offices, kitchens, and cafes. Its unique design features a black metal frame with 25 smoked glass spheres, resembling a molecular structure.
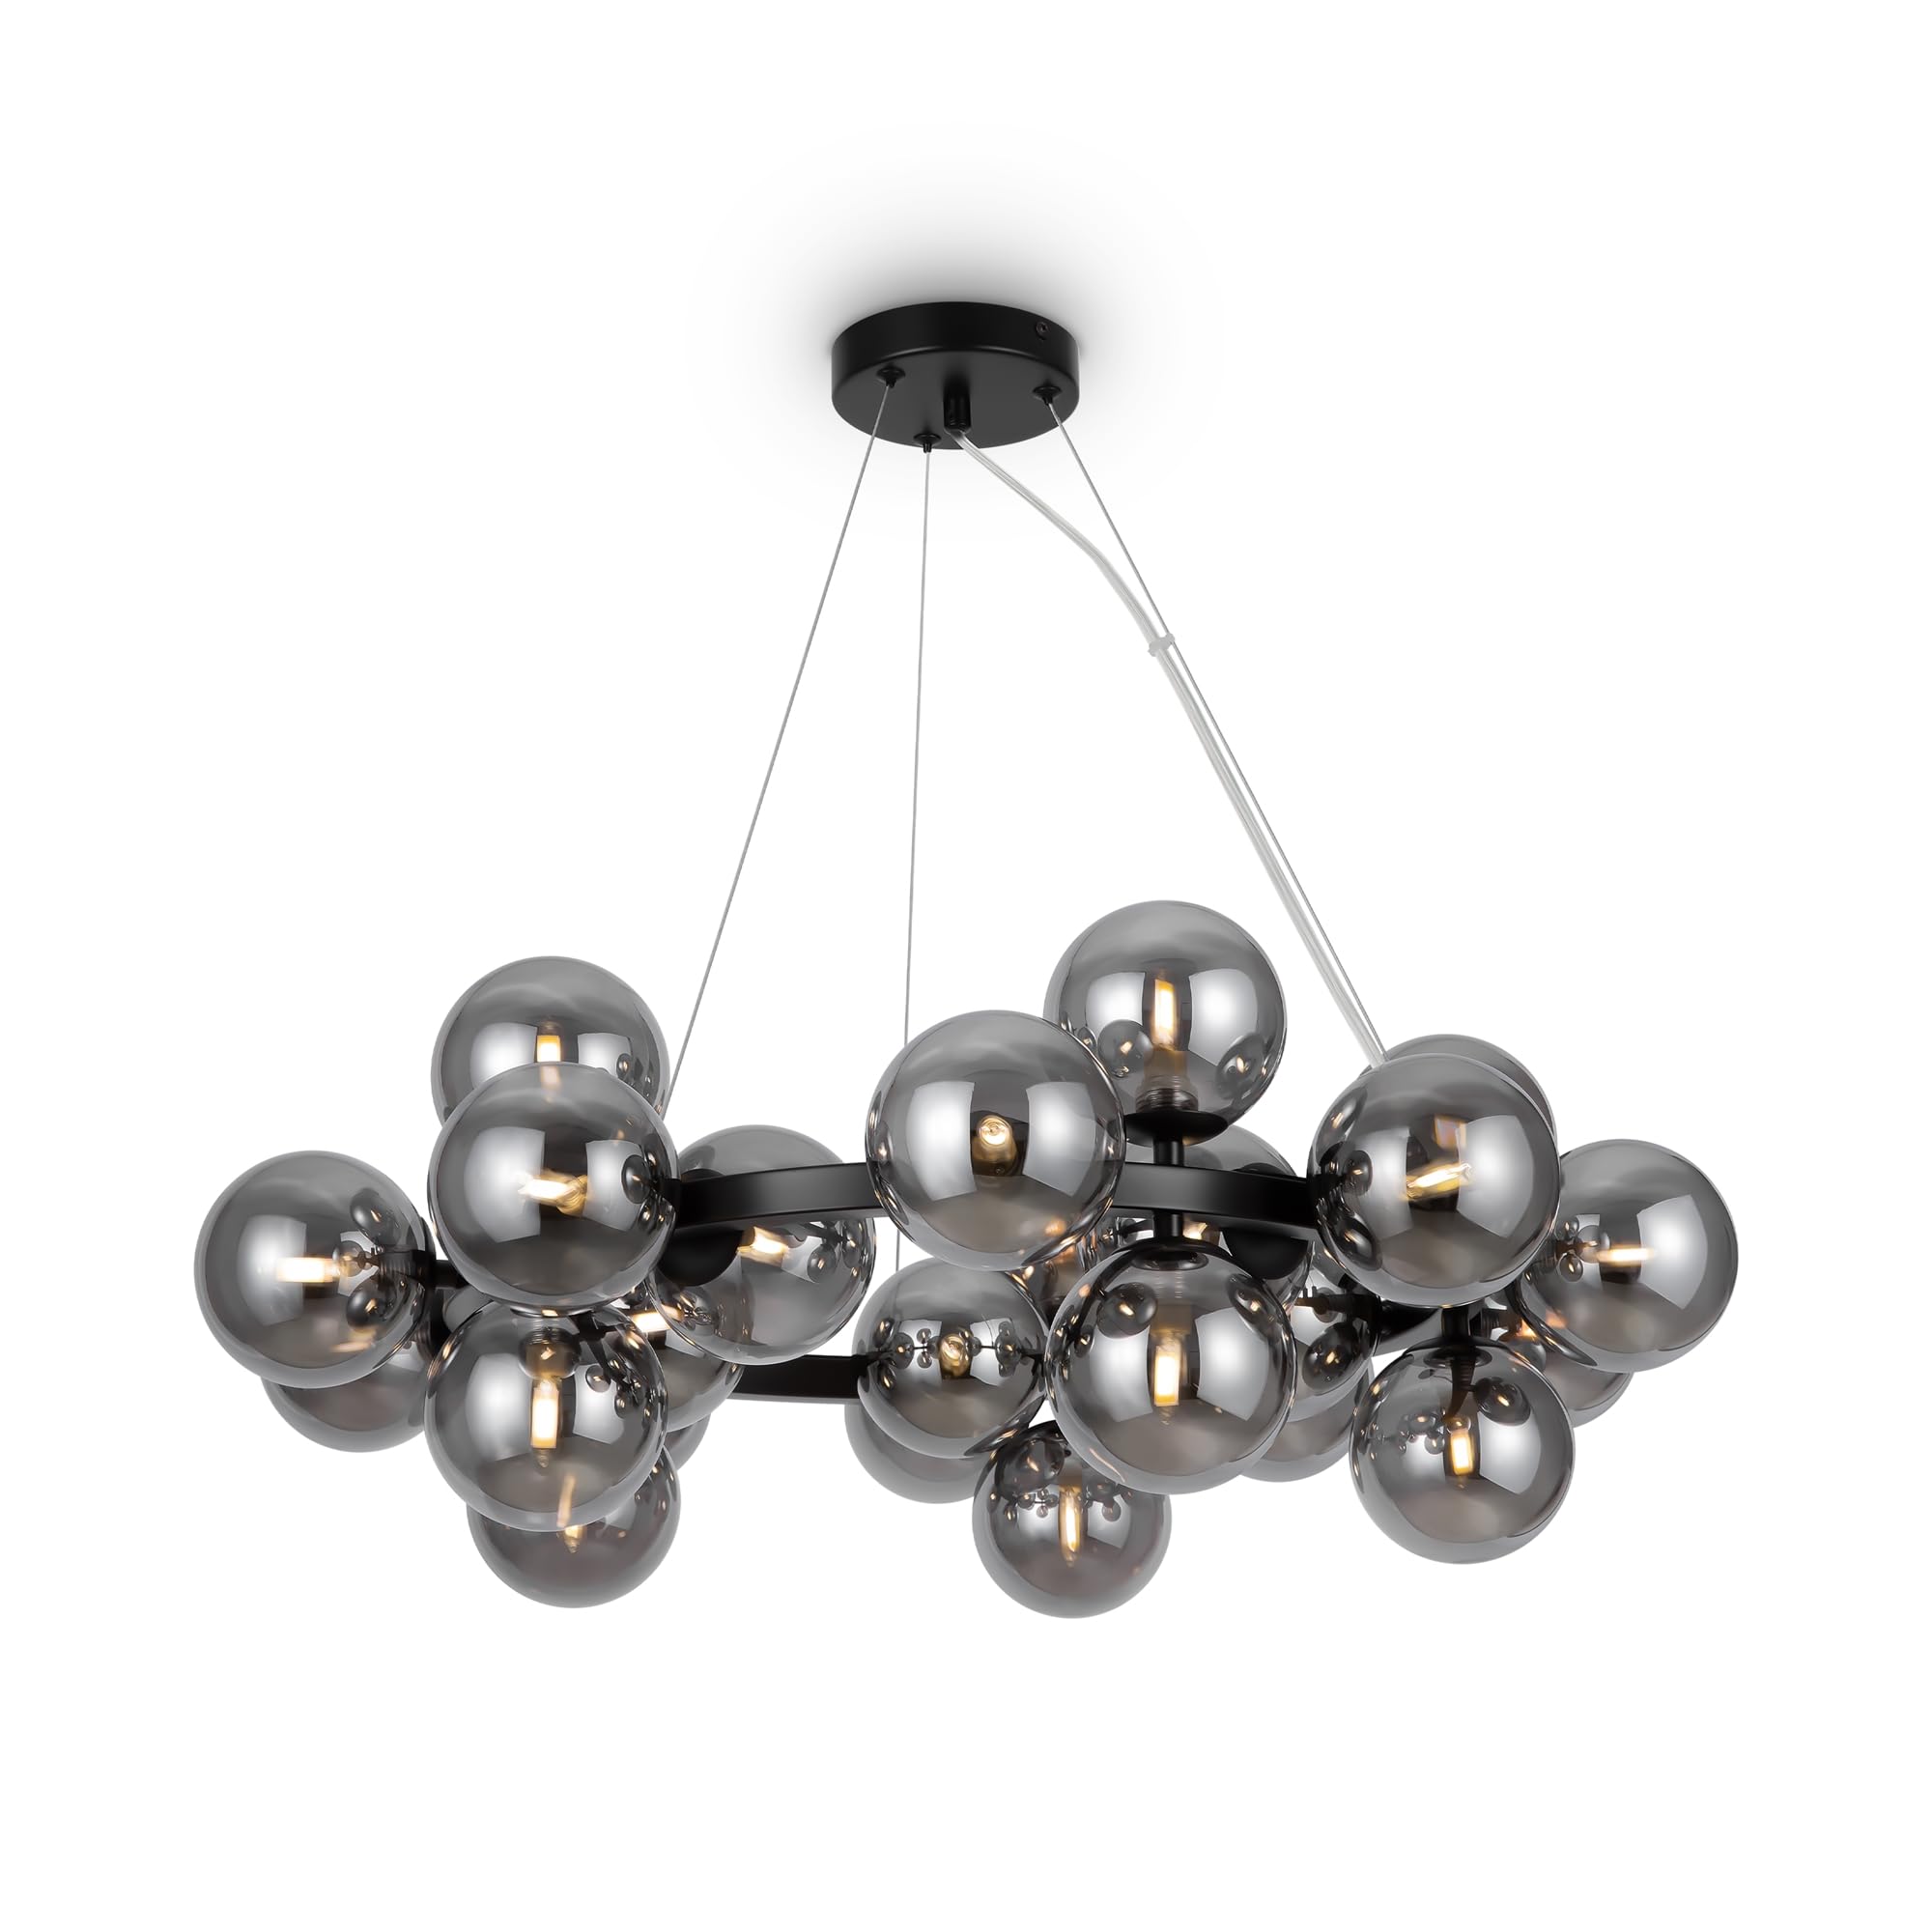
Figure 2.1: MAYTONI Dallas Chandelier (MOD545PL-25B) - Overall View.
This chandelier provides bright and pleasant general illumination, suitable for rooms with low ceilings due to its total height of 25 cm and diameter of 75 cm. The shade diameter is 10 cm.
3. Кутуда эмне бар
Carefully unpack the box and ensure all components are present and undamaged. If any parts are missing or damaged, contact customer support before proceeding with installation.
- Chandelier frame (black metal)
- 25 Smoked glass spheres (shades)
- Монтаждоочу жабдыктар (бурамалар, анкерлер ж.
- Колдонмо
Note: G9 bulbs are not included and must be purchased separately.
4. Техникалык шарттар
| Өзгөчөлүк | Деталь |
|---|---|
| Бренд | MAYTONI ДЕКОРАТИВДУУ ЖАРЫК |
| Модель номери | MOD545PL-25B |
| Продукциянын өлчөмдөрү (L x W x Y) | 123.5 x 23.8 x 135.4 см |
| Жалпы бийиктик | 25 см |
| Диаметри | 75 см |
| Элемент Салмагы | 5.84 кг |
| Материал | Metal (frame), Glass (shades) |
| Түс | Black (frame), Smoked (shades) |
| Стиль | Заманбап |
| Лампалар саны | 25 |
| Лампанын түрү | G9 (киргизилген эмес) |
| Макс Ватtage per Lampochka | 28 Ватт |
| Тtage | 240 вольт |
| IP рейтинги | IP20 (Ичинде гана колдонуу) |
| Power Source | Электр зымдары |
| Өзгөчөлүктөр | Энергияны үнөмдүү |
5. Орнотуу жана орнотуу
Баштоодон мурун: Ensure the power supply is turned off at the circuit breaker. It is recommended to have two people for installation due to the size and weight of the fixture.
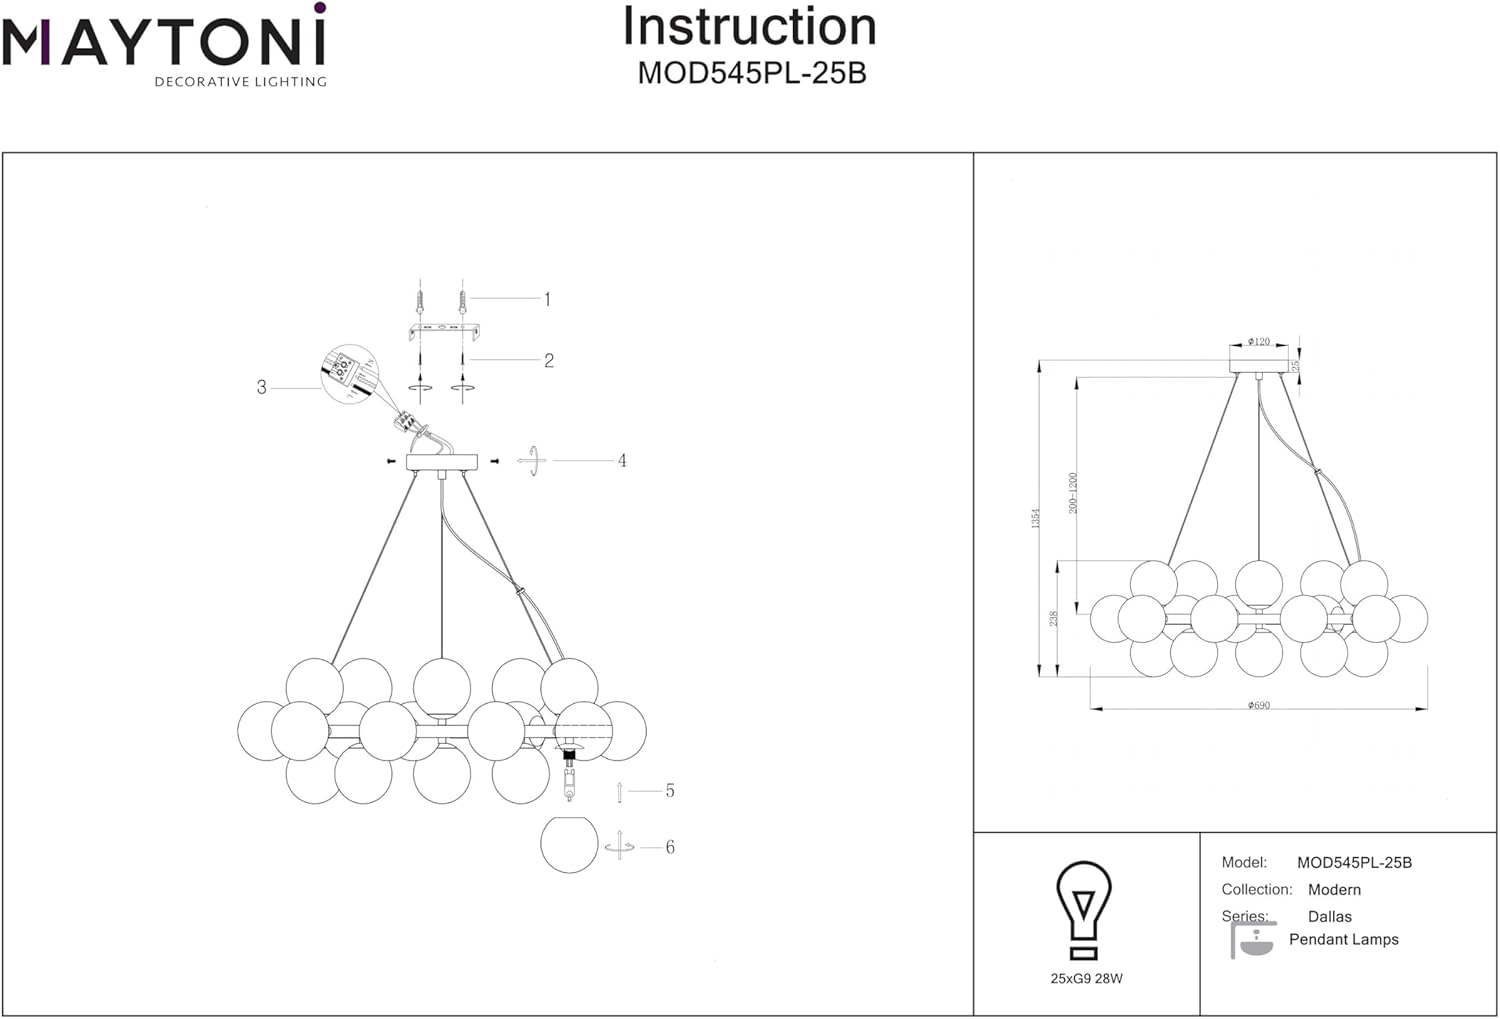
Figure 5.1: Installation Diagram and Dimensions.
- Шыпты даярдоо: Mark the drilling points on the ceiling for the mounting bracket (1). Ensure the location is suitable and can support the chandelier's weight.
- Монтаждык кронштейнди орнотуу: Drill holes and insert appropriate anchors. Secure the mounting bracket to the ceiling using screws (2).
- Зымдарды туташтыруу: Carefully connect the chandelier's electrical wires to your household wiring. Ensure correct polarity (Live to Live, Neutral to Neutral, Ground to Ground). Use appropriate wire connectors.
- Чатырды тиркөө: Lift the chandelier and secure the canopy to the mounting bracket using the provided screws (4). Ensure the wires are not pinched.
- G9 лампаларын орнотуу: Insert the G9 bulbs into their respective sockets (3). Gently push and twist to secure.
- Attach Glass Spheres: Carefully attach each smoked glass sphere (6) to its designated holder on the chandelier frame (5). Twist or push to secure, depending on the mechanism.

Figure 5.2: Ceiling Mount Detail.
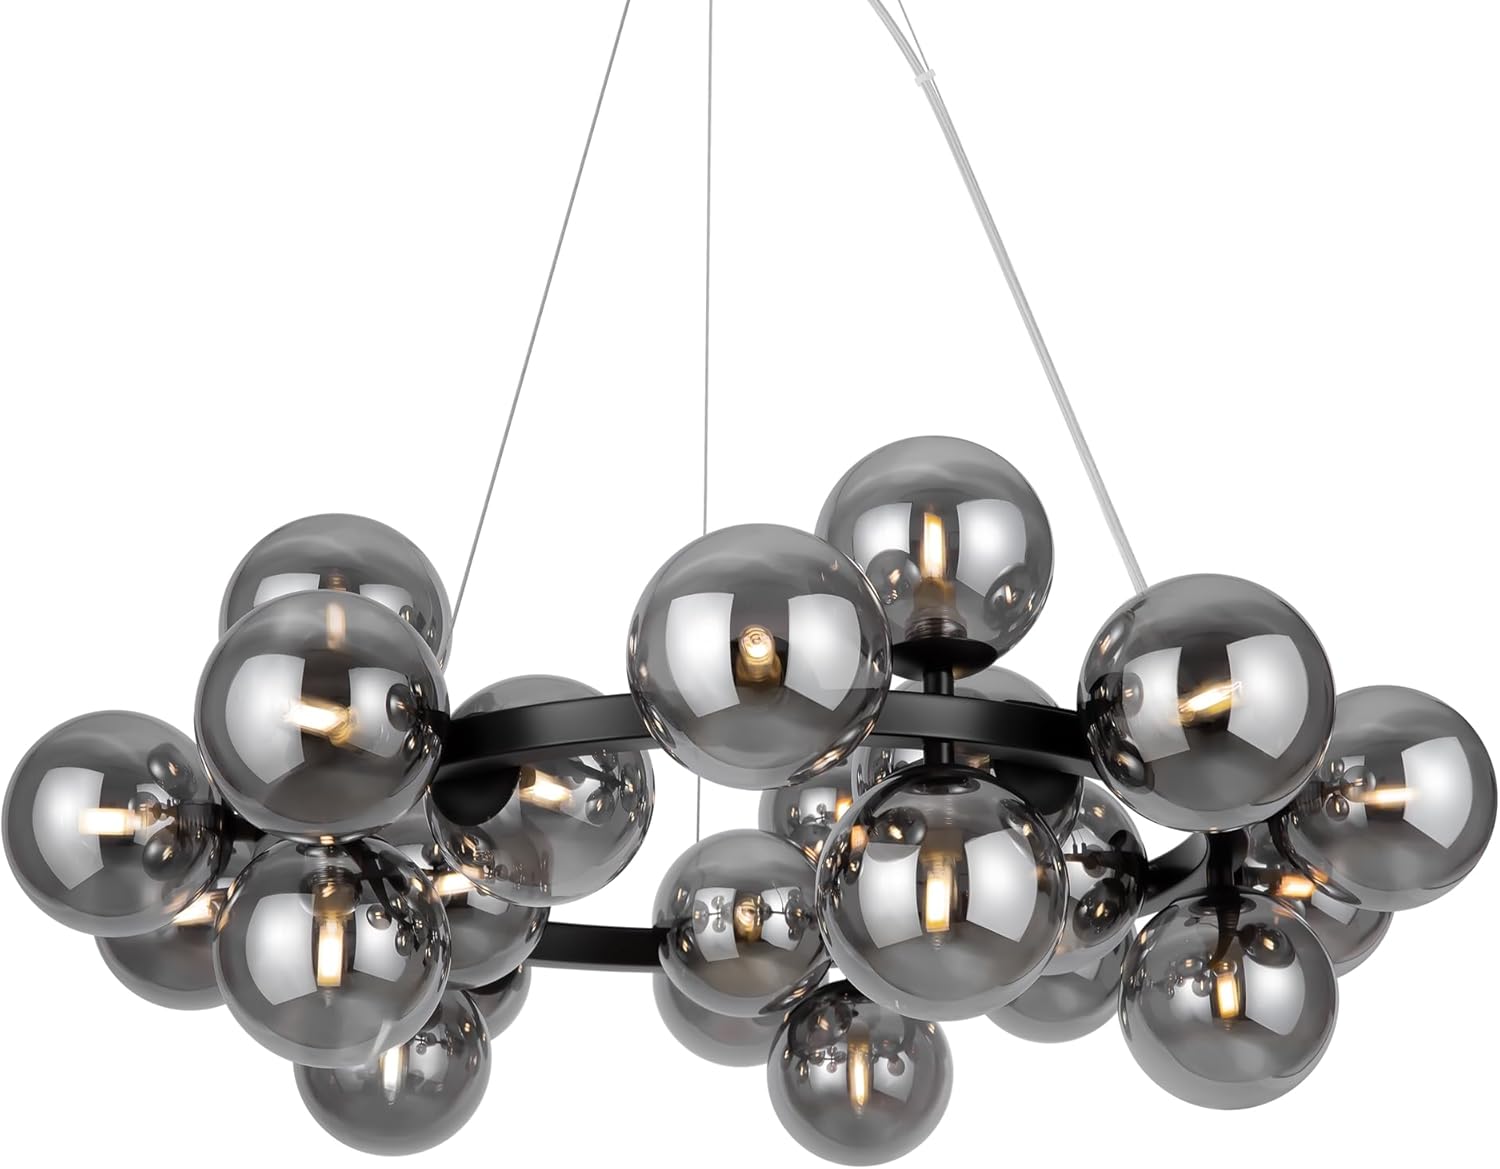
Figure 5.3: Detail of Glass Spheres and Bulb Sockets.
6. Иштөө нускамалары
Once installed, operating your MAYTONI Dallas Chandelier is straightforward:
- Күйгүзүү: Негизги өчүргүчтөгү кубатту калыбына келтириңиз.
- Күйгүзүү/өчүрүү: Use your standard wall switch to turn the chandelier on or off.
- Лампаны алмаштыруу: Ensure power is off before replacing any G9 bulbs. Allow bulbs to cool completely before handling.
7. Техникалык тейлөө
Үзгүлтүксүз тейлөө люстраңыздын сырткы көрүнүшүн жана функционалдуулугун сактоого жардам берет.
- Тазалоо: Disconnect power before cleaning. Use a soft, dry, lint-free cloth to wipe the metal frame and glass spheres. Do not use liquid cleaners, abrasive materials, or chemical solvents, as these can damage the finish.
- Лампаны алмаштыруу: As needed, replace G9 bulbs with new ones of the same type and wattage (max 28W). Always ensure power is off and bulbs are cool before replacing.
- Текшерүү: Мезгил-мезгили менен бардык туташууларды жана монтаждоо жабдыктарын текшерип туруңуз.
8. Кыйынчылыктарды
Эгерде сиз люстраңыз менен көйгөйлөргө туш болсоңуз, төмөнкү кеңири таралган көйгөйлөрдү жана чечимдерди караңыз:
| Көйгөй | Мүмкүн себеп | Чечим |
|---|---|---|
| Жарык күйбөйт |
|
|
| Жарык жылтылдайт |
|
|
| Glass sphere falls off |
|
|
Бул чечимдерди колдонуп көргөндөн кийин көйгөй чечилбесе, кардарларды колдоо менен байланышыңыз.
9. Кепилдик жана колдоо
Кепилдик: This MAYTONI product comes with a 2-year warranty from the date of purchase, covering manufacturing defects. Please retain your proof of purchase for warranty claims.
Кардарларды колдоо: For any questions, concerns, or assistance with installation or troubleshooting, please contact MAYTONI customer service. Our dedicated team is ready to help you create the perfect lighting solution for your home or business.
You can visit the MAYTONI brand store for more information: MAYTONI Brand Store