Introduction
Welcome to your GOWENIC Digital Camera. This manual provides comprehensive instructions for setting up, operating, and maintaining your camera to ensure optimal performance and longevity. Please read this manual carefully before using your camera.
Кутуда эмне бар
Пакетиңизде бардык буюмдар бар экенин текшериңиз:
- Санариптик камера
- USB кабели
- Колдонуучунун Колдонмосу (бул документ)
- Сактоочу баштык
- Lanyard
- Card Reader
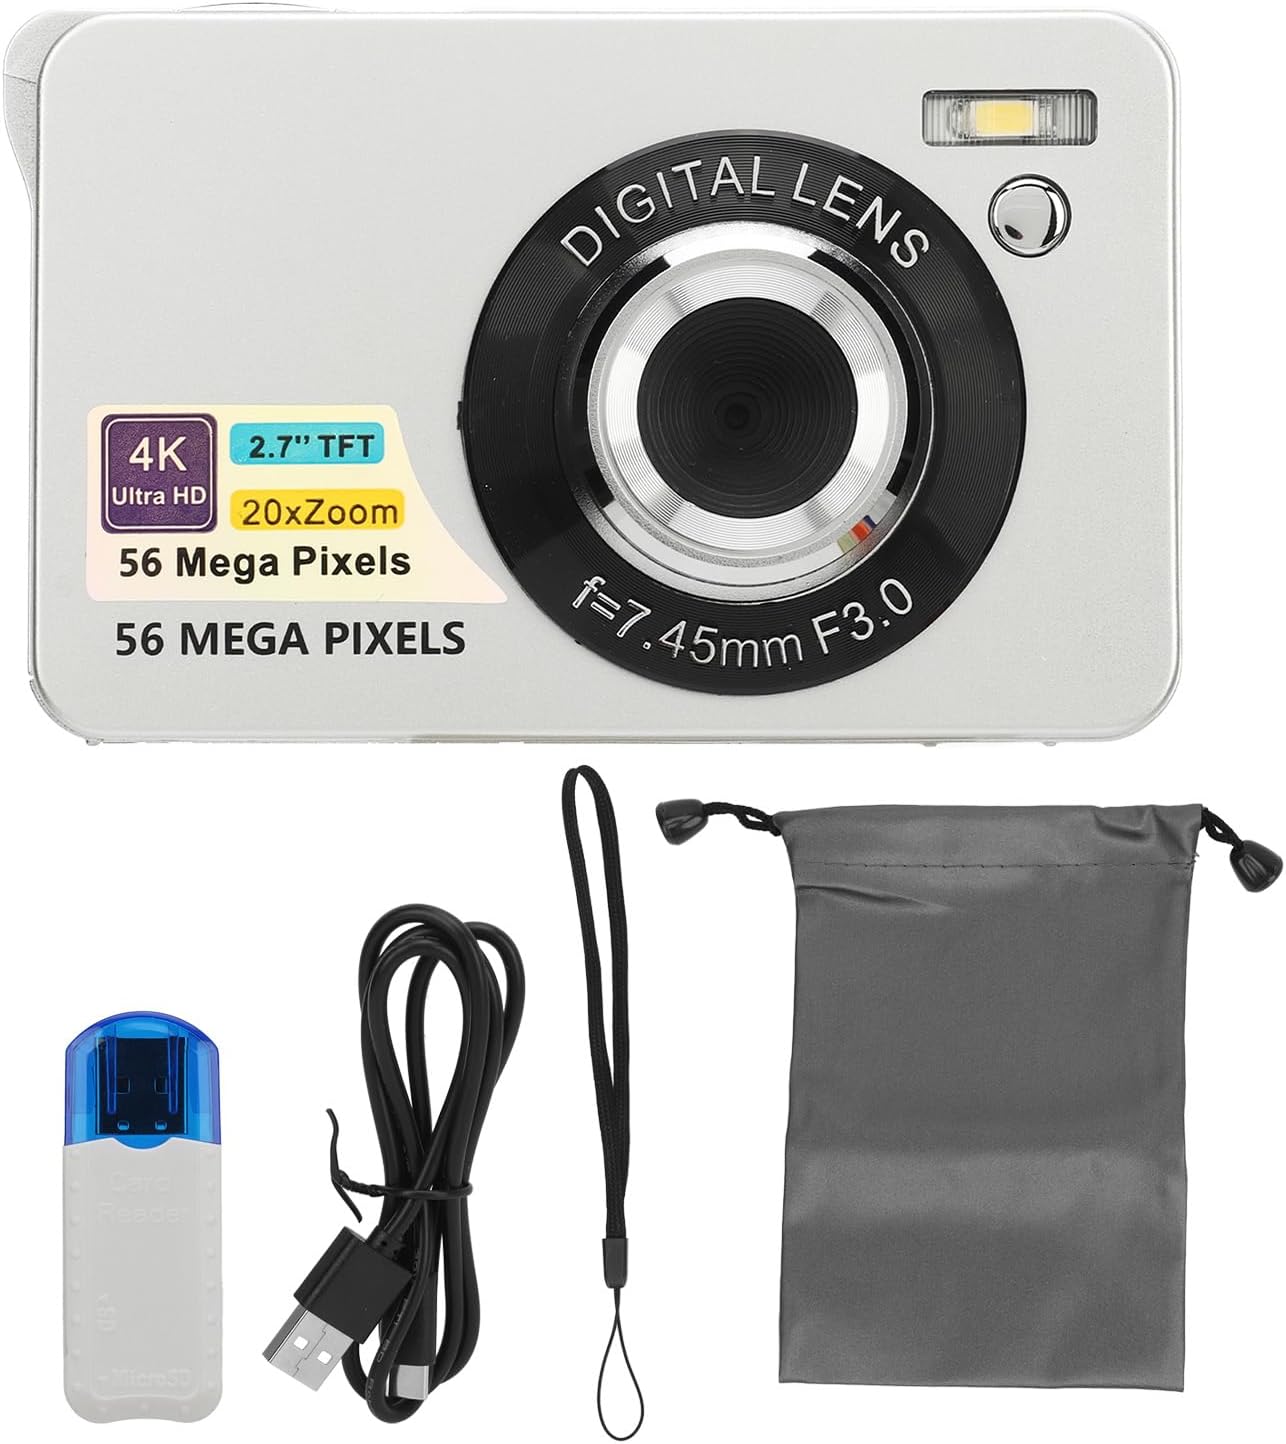
Image: The GOWENIC Digital Camera shown with its accessories, including the USB cable, lanyard, storage bag, and card reader.
Жайгашуу
1. Батареяны орнотуу
- Батарея бөлүмүн камеранын астыңкы жагына жайгаштырыңыз.
- Батарея уясынын капкагын жылдырыңыз, аны ачыңыз.
- Insert the provided Lithium Ion battery (750 mAh) according to the polarity indicators inside the compartment.
- Батарея уясынын капкагын бекем жабыңыз.
2. Эстутум картасын орнотуу
Камера 128 ГБ чейинки SD карталарды колдойт (кошулбайт).
- Locate the memory card slot, typically next to the battery compartment or on the side.
- SD-картаны металл контакттары камеранын алдына каратып, чыкылдаганча кыстарыңыз.
- Алып салуу үчүн, картаны ал чыгып кеткенче акырын басыңыз.

Сүрөт: Төмөнкү view of the camera, illustrating the location of the battery and memory card slots.
3. Камераны заряддоо
Use the provided USB cable to charge the camera directly.
- USB кабелинин кичинекей учун камеранын USB портуна туташтырыңыз.
- USB кабелинин чоңураак учун USB кубат адаптерине (кошулмада жок) же компьютердин USB портуна туташтырыңыз.
- Заряддоо индикатору кубаттоо учурунда күйөт жана толук заряддалганда өчөт.
4. Күйгүзүү / Өчүрүү
Press and hold the power button, usually located on the top or side of the camera, to turn the camera on or off.
Камераны иштетүү
1. Негизги сүрөт
The camera supports 56MP photography for high-resolution images.
- Автофокус: Lightly press the shutter button to allow the camera to focus on your subject. Once focused, press the shutter button fully to capture the photo.
- Жабык баскычы: Located on the top of the camera, this button is used to take pictures.
- Чоңойтуу: Use the 'W' (Wide) and 'T' (Telephoto) buttons, typically located near the shutter, to adjust the 20x digital zoom.

Image: The camera's autofocus feature in action, highlighting how it sharpens the subject.

Image: A visual representation of the autofocus function, showing the transition from an unfocused to a focused image.
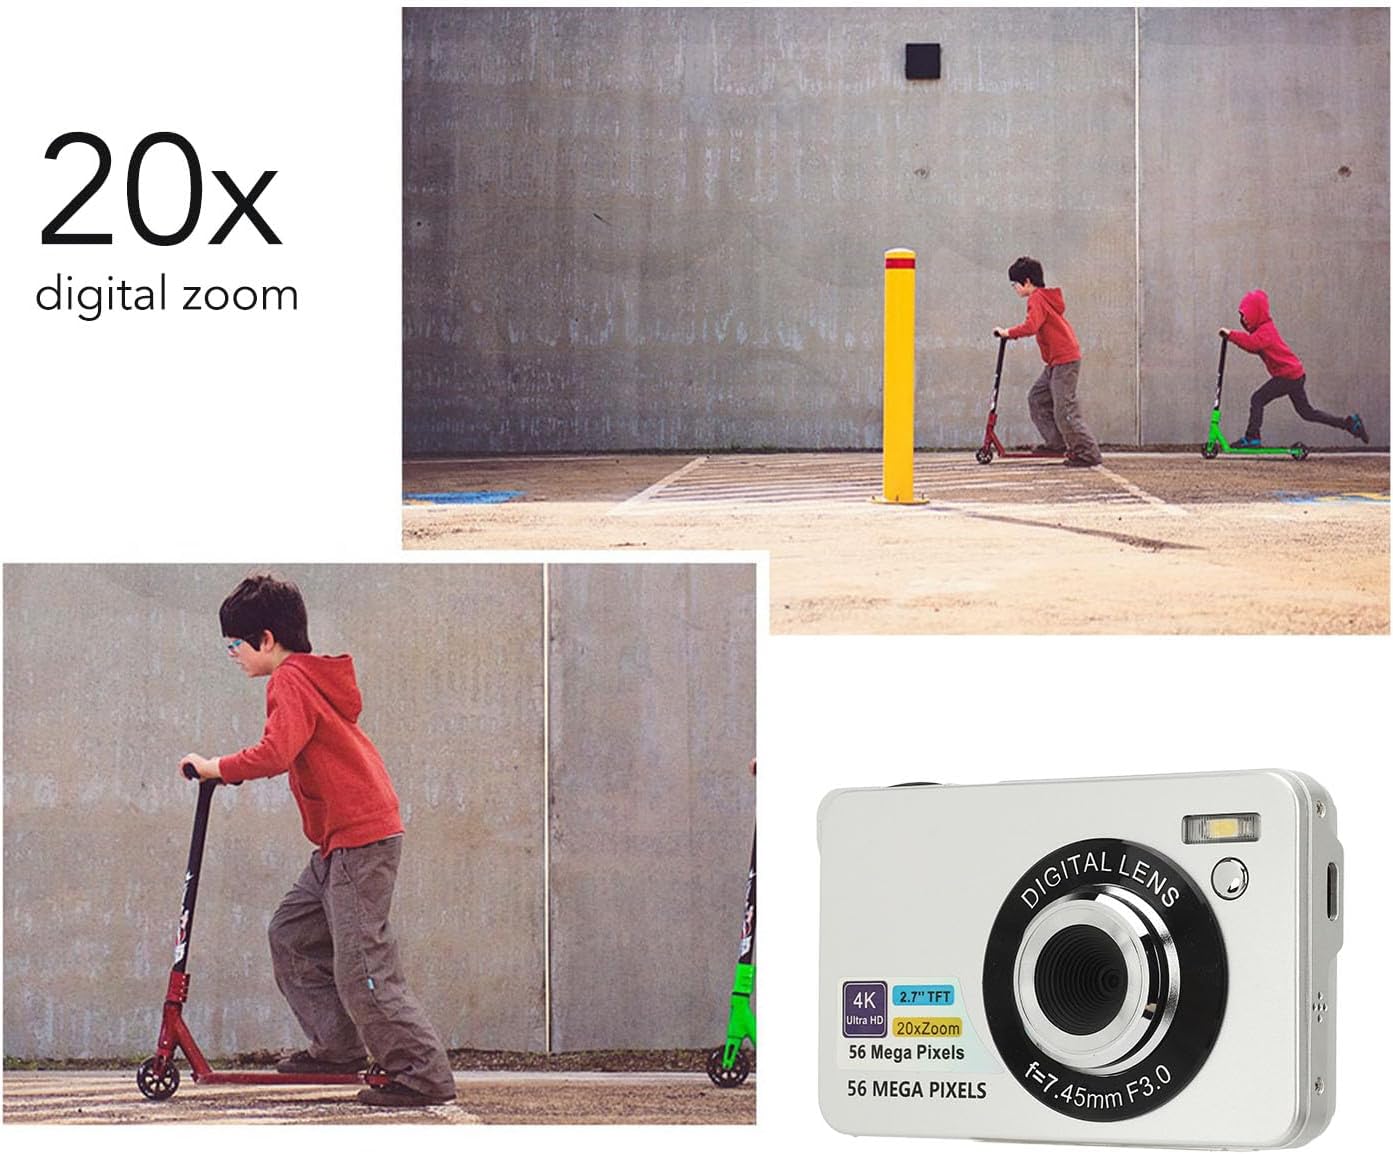
Image: The camera's 20x digital zoom capability, illustrated with a scene of children playing.

Image: A visual demonstration of the camera's 20x digital zoom, showing progressive magnification of a lighthouse.
2. Видео жаздыруу
Камера 4K (2160p) форматында видео жаздырууну колдойт.
- Switch the camera to video mode using the mode dial or button.
- Жазууну баштоо үчүн жапкычты басыңыз.
- Жазууну токтотуу үчүн жапкычты кайра басыңыз.

Image: The camera highlighting its 4K UHD video recording and 56MP photography capabilities.
3. Экранды көрсөтүү
The camera features a 2.7-inch LCD screen for convenient viewсүрөттөрүңүздү жана видеолоруңузду сактоо.
- Use the navigation buttons to browse through your captured media.
- Adjust screen brightness in the camera settings if available.

Image: The camera's 2.7-inch screen displaying a captured image of sunflowers.
4. Өзгөчөлүктөр
- Жарык толтуруу: The built-in fill light can be turned on or off as needed to illuminate subjects in low-light conditions. Refer to the camera's menu for activation.
- Убакыттын өтүшү: Capture sequences of images over time to create time-lapse videos. Settings are available in the camera menu.
- Жай кыймыл: Record videos in slow motion for dramatic effects.
- Авто таймер: Set a delay (e.g., 2, 5, or 10 seconds) before a photo is taken, useful for group shots or selfies.
- Жаруу режими: Capture multiple images in rapid succession by holding down the shutter button. This is ideal for capturing fast-moving subjects.
Video: A short demonstration of capturing motion, illustrating the camera's ability to record dynamic scenes, potentially using burst mode or slow motion.

Image: An illustration of the camera's burst mode, capturing a series of moments in quick succession.
- Сүрөттү турукташтыруу: The camera features digital image stabilization to help reduce blur caused by camera shake, resulting in clearer photos and smoother videos.

Image: A comparison demonstrating the effectiveness of the anti-shake feature, showing a blurry image versus a clear one.
5. өткөрүп берүү Files
Easily transfer photos and videos from your camera to a computer for storage or sharing.
- Камераны компьютериңизге берилген USB кабели аркылуу туташтырыңыз.
- The camera should appear as a removable drive on your computer.
- Open the camera's folder to access and copy your files.

Image: A visual guide to connecting the camera to a computer via USB for file өткөрүп берүү.

Image: A person demonstrating the USB connection process for transferring fileкамерадан компьютерге чейин.
Техникалык тейлөө
1. Тазалоо
- Камера корпусун жана экранын тазалоо үчүн жумшак, мамыксыз чүпүрөктү колдонуңуз.
- Линза үчүн атайын линза тазалоочу чүпүрөктү жана эритмени колдонуңуз. Линзага манжаларыңыз менен түздөн-түз тийүүдөн алыс болуңуз.
- Do not use harsh chemicals or abrasive materials, as they can damage the camera's surfaces.
2. Сактоо
- When not in use, store the camera in the provided storage bag to protect it from dust and scratches.
- Камераны салкын, кургак жерде, түз күндүн нурунан жана экстремалдык температурадан алыс сактаңыз.
- Эгерде камера көпкө чейин колдонулбаса, агып кетүүнүн алдын алуу үчүн батарейканы чыгарып коюңуз.
Проблемаларды чечүү
Камераңыз менен көйгөйлөргө туш болсоңуз, төмөнкү жалпы чечимдерди караңыз:
| Көйгөй | Чечим |
|---|---|
| Камера күйбөйт. | Ensure the battery is fully charged and correctly inserted. Try charging the camera for at least 30 minutes. |
| Сүрөттөр бүдөмүк. | Ensure autofocus is engaged by lightly pressing the shutter button before fully pressing. Check lighting conditions. Use the anti-shake feature if available. |
| Которуу мүмкүн эмес fileс компьютерге. | Verify the USB cable is securely connected to both the camera and computer. Ensure the camera is in the correct mode for data transfer (check camera settings). Try a different USB port or cable. |
| Эстутум картасынын катасы. | Ensure the SD card is inserted correctly. Check if the card is damaged or full. Try formatting the card (this will erase all data). Ensure the card is compatible (up to 128GB). |
| Жаркылдак иштебей жатат. | Check flash settings in the camera menu. Ensure the fill light is enabled if desired. |
Техникалык шарттар
Key technical specifications for the GOWENIC Digital Camera (Model GOWENIC8fderhqtab-12):
| Өзгөчөлүк | Деталь |
|---|---|
| Бренд | ГОВЕНИК |
| Модель аты | GOWENIC8fderhqtab-12 |
| Натыйжалуу дагы эле чечим | 56 депутат |
| Video Resolution | 4K (2160p) |
| Digital Zoom | 20x |
| Screen Size | 2.7 дюйм (LCD) |
| Фото сенсор технологиясы | CMOS |
| Image Stabilization | Санарип |
| Колдоого алынган File Форматтар | JPEG, RAW (for photos), MP4 (for video) |
| Эстутум сактоо сыйымдуулугу | Supports up to 128 GB (SD card) |
| Батарея түрү | Литий ион |
| Батарея сыйымдуулугу | 750 миллионamp Саат |
| Байланыш технологиясы | USB |
| Өзгөчөлүктөр | Autofocus, Fill Light, Time Lapse, Slow Motion, Self-Timer, Burst Mode |
| Форма фактору | Компакт |
| Skill Level | Novice |
Кепилдик жана колдоо
For warranty information or technical support, please refer to the documentation included with your purchase or contact GOWENIC customer service through their official channels. Keep your purchase receipt as proof of purchase for warranty claims.