Introduction
This manual provides comprehensive instructions for the installation, operation, and maintenance of your Generic Slim DVD CD Burner Writer Drive. This internal optical drive is designed for use with PC hardware platforms running various versions of Windows operating systems, offering capabilities to burn and read both CDs and DVDs.
Орнотуу жана орнотуу
The Generic Slim DVD CD Burner Writer Drive is an internal component designed for integration into a desktop PC or compatible laptop bay. It features a SATA 6.0 Gb/s hardware interface for data transfer and power.
- Компьютериңизди даярдаңыз: Ensure your computer is powered off and unplugged from the wall outlet before opening the case.
- Бош диск бөлүмүн табыңыз: Identify an empty 5.25-inch drive bay within your computer case. Some slim drives may require an adapter bracket (not included) for standard 5.25-inch bays.
- Дискти салыңыз: Carefully slide the DVD/CD drive into the chosen bay from the front of the computer case until it is flush with the front panel. Secure the drive with screws on both sides, if applicable, to prevent movement.
- Кабелдерди туташтыруу:
- Connect a SATA data cable from the drive to an available SATA port on your motherboard.
- Connect a SATA power cable from your power supply unit (PSU) to the drive's power connector.
- Компьютердин корпусун жабыңыз: Once all connections are secure, close your computer case and reconnect the power cable.
- Power on and verify: Power on your computer. The drive is designed to be Plug & Play, meaning Windows should automatically detect and install the necessary drivers.
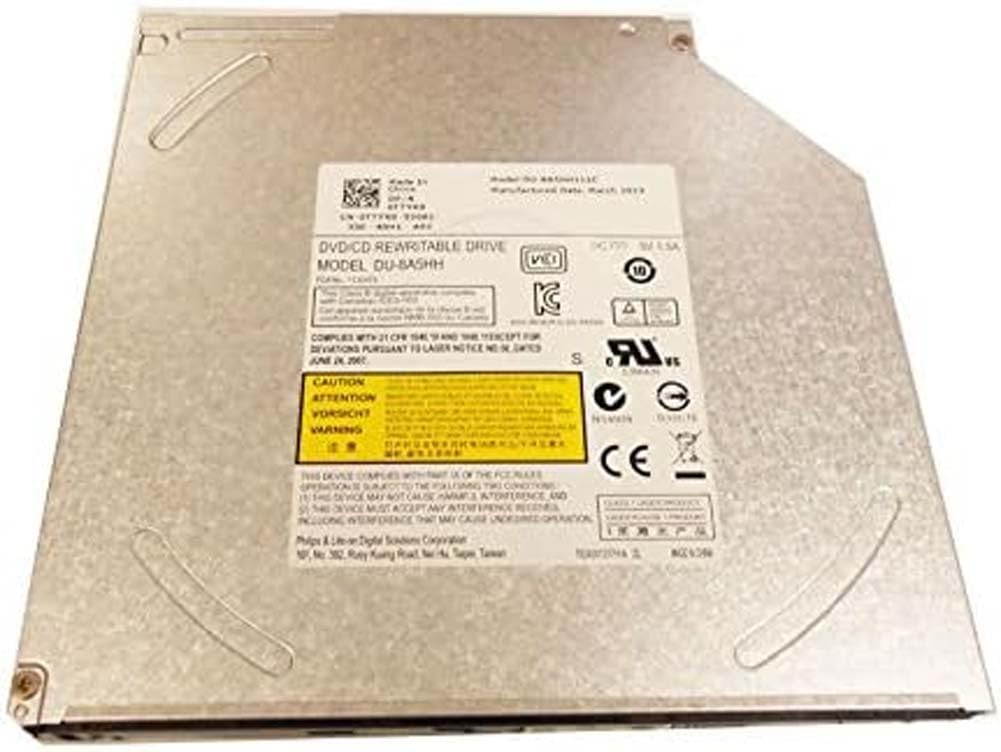
Image: The Generic Slim DVD CD Burner Writer Drive, illustrating its compact form factor and the SATA data and power connectors located at the rear.
Иштөө нускамалары
This optical drive supports reading and writing operations for both CD and DVD media.
Reading CDs and DVDs
- Диск салыңыз: Press the eject button on the drive's front panel to open the disc tray. Place a CD or DVD onto the tray with the label side facing up. Gently push the tray back into the drive until it clicks shut.
- Access disc content: Your Windows operating system will typically detect the disc automatically. An autoplay prompt may appear, or you can access the disc content through "This PC" (or "My Computer") by double-clicking the drive letter associated with your optical drive.
Burning CDs and DVDs
To burn data, audio, or video to a blank CD-R/RW or DVD-R/RW disc, you will need appropriate burning software. While Windows has basic burning capabilities, third-party software often provides more advanced features.
- Insert a blank disc: Press the eject button and place a blank recordable CD or DVD onto the tray, label side up. Close the tray.
- Launch burning software: Open your preferred CD/DVD burning application (e.g., Windows Media Player for audio CDs, or a dedicated burning suite for data/video).
- Select burning options: Follow the software's instructions to select the files you wish to burn, choose the disc type (data, audio, video), and configure any other settings.
- Start burning: Initiate the burning process. Do not interrupt the drive or computer during this process to prevent disc corruption.
- Finalize disc (if prompted): Some software may ask to finalize the disc, making it readable on other devices.
Техникалык тейлөө
Туура техникалык тейлөө оптикалык дисктин узак мөөнөттүү иштешин жана оптималдуу иштешин камсыз кылат.
- Keep the drive clean: Periodically clean the exterior of the drive with a soft, dry, lint-free cloth. Avoid using liquid cleaners directly on the drive.
- Handle discs carefully: Always hold discs by their edges. Avoid touching the shiny surface to prevent fingerprints and scratches, which can affect readability.
- Store discs properly: Store discs in their cases or sleeves to protect them from dust, scratches, and direct sunlight.
- Avoid dust accumulation: Ensure your computer case is kept clean and free of excessive dust, as dust can interfere with the drive's laser lens.
Проблемаларды чечүү
If you encounter issues with your optical drive, refer to the following common problems and solutions.
- Drive not detected by Windows:
- Verify that the SATA data and power cables are securely connected to both the drive and the motherboard/PSU.
- Check your computer's BIOS/UEFI settings to ensure the SATA port the drive is connected to is enabled.
- In Windows Device Manager, check for any yellow exclamation marks next to the optical drive entry. You may need to update or reinstall the driver (though typically Windows handles this automatically for Plug & Play devices).
- Disc not reading or writing:
- Ensure the disc is clean and free of scratches, smudges, or damage. Try a different disc to rule out a faulty disc.
- Confirm that you are using the correct type of disc for the operation (e.g., a blank recordable disc for burning).
- For burning issues, ensure your burning software is up-to-date and configured correctly.
- Disc tray not opening or closing:
- Check for any physical obstructions preventing the tray from moving.
- Ensure the drive is receiving power.
- If the tray is stuck, locate the small emergency eject hole on the front panel of the drive. Gently insert a straightened paperclip into this hole to manually open the tray.
Техникалык шарттар
| Өзгөчөлүк | Деталь |
|---|---|
| Бренд | Жалпы |
| Модель номерлери | DU-8A5SH, DU-8A5HH |
| Аппараттык платформа | PC |
| Операциялык системанын шайкештиги | Windows (бардык версиялары) |
| Өзгөчө өзгөчөлүк | Plug & Play |
| Аппараттык интерфейс | SATA 6.0 Гб/с |
| Оптикалык сактагычтын жазуу ылдамдыгы | 24x |
| Оптикалык сактагычтын окуу ылдамдыгы | 24x |
Кепилдик маалымат
Specific warranty terms for this product are typically provided by the retailer or manufacturer at the time of purchase. Please refer to your purchase documentation, receipt, or the product packaging for detailed warranty coverage, duration, and claim procedures. Keep your proof of purchase in a safe place.
Техникалык колдоо
For technical assistance, troubleshooting beyond this manual, or inquiries regarding your product, please contact the seller or the manufacturer directly. Contact information can usually be found on your purchase invoice, the product packaging, or the seller's webсайт.


