
1. Киришүү
This manual provides detailed instructions for the installation, operation, and maintenance of your Cuifati Wired Video Intercom System. This system enhances home security by allowing visual and audio communication with visitors at your door. It features a 7-inch indoor monitor and an outdoor camera with HD night vision and a 120-degree wide-angle view.
2. Пакеттин мазмуну
Төмөндө тизмеленген нерселердин баары пакетиңизге камтылганын текшериңиз. Эгерде кандайдыр бир нерселер жок болсо же бузулса, кардарларды колдоо менен байланышыңыз.
- 1 x Indoor Monitor Unit
- 1 x Сырткы камера блогу
- 1 x Rain Cover for Outdoor Unit
- 3 x туташтыруу кабелдери
- 6 x Кеңейтүүчү бурамалар
- 7 х металл бурамалар
- 1 x Screw Plug
- 1 х кубат адаптери
- 1 x Mounting Bracket (for indoor unit)
3. Продукт бүтүп калдыview
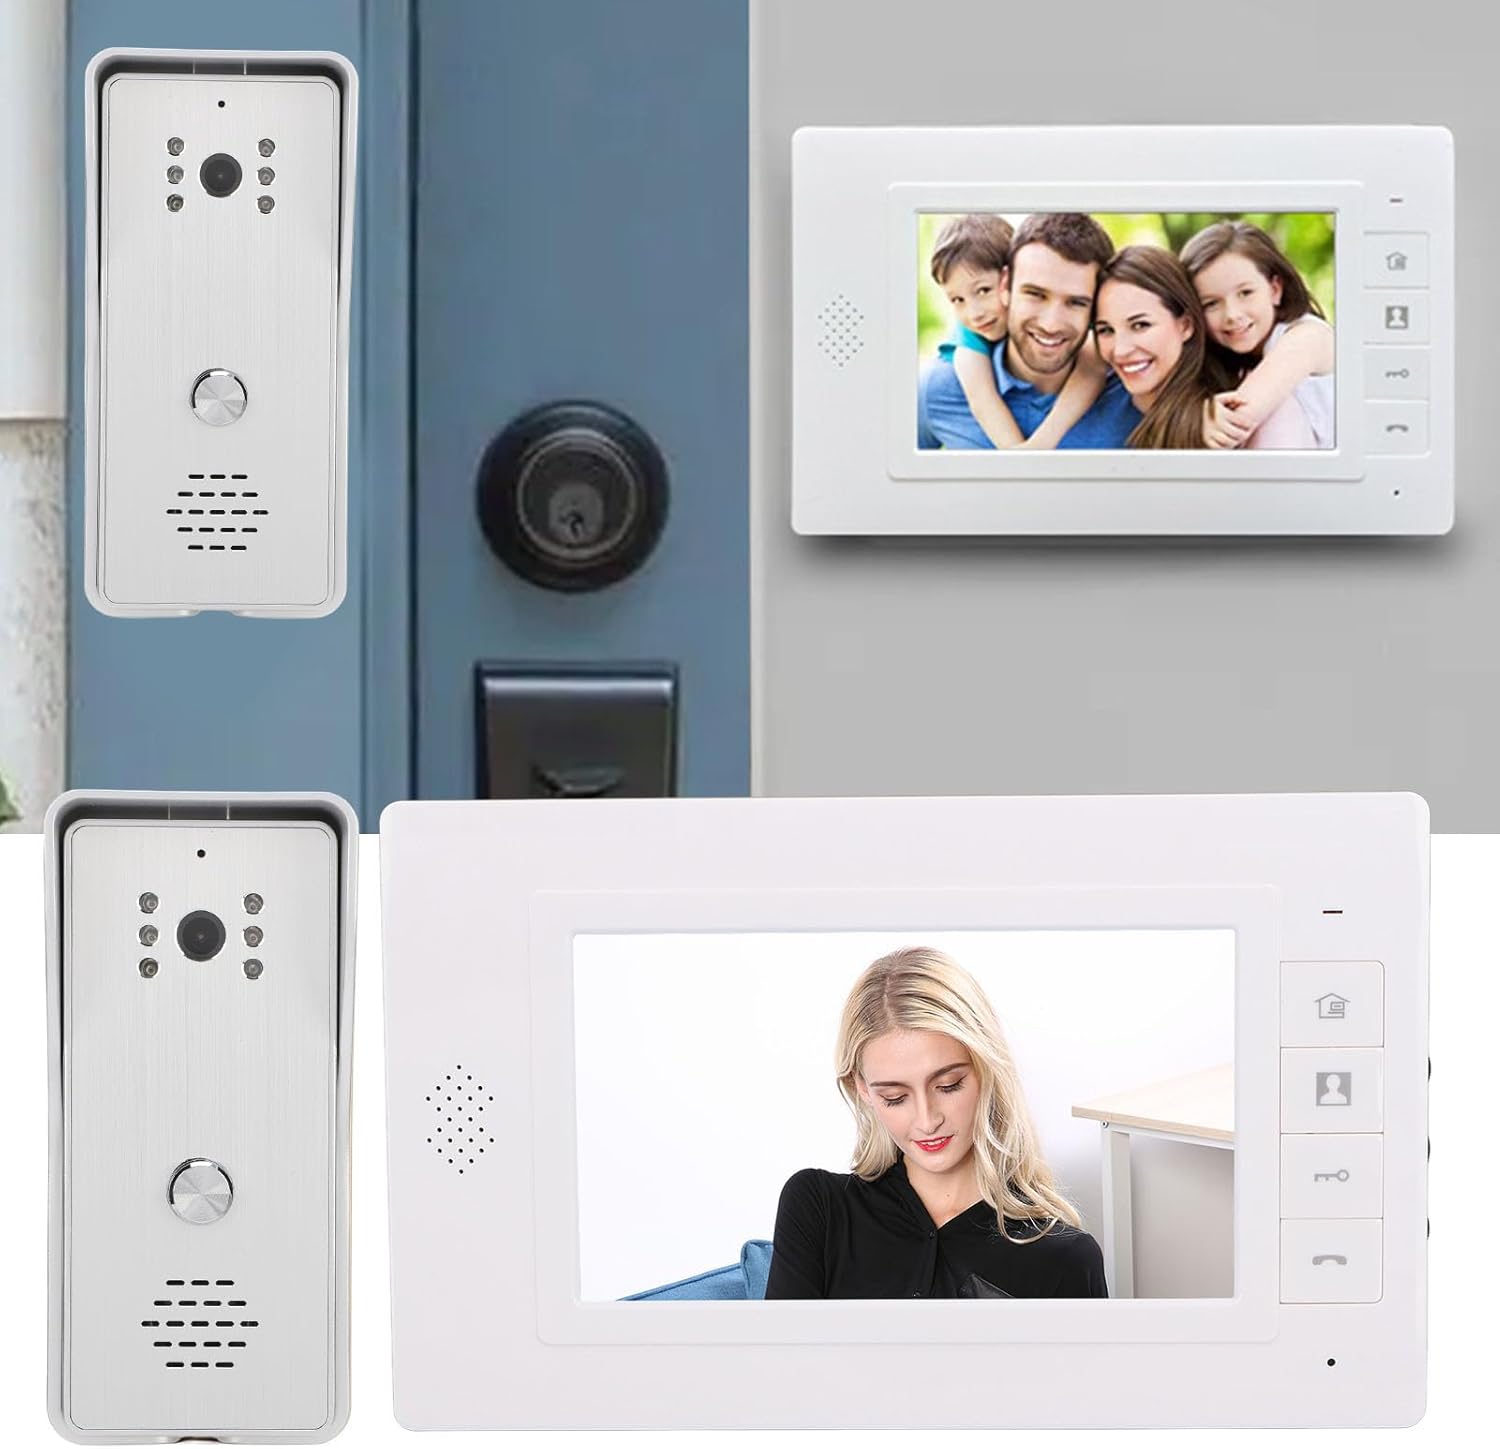
The Cuifati Wired Video Intercom System consists of an indoor monitor and an outdoor camera unit. Familiarize yourself with the components and controls before installation.

Figure 3.1: ашыкview of the Indoor Monitor and Outdoor Camera Unit.
Ички монитор блогу

Figure 3.2: Indoor Monitor Unit Controls.
- Күч көрсөткүчү: Түзмөк күйгүзүлгөндө күйөт.
- Меню ачкычы: Accesses system settings for brightness, volume, and contrast.
- Монитор ачкычы: Сырткы камераны иштетет view.
- Unlock Key: Remotely unlocks an electronic door lock (if connected).
- Answer and Hang Up Keys: Initiates and ends communication with the outdoor unit.
- Баяндамачы: Аудио чыгарууну камсыз кылат.
- Adjustment Dials (Side): Controls for brightness, color contrast, and sound volume.
Сырткы камера блогу

Figure 3.3: Outdoor Camera Unit.
- Камера линзасы: 1/4 HD CMOS camera with 120-degree wide-angle view.
- Инфракызыл жарыктар: 6 IR lights for night vision.
- Микрофон: эки тараптуу аудио байланыш үчүн.
- Баяндамачы: Аудио чыгаруу үчүн.
- Чалуу баскычы: Initiates a call to the indoor monitor.
- Жамгыр жаап: Provides protection against weather elements.
4. Орнотуу жана орнотуу
Proper installation is crucial for optimal performance. This system uses a 4-wire connection method.
4.1-сүрөт: Мисample Орнотуу.
4.1 Тышкы блокту орнотуу
- Choose a suitable location near your entrance, ensuring the camera has a clear view and is protected from direct heavy rain (the included rain cover provides additional protection).
- Mount the rain cover to the wall using the expansion screws.
- Secure the outdoor camera unit inside the rain cover using the metal screws.
- Ensure the unit is at an appropriate height for visitors to easily reach the call button and for the camera to capture faces clearly.
4.2 Ички блокту орнотуу
- Select a convenient indoor location, such as a hallway or living room, where the monitor is easily accessible.
- Mount the provided mounting bracket to the wall using screws.
- Hang the indoor monitor unit onto the mounting bracket.
4.3 Зымдарды туташтыруу
Connect the indoor and outdoor units using the provided 4-wire connection cables. Ensure all connections are secure and follow the wiring diagram provided in the detailed installation guide (not included in this general manual, refer to product packaging for specific diagrams).
- Connect one end of the 4-wire cable to the outdoor unit's wiring terminals.
- Route the cable to the indoor unit's location.
- Connect the other end of the 4-wire cable to the indoor unit's wiring terminals.
- If connecting an electronic door lock, connect the lock's wires to the designated terminals on the indoor unit (refer to specific wiring diagram).
- Plug the power adapter into the indoor monitor unit and then into a standard electrical outlet.
Эскертүү: Always ensure power is disconnected before making any wiring connections to prevent electrical shock or damage to the system.
5. Иштөө нускамалары
5.1 Чакырууга жооп берүү
- Конок сырткы блоктогу чакыруу баскычын басканда, ички монитор шыңгырап, коноктун сүрөтүн көрсөтөт.
- басыңыз Жооп ачкычы (phone icon) on the indoor monitor to establish two-way audio communication.
- Сүйлөшүүнү аяктоо үчүн басыңыз Ачкычты коюу (phone icon again).
5.2 Monitoring the Outdoor Area
Сенин колуңдан келет view the outdoor area at any time without a visitor pressing the call button.
- басыңыз Монитор ачкычы (camera icon) on the indoor monitor.
- The screen will display the live feed from the outdoor camera.
- басыңыз Монитор ачкычы кайра же Ачкычты коюу to exit monitoring mode.
5.3 Эшиктин кулпусун ачуу
If an electronic door lock is connected to the system, you can unlock it remotely.
- Чалуу учурунда же мониторинг учурунда, баскычын басыңыз Ачкычты ачуу (key icon) on the indoor monitor.
- The connected door lock will activate, allowing the visitor entry.
5.4 Орнотууларды тууралоо
The indoor monitor allows adjustment of display and audio settings.
- басыңыз Меню ачкычы (house icon) to access the settings menu.
- Use the side adjustment dials to modify Жарыктык, Түс контраст, жана Үндүн көлөмү.
- The system also offers different ringtone choices, which can be selected via the menu.
5.5 Көп түзмөктү туташтыруу
This system supports multiple indoor monitors. All connected monitors can view, listen, and communicate with the outdoor unit, and unlock the door.
6. Техникалык тейлөө
Үзгүлтүксүз тейлөө сиздин домофон системасынын узак мөөнөттүү жана оптималдуу иштешин камсыз кылат.
- Тазалоо: Use a soft, dry cloth to clean the indoor monitor screen and outdoor camera lens. Avoid abrasive cleaners or solvents.
- Сырткы блок: Periodically check the outdoor unit and its rain cover for any debris, dirt, or spiderwebs that might obstruct the camera view or microphone.
- Зымдар: Бардык зым туташууларынын бекем жана бузулбагандыгын текшериңиз.
- Күч: Do not expose the power adapter to moisture or extreme temperatures.
7. Кыйынчылыктарды
Домофон системасында көйгөйлөргө туш болсоңуз, төмөнкү жалпы көйгөйлөрдү жана чечимдерди караңыз:
| Көйгөй | Мүмкүн себеп | Чечим |
|---|---|---|
| Ички монитордо сүрөт жок | Loose wiring connection; Power issue; Damaged camera/monitor. | Check all 4-wire connections; Ensure power adapter is plugged in and functional; Contact support if units are damaged. |
| No audio during communication | Volume too low; Loose wiring; Damaged speaker/microphone. | Adjust volume using side dial; Check 4-wire connections; Contact support. |
| Door lock not activating | Incorrect wiring to lock; Lock malfunction; Power issue to lock. | Verify lock wiring according to diagram; Test the lock independently; Ensure adequate power supply to the lock. |
| Түнкү көрүү сапаты начар | Obstructed IR lights; Dirty camera lens. | Clean the camera lens and ensure IR lights are clear of obstructions. |
Эгер бул чечимдерди колдонууга аракет кылгандан кийин көйгөй чечилбесе, кошумча жардам алуу үчүн кардарларды колдоо бөлүмүнө кайрылыңыз.
8. Техникалык шарттар
Technical specifications for the Cuifati Wired Video Intercom System (Model Cuifatisw45mt1g7g-14):

Сүрөт 8.1: Продукциянын өлчөмдөрү.
- Элемент түрү: Smart Video Домофон системасы
- Материал: ABS
- Зымдар ыкмасы: 4-зым
Сырткы камера блогу
- Камера Sensor: 1/4 HD CMOS
- Жарык булагы: 6 Инфракызыл жарыктар
- Чечим: 800 x 600 пиксель
- Viewбурч: 120 градус
- Өлчөмдөрү: Болжол менен 134 мм (бийиктиги) x 59 мм (туурасы) x 39 мм (туурасы)
Ички монитор блогу
- Экран: 7 дюймдук TFT LCD
- Чечим: 800 x 480 пиксель
- Жөнгө салынуучу Орнотуулар: Brightness, Volume, Contrast
- Өлчөмдөрү: Болжол менен 150 мм (бийиктиги) x 245 мм (туурасы) x 23 мм (туурасы)
Генерал
- Продукциянын өлчөмдөрү (жалпы): 26 x 16 x 10 см
- Продукт Салмагы: 874 грамм
- Өндүрүүчү: Cuifati
- ASIN: B0DD1HJCQS
- Келип чыккан өлкө: Кытай
9. Кепилдик жана колдоо
For warranty information, please refer to the documentation provided at the time of purchase or contact your retailer. For technical support or further assistance, please reach out to Cuifati customer service through the contact information provided with your product or on the official Cuifati webсайт.