
1. Маанилүү коопсуздук нускамалары
Please read all instructions carefully before using this appliance. Failure to follow these instructions may result in electric shock, fire, or serious personal injury.
- ысык беттерге тийбеңиз. Туткаларды же туткаларды колдонуңуз.
- Электрдик шоктон коргоо үчүн шнурду, сайгычты же шайманды сууга же башка суюктукка салбаңыз.
- Кандайдыр бир шайманды балдар же алардын жанында колдонуп жатканда, катуу көзөмөл керек.
- Колдонбогондо жана тазалоодон мурун розеткадан ажыратыңыз. Бөлүктөрүн кийүүдөн же чечүүдөн мурун муздатыңыз.
- Эч бир шайманды зымы же сайы бузулган же шайман иштебей калгандан кийин же кандайдыр бир түрдө бузулгандан кийин иштетпеңиз.
- Шаймандын өндүрүүчүсү сунуш кылбаган кошумча тиркемелерди колдонуу жаракатка алып келиши мүмкүн.
- Сыртта колдонбоңуз.
- Шнур столдун же столдун четине илинип калышына же ысык беттерге тийбеңиз.
- Ыстык газ же электр мешине же ысытылган мештин жанына коюуга болбойт.
- Курамында ысык май же башка ысык суюктуктар бар шайманды жылдырууда өтө этияттык керек.
- Ар дайым алгач сайгычка сайыңыз, андан кийин шнурду розеткага сайыңыз. Өчүрүү үчүн каалаган башкарууну "өчүрүү" абалына буруңуз, андан кийин розеткадан сайгычты чыгарыңыз.
- Шайманды максаттуу колдонуудан башка максатта колдонбоңуз.
- Чоң өлчөмдөгү тамак-аштарды же металл идиштерди тостер мешине салууга болбойт, анткени алар өрт чыгып же электр тогуна урунуп калуу коркунучун жаратышы мүмкүн.
- Меш жабылып калса же күйүүчү материалга, анын ичинде пардаларга, перделерге, дубалдарга жана башка ушул сыяктуу нерселерге тийсе, анда өрт чыгышы мүмкүн.
- Колдонулбай турган учурда, бул духовкага өндүрүүчү сунуштаган аксессуарлардан башка эч кандай материалдарды салбаңыз.
- Мешке төмөнкү материалдардын бирин да салбаңыз: кагаз, картон, пластмасса же ушул сыяктуу материалдарды.
- Мештин күкүм табагын же кандайдыр бир бөлүгүн металл фольга менен жаппаңыз. Бул мештин ашыкча ысып кетишине алып келет.
2. Продукт бүтүп калдыview
This 22L tabletop electric mini oven is designed for household baking and toasting. It features adjustable temperature control, a 120-minute timer, and a three-layer baking position for versatile cooking.

Сүрөт 1: Алдыңкы view of the 22L Tabletop Electric Mini Oven with food cooking inside.

Figure 2: Dimensions of the oven: 421mm (width), 252mm (depth), 273mm (height).
3. Орнотуу
3.1 Пакеттен чыгаруу
- Духовканы жана бардык таңгактоочу материалдарды кутучадан этияттык менен алып чыгыңыз.
- Remove any protective films or stickers from the oven surfaces.
- Транзит учурунда кандайдыр бир бузулууларды текшериңиз. Эгерде бузулуп калса, иштетпеңиз жана кардарларды колдоо кызматына кайрылыңыз.
3.2 Орнотуу
- Мешти туруктуу, жалпак, ысыкка чыдамдуу бетке коюңуз.
- Ensure there is adequate ventilation around the oven (at least 10 cm clearance on all sides).
- Духовканы пардалар же дубалдар сыяктуу тез күйүүчү материалдардын жанына койбоңуз.
- Электр шнурунун бүтөлүп же кысылып калбаганын текшериңиз.
3.3 Биринчи колдонуудан мурун
- Wash the baking tray, wire rack, and crumb tray in warm, soapy water. Rinse and dry thoroughly.
- Мештин ичин жана сыртын жарнама менен сүртүңүзamp кездеме.
- To eliminate any manufacturing odors, operate the oven empty for approximately 15 minutes at 200°C (400°F). Ensure the area is well-ventilated during this process.
4. Иштөө нускамалары
4.1 Controls Overview
The oven features three mechanical control knobs:
- Жогорку баскыч: Temperature Control (0-250°C)
- Ортоңку баскыч: Function Selector (Controls upper/lower heating elements)
- Төмөнкү баскыч: Таймер (0-120 мүнөт)

Figure 3: Temperature control knob, adjustable from 70°C to 250°C.

Figure 4: Timer knob, adjustable from 0 to 120 minutes.
4.2 Мешти алдын ала ысытуу
- Place the wire rack or baking tray in the desired position.
- Температураны көзөмөлдөө баскычын керектүү температурага буруңуз.
- Turn the Timer knob to the desired preheating time (e.g., 10-15 minutes). The power indicator light will illuminate.
- Once the preheating time has elapsed, the oven is ready for use.
4.3 Baking and Roasting
This oven offers three-layer baking positions and independent temperature control for upper and lower heating tubes.

Figure 5: The 22L capacity oven features three distinct baking positions for versatile cooking.
- Preheat the oven as described above.
- Carefully place your food on the baking tray or wire rack into the desired baking position. Use oven mitts.
- Select the appropriate temperature using the Temperature Control knob (0-250°C).
- Use the Function Selector knob to choose between upper heating, lower heating, or simultaneous upper and lower heating, depending on your recipe's requirements. This allows for precise control over browning and cooking.
- Set the cooking time using the Timer knob (0-120 minutes). The oven will automatically shut off and ring a bell when the timer expires.
- Monitor food through the wide view терезе.

6-сүрөт: кенен viewing window allows for easy monitoring of food changes during cooking.
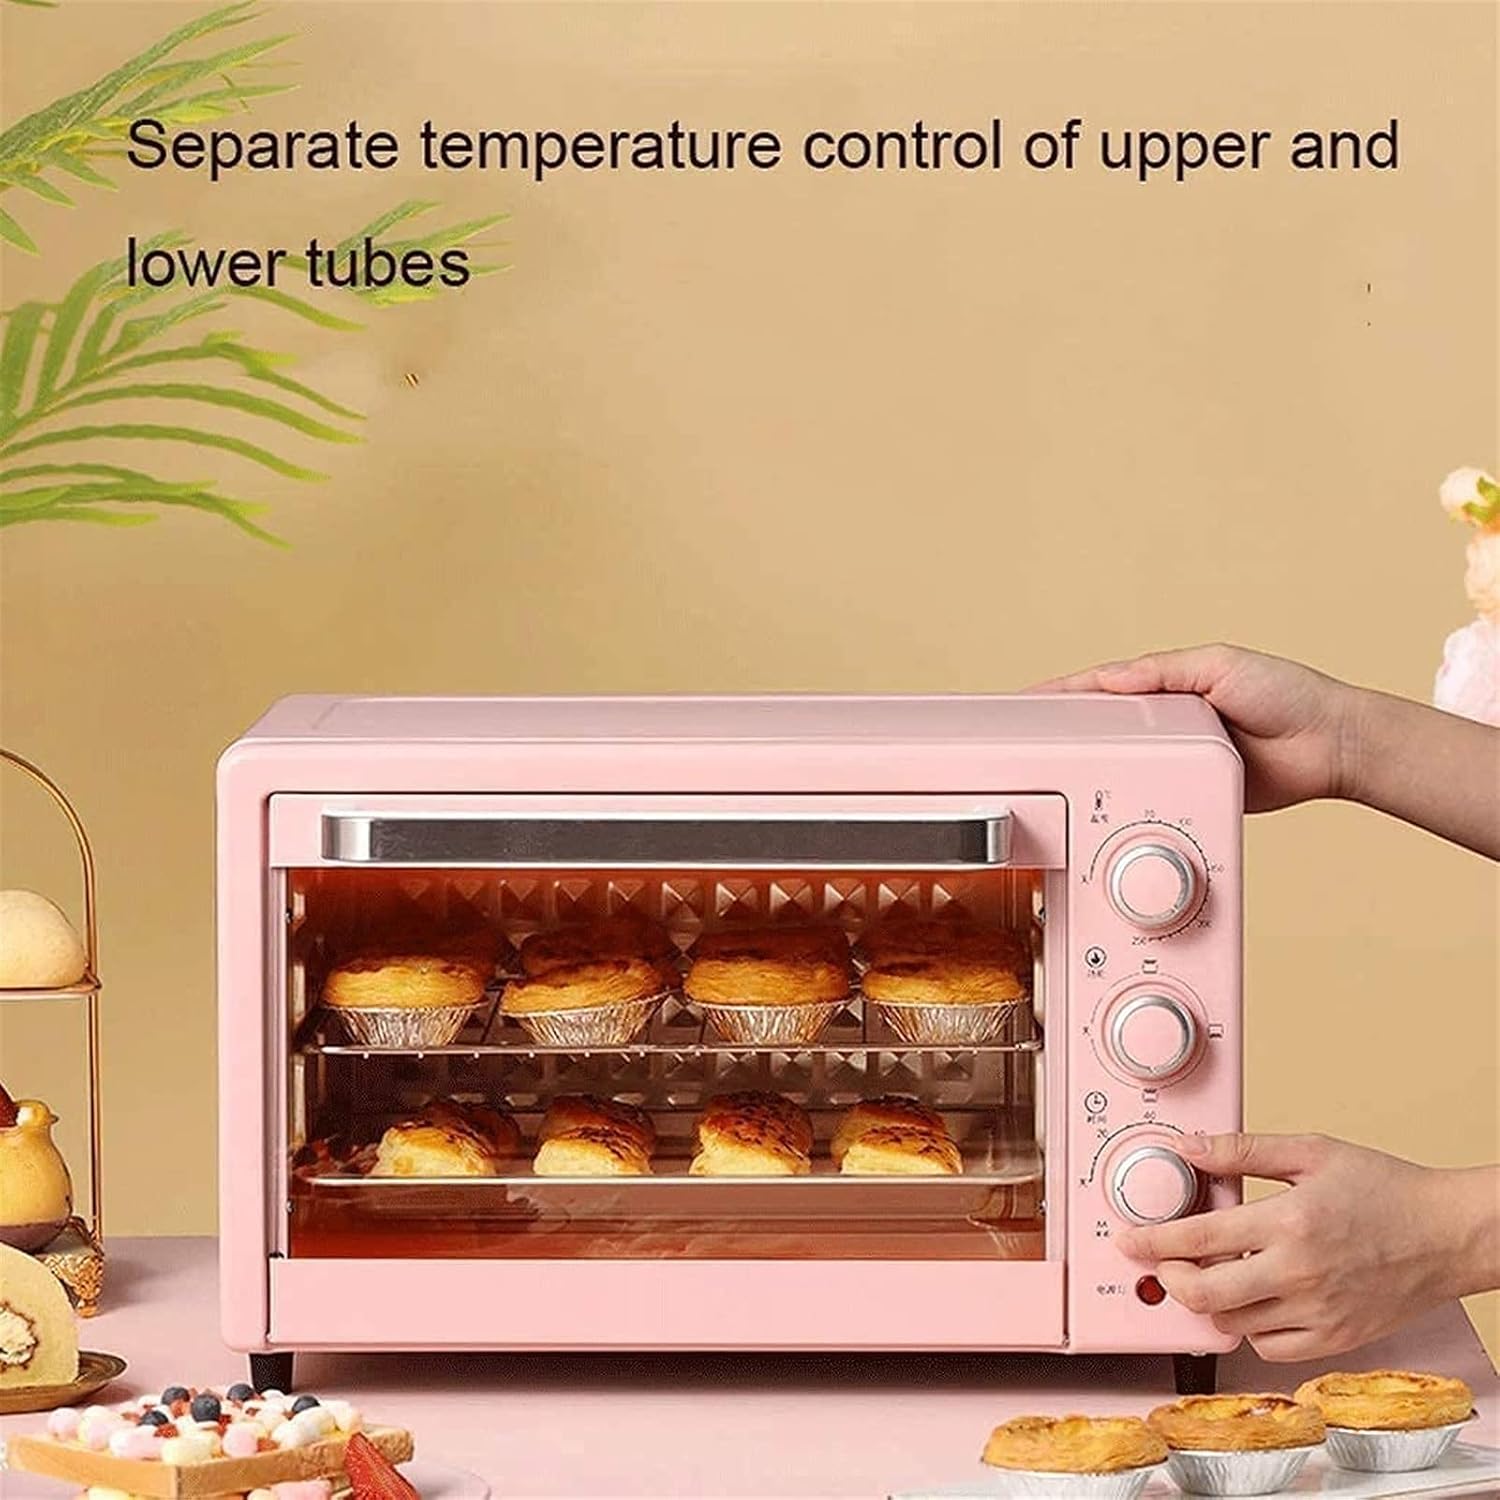
Figure 7: The oven features separate temperature control for upper and lower heating tubes, enabling precise cooking.
5. Техникалык тейлөө жана тазалоо
5.1 Жалпы тазалоо
- Тазалоодон мурун ар дайым мешти розеткадан сууруп, аны толугу менен муздатыңыз.
- Духовканын корпусун, шнурун же сайгычын сууга же башка суюктукка салбаңыз.
- Жарнама менен сыртын сүртүңүзamp кездеме жана жумшак жуугуч. Абразивдүү тазалагычтарды же тазалоочу жайларды колдонбоңуз.
5.2 Cleaning Interior and Accessories
- Remove the baking tray, wire rack, and crumb tray. Wash them in warm, soapy water. For stubborn stains, soak them before cleaning.
- Ички дубалдарды жарнама менен сүртсө болотamp cloth and mild detergent. Avoid touching the heating elements.
- Ensure all parts are thoroughly dry before reassembling and storing the oven.

Figure 8: The oven door features a three-layer safety explosion-proof glass for enhanced durability and safety, including a transparent layer, tempered glass layer, and oil-proof cleaning layer.
6. Кыйынчылыктарды
Эгерде сиз мешиңизде кандайдыр бир көйгөйлөргө туш болсоңуз, төмөнкү кеңири таралган көйгөйлөрдү жана чечимдерди караңыз:
- Духовка күйбөйт:
- Электр шнурунун иштеген электр розеткасына бекем сайылганын текшериңиз.
- Check if the timer knob is set to a cooking duration. The oven will not operate if the timer is at "OFF" or "0".
- Автоматтык өчүргүч өчүп калбаганын текшериңиз.
- Тамак-аш бирдей бышпайт:
- Ensure the oven is preheated to the correct temperature.
- Check that the correct heating function (upper, lower, or both) is selected for your recipe.
- Rotate food halfway through cooking for more even results.
- Ensure there is adequate space around the food for heat circulation.
- Smoke or unusual odor during first use:
- This is normal during the initial use as manufacturing oils burn off. Ensure good ventilation. If it persists after the first few uses, discontinue use and contact support.
7. Техникалык шарттар
| Өзгөчөлүк | Спецификация |
|---|---|
| Модел | 22л Мини Меш |
| Кубаттуулугу | 22 литр |
| Rated Voltage | 110V-240V/50Hz |
| Номиналдуу кубаттуулук | 1300 Вт |
| Температура диапазону | 0-250°C (Controllable) |
| Бышыруу таймери | 0-120 Minutes with Bell Ring and Auto Shut Off |
| Heating Tube Material | Stainless Steel (4 tubes) |
| Лайнер материалы | Galvanized Sheet |
| Башкаруу ыкмасы | Механикалык баскычтар |
| Өлчөмдөрү (W×D×H) | 421 мм × 252 мм × 273 мм |
| эшик стили | Ашылма эшик |
8. Кепилдик жана колдоо
8.1 Чектелген Кепилдик
This product comes with a limited warranty against defects in materials and workmanship. Please refer to the warranty card included with your purchase or contact the retailer for specific warranty terms and conditions. Keep your proof of purchase for warranty claims.
8.2 Кардарларды колдоо
For technical assistance, troubleshooting, or parts replacement, please contact the retailer where you purchased the product. If purchased directly from the manufacturer, refer to the contact information provided in your packaging or on their official webсайт.