
1. Киришүү
Thank you for choosing the CREWORKS 9" x 30" Benchtop Mini Metal Lathe. This machine is designed for precision metalworking tasks, including turning, drilling, threading, and cutting. Its robust construction and versatile features make it suitable for both hobbyists and professionals. This manual provides essential information for safe operation, proper setup, maintenance, and troubleshooting to ensure optimal performance and longevity of your lathe.
Please read this manual thoroughly before operating the machine and retain it for future reference.
2. Коопсуздук нускамалары
Operating a metal lathe can be dangerous if proper safety precautions are not followed. Always prioritize your safety and the safety of others around you.
- Тиешелүү жеке коргонуу шаймандарын (ЖКК) кийиңиз: Always wear safety glasses or a face shield to protect against flying chips and debris. Wear appropriate work clothing; avoid loose clothing, jewelry, or long hair that can get caught in moving parts.
- Коопсуз жумуш бөлүгү: Даярдоочу бөлүктүн бекем clamped in the chuck or collet before starting the machine. An improperly secured workpiece can become a dangerous projectile.
- Колду таза карма: Never touch the rotating chuck, workpiece, or cutting tool while the machine is in operation. Keep hands and fingers away from all moving parts.
- Use Emergency Stop: Familiarize yourself with the location and operation of the emergency stop button. In case of an emergency, press it immediately to shut down the machine.
- Таза иш аянтын сактоо: Keep your workspace clean, well-lit, and free of clutter. Slippery floors or obstructed pathways can lead to accidents.
- Туура желдетүү: Ensure adequate ventilation when working with materials that may produce fumes or dust.
- Unplug Before Adjustments/Maintenance: Always disconnect the machine from the power source before performing any adjustments, maintenance, or cleaning.
- Колдонмону окуп, түшүнүңүз: Do not operate the lathe until you have fully read and understood all instructions and safety warnings in this manual.
3. Пакеттин мазмуну
Upon unpacking, verify that all components listed below are present and undamaged. If any items are missing or damaged, please contact CREWORKS customer support immediately.
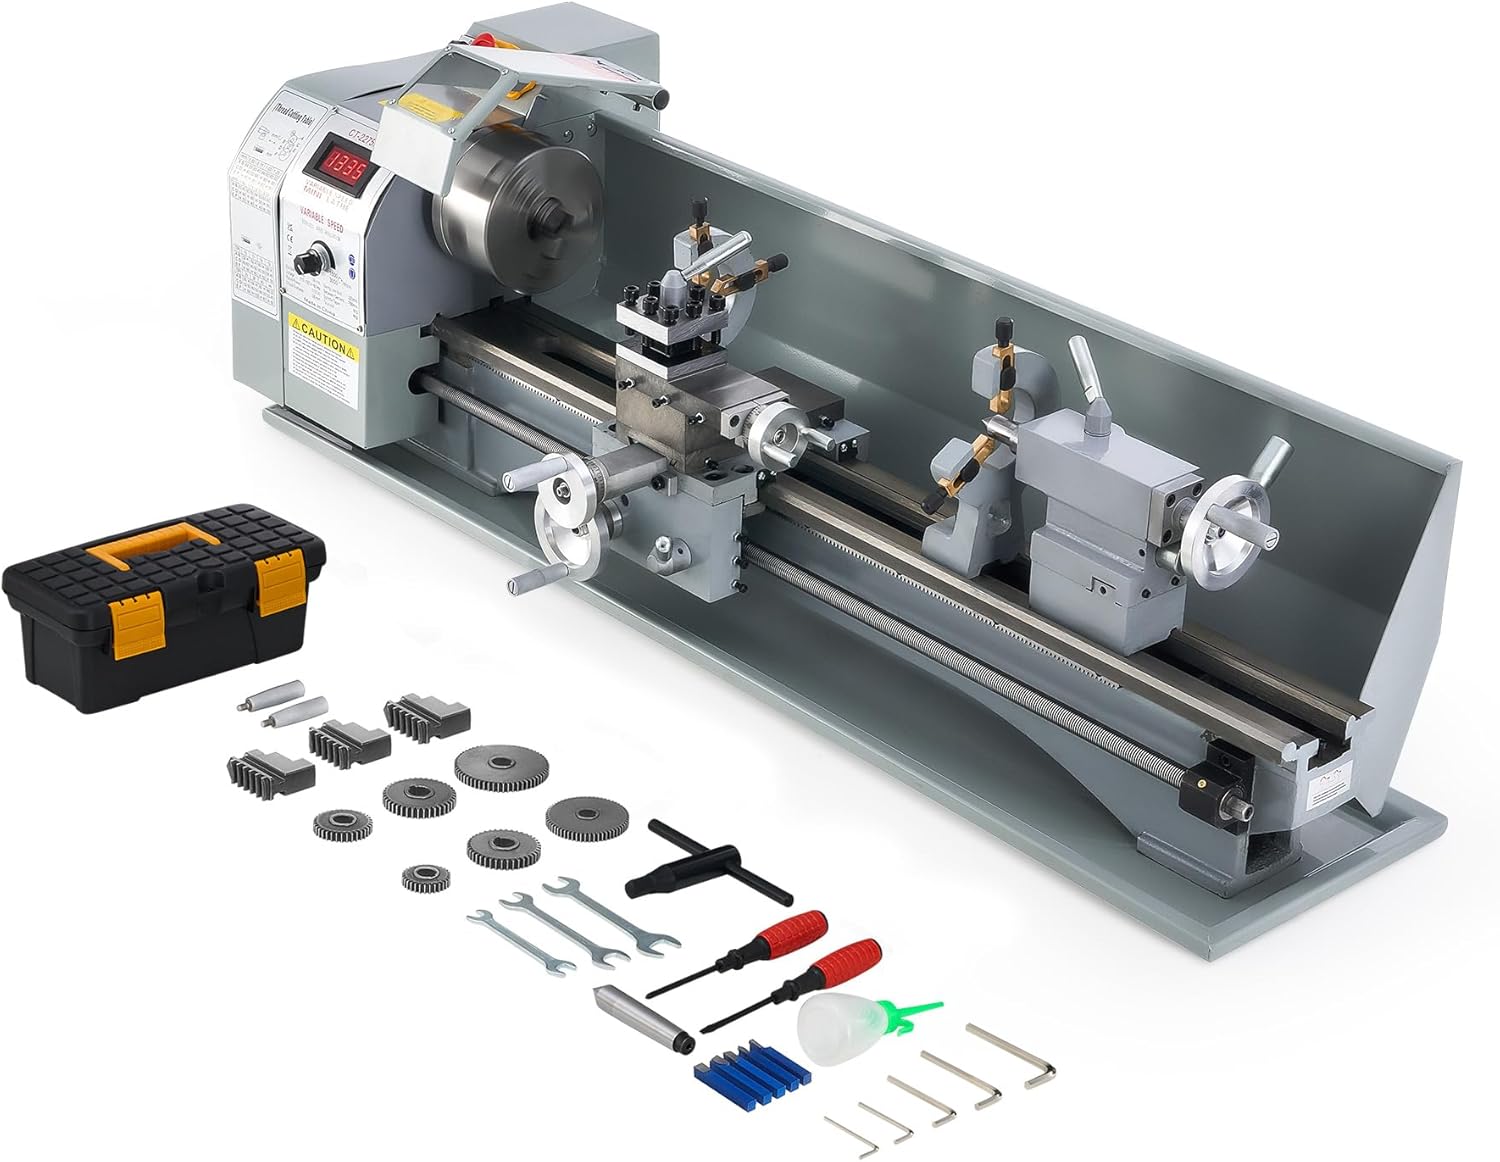
Image: The CREWORKS Mini Metal Lathe with its standard accessories, including a toolbox, various chuck jaws, gears, wrenches, screwdrivers, and an oil bottle.
- CREWORKS 9" x 30" Mini Metal Lathe Main Unit
- 5-inch (125 mm) 3-Jaw Chuck
- Toolbox with standard accessories (e.g., wrenches, screwdrivers, hex keys, oil bottle, extra chuck jaws, change gears for threading)
- Колдонуучунун Колдонмосу (бул документ)
4. Компонентти идентификациялоо
Familiarize yourself with the various parts of your CREWORKS Mini Metal Lathe to ensure safe and efficient operation.

Image: Close-up of the digital speed display, showing the real-time RPM.
4.1 Digital Speed Display
The digital display provides real-time feedback on the spindle's rotational speed (RPM), allowing for precise control during operation.
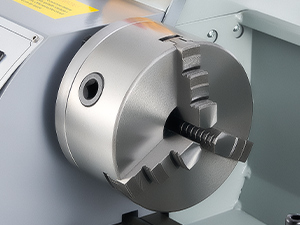
Image: Close-up of the 3-jaw chuck, used for holding workpieces.
4.2 3-Жак Чак
The 5-inch (125 mm) 3-jaw chuck is designed to securely hold both round and hexagonal workpieces. Ensure the workpiece is centered and tightly clampоперацияга чейин.
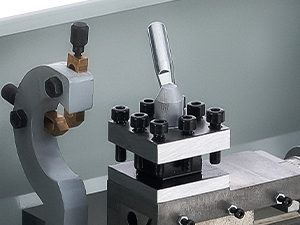
Image: Close-up of the 4-way tool post, where cutting tools are mounted.
4.3 Tool Post
The 4-way tool post allows for mounting various cutting tools, enabling different machining operations without frequent tool changes.

Image: Close-up of the tailstock quill, used for supporting long workpieces or holding drilling tools.
4.4 Таякча
The tailstock supports the free end of long workpieces or holds drilling and reaming tools. Its quill can be advanced or retracted using the tail feed handwheel.
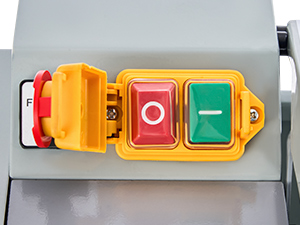
Image: Close-up of the power and emergency stop buttons for quick machine control.
4.5 Power and Emergency Stop
The main power switch and the prominent red emergency stop button are located on the control panel for immediate machine shutdown.
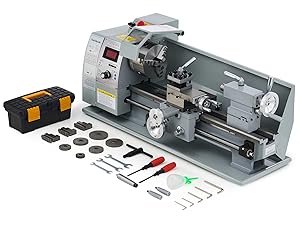
Image: Close-up of the carriage handwheel, used for manual longitudinal movement.
4.6 Carriage Handwheel
Controls the longitudinal movement of the carriage along the bedways.
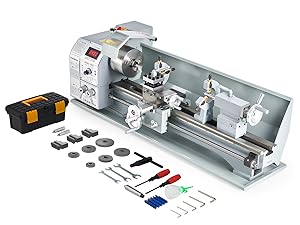
Image: Close-up of the compound control wheel, used for precise angular adjustments.
4.7 Compound Control Wheel
Allows for fine angular adjustments of the cutting tool relative to the workpiece.
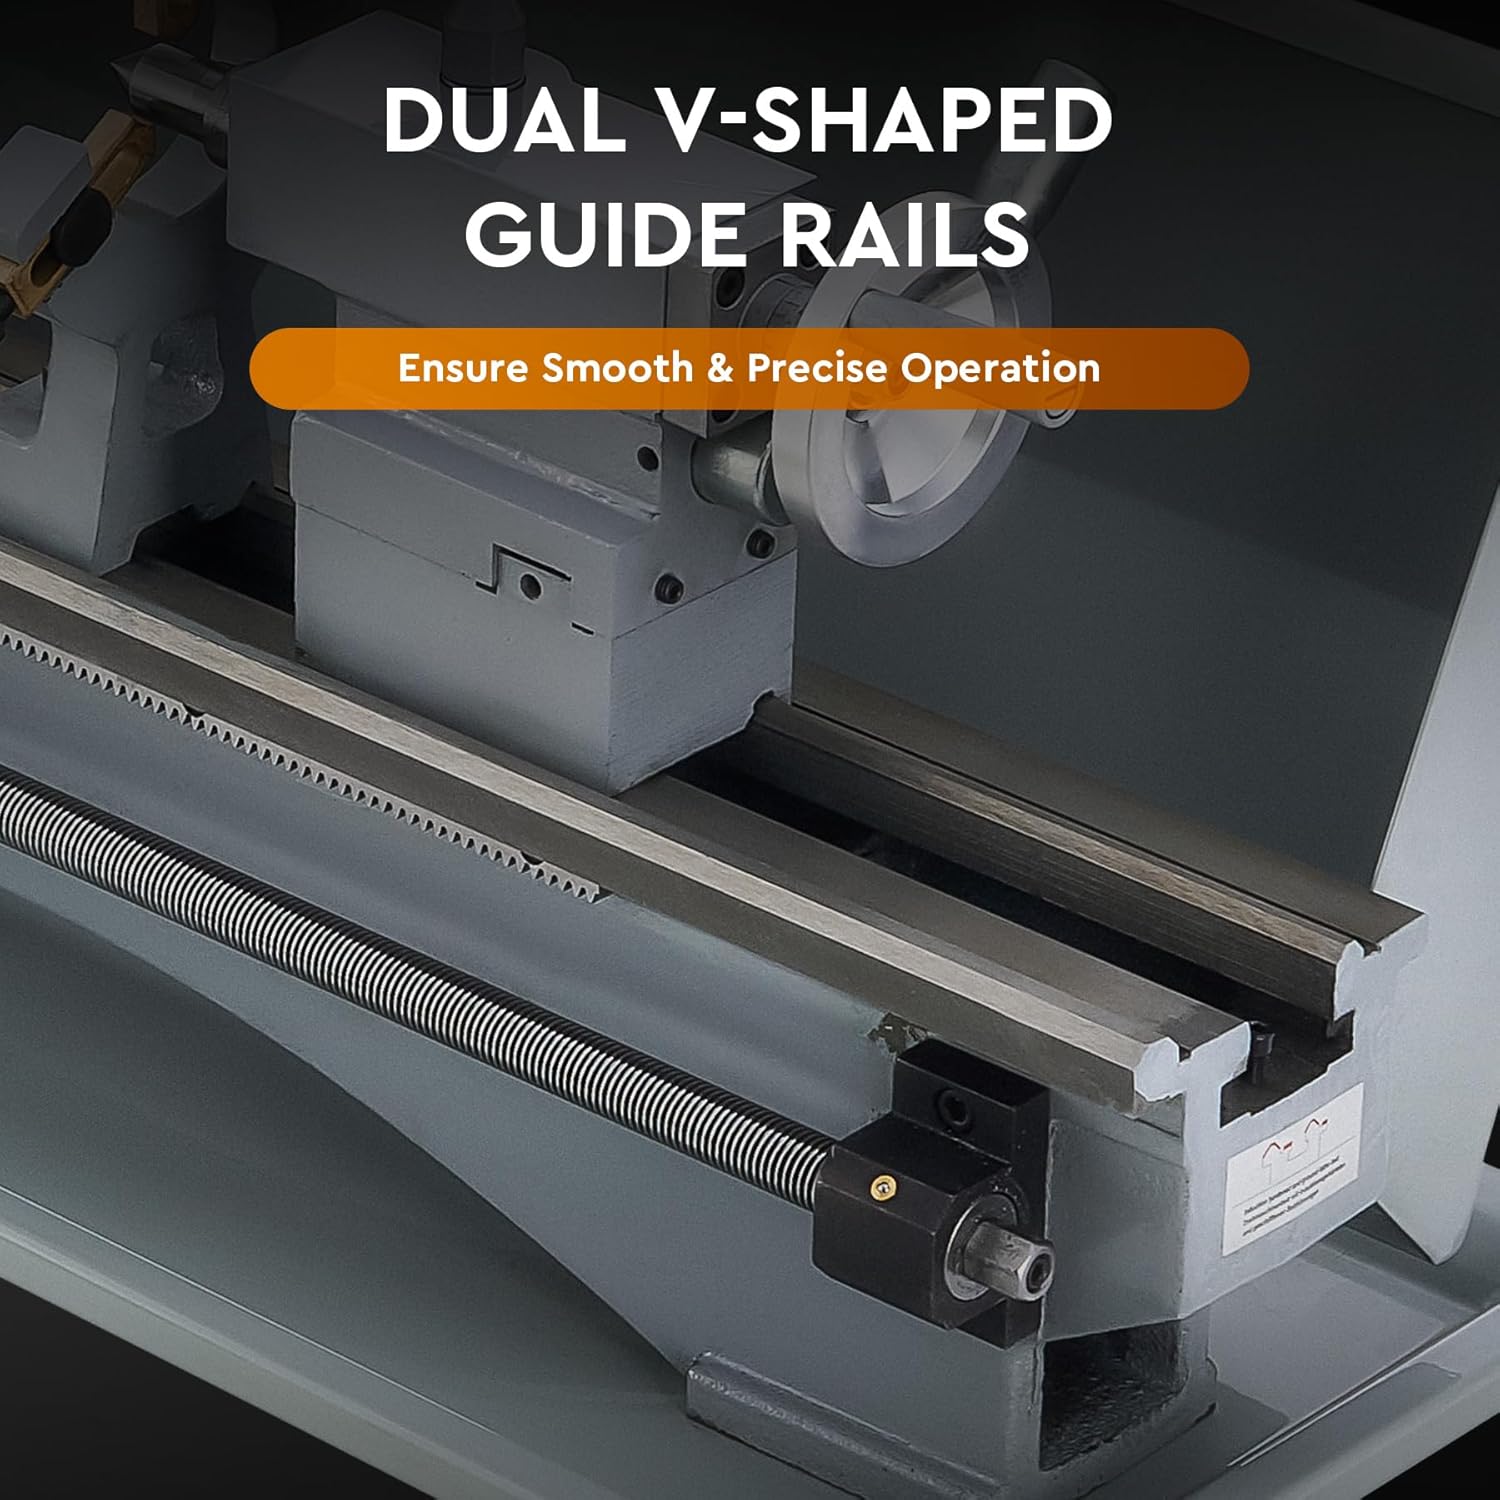
Сүрөт: View of the dual V-shaped guide rails and lead screw, ensuring smooth and precise movement.
4.8 Dual V-Shaped Guide Rails & Lead Screw
The precision-ground V-shaped guide rails ensure smooth and accurate movement of the carriage and tailstock. The lead screw is essential for automatic feeding and threading operations.

Сүрөт: View of the durable metal gear set, responsible for power transmission and threading ratios.
4.9 Durable Metal Gear Set
The robust metal gear set ensures efficient power transmission and allows for various threading pitches by changing the gear configuration.
5. Орнотуу
Follow these steps to set up your lathe before initial operation:
- Таңгактан чыгаруу жана текшерүү: Carefully remove the lathe from its packaging. Inspect the machine for any signs of damage that may have occurred during transit. Pay close attention to the tailstock and other exposed components.
- Монтаждоо: Securely mount the lathe to a sturdy, level workbench using appropriate bolts and washers. Ensure the workbench can support the lathe's weight (approximately 198 lbs or 90 kg) and withstand operational vibrations.
- Cleaning Protective Grease: The lathe is coated with a protective grease to prevent rust during shipping. Thoroughly clean all machined surfaces (bedways, chuck, lead screw, etc.) using a suitable degreaser and soft cloth.
- Майлоо: After cleaning, apply a thin layer of machine oil to all moving parts and machined surfaces to prevent rust and ensure smooth operation. Refer to the maintenance section for detailed lubrication points.
- Кубат туташуу: Connect the lathe to a grounded power outlet. Ensure the power supply matches the machine's requirements (110V, 60Hz for typical US models).
- Алгачкы сыноо: Before mounting a workpiece, perform a brief test run to ensure the spindle rotates smoothly and the controls function correctly.
6. Иштөө нускамалары
This section outlines the basic operation of your CREWORKS Mini Metal Lathe.
6.1 Күйгүзүү/өчүрүү
- To power on, ensure the emergency stop button is disengaged (pulled out) and press the green 'ON' button.
- To power off, press the red 'OFF' button. In an emergency, press the large red emergency stop button.
6.2 Ылдамдыкты жөндөө

Image: The control panel showing the digital display and speed adjustment knob.
- The lathe features a variable speed control, allowing adjustment from 0 to 3000 RPM.
- Rotate the speed adjustment knob to increase or decrease the spindle speed. The current RPM will be displayed on the digital readout.
- Always select an appropriate speed for the material and cutting tool being used. Lower speeds are generally used for larger diameters, harder materials, and threading.
6.3 Чак операциясы

Image: Diagram illustrating the clamping range of the 3-jaw chuck with internal and external jaws.
- Use the chuck key to open and close the jaws. Insert the workpiece and tighten the jaws firmly and evenly using all three chuck key holes to ensure concentricity and secure clamping.
- Never leave the chuck key in the chuck. Remove it immediately after tightening or loosening the workpiece.
- The 3-jaw chuck is self-centering, ideal for round and hexagonal stock. For irregular shapes or higher precision, a 4-jaw independent chuck (sold separately) may be required.
6.4 Tool Post and Tooling
- Mount your cutting tool securely in the 4-way tool post. Ensure the cutting edge is aligned with the center height of the workpiece for optimal cutting performance and surface finish.
- Adjust the tool post position using the tool post control handle and the compound rest handwheel.
6.5 Threading операциялары
- Threading requires specific gear configurations to achieve the desired pitch. Refer to the threading chart on the machine or in the detailed manual section (if provided separately) for correct gear setup.
- Engage the half-nut lever to connect the carriage to the lead screw for automatic feed during threading.
6.6 Тиркемелер

Image: Visual representation of various applications including metalworking, drilling, internal & external threading, polishing, gyroscope processing, woodworking, screw turning, and slot turning.
This lathe is capable of a wide range of operations including:
- Айлануу: Reducing the diameter of a workpiece, facing, tapering.
- Бургулоо: Creating holes along the center axis of the workpiece using the tailstock.
- Threading: Cutting external or internal threads.
- Кесүү: Parting off material or making grooves.
7. Техникалык тейлөө
Regular maintenance is crucial for the longevity and performance of your lathe.
- Тазалоо: After each use, clean the lathe thoroughly. Remove all metal chips, dust, and debris from the bedways, lead screw, and other components. Use a brush or shop vacuum; avoid using compressed air as it can embed chips into moving parts.
- Майлоо: Regularly lubricate all moving parts, including the bedways, lead screw, cross slide, compound slide, and tailstock quill. Use a high-quality machine oil. Refer to the lubrication points diagram (if available in a separate detailed manual) for specific areas.
- Текшерүү: Periodically inspect belts for wear, tension, and alignment. Check all electrical connections for tightness and signs of damage. Ensure all fasteners are secure.
- Чакты тейлөө: Keep the chuck jaws and scroll plate clean and lightly oiled to ensure smooth operation and prevent rust.
8. Кыйынчылыктарды
This section addresses common issues you might encounter with your lathe.
| Көйгөй | Мүмкүн себеп | Чечим |
|---|---|---|
| Tailstock loose or damaged upon arrival | Жеткирүү таасири | Inspect immediately upon receipt. If damaged, contact CREWORKS customer support for replacement. |
| Workpiece not spinning smoothly / Chuck jaws have movement | Improperly secured workpiece; chuck wear/damage | Ensure workpiece is properly centered and tightened using all three chuck key holes. Inspect chuck jaws and scroll for wear or debris. Consider replacing the chuck if issues persist. |
| Variable speed control inconsistent at low RPMs | Characteristic of motor control at very low speeds | Operate within the stable RPM ranges. For very low speed operations, consider alternative methods or accept minor fluctuations. |
| Fuses blowing or fuse holder breaking | Motor overload; incorrect fuse rating; faulty fuse holder | Ensure you are not overloading the motor. Verify the fuse rating is correct. Replace the fuse and fuse holder if damaged. Inspect wiring for shorts. |
| Loose screws or poor finish on components | Manufacturing tolerance; vibration during shipping/operation | Perform a thorough inspection upon receipt. Tighten all accessible fasteners. Clean and deburr any rough edges as necessary. |
9. Техникалык шарттар
Detailed technical specifications for the CREWORKS 9" x 30" Mini Metal Lathe:
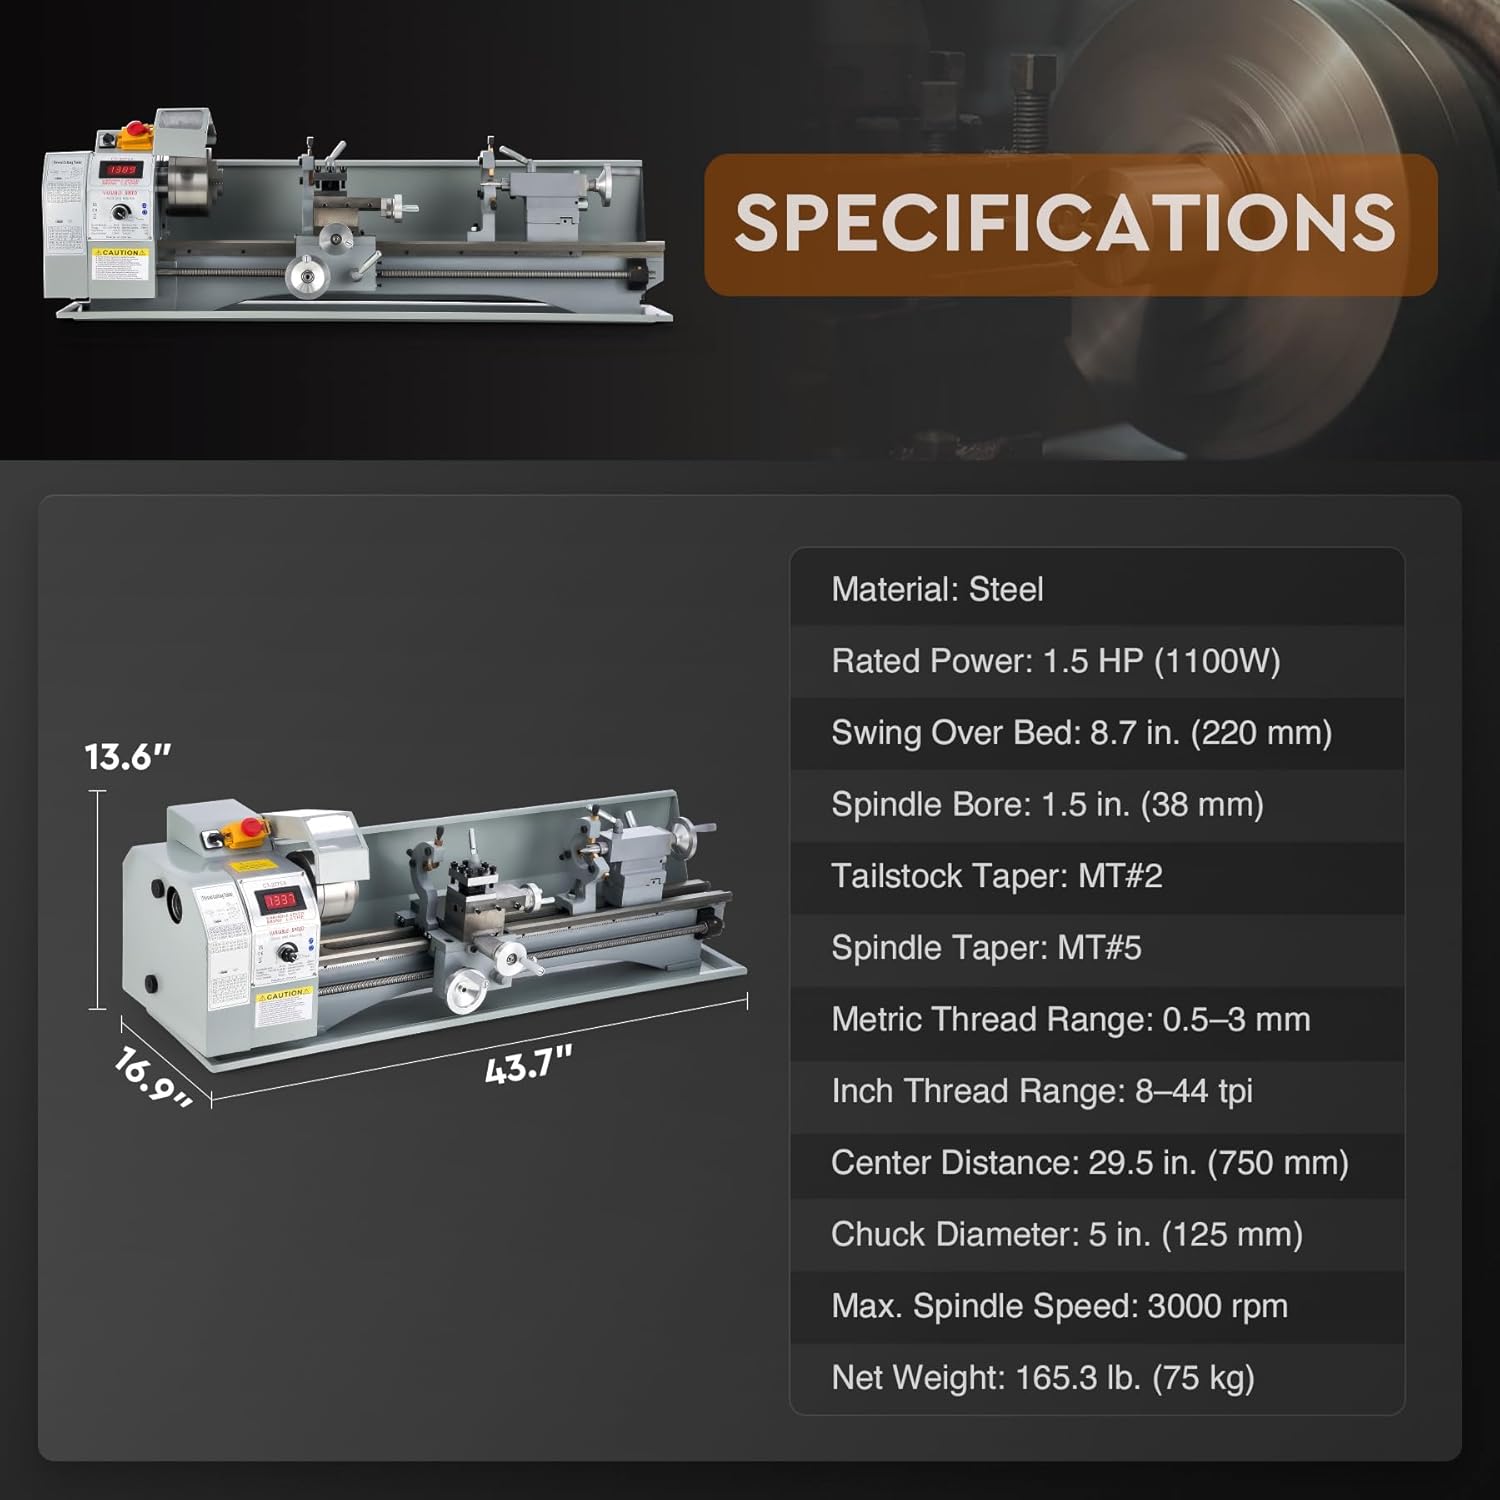
Image: Diagram showing key dimensions and specifications of the lathe.
| Спецификация | Нарк |
|---|---|
| Продукциянын өлчөмдөрү | 43.7 x 16.9 x 13.6 дюйм |
| Элемент Салмагы | 198 фунт (болжол менен 90 кг) |
| Номиналдуу кубаттуулук | 1.5 HP (1100W) |
| Swing Over Bed | 8.7 дюйм (220 мм) |
| Spindle Bore | 1.5 дюйм (38 мм) |
| Tailstock Taper | MT#2 |
| Шпиндель конус | MT#5 |
| Metric Thread Range | 0.5–3 мм |
| Inch Thread Range | 8–44 tpi |
| Center Расстояние | 29.5 дюйм (750 мм) |
| Чак диаметри | 5 дюйм (125 мм) |
| Max. Spindle Speed | 3000 об/мин |
| Өндүрүүчү | ЭКИПАЖДАР |
| Модель номери | YS-2275A |
10. Кепилдик жана колдоо
CREWORKS stands behind the quality of its products. This product is covered by a standard manufacturer's warranty against defects in materials and workmanship. Please refer to your purchase documentation for specific warranty terms and duration.
For technical assistance, troubleshooting not covered in this manual, or warranty claims, please contact CREWORKS customer support. Have your model number (YS-2275A) and purchase date ready when contacting support.
Эскертүү: Кол менен түзүү учурунда кыстаруу үчүн сатуучунун эч кандай расмий видеолору болгон эмес.