Introduction
This manual provides essential information for the safe and proper assembly, operation, and maintenance of your X-PRO X17 125cc Automatic Transmission Dirt Bike. Please read this manual thoroughly before operating the vehicle and retain it for future reference.
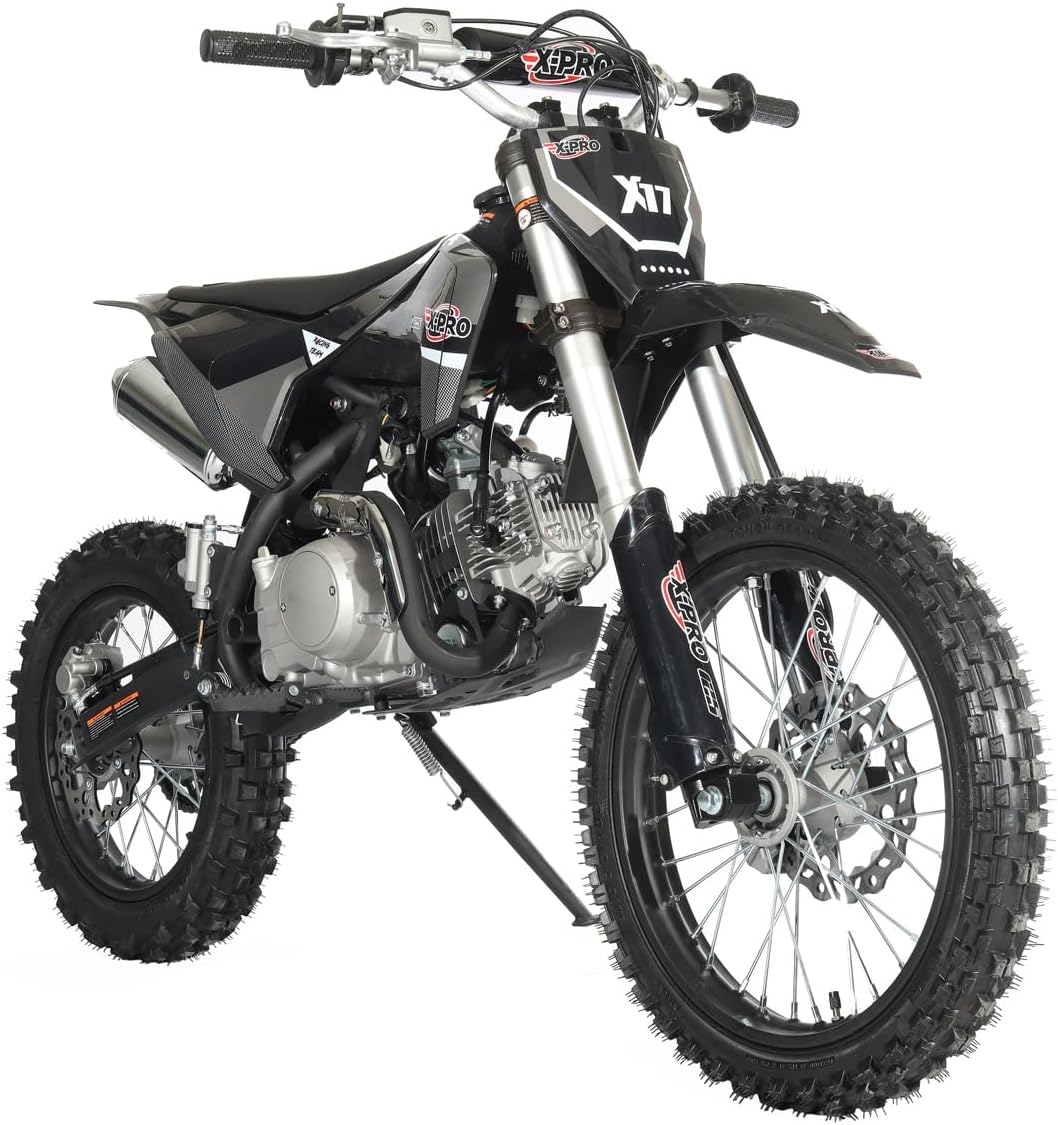
Сүрөт 1: Алдыңкы view of the X-PRO X17 125cc Dirt Bike.
Коопсуздук маалыматы
Always wear appropriate safety gear, including a helmet, eye protection, gloves, and protective clothing, when operating the dirt bike. This vehicle is designed for off-road use only. Never operate over speeds unsafe for your skill or road conditions. Proposition 65 Warning: This product may contain chemicals known to the State of California to cause cancer and birth defects or other reproductive harm.
Ассамблея жана орнотуу
Some assembly is required. This section outlines the steps for unpacking and assembling your X-PRO X17 dirt bike. It is recommended to have basic mechanical experience, tools, and assistance for assembly.
Видеону чогултуу боюнча колдонмо
Визуалдык колдонмо үчүн төмөнкү расмий видеону караңыз:
Video: X-PRO X17 125cc Dirt Bike Assembly Video. This video demonstrates the unpacking and assembly process for the dirt bike. Note: The bike shown in the video may be a different color than your product.
Этап-этабы менен монтаждоо нускамалары
- Unpacking the Crate: Carefully cut the straps and remove the cardboard packaging from the metal crate. Use appropriate tools to remove any zip ties securing components.
- Компоненттерди алып салуу: Locate and remove all accessory boxes and the front wheel from the crate.
- Remove Bike from Crate: Unscrew the bolts securing the bike to the metal frame. With assistance, carefully lift the bike off the frame and place it on a stable surface or a bike stand.
- Install Handlebar Mounts: Open the accessory box and retrieve the handlebar mounts. Install the lower handlebar clamps onto the triple tree, ensuring they are oriented correctly. Secure them with the provided bolts.
- Руткаларды тиркөө: Place the handlebars into the lower clamps. Position the upper handlebar clamps over the handlebars and secure them with the bolts. Ensure the handlebars are centered and tightened securely.
- Install Throttle Assembly: Slide the throttle assembly onto the right handlebar. Secure it in place with the provided screws.
- Алдыңкы канатты орнотуу: Attach the front fender to the front fork assembly using the provided bolts.
- Алдыңкы дөңгөлөктү орнотуу:
- Remove the protective plastic from the brake rotor.
- Insert the wheel spacers into the wheel hub.
- Align the front wheel with the fork legs.
- Carefully slide the axle through the fork legs and wheel hub.
- Secure the axle with the nut and tighten it using a wrench.
- Install Front Brake Caliper:
- Remove the protective spacer from the brake caliper.
- Position the brake caliper over the brake rotor.
- Align the caliper with the mounting points on the fork leg and secure it with the bolts. Tighten securely.
- Батареяны туташтыруу:
- Remove the seat to access the battery compartment.
- Connect the positive (+) red cable to the positive terminal of the battery.
- Connect the negative (-) black cable to the negative terminal of the battery.
- Бардык байланыштар бекем жана коопсуз экендигин текшериңиз.
- Install Handlebar Pad: Place the handlebar pad over the center of the handlebars.

Figure 2: Dirt bike securely packaged within a metal crate.

Figure 3: The dirt bike as it appears in its shipping box.
Иштөө нускамалары
Айдоо алдындагы текшерүү
- Күйүүчү майдын деңгээли: Ensure adequate fuel (unleaded gasoline) is in the tank.
- Мунай деңгээли: Check engine oil level before each ride.
- Шиналар: Inspect tire pressure and condition. Front Tire: 70/100-17", Rear Tire: 90/100-14".
- Тормоздор: Verify front and rear brakes are functioning correctly.
- чынжыр: чынжыр чыңалуу жана майлоо текшерүү.
- бекиткичтер: Ensure all nuts and bolts are tightened securely.
Starting the Engine (Electric Start)
- Күйүүчү май клапанын "ON" абалына буруңуз.
- If the engine is cold, pull the choke lever to the "ON" position.
- От алдыргычтын ачкычын "ON" абалына буруңуз.
- Press the electric start button.
- Once the engine starts, gradually push the choke lever to the "OFF" position as the engine warms up.
Automatic Transmission Operation
The X-PRO X17 features an automatic one-gear transmission, simplifying operation. To move forward, gently apply the throttle. To slow down or stop, release the throttle and apply the brakes. There is no clutch lever or gear shifting required.
Техникалык тейлөө
Regular maintenance is crucial for the longevity and safe operation of your dirt bike. Perform the following checks and services at recommended intervals:
- Май алмаштыруу: Change engine oil after the first 5 hours of operation, then every 10-15 hours or as specified in a detailed service manual (not included here).
- Аба чыпкасы: Өзгөчө чаңдуу шарттарда айдап жүргөндө аба чыпкасын дайыма тазалап туруңуз же алмаштырыңыз.
- Свеча: Шамды мезгил-мезгили менен текшерип, тазалап туруңуз. Эгер эскирген болсо алмаштырыңыз.
- чынжыр тейлөө: Clean, lubricate, and adjust chain tension every few rides.
- Тормоз системасы: Check brake fluid levels and inspect brake pads for wear. Bleed brakes if necessary.
- бекиткичтер: Бардык гайкаларды, болтторду жана бекиткичтерди мезгил-мезгили менен текшерип, бекемдеңиз.
- Шиналар: Monitor tire pressure and inspect for damage or excessive wear.
Проблемаларды чечүү
This section provides basic troubleshooting steps for common issues. For complex problems, consult a qualified technician.
- Кыймылдаткыч иштебей жатат:
- Күйүүчү майдын деңгээлин текшериңиз.
- Ensure ignition key is "ON".
- Verify battery connections are secure and battery is charged.
- От алдыргычтын кирдегенин же бузулганын текшериңиз.
- Ensure choke is used correctly for cold starts.
- Күчтү жоготуу:
- Check air filter for clogging.
- Inspect fuel lines and carburetor for blockages.
- От алдыргычтын абалын текшериңиз.
- Тормоздор натыйжалуу эмес:
- Тормоз суюктугунун деңгээлин текшериңиз.
- Тормоз колодкаларынын эскиргендигин текшериңиз.
- Look for air in the brake lines (may require bleeding).
Техникалык шарттар
| Өзгөчөлүк | Спецификация |
|---|---|
| Мотор | 125cc, 4 такттуу, бир цилиндрлүү, аба менен муздатылган |
| Жугуу | Automatic One Gear |
| Тутумду баштаңыз | Электр старт |
| Max Torque | 8.8(1±10%)/5500(1±5%) |
| Max Power | 6.3(1±10%)/7500(1±5%) Kw/r/m |
| Карбюратор | PZ26 Jingke Carburetor |
| От алдыруу түрү | CDI |
| Эң жогорку ылдамдык | 45+ миль/саат (Жөө жүргүнчүнүн салмагына жана жол шарттарына жараша) |
| Frame | Бешик түрүндөгү болот түтүк рамкасы |
| Front Fork | Inverted 45*48-700mm Forks, Non-Adjustable |
| Арткы айры | ⌀10*275mm, Non-Adjustable |
| Front Brake | Hydraulic Single Piston Caliper, 210mm Disc |
| Арткы тормоз | Hydraulic Single Piston Caliper, 190mm Disc |
| Front Tire | 70/100-17" |
| Арткы Тир | 90/100-14" |
| Таза Салмак | 151 фунт |
| Жалпы салмак | 181 фунт |
| Салмак сыйымдуулугу | 209 фунт |
| Жалпы узундук | 64.2" |
| Жалпы Width | 29.52" |
| Жалпы бийиктиги | 41.34" |
| Wheelbase | 42.32" |
| Жерди тазалоо | 13.58" |
| Күйүүчү майдын кубаттуулугу | 3.5л / 0.92 гал |
| Орундуктун бийиктиги | 32.7" |
| Engine Kill Switch | Ооба |
| Foot Brake | Ооба |
Кепилдик жана колдоо
The X-PRO X17 125cc Dirt Bike comes with a Өндүрүүчүнүн кемчиликтерине каршы 90 күндүк кепилдик. For warranty claims, technical support, or to purchase parts, please contact X-PRO customer service. You can also visit the official X-PRO дүкөнү көбүрөөк маалымат алуу үчүн.