
1. Киришүү
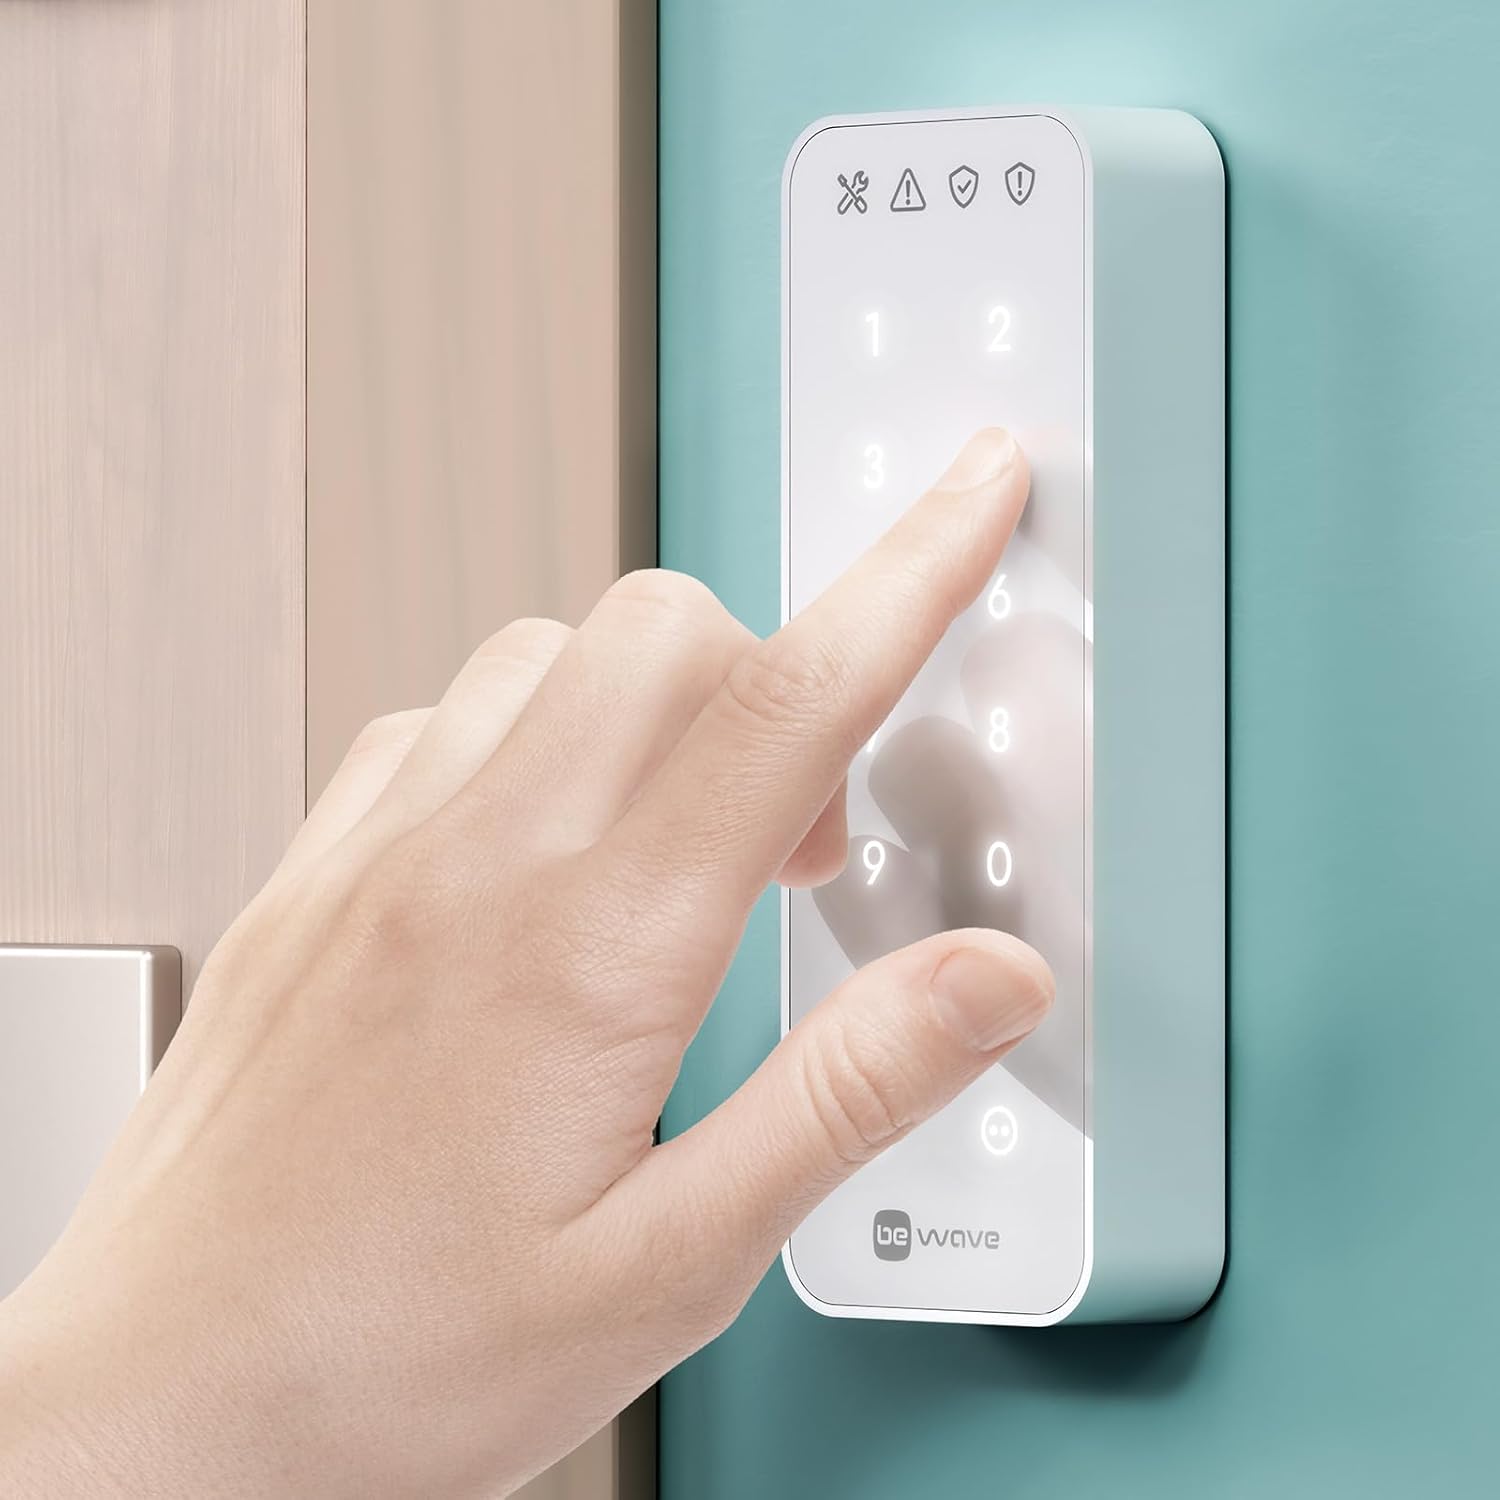
The Satel BE Wave Smart Keypad AKP-200-W is a wireless touch-button keypad designed for convenient local control within the BE Wave smart home and security system. It allows users to manage protection functions and smart home scenes with ease.
This manual provides essential information for the proper installation, operation, and maintenance of your Smart Keypad. Please read it thoroughly before using the device.
2. Продукт бүтүп калдыview
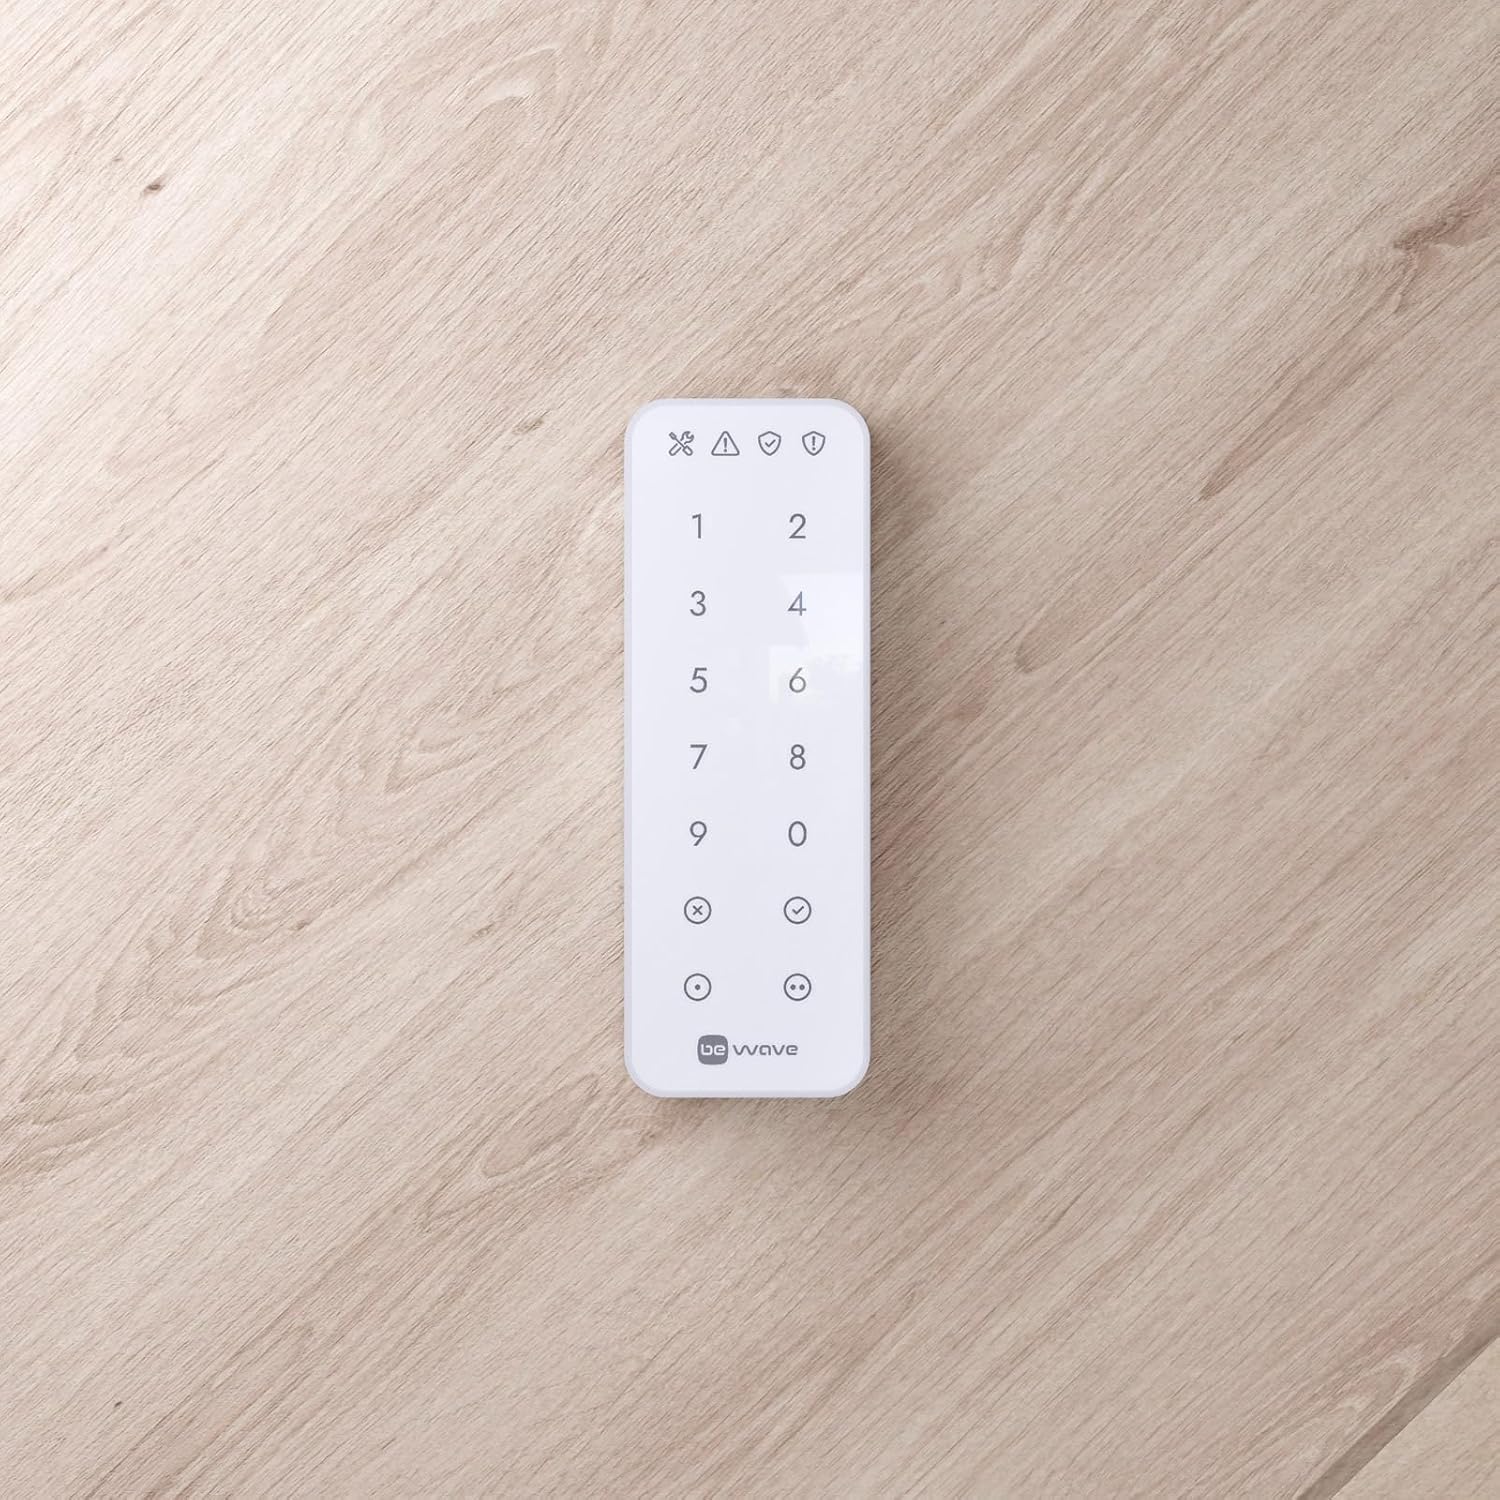
The Smart Keypad features a numeric keypad and two functional buttons. Each functional button can perform two distinct actions: one without requiring a login, and another after successful user authentication. The keypad provides acoustic feedback to confirm commands sent to the Smart HUB and alerts users to alarms or system failures via its built-in buzzer.
Негизги өзгөчөлүктөрү:
- Wireless keypad with touch buttons, operating within the BE Wave system.
- Two functional buttons, each capable of performing two tasks (one without login, one after login).
- Integrated buzzer for acoustic signaling.
- Four LED indicators for status signaling.
- Power supply: Two 1.5V AA batteries, with an option for external 5V DC power supply (e.g., APS-055 model, installed near the keypad).
- Available in black (B) and white (W) variants, both with white keypad backlighting.

3. Пакеттин мазмуну
Орнотууну улантуудан мурун, бардык компоненттердин пакетте бар экендигин текшериңиз:
- Satel BE Wave Smart Keypad AKP-200-W
- Ачуучу курал
- Mounting elements (screws and wall plugs)
- Монтаждык лента
- Колдонуучунун Колдонмосу (бул документ)
4. Орнотуу
4.1 Системалык талаптар
Operation of the Smart Keypad requires a Smart HUB or Smart HUB Plus. Ensure you have one of these central units installed and configured before attempting to set up the keypad.
4.2 Батареяны орнотуу
- Carefully open the keypad casing using the provided opening tool.
- Insert two 1.5V AA batteries into the designated battery compartment, observing the correct polarity (+/-).
- Баскычтопту жабуу casing коопсуз.
4.3 Монтаждоо
The keypad can be mounted using either the provided mounting elements (screws) or the mounting tape, depending on the surface and desired permanence.
- Choose a suitable location for the keypad, ensuring it is within the radio range of your Smart HUB (up to 1100m in open areas).
- If using screws: Mark the drilling points, drill holes, insert wall plugs, and secure the keypad's backplate.
- If using mounting tape: Clean the mounting surface thoroughly. Apply the tape to the back of the keypad and firmly press it onto the desired location.
- Attach the keypad to its mounted backplate.
4.4 Pairing with Smart HUB
Refer to your Smart HUB's instruction manual for detailed steps on how to add new devices to your BE Wave system. Generally, this involves putting the Smart HUB into pairing mode and then activating the keypad to initiate the connection.
5. Иштөө нускамалары
The Smart Keypad allows for intuitive control of your security system and smart home functions.

5.1 Basic Keypad Functions
- Сандык баскычтоп: Used for entering PIN codes for arming/disarming the system or accessing specific functions.
- Функционалдык баскычтар: The two buttons at the bottom can be configured via the mobile application to perform various tasks. Each button supports two functions: one immediate action and one action after user login.
- Acoustic Feedback: The built-in buzzer provides audible confirmation when a command is successfully transmitted to the Smart HUB.
- LED көрсөткүчтөрү: The four LEDs at the top provide visual status information, such as system armed/disarmed, alarm status, or communication issues.
5.2 Activating/Deactivating Protection Modes
To arm or disarm your security system, enter your personal PIN code on the numeric keypad and then press the designated arm/disarm function button (if configured).
5.3 Triggering Alarms and Scenes
The functional buttons can be configured to trigger specific alarms (e.g., panic alarm) or activate predefined smart home scenes (e.g.,
Ask a question about this manual
Ask about setup, troubleshooting, compatibility, parts, safety, or missing instructions. Manuals+ will review the question and use this page’s manual context to help answer it.