
1. Коопсуздук боюнча маанилүү маалымат
Орнотууну баштоодон мурун бардык көрсөтмөлөрдү окуп чыгып, түшүнүп алыңыз. Бул көрсөтмөлөрдү аткарбоо электр тогуна урунууга, өрткө же дене жаракатына алып келиши мүмкүн.
- Орнотуудан же техникалык тейлөөдөн мурун автоматтык өчүргүчтө электр кубаты өчүрүлгөнүн текшериңиз.
- Бардык зымдар улуттук жана жергиликтүү электр эрежелерине ылайык болушу керек.
- The ceiling fan must be mounted to a structure capable of supporting a minimum of 35 lbs (15.9 kg).
- Желдеткичти бычактары же корпусу бузулган учурда иштетпеңиз.
- Вентилятор иштеп турганда колдоруңузду, кийимиңизди жана башка буюмдарыңызды желдеткичтин бычактарынан алыс кармаңыз.
- Бул желдеткич имараттын ичинде гана колдонуу үчүн иштелип чыккан.
2. Пакеттин мазмуну
Verify that all components listed below are included in your package. If any parts are missing or damaged, contact LEDLUX customer support before proceeding with installation.
- Мотор корпусунун монтажы
- Вентилятор бычактары (8 даана)
- Downrods (4.5", 12", 24" options)
- Кронштейн орнотуу
- Алыстан башкаруу жана кабыл алуучу
- Аппараттык пакет (буроолор, шайбалар, зым гайкалар)
- Instruction Manual
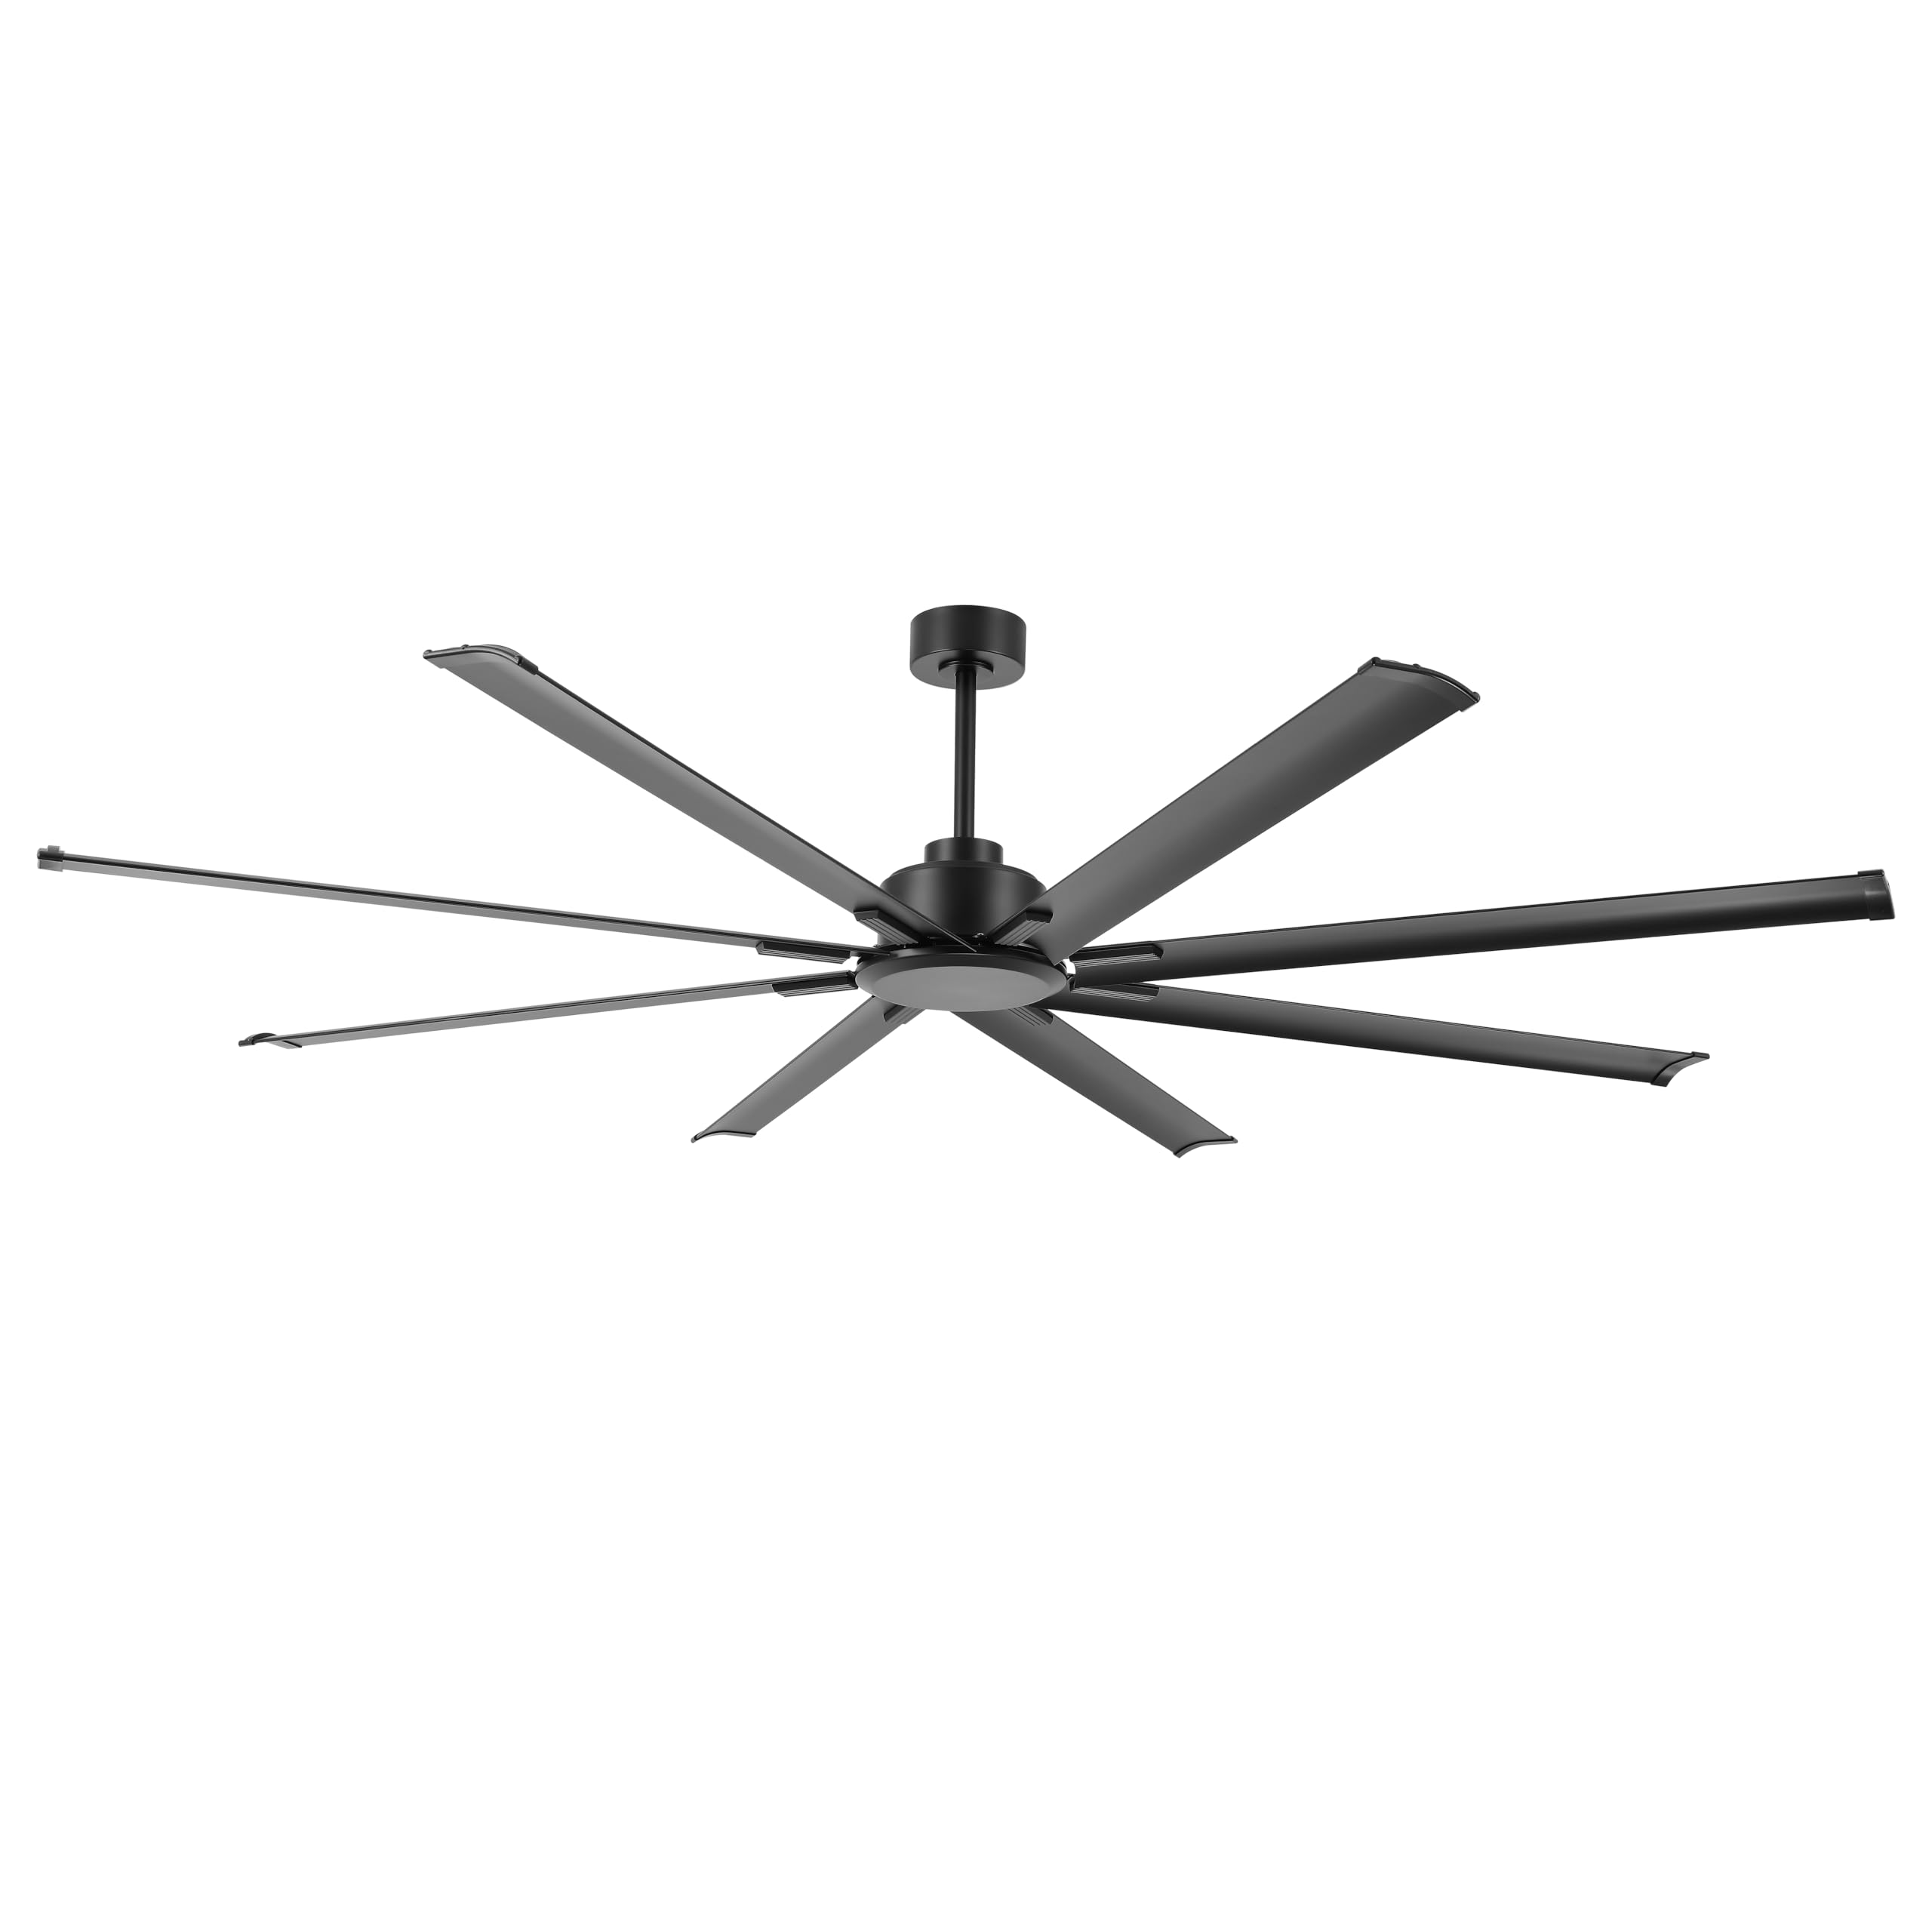
Image: The LEDLUX 96-inch ceiling fan, showcasing its eight black aluminum blades, central motor housing, and the included remote control. This image provides an overview of the main product components.
3. Орнотуу жана орнотуу
Follow these steps carefully for proper installation of your LEDLUX ceiling fan.
3.1 Алдын ала орнотуу текшерүү тизмеси
- Негизги өчүргүчтөн кубатты өчүрүңүз.
- Орнотуу жери желдеткичтин салмагын көтөрө ала тургандыгын текшериңиз.
- Керектүү шаймандарды чогултуңуз (отвертка, зым чечкич, тепкич ж.б.).
3.2 Желдеткичти орнотуу
- Attach the mounting bracket to the ceiling junction box. Ensure it is securely fastened to a structural beam.
- Select the appropriate downrod (4.5", 12", or 24") for your ceiling height.
- Feed the fan wires through the chosen downrod.
- Secure the downrod to the motor housing.
- Желдетүүчү түзүлүштү кылдаттык менен көтөрүп, аны монтаждык кронштейнге илип коюңуз.

Image: A diagram illustrating the overall dimensions of the 96-inch ceiling fan, including its width and height with different downrod lengths (12.7", 20.3", 32.5"). It also shows how the fan can be mounted on both flat and sloped ceilings, along with the three included downrod sizes (4.5", 12", 24").

Image: This image displays the LEDLUX ceiling fan installed in three different room settings: a high ceiling, a low ceiling, and a slanted ceiling, demonstrating its versatility for various architectural styles.
3.3 Зымдарды туташтыруу
- Connect the fan's wires to the household wiring according to the wiring diagram provided in the full manual. Use wire nuts to secure connections.
- Install the remote receiver into the mounting bracket canopy.
- Connect the receiver wires to the fan and household wires as instructed.
3.4 Бычактарды бекитүү
- Attach each of the 8 fan blades to the motor housing using the provided screws and washers. Ensure all screws are tightened securely.
4. Иштөө нускамалары
Your LEDLUX ceiling fan is controlled by the included remote control. Ensure batteries are installed correctly in the remote.
4.1 Алыстан башкаруу функциялары

Сүрөт: деталдуу view of the remote control for the LEDLUX ceiling fan, highlighting buttons for speed adjustment (1-6), fan on/off, forward/reverse function, natural wind mode, and timer settings (1H/2H/4H/8H).
- Күйгүзүү/өчүрүү баскычы: Желдеткичти күйгүзөт же өчүрөт.
- Speed Buttons (1-6): Adjusts fan speed from low (1) to high (6).
- Алга/артка баскычы: Кылычтын айлануу багытын өзгөртөт.
- Таймер баскычтары (1H/2H/4H/8H): Sets the fan to turn off automatically after the selected duration.
- Natural Wind Button: Simulates a natural breeze by cycling through various speeds.
4.2 Кайтарылуучу функция (Жайкы/Кышкы режим)
The fan features a reversible DC motor, allowing for year-round use to optimize air circulation.
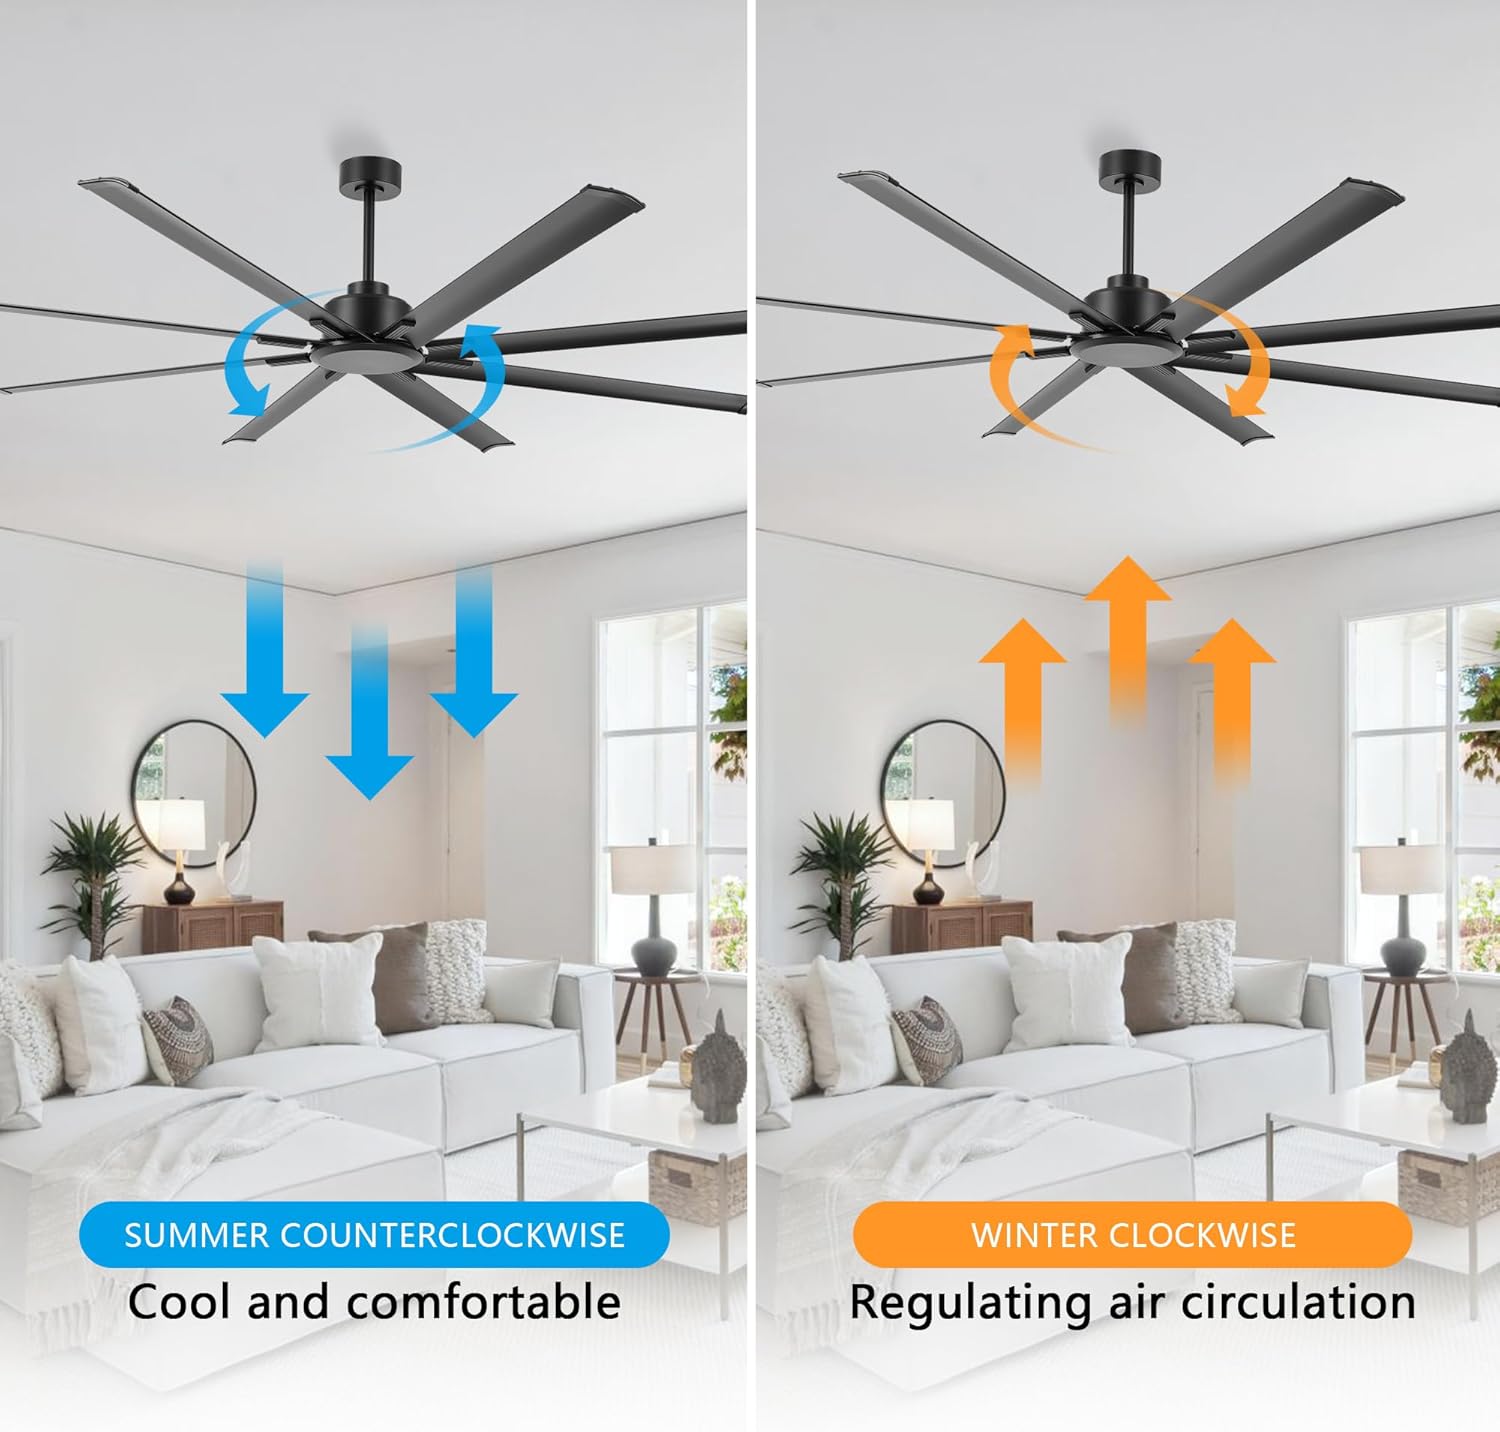
Image: This image illustrates the reversible function of the ceiling fan. On the left, blue arrows indicate counter-clockwise rotation for a cooling downdraft in summer. On the right, orange arrows show clockwise rotation for an updraft to circulate warm air in winter.
- Жайкы режим (сааттын жебесине каршы): Press the reverse button to make the blades rotate counter-clockwise, creating a downward airflow that produces a cooling effect.
- Кышкы режим (сааттын жебеси боюнча): Press the reverse button again to make the blades rotate clockwise, creating an upward airflow that helps circulate warm air trapped near the ceiling.
4.3 Таймер функциясы
Use the timer buttons on the remote control to set the fan to operate for a specific duration before automatically turning off.

Image: This graphic highlights the silent operation of the fan, stating sound is less than 35dB, and illustrates the available timer settings: 1 hour, 2 hours, 4 hours, and 8 hours.
- Press the 1H, 2H, 4H, or 8H button to activate the timer. The fan will run for the selected time and then shut off.
- To cancel the timer, press the fan On/Off button or select a different timer setting.
5. Техникалык тейлөө
Үзгүлтүксүз тейлөө сиздин шыптын желдеткичиңиздин оптималдуу иштешин жана узак иштөөсүн камсыз кылат.
- Тазалоо: Вентилятор калактарын жана мотор корпусун мезгил-мезгили менен жумшак, d менен сүртүп туруңуз.amp кездеме. Абразивдүү тазалагычтарды же эриткичтерди колдонбоңуз.
- Катуу бурамалар: Check all screws on the fan blades and mounting hardware annually to ensure they are secure.
- Blade балансы: Эгерде желдеткич чайпалып турса, бардык бычактар бекем бекитилгенин текшериңиз жана зарыл болсо, бычактарды теңдөөчү комплектти (кошулмада жок) колдонууну карап көрүңүз.
6. Кыйынчылыктарды
Эгер күйөрманыңызда көйгөйлөргө туш болсоңуз, төмөнкү жалпы көйгөйлөрдү жана чечимдерди караңыз:
| Көйгөй | Мүмкүн себеп | Чечим |
|---|---|---|
| Күйөрман иштебейт | желдеткичке кубат жок | Check circuit breaker and wall switch. Ensure all wiring connections are secure. |
| Пульт иштебей жатат | Dead batteries or incorrect pairing | Алыстан башкаруу пультунун батареяларын алмаштырыңыз. Алыстан башкаруу пультунун жупташтыруу боюнча нускамаларын толук колдонмодон караңыз. |
| Желдетүүчү ашыкча солкулдайт | Loose blades or unbalanced blades | Ensure all blade screws are tight. Check for bent blades. Use a blade balancing kit if needed. |
| Ызы-чуу операция | Loose screws or motor issues | Бардык бурамаларды бекемдеңиз. Эгерде ызы-чуу улана берсе, кардарларды тейлөө кызматына кайрылыңыз. |
7. Техникалык шарттар
| Өзгөчөлүк | Деталь |
|---|---|
| Бренд | LEDLUX |
| Модель номери | SYCF9605 |
| Түс | Кара |
| Монтаж түрү | Шыпка орнотуу |
| Ылдамдыктын саны | 6 |
| Тtage | 12 вольт (ток) |
| Ички/тышкы колдонуу | Indoor |
| Башкаруу ыкмасы | Алыстан |
| Натыйжалуулук | Жогорку натыйжалуулук |
| Blades саны | 8 |
| Бычактын материалы | Алюминий |
8. Кепилдик жана колдоо
LEDLUX stands behind the quality of its products.

Image: A graphic detailing the LEDLUX "Worry-Free Promise," which includes a 3-Year Full Warranty on all parts and a 10-Year Motor Warranty.
- Мотор Кепилдиги: The DC motor is covered by a 10-year free replacement warranty.
- Бөлүктөргө кепилдик: All other parts of the fan are covered by a full 3-year warranty.
For warranty claims, technical assistance, or missing parts, please contact LEDLUX customer support through the retailer where the product was purchased or visit the official LEDLUX webсайт.