
1. Киришүү
This manual provides detailed instructions for the installation, operation, and maintenance of the maXpeedingrods 2.5" Front and 3" Rear Lift Kit, Model KY32DK. This kit is specifically designed for Honda CR-V 4WD models manufactured between 2002 and 2006. Proper installation and adherence to safety guidelines are crucial for optimal performance and vehicle safety.
The lift kit is engineered to increase ground clearance and allow for larger tire fitment, enhancing the vehicle's appearance and off-road capability while maintaining factory ride quality.
Видео 1: Жалпы бүттүview of maXpeedingrods lift kit series. This video provides a broad look at the product line and its benefits, but does not contain specific installation steps for this model.
2. Коопсуздук маалыматы
Эскертүү: Installation of this product requires specialized tools and automotive knowledge. Improper installation can lead to serious injury, vehicle damage, or loss of vehicle control. It is strongly recommended that installation be performed by a qualified professional technician.
- Ар дайым тиешелүү жеке коргонуу шаймандарын (ЖКК), анын ичинде коргоочу көз айнектерди жана кол каптарды кийиңиз.
- Кандайдыр бир ишти баштоодон мурун, унаанын домкраттарга же лифтке бекем орнотулгандыгын текшериңиз. Эч качан бир гана уячага таянбаңыз.
- Электрдик бөлүктөр менен иштөөдөн мурун, унаанын аккумуляторун сууруп алыңыз.
- Follow all torque specifications provided by the vehicle manufacturer and any specific instructions included with the lift kit components.
- After installation, perform a thorough inspection of all components and ensure proper alignment.
3. Пакеттин мазмуну
Verify that all components listed below are present and undamaged before beginning installation. If any parts are missing or damaged, contact maXpeedingrods customer support immediately.

Сүрөт 1: Бүттүview of all components included in the maXpeedingrods 2.5" Front & 3" Rear Lift Kit.

Сүрөт 2: Дагы бир деталдуу view of the lift kit components, including spacers, adjustable camber arms, and various hardware.

Сүрөт 3: Close-up of one of the front lift spacers, showing its construction and bolt holes.

Сүрөт 4: Close-up of an adjustable rear camber arm, highlighting its robust design and adjustment mechanism.
Компоненттердин тизмеси:
- Front Lift Spacers (2.5")
- Rear Lift Spacers (3")
- Adjustable Rear Camber Arms
- Монтаждоочу жабдуулар (болт, гайкалар, шайбалар)
- Additional Spacers/Bushings (as required for specific fitment)
4. Орнотуу жана орнотуу боюнча нускамалар
This section outlines the general steps for installing the lift kit. Refer to a professional service manual for your specific Honda CR-V model for detailed disassembly and reassembly procedures.
4.1. Алдын ала орнотуу
- Унааны түз жерге токтотуп, токтоочу тормозду коюңуз.
- Бардык дөңгөлөктөрдөгү гайкаларды бошотуңуз.
- Lift the vehicle using a suitable jack and support it securely with jack stands.
- Дөңгөлөктөрдү алып салыңыз.
4.2. Front Lift Installation
- Carefully disconnect the necessary suspension components (e.g., sway bar links, brake lines, ABS sensors) to allow for sufficient droop of the lower control arm.
- Remove the factory front strut assembly.
- Install the 2.5" front lift spacers on top of the strut assembly, aligning the bolt holes. Secure with the provided hardware.
- Reinstall the modified strut assembly into the vehicle. Ensure all bolts are tightened to factory specifications.
- Reconnect all disconnected components, ensuring proper routing and clearance.
4.3. Rear Lift Installation
- Арткы окту домкрат менен колдоңуз.
- Disconnect the necessary suspension components (e.g., shocks, sway bar links) to allow the axle to drop.
- Install the 3" rear lift spacers between the coil spring and the vehicle's frame/axle.
- Replace the factory rear camber arms with the provided adjustable camber arms. Adjust them to a neutral position initially.
- Reassemble all components, ensuring proper fitment and torque.

Сүрөт 5: This diagram explains that the actual lift height achieved can be greater than the spacer thickness due to suspension geometry. The spacer alters the angle of the lower control arm, providing additional lift.
4.4. Орнотуудан кийинки
- Reinstall the wheels and tighten lug nuts to factory specifications.
- Унааны жерге түшүрүңүз.
- Маанилүү: Immediately after installation, the vehicle must undergo a professional wheel alignment. Failure to do so can result in premature tire wear, poor handling, and unsafe driving conditions.
5. Операциялык кароо
After installing the lift kit, the vehicle's center of gravity will be higher, which can affect handling characteristics. Drive cautiously until you become accustomed to the altered vehicle dynamics.
- Тормоздоо: Increased stopping distances may occur.
- Бурчу: Reduced stability during sharp turns. Avoid aggressive cornering.
- Off-Road Айдоо: While the kit enhances off-road capability, always drive within the limits of the vehicle and your skill level.
- Шиналарды тазалоо: Verify adequate tire clearance at full suspension compression and extension, and during steering lock-to-lock.
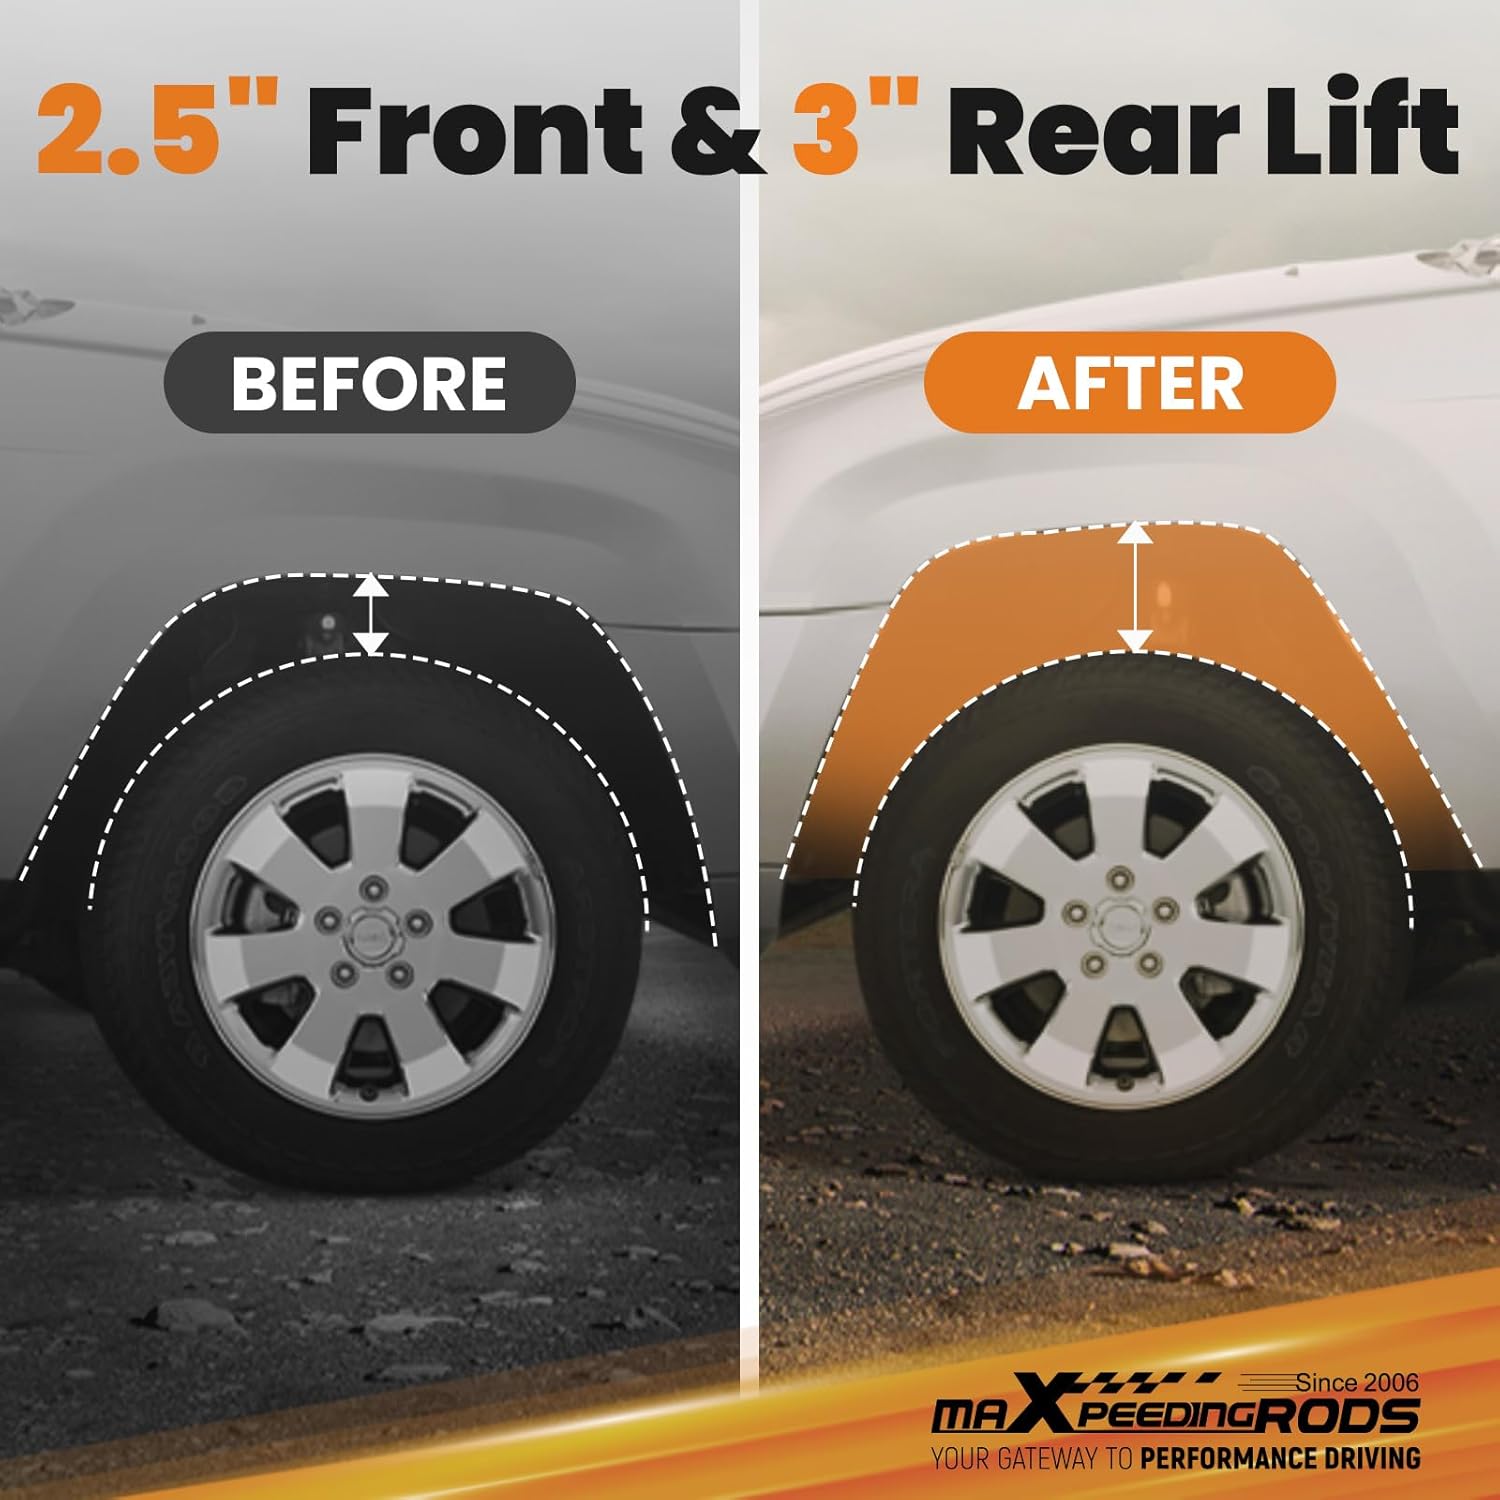
Сүрөт 6: Visual comparison showing the increased ground clearance and altered stance of a vehicle after the lift kit installation.
6. Техникалык тейлөө
Regular inspection and maintenance are essential to ensure the longevity and safe operation of your lift kit components.
- Мезгилдүү текшерүү: Every 3,000-5,000 miles or during routine oil changes, inspect all lift kit components for signs of wear, damage, or loose fasteners. Pay close attention to bolts, bushings, and the adjustable camber arms.
- Моментти текшерүү: Re-torque all fasteners to their specified values after the first 500 miles of driving and periodically thereafter.
- Тазалоо: Keep components free of excessive dirt, mud, and debris, especially after off-road use.
- Тегиздөө: Recheck wheel alignment periodically, especially if you notice uneven tire wear or changes in handling.

Сүрөт 7: This image emphasizes the durable construction materials, including high-strength carbon steel and a powder-coated surface for anti-corrosion, which contribute to the product's longevity.
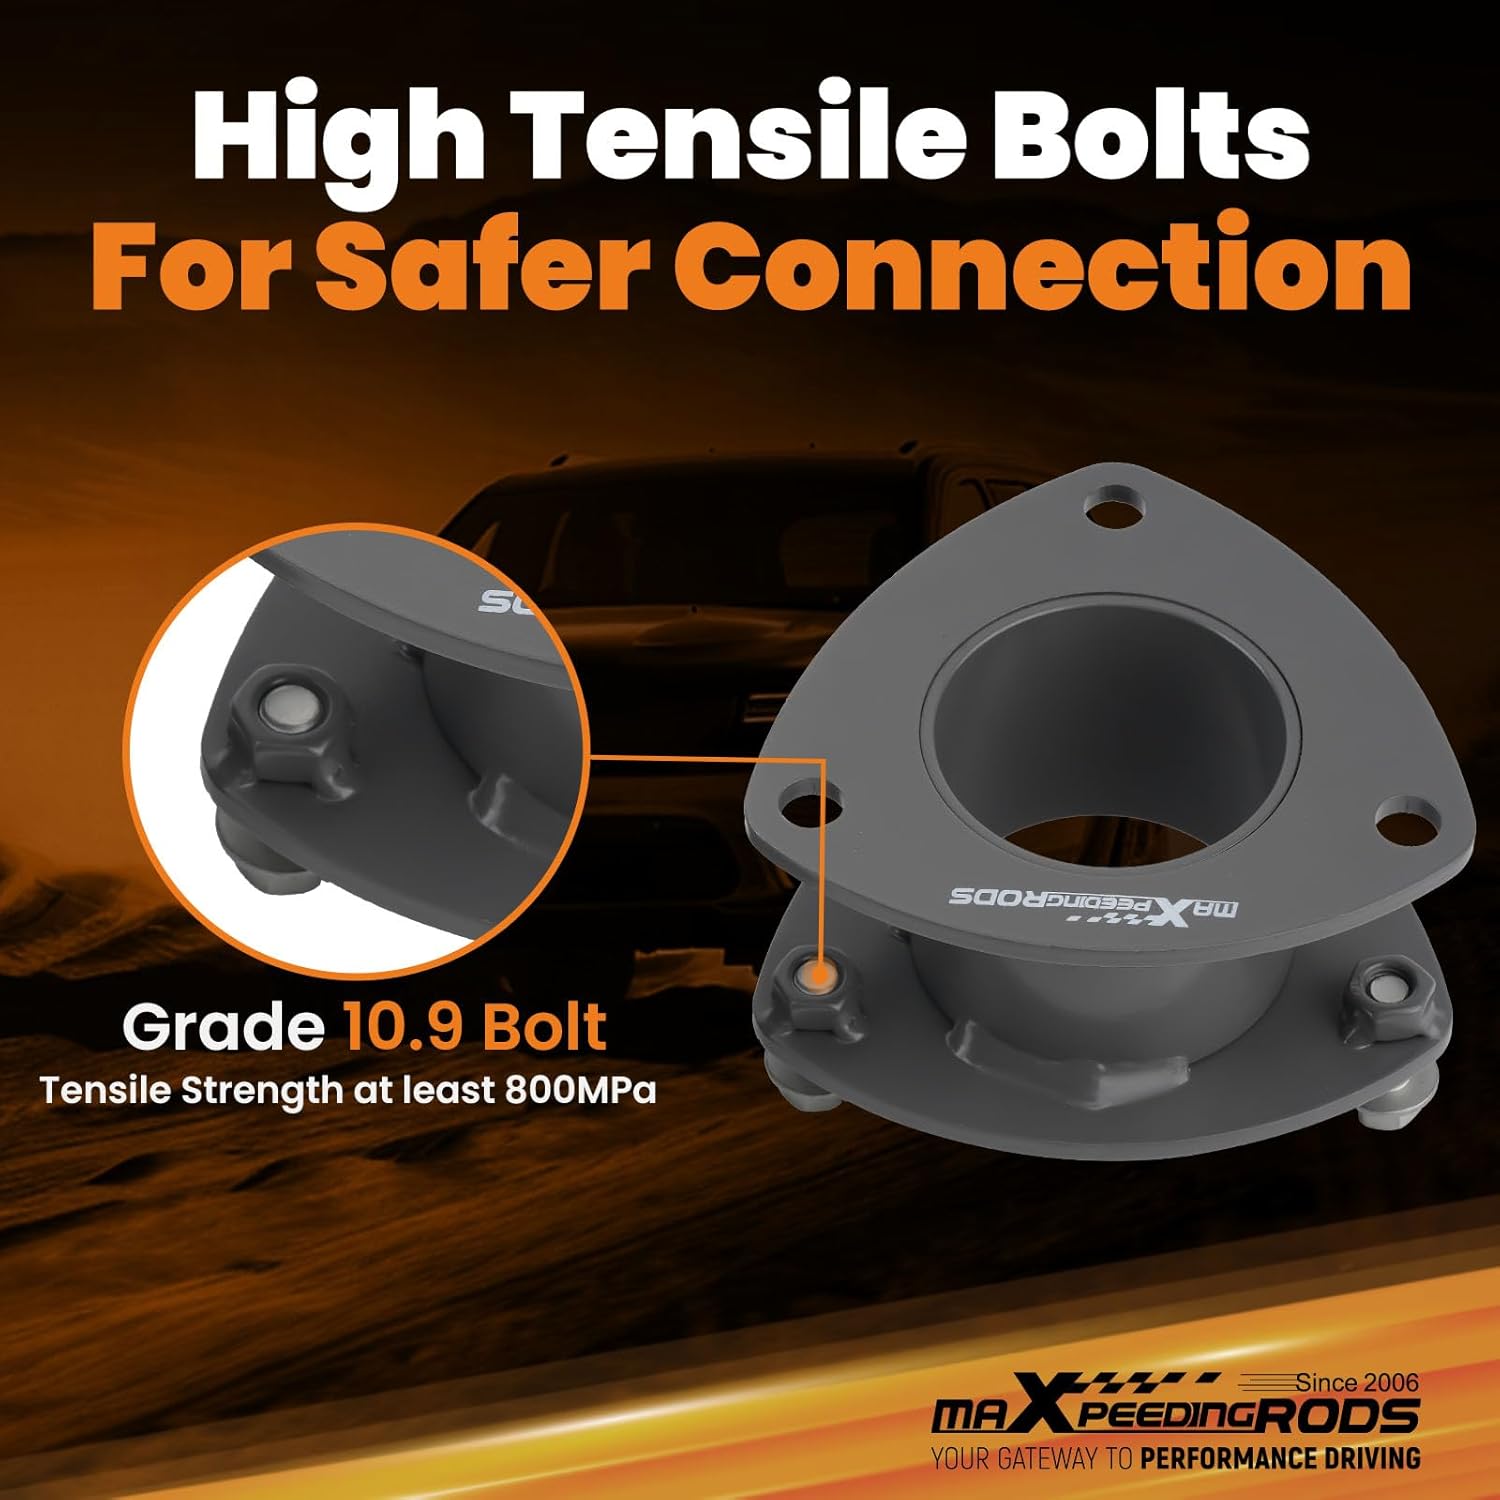
Сүрөт 8: Detail showing the high tensile Grade 10.9 bolts used for secure connections, designed for strength and durability.
7. Кыйынчылыктарды
If you encounter issues after installation, consider the following common problems and solutions:
- Тегиз эмес жүрүү бийиктиги:
- Verify that the correct spacers were installed on the appropriate corners (front vs. rear).
- Ensure all components are seated correctly and fasteners are tightened to specification.
- Unusual Noises (Clunking, Squeaking):
- Check all bolts and nuts for proper torque. Loose hardware is a common cause of noise.
- Inspect for any components making contact with other parts of the vehicle (e.g., brake lines, sway bar).
- Poor Handling or Steering Issues:
- This is often a sign of incorrect wheel alignment. Have the vehicle professionally aligned immediately.
- Ensure the adjustable camber arms are set correctly.
- Premature Tire Wear:
- Typically caused by incorrect wheel alignment.
- Дөңгөлөктүн басымын дайыма текшерип туруңуз.
If troubleshooting steps do not resolve the issue, contact maXpeedingrods technical support.
8. Техникалык шарттар
| Өзгөчөлүк | Спецификация |
|---|---|
| Бренд | maXpeedingrods |
| Модель номери | KY32DK |
| Front Lift Height | 2.5 дюйм |
| Rear Lift Height | 3 дюйм |
| Материал | High-grade Carbon Steel |
| Беттик бүтүрүү | Powder Coated (Anti-Corrosion) |
| Rear Camber Arm Length Range | 250mm-290mm (9.84"-11.41") |
| Шайкеш унаа | Honda CR-V 4WD (2002-2006) |
| Элемент Салмагы | 26.9 фунт |
| Продукциянын өлчөмдөрү | 15.63 x 13.31 x 7.95 дюйм |
9. Кепилдик жана колдоо
maXpeedingrods offers a 1 жылдык чектелген кепилдик for quality issues from the date of purchase. Additionally, lifetime technical support is available for this product.
For warranty claims, technical assistance, or any questions regarding your lift kit, please contact maXpeedingrods customer service through their official website or the platform where the product was purchased. Please have your purchase details and model number (KY32DK) ready when contacting support.