
1. Продукт бүтүп калдыview
The AWANFI YG-811 Two-Way Radios provide reliable communication for various activities. This manual details the setup, operation, and maintenance of your device to ensure optimal performance and longevity.
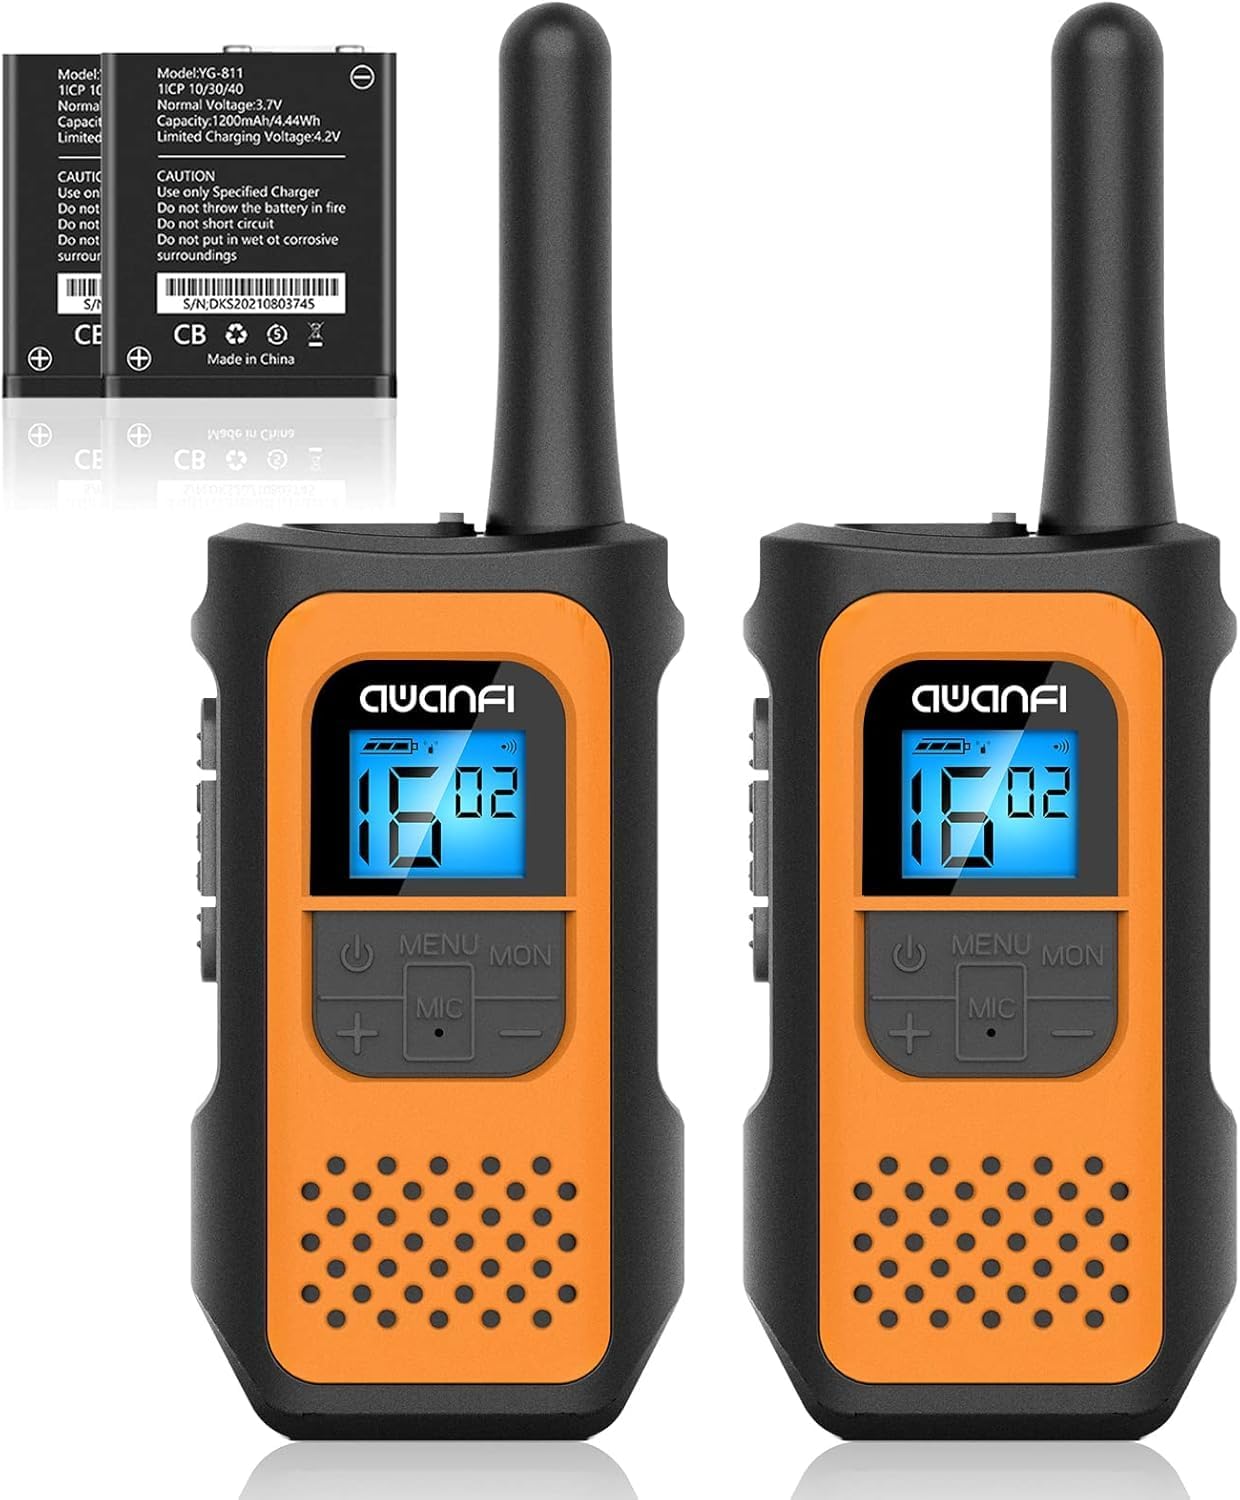
Image 1.1: AWANFI YG-811 Two-Way Radios. This image displays two orange and black walkie-talkies, highlighting their compact design and digital display.
2. Пакеттин мазмуну
Пакетиңизде бардык буюмдар бар экенин текшериңиз:
- 2 x AWANFI Walkie Talkies
- 2 x Белдик клиптер
- 1 x 2-in-1 Type-C Cable
- 1 х Колдонуучунун колдонмосу (бул документ)
3. Продукциянын өзгөчөлүктөрү
- Rechargeable 1200mAh Li-ion Battery: Бир зарядда 24 саатка чейин батареянын иштөө мөөнөтүн камсыз кылат.
- USB Type-C заряддоо: Convenient and efficient charging.
- 22 канал: Offers a wide range of communication options.
- 99 Купуялык коддору: Ensures private communication.
- VOX (Үн менен башкарылуучу алмашуу): Колсуз байланышты камсыз кылат.
- Интеграцияланган кол чырак: Useful for low-light conditions.
- Баскыч кулпу: Орнотуулардын кокусунан өзгөрүшүнүн алдын алат.
- Авто сканерлөө: Automatically scans for active channels.
- 10 Call Tone Alerts: Customizable alert sounds.
- SOS Siren: Шашылыш сигнал берүү үчүн.
- Компакт жана жеңил дизайн: Easy to carry with included lanyards and belt clips.
- Back-lit Display: Improves visibility in various lighting conditions.
- Ызы-чууну азайтуу: Enhances audio clarity.
- Squelch System: Reduces background noise.
- Drop Protection: Durable environmental protection shell.
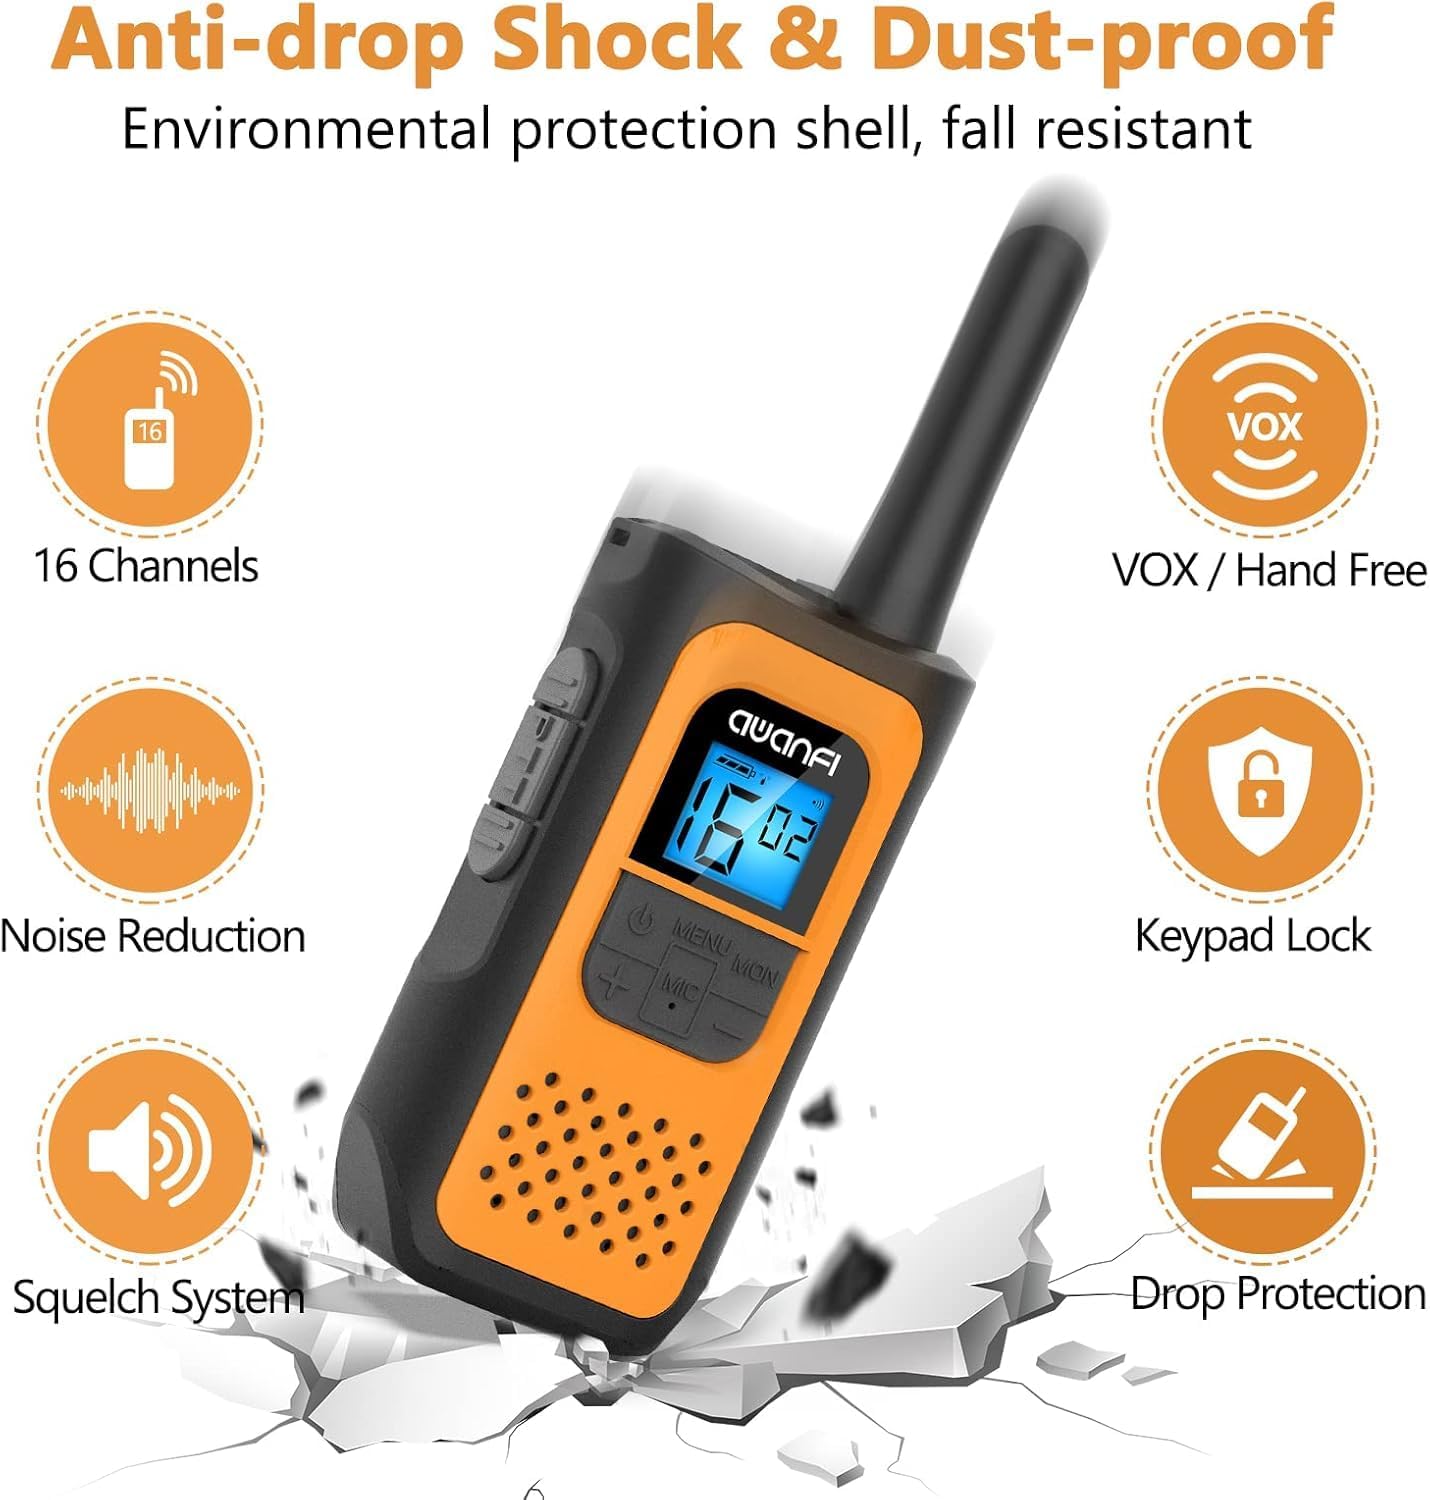
Image 3.1: Key Features of the AWANFI YG-811. This graphic illustrates the main functionalities such as VOX, Keypad Lock, and Noise Reduction.
4. Компонентти идентификациялоо
Familiarize yourself with the various parts of your AWANFI Two-Way Radio:

Image 4.1: AWANFI YG-811 Component Diagram. This image labels the antenna, earphone jack, charge jack, PTT button, power button, microphone/speaker, LCD display, menu/lock button, up button, and down button.
- Антенна: Сигналдарды берүү жана кабыл алуу үчүн.
- Наушник джек: Connect external audio accessories.
- Кубат Джек: кубаттоо үчүн USB Type-C порту.
- PTT Button (Push-To-Talk): Үнүңүздү өткөрүү үчүн басып туруңуз.
- Кубат баскычы: Радиону күйгүзөт/өчөт.
- Микрофон/Спикер: For speaking and listening.
- LCD дисплей: Shows channel, battery status, and other settings.
- MENU/MON Button: Accesses menu settings or monitors channels.
- UP Button (+): Navigates menu or increases values.
- DOWN Button (-): Navigates menu or decreases values.
5. Орнотуу
5.1 Батареяны орнотуу
The AWANFI YG-811 uses a 1200mAh Li-ion battery. Ensure the battery is correctly installed before first use.
- Радионун артындагы батарея бөлүкчөсүнүн капкагын ачыңыз.
- Insert the Li-ion battery, ensuring the contacts align correctly.
- Батарея уясынын капкагын бекем жабыңыз.

Image 5.1: Battery Installation and Safety. This image illustrates how to insert the 1200mAh Li-ion battery and highlights its safety features like overcharge protection and IEC62133 certification.
5.2 Батареяны заряддоо
Charge the walkie-talkie fully before initial use. Use the provided Type-C cable for charging.
- Connect the Type-C cable to the charge jack on the side of the radio.
- Connect the other end of the cable to a compatible USB power adapter, power bank, or car charger.
- LCD дисплейдеги батареянын индикатору кубаттоо абалын көрсөтөт.
- Charging is complete when the battery indicator shows full.
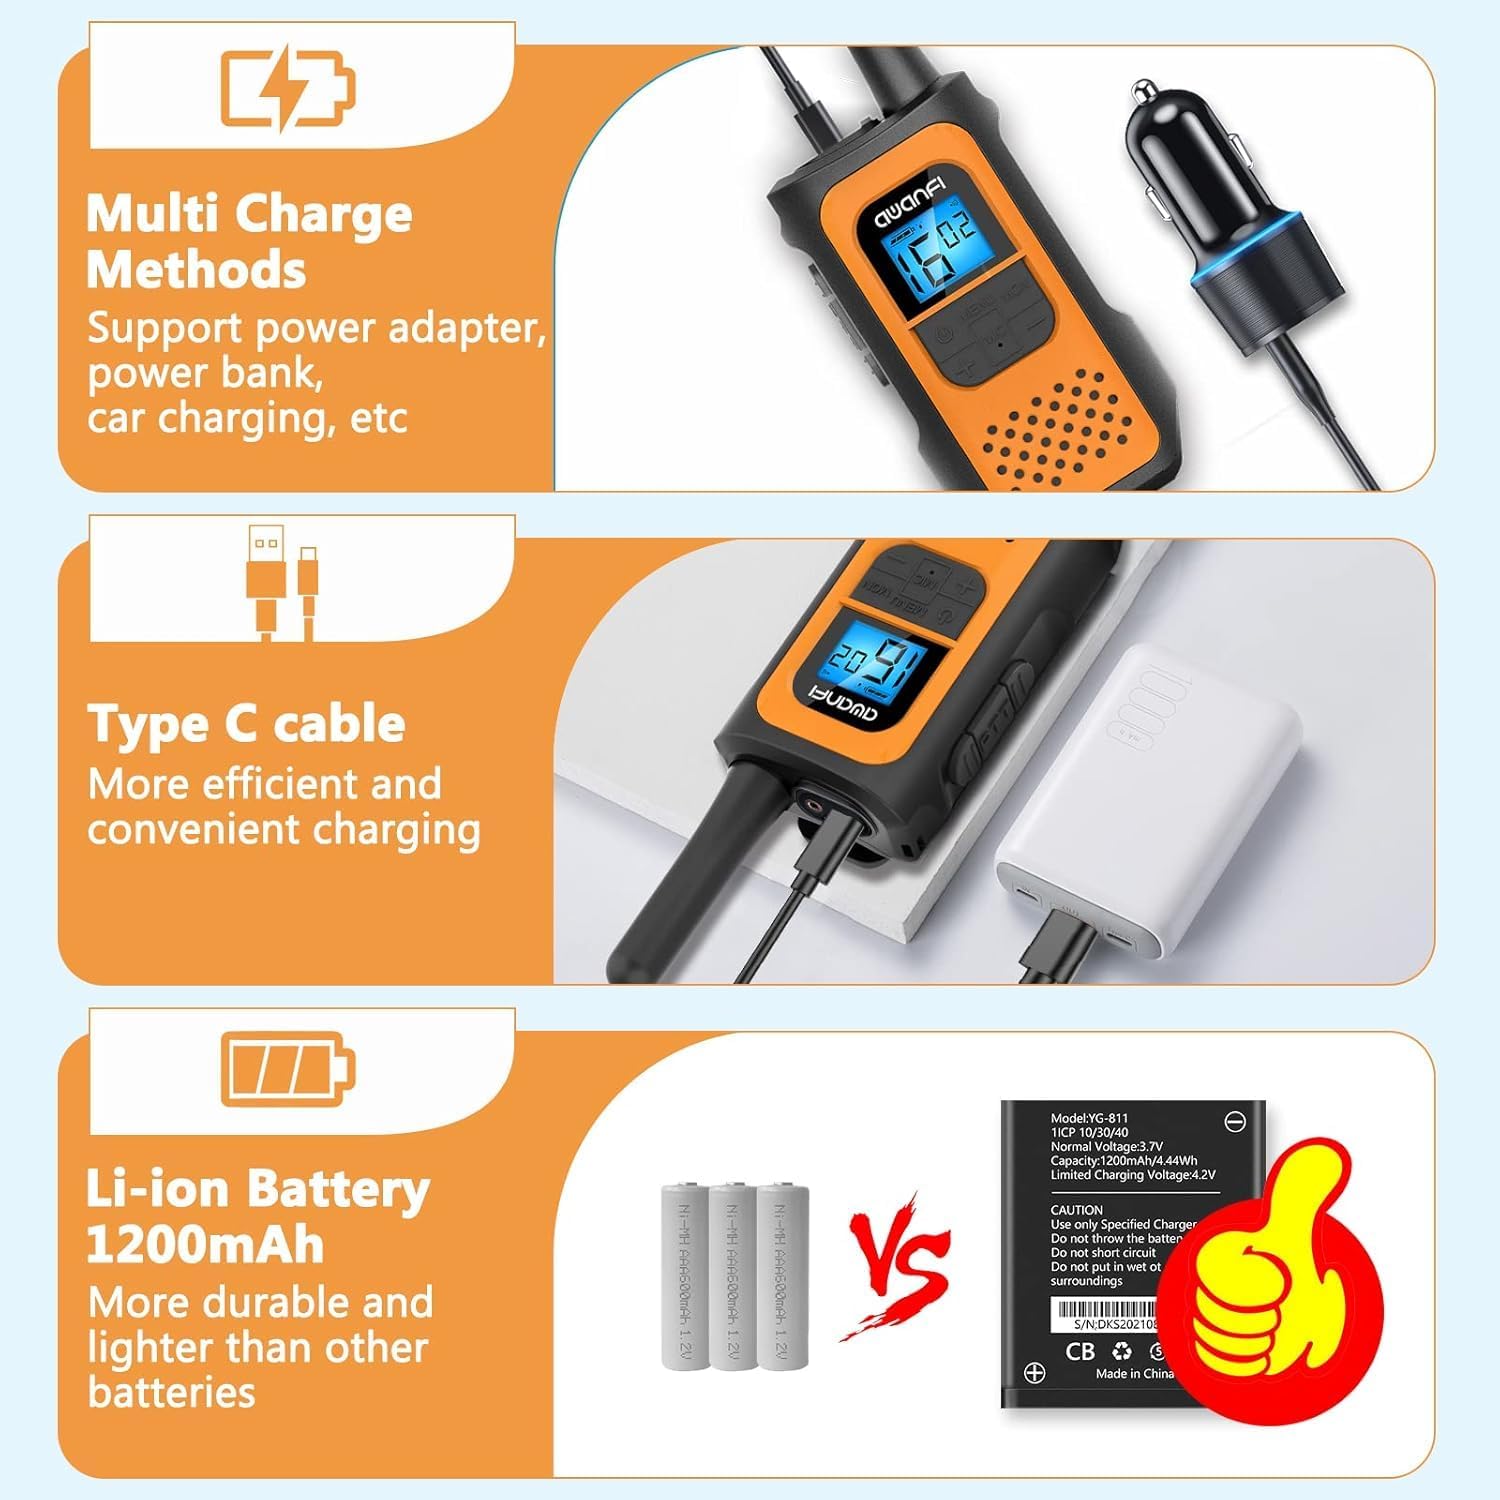
Image 5.2: Multi-Charge Methods. This image demonstrates various ways to charge the walkie-talkie using the Type-C cable, such as with a power adapter, power bank, or car charger.
5.3 Күйгүзүү/өчүрүү
- Күйгүзүү үчүн: Press and hold the Power Button until the LCD display illuminates.
- Өчүрүү үчүн: Press and hold the Power Button until the LCD display turns off.
6. Иштөө нускамалары
6.1 Каналды тандоо
- Менюга кирүү үчүн MENU баскычын басыңыз.
- Use the UP (+) or DOWN (-) buttons to navigate to the channel setting.
- Press MENU again to select the channel.
- Use UP (+) or DOWN (-) to choose your desired channel (1-22).
- Press MENU to confirm, then press PTT or wait for the menu to exit automatically.
6.2 Купуялык коддорун орнотуу (CTCSS/DCS)
Купуялык коддору ошол эле каналдагы башка колдонуучулардын кийлигишүүсүн азайтууга жардам берет.
- Press the MENU button repeatedly until the privacy code setting appears.
- Use UP (+) or DOWN (-) to select a privacy code (01-99).
- Press MENU to confirm, then press PTT or wait for the menu to exit automatically.
- Ensure all radios in your group are set to the same channel and privacy code.
6.3 Берүү жана кабыл алуу
- Өткөрүш үчүн: Press and hold the PTT button. Speak clearly into the microphone. Release the PTT button when finished speaking.
- Кабыл алуу үчүн: The radio will automatically receive transmissions when the PTT button is not pressed and you are on the same channel and privacy code as the transmitting party.
6.4 VOX Function (Hands-Free Communication)
When VOX is enabled, the radio transmits automatically when it detects your voice.

Image 6.1: VOX Function in Use. This image shows two individuals hiking, with walkie-talkies attached to their backpacks, illustrating the convenience of hands-free communication.
- Press the MENU button repeatedly until the VOX setting appears.
- Use UP (+) or DOWN (-) to select a VOX sensitivity level (e.g., 1-3, with 3 being most sensitive). Select 'OFF' to disable.
- Press MENU to confirm, then press PTT or wait for the menu to exit automatically.
6.5 Баскычтарды кулпу
Жөндөөлөрдүн кокусунан өзгөрүшүнүн алдын алуу үчүн:
- Бекитүү: Press and hold the MENU/MON button until the lock icon appears on the display.
- Кулпуну ачуу үчүн: Press and hold the MENU/MON button again until the lock icon disappears.
6.6 Фонар
The integrated flashlight can be activated for illumination in dark environments.
- Consult the specific button assignment in your radio's menu or quick guide for flashlight activation, typically a long press of a specific button (e.g., UP or DOWN button).
6.7 Аралык маалымат
The communication range varies depending on terrain and conditions.

Image 6.2: Communication Range. This graphic provides estimated ranges for different environments: up to 5km in mountainous areas, up to 3km in open water, and up to 1.5km in urban neighborhoods.
- Тоодон өрөөнгө: 5 кмге чейин
- Ачык суу: 3 кмге чейин
- Коңшу: 1.5 кмге чейин
7. Техникалык тейлөө
7.1 Батареяга кам көрүү
- Батареяны экстремалдуу температурага калтырбаңыз.
- Батарея терминалдарын кыска туташуудан сактаңыз.
- Recharge the battery regularly, even if not in use, to maintain its lifespan.
- Белгиленген заряддагычты гана колдонуңуз.
7.2 Тазалоо
- Радиону жумшак менен сүртүңүз, гamp кездеме.
- Катуу химиялык заттарды же абразивдүү тазалоочу каражаттарды колдонбоңуз.
- Колдонуудан же кубаттоодон мурун радионун кургак экенин текшериңиз.
7.3 Сактоо
- Радиону колдонбогондо салкын, кургак жерде сактаңыз.
- Эгер узак убакытка сакталса, батарейканы алып салыңыз.
7.4 Сууга туруктуулук
Please note that the AWANFI YG-811 Two-Way Radio is Сууга чыдамдуу эмесЗыяндын алдын алуу үчүн сууга же жогорку нымдуулукка дуушар кылбаңыз.
8. Кыйынчылыктарды
| Көйгөй | Мүмкүн себеп | Чечим |
|---|---|---|
| Күч жок | Батареянын кубаты аз же туура эмес орнотулган. | Charge the battery. Reinstall the battery, ensuring proper contact. |
| Өткөрүп же кабыл албайт | Incorrect channel/privacy code. Out of range. Battery low. | Verify all radios are on the same channel and privacy code. Move closer to other radios. Charge the battery. |
| Аудио сапаты начар | Алсыз сигнал. Интерференция. | Move to an open area. Change channel/privacy code. |
| Баскычтоп жооп бербейт | Баскычтоптун кулпусу активдүү. | Unlock the keypad by pressing and holding the MENU/MON button. |
9. Техникалык шарттар
- Модель номери: YG-811
- Бренд: AWANFI
- Каналдардын саны: 22
- Батарея түрү: 1200mAh Li-ion (Nonstandard Battery)
- Сүйлөшүү диапазону максималдуу: 3 Kilometers (Open Water)
- Сууга туруктуулук деңгээли: Сууга чыдамдуу эмес
- Өндүрүүчү: Shenzhen yizhongge Electronic Co., Ltd
10. Кепилдик жана колдоо
Your AWANFI YG-811 Two-Way Radio comes with a 1 жылдык кепилдик сатып алынган күндөн тартып.
For technical support, warranty claims, or further assistance, please contact AWANFI customer service through the retailer where the product was purchased or visit the official AWANFI webсайт.
Сураныч, кепилдик максаттары үчүн сатып алганыңыздын далилин сактап коюңуз.