1. Киришүү
The Stemedu SG92R 9g Micro Servo Motor is a compact and versatile analog servo designed for various applications, including remote control helicopters, micro robots, robot arms, and boats. It is compatible with popular microcontrollers like Arduino and Raspberry Pi, making it suitable for a wide range of electronics DIY projects. This manual provides essential information for proper setup, operation, and maintenance of your SG92R servo motor.
2. Продукт бүтүп калдыview
The SG92R micro servo features a durable design with plastic gears and offers a controlled angle of 180 degrees. Its small size and lightweight construction make it ideal for projects where space and weight are critical. The servo comes with various accessories to facilitate mounting and connection.
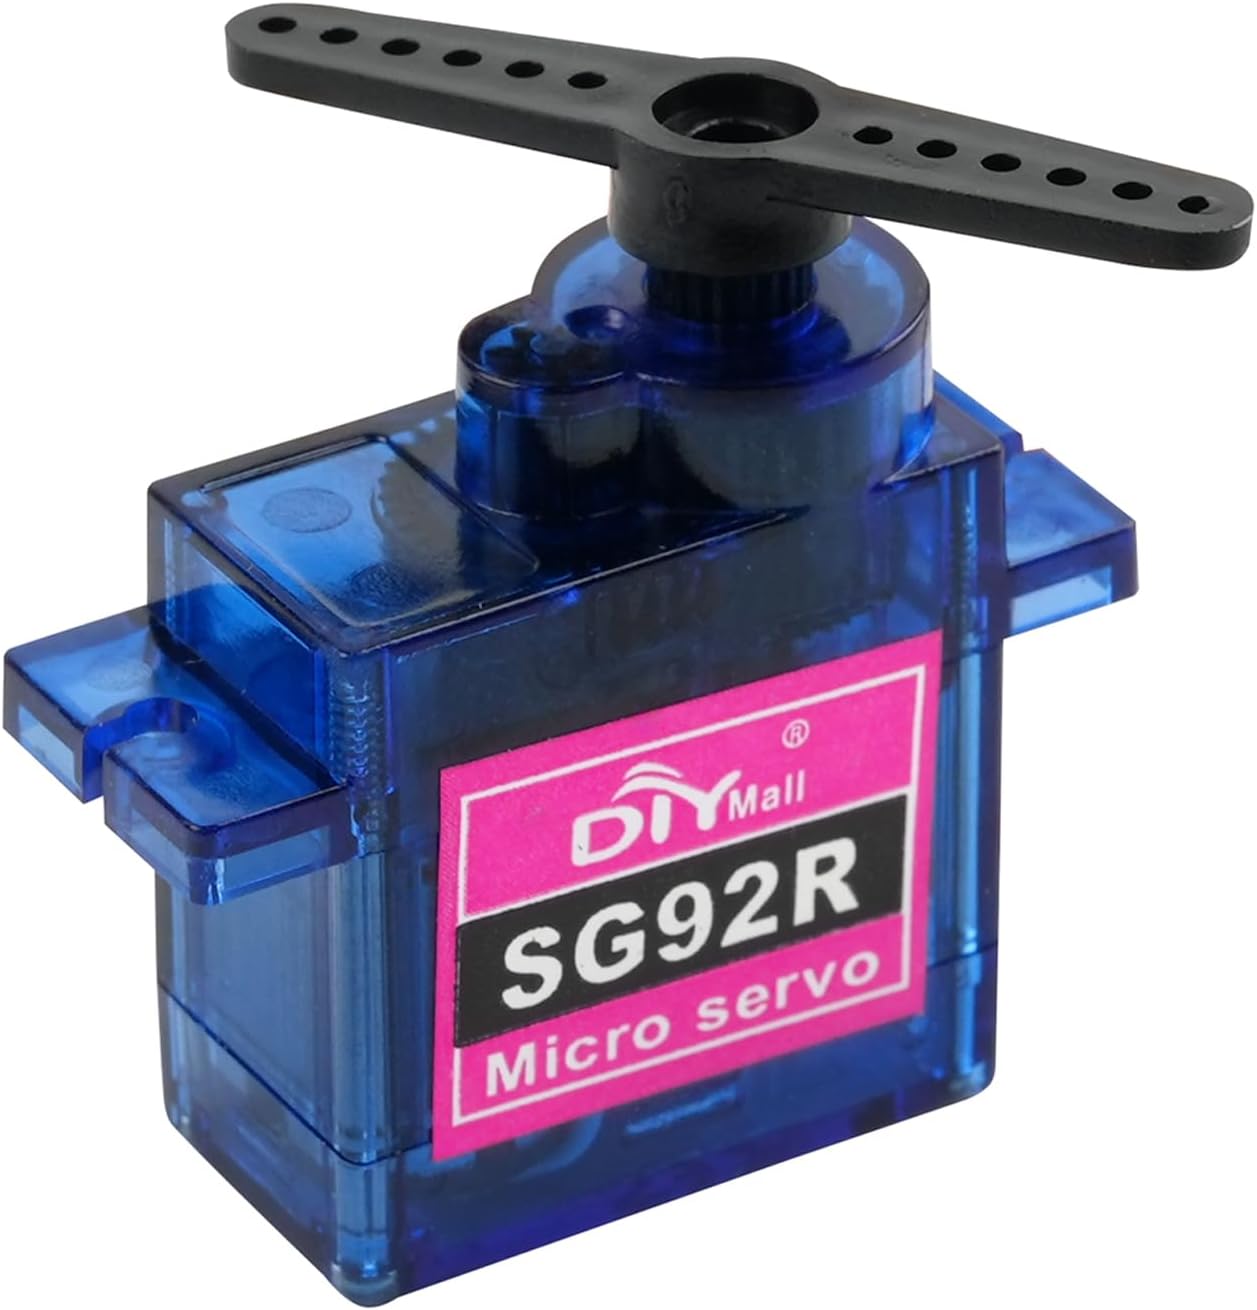
Figure 2.1: The SG92R 9g Micro Servo Motor with its included accessories, including different servo horns for various applications.
3. Техникалык шарттар
Below are the detailed technical specifications for the SG92R 9g Micro Servo Motor:
| Категория | Спецификация | Нарк |
|---|---|---|
| Электрдик | Operating Voltage | 4.8В - 6.0В |
| Running Current | 90мА | |
| Stall Current | 560mA ±10% (4.8V), 750mA ±10% (6V) | |
| Performance | Жүктөө ылдамдыгы жок | 0.10 sec/60° (4.8V), 0.08 sec/60° (6V) |
| Peak Stall Torque | 1.3kg.cm (4.8V), 1.8kg.cm (6V) | |
| Running Degree | 180° ±3° (when 500~2500usec) | |
| Dead Band Width | 8 колдонууc | |
| Механикалык | Gear түрү | 5 Пластик |
| Өлчөмдөр | 22.4 x 12.5 x 22.8mm (0.88 x 0.49 x 0.89 in) | |
| Салмагы | 10г ±5% | |
| Connector Wire Length | 250mm ± 5mm | |
| Мотор түрү | Көмүртектүү щетка мотору | |
| Control | Command Signal | Pulse Width Modification (PWM) |
| Импульстун кеңдиги диапазону | 500~2500usec |
4. Орнотуу жана туташуу
Connecting the SG92R servo motor is straightforward. It typically uses a 3-wire connection system:
- Күрөң/Кара зым: Жер (GND)
- Кызыл зым: Кубаттуулук (VCC, 4.8V-6.0V)
- Кызгылт сары/сары зым: Сигнал (PWM киргизүү)
Ensure correct polarity when connecting the power wires to avoid damage to the servo. The signal wire receives Pulse Width Modulation (PWM) signals from your microcontroller (e.g., Arduino) or RC receiver to control the servo's position.
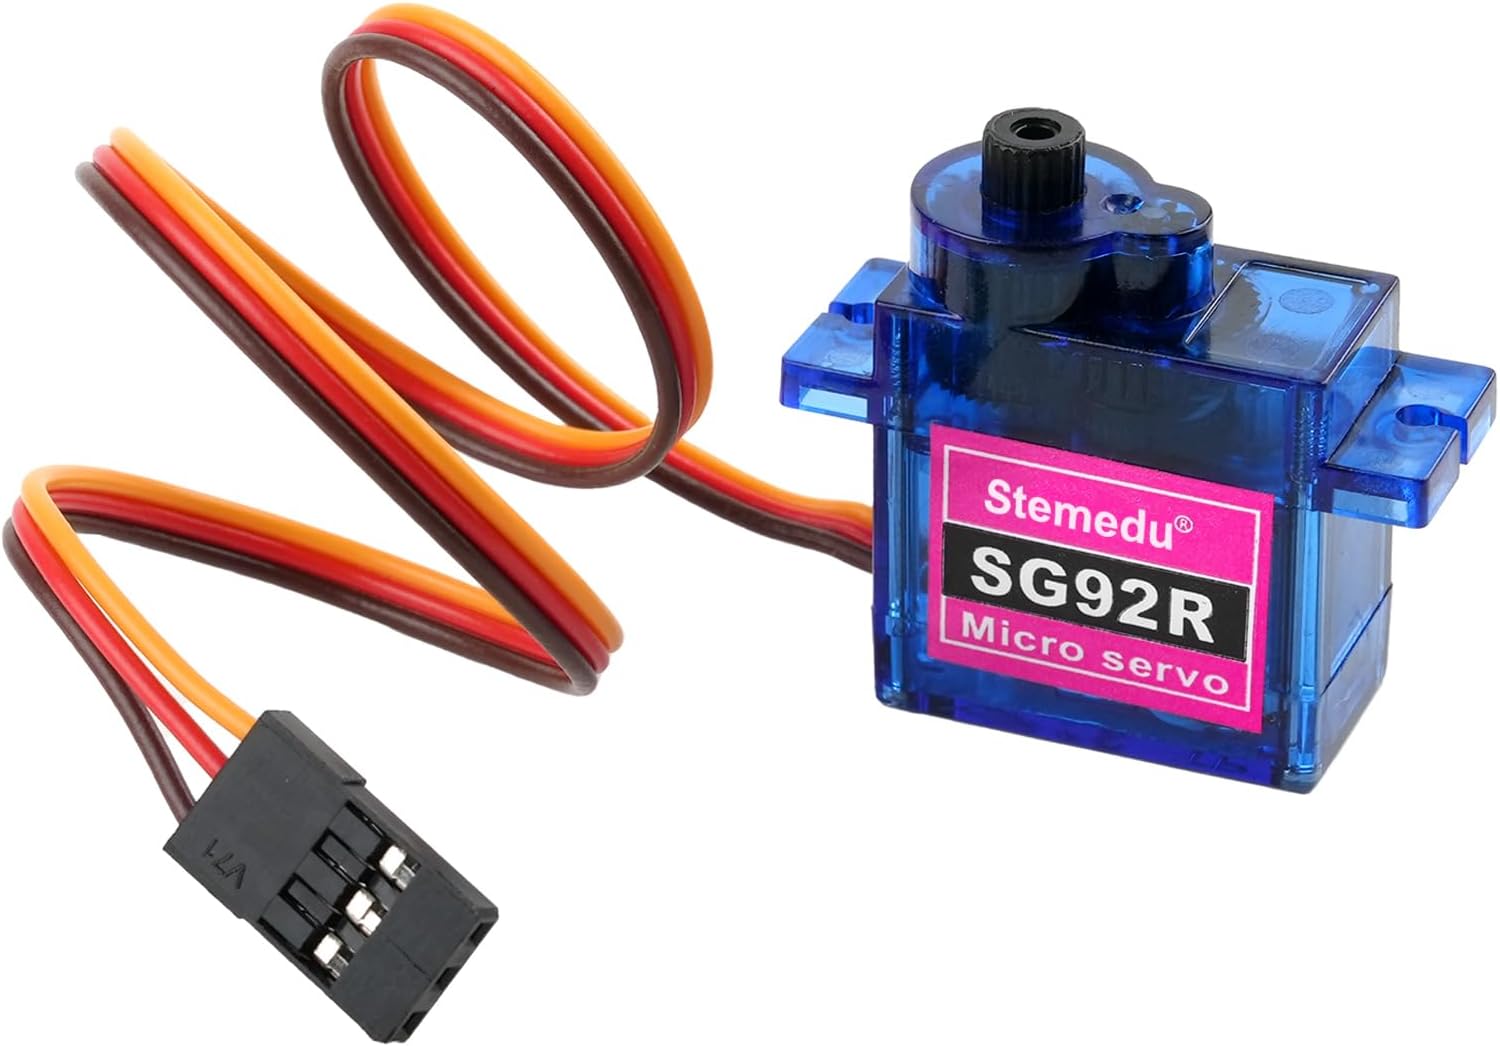
Figure 4.1: The SG92R Micro Servo showing its standard 3-pin connector for power and signal input.
Video: Connecting and Testing the SG92R Servo
Video 4.1: This video demonstrates the connection methods and test results of the SG92R 180-degree servo using different servo testers. It illustrates how the servo responds to PWM signals.
5. Иштөө нускамалары
The SG92R servo operates based on Pulse Width Modulation (PWM) signals. The width of the pulse determines the angular position of the servo arm.
- Pulse Width Range: The servo responds to pulse widths typically between 500 microseconds (µs) and 2500 µs.
- Нейтралдуу абалы: A pulse width of 1500 µs usually corresponds to the servo's neutral (center) position.
- Controlled Angle: The servo can achieve a maximum control angle of 180° within the 500 ~ 2500 µs frequency range. When operated by a standard RC transmitter, the control angle is typically 90°.
- Айлануу багыты: The servo rotates counterclockwise when the pulse width changes from 1000 ~ 2000 µs.
When integrating with microcontrollers, use the appropriate servo libraries or functions to generate the correct PWM signals for precise control.
Video: SG92R Servo in Action
Video 5.1: This video showcases the SG92R 9g Micro Servo Motor in various applications, demonstrating its controlled movement and versatility for projects like robotic arms and light-sensitive flags.
6. Техникалык тейлөө
To ensure the longevity and optimal performance of your SG92R servo motor, follow these maintenance guidelines:
- Тазалыкты сактоо: Regularly clean the servo to prevent dust and debris from accumulating, especially around the gears and output shaft.
- Ашыкча жүктөөдөн качыңыз: Do not apply excessive force or torque beyond the servo's specified limits, as this can damage the internal gears.
- Байланыштарды текшерүү: Periodically inspect all electrical connections for looseness or corrosion.
- Сактагыч: Store the servo in a dry, cool environment away from direct sunlight and extreme temperatures.
7. Кыйынчылыктарды
If you encounter issues with your SG92R servo motor, consider the following troubleshooting steps:
- Серво кыймылдабайт:
- Электр менен камсыздоону текшериңиз: Серво туура көлөмдү кабыл алып жатканын текшериңизtage (4.8V-6.0V) and sufficient current.
- Verify connections: Confirm that the GND, VCC, and Signal wires are correctly connected and secure.
- Test PWM signal: Use a servo tester or oscilloscope to verify that the microcontroller is sending a valid PWM signal within the specified range.
- Erratic Movement or Jitter:
- Power supply issues: Insufficient current or voltage fluctuations can cause erratic behavior. Try a separate power supply for the servo if using with a microcontroller.
- Signal interference: Ensure signal wires are not running parallel to high-current wires.
- Mechanical binding: Check for any physical obstructions preventing smooth movement of the servo arm.
- Ызы-чуу операциясы:
- Normal operation: Some noise is normal for analog servos, especially under load.
- Gear damage: Excessive noise might indicate damaged gears. Inspect the gears for wear or breakage.
8. Пакеттин мазмуну
Пакет төмөнкү нерселерди камтыйт:
- 10 x SG92R 9g Micro Servo
- 10 x Servo Accessories (various servo horns and mounting screws)
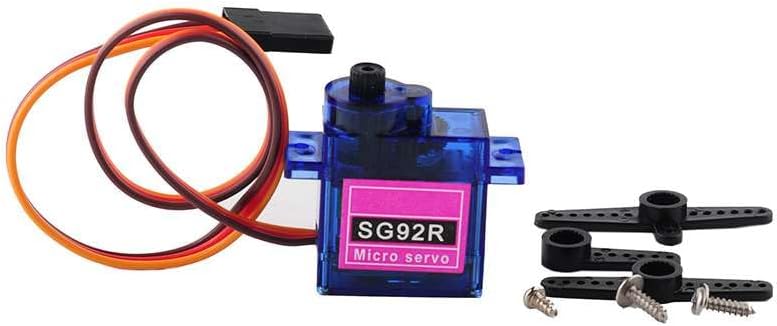
Figure 8.1: The SG92R Micro Servo with its accompanying accessories, including different types of servo horns and mounting hardware.
9. Кепилдик жана колдоо
For any questions, technical support, or warranty inquiries regarding your Stemedu SG92R 9g Micro Servo Motor, please contact the seller or manufacturer directly through the platform where the product was purchased. Please refer to your purchase documentation for specific warranty terms and contact information.