
Introduction
This manual provides detailed instructions for the installation, operation, and maintenance of your Zyyini B150M V3 Computer Motherboard. Please read this manual thoroughly before proceeding with installation to ensure proper setup and to prevent damage to the components. This motherboard is designed for desktop computers, supporting LGA 1151 CPUs and DDR4 memory, offering a stable and efficient platform for various computing needs.
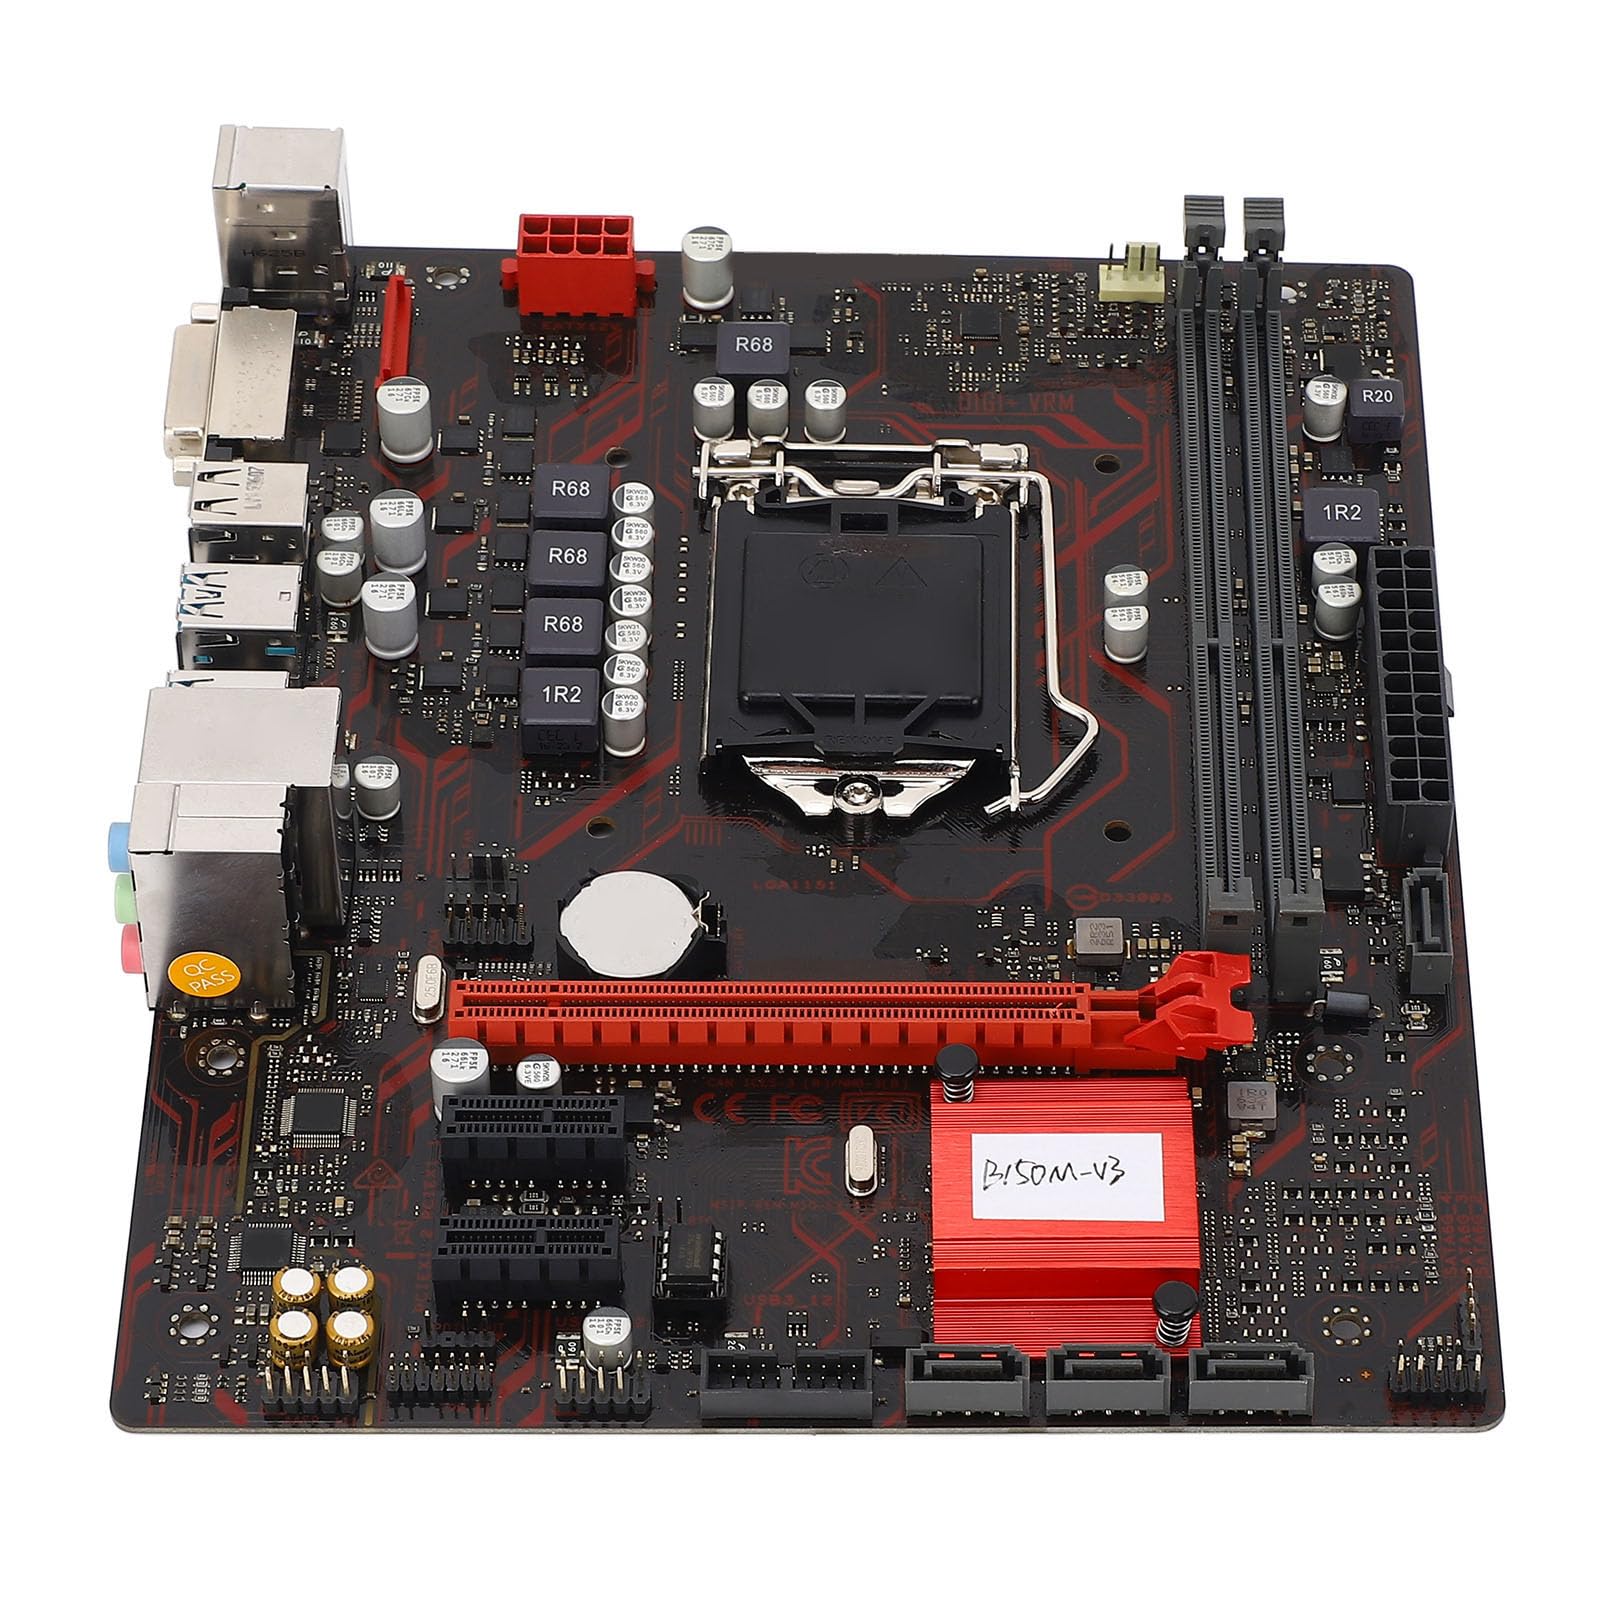
Figure 1: ашыкview of the Zyyini B150M V3 Motherboard.
Орнотуу жана орнотуу
Before beginning installation, ensure your workspace is clean and static-free. It is recommended to wear an anti-static wrist strap to prevent electrostatic discharge (ESD) damage to components.
1. Коопсуздук чаралары
- Компоненттерди орнотуудан же алып салуудан мурун ар дайым кубат менен жабдууну розеткадан ажыратыңыз.
- Сезимтал чынжырларга тийип албаш үчүн компоненттерди четтеринен кармаңыз.
- Ensure proper grounding to prevent ESD.
- Refer to the CPU, memory, and other component manuals for specific installation instructions.
2. Motherboard Layout

2-сүрөт: жогорудан ылдыйга view highlighting key components and connectors on the motherboard.
Familiarize yourself with the locations of the CPU socket, memory slots, PCI-E slots, SATA ports, and power connectors before installation.
3. CPU орнотуу (LGA 1151)
- LGA 1151 CPU розеткасын энелик платадан табыңыз.
- CPU розеткасынын капкагын ачуу үчүн жүктөө рычагын акырын түртүп, аны капталга тартыңыз.
- Carefully align the notches on your Intel Core i7/i5/i3/Pentium/Celeron (14nm) processor with the corresponding keys on the socket. Ensure the gold triangle on the CPU matches the triangle on the socket.
- Place the CPU gently into the socket without forcing it.
- Жүктөө пластинасын жаап, жүктөө рычагын чыкылдагыча ордуна түртүңүз.

Сүрөт 3: Жакын пландан view LGA 1151 CPU розеткасынын процессорду орнотууга даяр.
4. Memory Installation (DDR4 DIMM)
The motherboard features two DDR4 DIMM slots, supporting dual-channel DDR4 2133MHz memory up to a maximum of 32GB.
- DIMM уячасынын эки учундагы клиптерди ачыңыз.
- DDR4 эстутум модулундагы оюкту DIMM уячасындагы ачкыч менен тууралаңыз.
- Эстутумдун модулун уячага кынына кыстарылганча кыстарыңыз. Эки клип тең жабык экенин текшериңиз.

Figure 4: The two DDR4 DIMM slots for memory installation.
5. Storage Device Installation (SATA III & M.2)
The motherboard provides 4 x Serial ATA III interfaces and 1 x M.2 slot for storage devices.
- SATA түзмөктөрү: Connect one end of a SATA data cable to a SATA III port on the motherboard and the other end to your SATA hard drive or SSD. Connect the SATA power cable from your power supply to the drive.
- M.2 Түзмөктөр: Insert your M.2 SSD into the M.2 slot, securing it with the provided screw.
6. Кеңейтүү картасын орнотуу (PCI-E)
The motherboard includes 1 x PCI-E x16 graphics card slot and 2 x PCI-E x1 slots for expansion cards.
- Align your PCI-E expansion card (e.g., graphics card, sound card, network card) with the desired PCI-E slot.
- Press the card firmly into the slot until it is fully seated. Secure the card with a screw to the chassis.
7. Перифериялык түзүлүштөрдү жана алдыңкы панелди туташтыруу
Connect your USB devices, DVI display, audio devices, and Ethernet cable to the rear I/O panel. Connect the front panel connectors (power button, reset button, USB ports, audio jacks) from your PC case to the corresponding headers on the motherboard.

5-сүрөт: Детальдуу view of the rear I/O panel, showing USB, DVI, Ethernet, and audio ports.
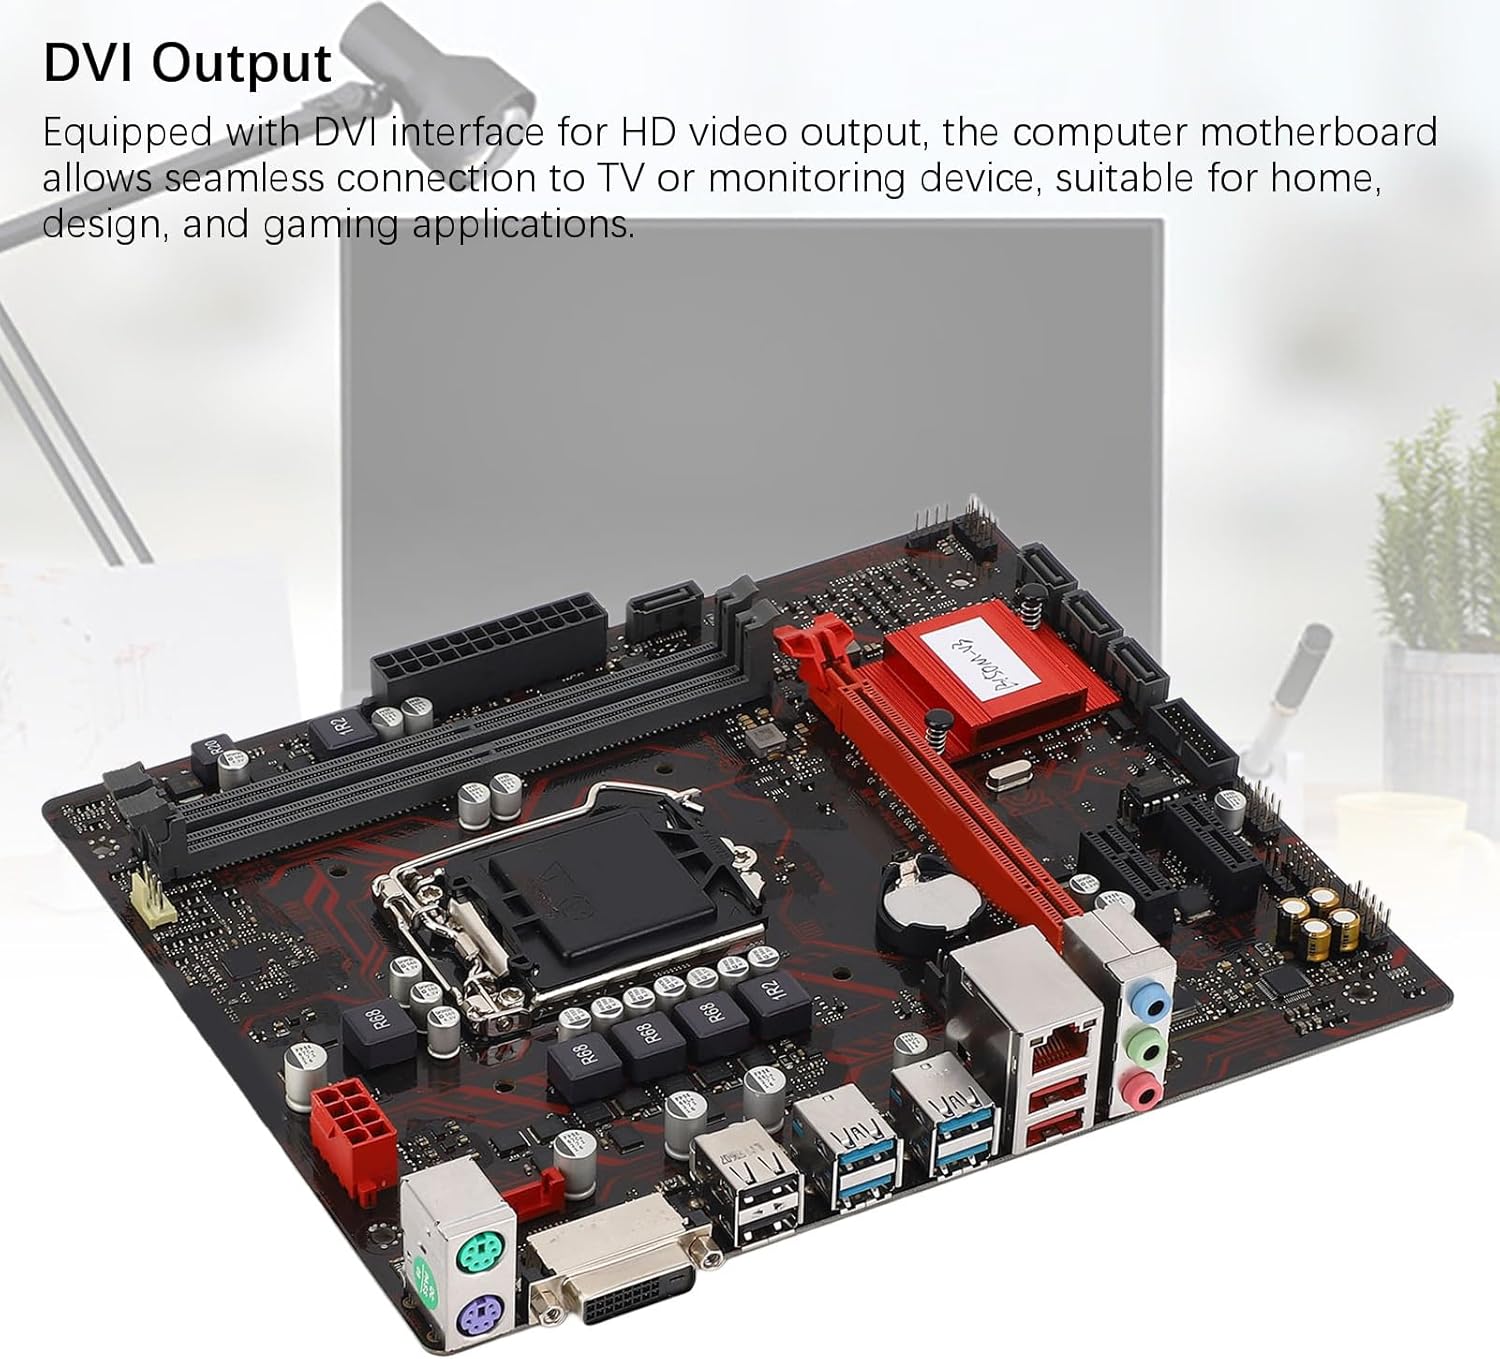
Figure 6: The DVI interface for connecting a display.
8. Электр байланыштары
Connect the 24-pin ATX power connector and the 8-pin CPU power connector from your power supply to the respective ports on the motherboard. Ensure they are firmly seated.

7-сүрөт: Бурчтуу view showing the location of power connectors and other ports.
Иштөө нускамалары
1. Баштапкы жүктөө
After all components are installed and connected, power on your system. The system should initiate the boot process. If no display appears, refer to the troubleshooting section.
2. BIOS/UEFI конфигурациясы
During boot-up, press the designated key (usually DEL or F2) to enter the BIOS/UEFI setup. Here you can configure boot order, system time, and other advanced settings. Save changes before exiting.
3. Драйверди орнотуу
After installing your operating system, install the necessary drivers for the motherboard chipset, network, and audio. These are typically provided on a driver CD or available for download from the manufacturer's webсайт.
Техникалык тейлөө
1. Чаңды тазалоо
Regularly clean the inside of your computer case to prevent dust buildup, which can lead to overheating and component failure. Use compressed air to gently remove dust from fans, heatsinks, and motherboard surfaces.
2. BIOS жаңыртуулары
Мезгил-мезгили менен өндүрүүчүнүн текшерүү website for BIOS updates. BIOS updates can improve system stability, add support for new hardware, or fix bugs. Follow the update instructions carefully to avoid damaging the motherboard.
Проблемаларды чечүү
1. Күч жок
- Ensure the power supply is connected to the wall outlet and switched on.
- Verify that the 24-pin and 8-pin power connectors are securely attached to the motherboard.
- Алдыңкы панелдин кубат которгучунун энелик платага туташуусун текшериңиз.
2. Дисплей жок
- Confirm that the monitor is connected to the correct video output (DVI) on the motherboard or graphics card and is powered on.
- Reseat the memory modules. Try booting with only one memory module installed.
- Графикалык картаны кайра орнотуңуз (эгер бар болсо).
- Ensure the CPU is properly installed and the CPU cooler is securely attached.
3. Системанын туруксуздугу / кыйроолор
- Check for overheating. Ensure all fans are working and heatsinks are clean.
- Verify that all components (CPU, RAM, storage) are properly seated.
- RAM бузулганын текшерүү үчүн эстутум диагностикалык куралдарын иштетиңиз.
- Бардык айдоочулар жаңыртылганын текшериңиз.
Техникалык шарттар

Figure 8: The motherboard's robust construction ensures stable performance and longevity.
| Өзгөчөлүк | Деталь |
|---|---|
| Motherboard Model | B150M-V3 |
| Чипсет | B150 чипсети |
| CPU розетка | LGA 1151 |
| Compatible CPU Type | Intel Core i7, i5, i3, Pentium, Celeron (14nm processors) |
| Memory Type | 2 x DDR4 DIMM (Dual Channel) |
| Memory Speed | 2133 МГц |
| Эс тутумдун максималдуу сыйымдуулугу | 32 ГБ |
| PCI-E стандарты | PCI-E 3.0 |
| PCI-E x16 Slots | 1 |
| PCI-E x1 Slots | 2 |
| Сактагыч интерфейстери | 4 x Serial ATA III, 1 x M.2 |
| USB Interfaces (Rear) | 4 x USB3.0, 4 x USB2.0 |
| USB Interfaces (Internal) | 1 x USB3.0 header, 1 x USB2.0 header |
| Видео интерфейси | 1 x DVI |
| Network Chip | Realtek RTL8111GR Gigabit Ethernet |
| Үн чип | Realtek ALC887 8-Channel |
| Power Interfaces | One 8-Pin, One 24-Pin |
| Форма фактору | M-ATX |
| Электр менен жабдуу режими | 5 фаза |
| Башка Interfaces | RJ45, Chassis Fan, Internal Speaker, System Panel, Sound, PS/2 Mouse, PS/2 Keyboard, COM |
Кепилдик маалымат
For specific warranty terms and conditions, please refer to the documentation provided with your purchase or visit the official Zyyini webсайт. Кепилдик камтуу адатта материалдардын жана нормалдуу колдонуудагы чеберчиликтин кемчиликтерин камтыйт.
Кардарларды колдоо
If you encounter any issues that cannot be resolved using this manual, please contact your retailer or visit the Zyyini official support channels for assistance. Have your product model number (B150M-V3) and purchase details ready when seeking support.