1. Киришүү
Thank you for choosing the Sunster 8KW All-in-One Portable Diesel Heater. This manual provides essential information for the safe and efficient operation, installation, and maintenance of your heater. Designed for versatility, this unit offers reliable heating for various applications including vans, RVs, trucks, boats, campers, and garages. Please read this manual thoroughly before use and retain it for future reference.
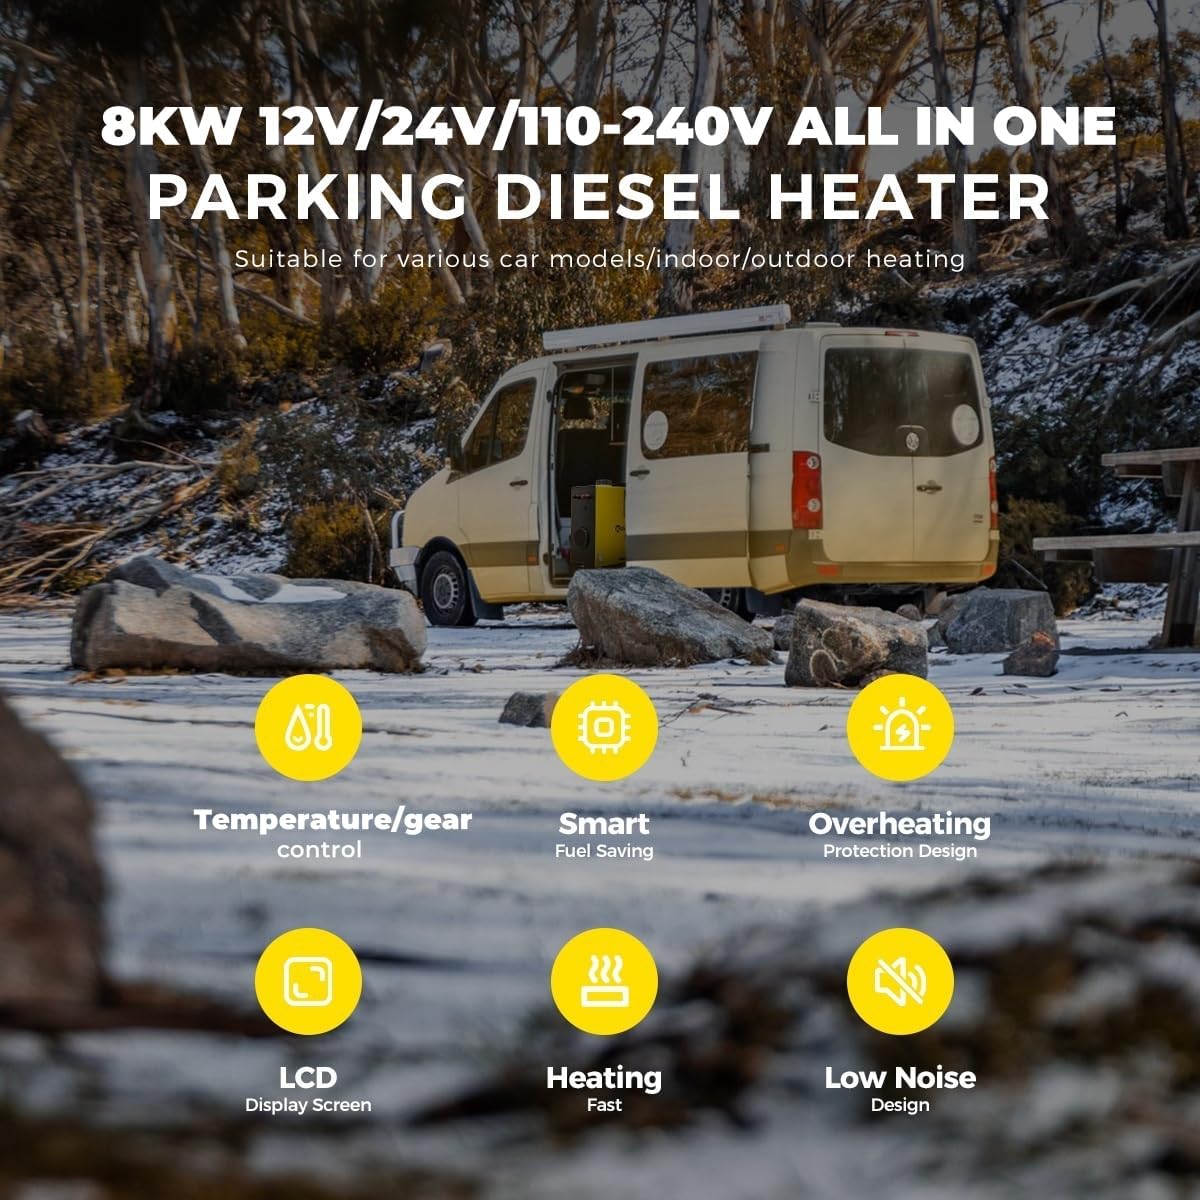
Image 1.1: Sunster 8KW Diesel Heater in an outdoor application.
2. Коопсуздук маалыматы
WARNING: Failure to follow these safety instructions may result in fire, explosion, electric shock, or serious injury.
- Exhaust Gas: Always ensure exhaust gases are vented externally and away from occupied spaces. Carbon monoxide is a colorless, odorless gas that can be fatal.
- Кесиптик орнотуу: It is recommended to have the heater professionally installed, especially for permanent vehicle or marine applications, to ensure proper ventilation and safety.
- Вентиляция: Ensure adequate ventilation in the area where the heater is operating to prevent oxygen depletion.
- Күйүүчү май иштетүү: Use only diesel fuel. Do not use gasoline or other volatile fuels. Refuel in a well-ventilated area away from ignition sources.
- Ашыкча ысып кетүүдөн коргоо: The heater is equipped with overheating protection (≥ 270 °C). Do not obstruct air inlets or outlets.
- Электр коопсуздугу: Туура томду текшериңизtage (12V/24V DC or 110-240V AC) before connecting. Protect against short circuits, overvoltage, and reverse connections.
- Жайгашкан жери: Жылыткычты туруктуу, күйбөй турган бетке коюңуз. Тез күйүүчү материалдардан коопсуз аралыкты сактаңыз.
- Балдар жана үй жаныбарлары: Балдарды жана үй жаныбарларын иштеп жаткан жылыткычтан алыс кармаңыз.
- Жергиликтүү эрежелер: Always check and comply with local regulations and requirements regarding the use of oil-fueled appliances in your specific location.
3. Пакеттин мазмуну
Carefully unpack the box and ensure all items listed below are present and undamaged. If any parts are missing or damaged, please contact customer support.
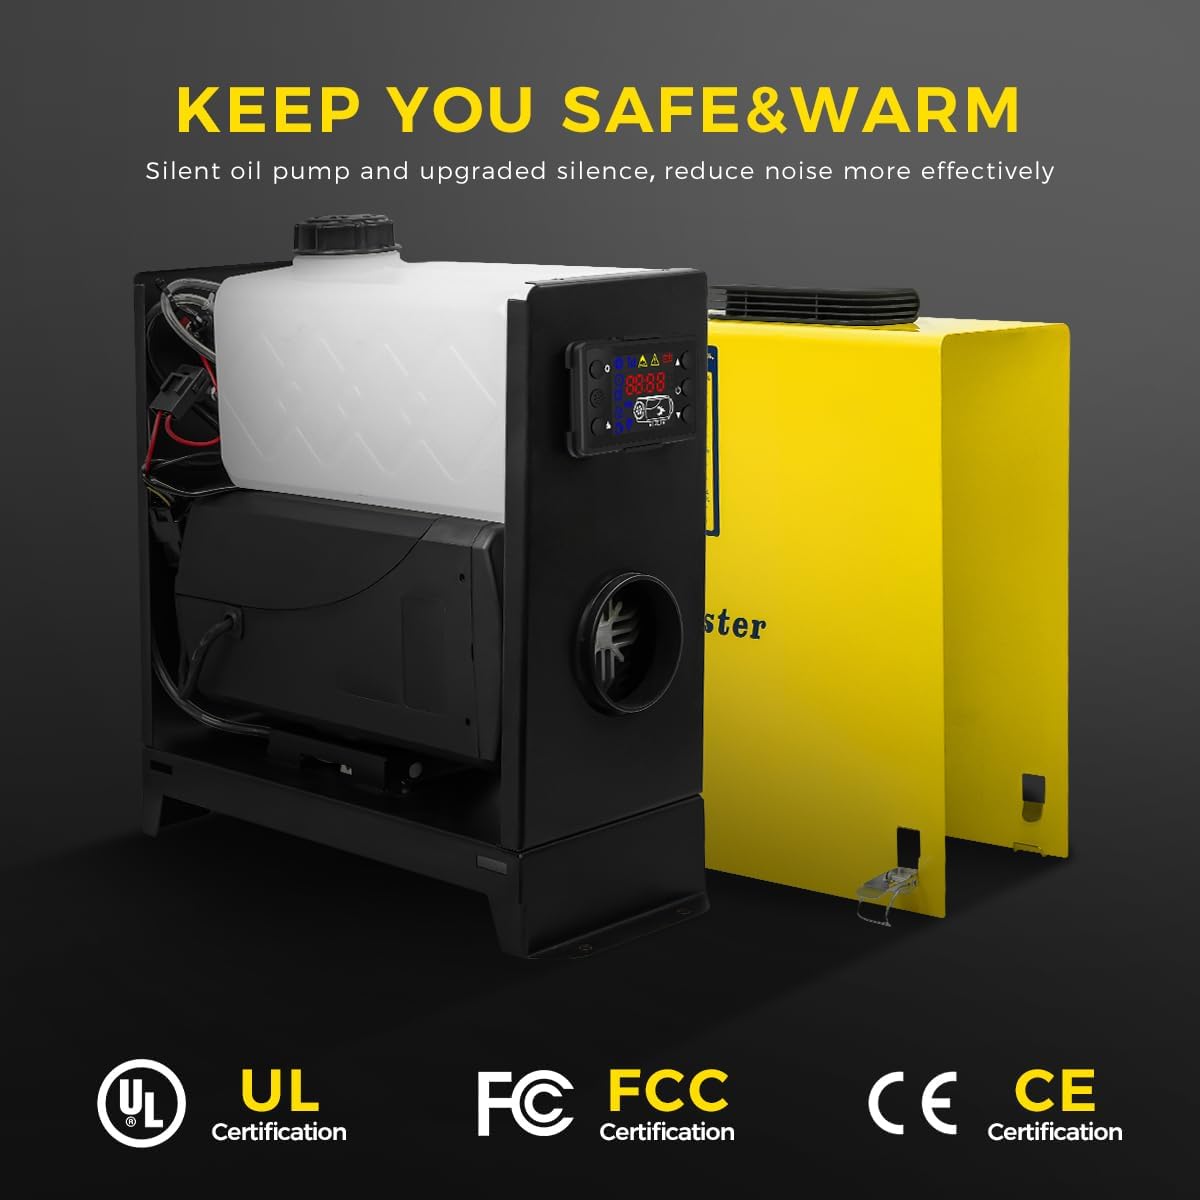
Image 3.1: Included components of the Sunster 8KW Diesel Heater.
- Sunster 8KW All-in-One Portable Diesel Heater Unit
- Алыстан башкаруу
- LCD Monitor/Control Panel (integrated)
- Аба чыпкасы
- Fixed Plate (Mounting Bracket)
- Air Outlet Pipe
- Кирүүчү түтүк
- Чыгаруучу түтүк
- User Manual
- Battery Power Cable (for DC connection)
- Fixture Accessories Set (clampс, бурамалар ж.б.)
- AC-DC Power Adapter (for 110-240V AC connection)
- Silencer
4. Продукт бүтүп калдыview
The Sunster 8KW Diesel Heater is an integrated heating solution featuring a compact design and robust construction. It includes a fuel tank, combustion chamber, and control system within a single unit, making it highly portable and easy to deploy.

Image 4.1: Main unit of the Sunster 8KW Diesel Heater.
Негизги компоненттер:
- Негизги блок: Houses the combustion system, heat exchanger, fuel pump, and control board.
- Интеграцияланган күйүүчү май багынын көлөмү: Visible fuel level indicator for easy monitoring.
- LCD башкаруу панели: Provides real-time status, temperature control, timing functions, and language settings.
- Алыстан башкаруу: алыстан ыңгайлуу иштөөгө мүмкүндүк берет.
- Аба кириш/чыгаруу: For drawing in cold air and expelling heated air.
- Сормо порту: For safe expulsion of combustion gases.

Image 4.2: Internal components diagram.
5. Орнотуу
Proper setup is crucial for the safe and effective operation of your diesel heater.
5.1 Орнотуу
- Жылыткычты тегиз, туруктуу жана күйбөй турган бетке коюңуз.
- Ensure there is sufficient clearance around the heater for air circulation and to prevent fire hazards.
- Do not place the heater directly on carpet or other flammable materials.
5.2 Чыгаруу системасын орнотуу
IMPORTANT: The exhaust pipe must always be routed outside and away from any occupied space to prevent carbon monoxide poisoning.
- Берилген cl аркылуу соргуч түтүктү жылыткычтын чыгаруу портуна туташтырыңызamps.
- Route the exhaust pipe securely to the exterior, ensuring it is not obstructed and is positioned where exhaust gases will disperse safely.
- Install the silencer (if desired) onto the exhaust pipe to reduce noise.
5.3 Air Intake and Outlet Pipes
- Connect the intake pipe to the heater's air intake port. This pipe draws in fresh air for combustion.
- Connect the air outlet pipe to the heater's hot air outlet. This pipe directs the heated air into the desired space.
- Ensure both pipes are securely fastened and free from kinks or obstructions.
5.4 Күйүүчү май
- Күйүүчү май багынын капкагын ачыңыз.
- Fill the tank with clean diesel fuel. Do not overfill.
- Күйүүчү май багынын капкагын бекем жабыңыз.
5.5 Кубат туташтыруу
The heater supports dual power supply options: 12V/24V DC and 110-240V AC.

Image 5.1: Dual power supply options (AC and DC).
- For DC (12V/24V) Operation: Connect the provided battery power cable to the heater's DC input terminals (red to positive, black to negative) and then to your vehicle's battery. The heater automatically switches between 12V and 24V.
- For AC (110-240V) Operation: Connect the provided AC-DC power adapter to the heater's AC input port, then plug the adapter into a standard wall outlet.
6. Иштөө нускамалары
The heater can be controlled via the integrated LCD panel or the remote control.

Image 6.1: LCD Control Panel and Remote Control.
6.1 Жылыткычты ишке киргизүү
- Ensure all connections (power, fuel, exhaust) are secure.
- Press the power button on the LCD panel or remote control. The display will illuminate.
- The heater will initiate a startup sequence, including pre-heating the glow plug and starting the fuel pump. This may take a few minutes.
- Once combustion is stable, hot air will begin to flow from the air outlet.
6.2 Adjusting Temperature and Power
- Use the 'Up' and 'Down' arrows on the control panel or remote to adjust the desired temperature or heating power (gear regulation).
- The heater will automatically adjust its output to maintain the set temperature.
6.3 Убакыт функциясы
The 24-hour timing function allows you to set a specific time for the heater to turn on or off.
- Access the timing settings via the menu on the LCD panel.
- Set the desired ON/OFF times according to the on-screen instructions.
6.4 Тилди алмаштыруу
The LCD control panel supports multiple languages (e.g., German, English, Russian).
- Navigate to the language settings in the LCD menu.
- Каалаган тилиңизди тандаңыз.
6.5 Жылыткычты өчүрүү
- Press the power button on the LCD panel or remote control.
- The heater will enter a cool-down cycle to prevent carbon buildup and damage. Do not disconnect power during this cycle.
- Once the cool-down cycle is complete, the heater will power off.
7. Техникалык тейлөө
Үзгүлтүксүз техникалык тейлөө оптималдуу иштөөнү камсыз кылат жана жылыткычыңыздын иштөө мөөнөтүн узартат.
- Жалпы тазалоо: Keep the exterior of the heater clean. Use a soft, damp кездеме. Абразивдүү тазалагычтарды же эриткичтерди колдонбоңуз.
- Аба чыпкасы: Periodically inspect and clean the air filter. A clogged filter can reduce efficiency and lead to overheating. Replace if damaged.
- Күйүүчү май системасы: Check fuel lines and connections for leaks or damage. Ensure the fuel tank is free of contaminants.
- Чыгаруу системасы: Inspect the exhaust pipe for blockages, corrosion, or damage. Ensure it remains securely fastened and properly vented.
- Электр байланыштары: Бардык электр туташууларынын бекем жана коррозияга туруктуу экенин текшериңиз.
- Сактагыч: If storing the heater for an extended period, drain the fuel tank and clean the unit thoroughly. Store in a dry, protected area.
8. Кыйынчылыктарды
Бул бөлүм сиз кабылышы мүмкүн болгон жалпы көйгөйлөрдү карайт. Бул жерде көрсөтүлбөгөн көйгөйлөр үчүн кардарларды колдоо бөлүмүнө кайрылыңыз.
| Көйгөй | Мүмкүн себеп | Чечим |
|---|---|---|
| Жылыткыч иштебейт | Электр кубаты жок, күйүүчү май аз, күйүүчү май түтүгү бүтөлүп калган, күйүүчү розетка бузук. | Check power connection, refuel, inspect fuel lines, consult professional for glow plug. |
| Төмөн жылуулук чыгаруу | Clogged air filter, insufficient fuel, exhaust blockage. | Clean/replace air filter, check fuel level, clear exhaust. |
| Ашыкча түтүн | Poor combustion, incorrect fuel-air mixture, faulty fuel pump. | Ensure proper ventilation, check fuel quality, contact support. |
| Адаттан тышкаркы ызы -чуу | Бош калган тетиктер, желдеткичтин тыгылып калышы, күйүүчү май насосунун көйгөйү. | Inspect for loose parts, clear obstructions, contact support. |
| LCD дисплейдеги ката коду | Атайын система катасы. | Refer to the heater's internal error code list (if available) or contact customer support with the code. |
9. Техникалык шарттар
| Өзгөчөлүк | Деталь |
|---|---|
| Модел | 8KW Diesel Heater (L01) |
| Жылытуу күчү | 8КВт |
| Тtage | 12V/24V DC, 110-240V AC (Auto-switching) |
| Күйүүчү май түрү | Дизель |
| Күйүүчү май керектөө | 0.11-0.48 л/саат |
| Иштөө температурасы диапазону | 8-36 °C (46.4-96.8 °F) |
| Ызы-чуу деңгээли | ≤ 75dB |
| Материал | Алюминий эритмесинин корпусу |
| Элемент Салмагы | 20.3 фунт (болжол менен 9.2 кг) |
| Пакеттин өлчөмдөрү | 20.72 x 18.52 x 8.23 дюйм (болжол менен 52.6 x 47.0 x 20.9 см) |
| Сертификаттар | CE, WEE, FCC, EAC, UKCA (as per brand information) |
10. Кепилдик жана колдоо
Sunster products are manufactured with quality and reliability in mind. This product comes with a standard manufacturer's warranty against defects in materials and workmanship under normal use. Please refer to the warranty card included in your package for specific terms and conditions, including the warranty period and claim procedures.
Кардарларды колдоо:
For technical assistance, troubleshooting, or warranty claims, please contact Sunster customer support. Our dedicated team is available to help you with any questions or concerns regarding your diesel heater.
- Webсайт: Visit the official Sunster webКөп берилүүчү суроолор жана колдоо булактары үчүн сайт.
- Электрондук почта: Кардарларды тейлөө электрондук почтасы үчүн өнүмүңүздүн таңгагын же кепилдик картасын караңыз.
- Телефон: Кардарларды тейлөө кызматынын телефон номерин алуу үчүн продуктуңуздун таңгагына же кепилдик картасына кайрылыңыз.
Please have your model number (L01) and purchase date ready when contacting support.