
1. Киришүү
This manual provides essential information for the safe and effective operation of your LONGER Ray5 mini Laser Engraver 2.5W. Please read it thoroughly before initial use and retain it for future reference. The Ray5 mini is a compact and portable laser engraving and cutting tool designed for precision work on various materials.
Негизги өзгөчөлүктөр төмөнкүлөрдү камтыйт:
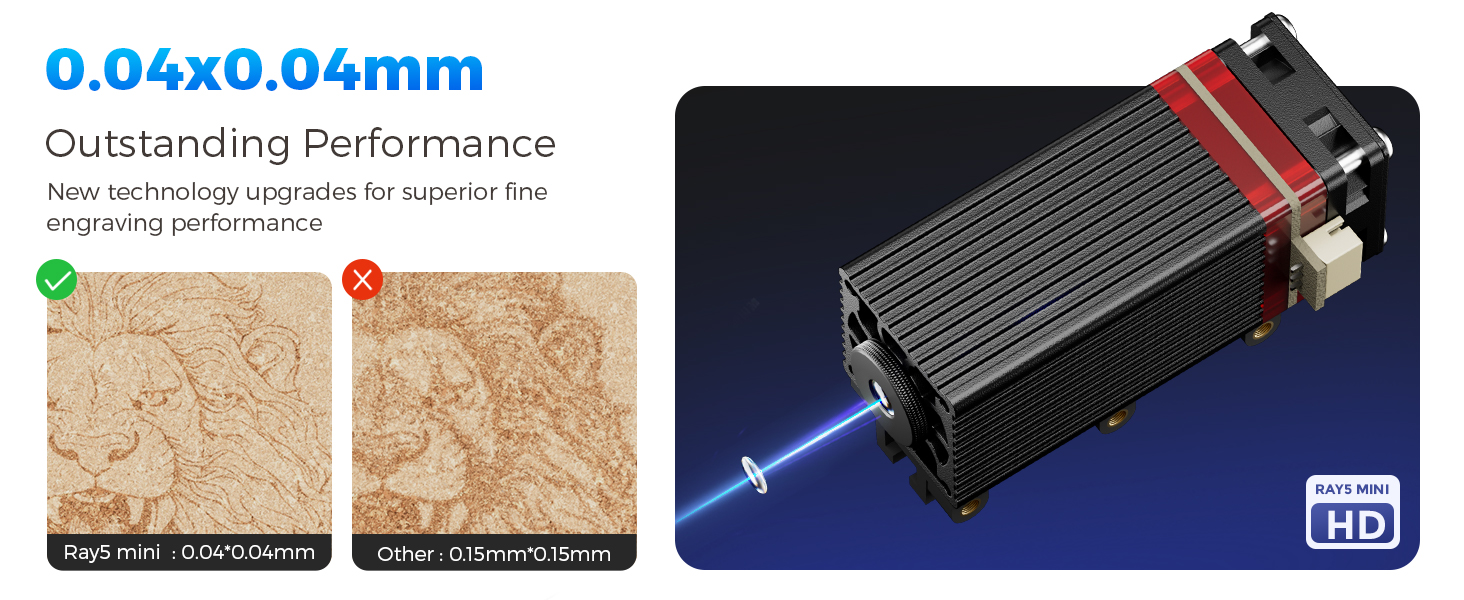
- Ultra-Fine Laser Precision: Achieves detailed results with a 0.04mm x 0.04mm laser spot and 0.01mm accuracy.
- Жогорку ылдамдыктагы операция: Engraves at speeds up to 12,000mm/min.
- Ар тараптуу материалдык шайкештик: Capable of engraving over 300 types of materials, including wood, leather, metal, and acrylic.
- Бир нече туташуу параметрлери: Supports USB, Wi-Fi, APP control, and offline operation.
- Программалык шайкештик: Works with LaserGRBL (free) and LightBurn (paid).
2. Коопсуздук боюнча көрсөтмөлөр
Operating a laser engraver requires adherence to safety protocols to prevent injury. Always prioritize safety during setup and operation.
- Көздү коргоо: Always wear the provided protective glasses when the laser is active to reduce eye exposure.
- Шашылыш токтотуу: Familiarize yourself with the emergency stop button location and function. Press it immediately in any unsafe situation.
- Вентиляция: Ensure adequate ventilation in your workspace to dissipate fumes and smoke produced during engraving.
- Материалдык коопсуздук: Only engrave materials known to be safe for laser processing. Avoid materials that produce toxic fumes or are highly flammable.
- Көзөмөл: Иш учурунда машинаны эч качан кароосуз калтырбаңыз.
- Чектөө которгучтары: The Ray5 mini is equipped with X and Y axis limit switches for homing and positioning, enhancing operational safety.

Image: Safety features including the emergency stop button, limit switch, acrylic cover, and protective glasses.
3. Орнотуу
The LONGER Ray5 mini is designed for quick and easy setup, arriving largely pre-assembled.
3.1 Таңгактан чыгаруу жана текшерүү
- Бардык компоненттерди таңгактан кылдаттык менен алып салыңыз.
- Verify that all items listed in the packing list are present. Refer to the image below for typical package contents.
- Inspect the machine for any visible damage that may have occurred during transit. Contact customer support if any damage is found.

Image: Package contents of the LONGER Ray5 mini, showing the main unit, laser module, power supply, USB cable, quick guide, safety glasses, and small tools.
3.2 Initial Assembly (if required)
The main frame of the Ray5 mini is pre-assembled. You may need to attach the laser module if it is packaged separately.
- Gently place the laser module into its designated slot on the gantry.
- Secure the laser module using the provided screws or fasteners.
- Connect the laser module cable to the main unit.
3.3 Кубат туташтыруу
- Connect the power adapter to the engraver's power input port.
- Кубат адаптерин ылайыктуу электр розеткасына сайыңыз.
- Connect the USB cable from the engraver to your computer if using a wired connection.
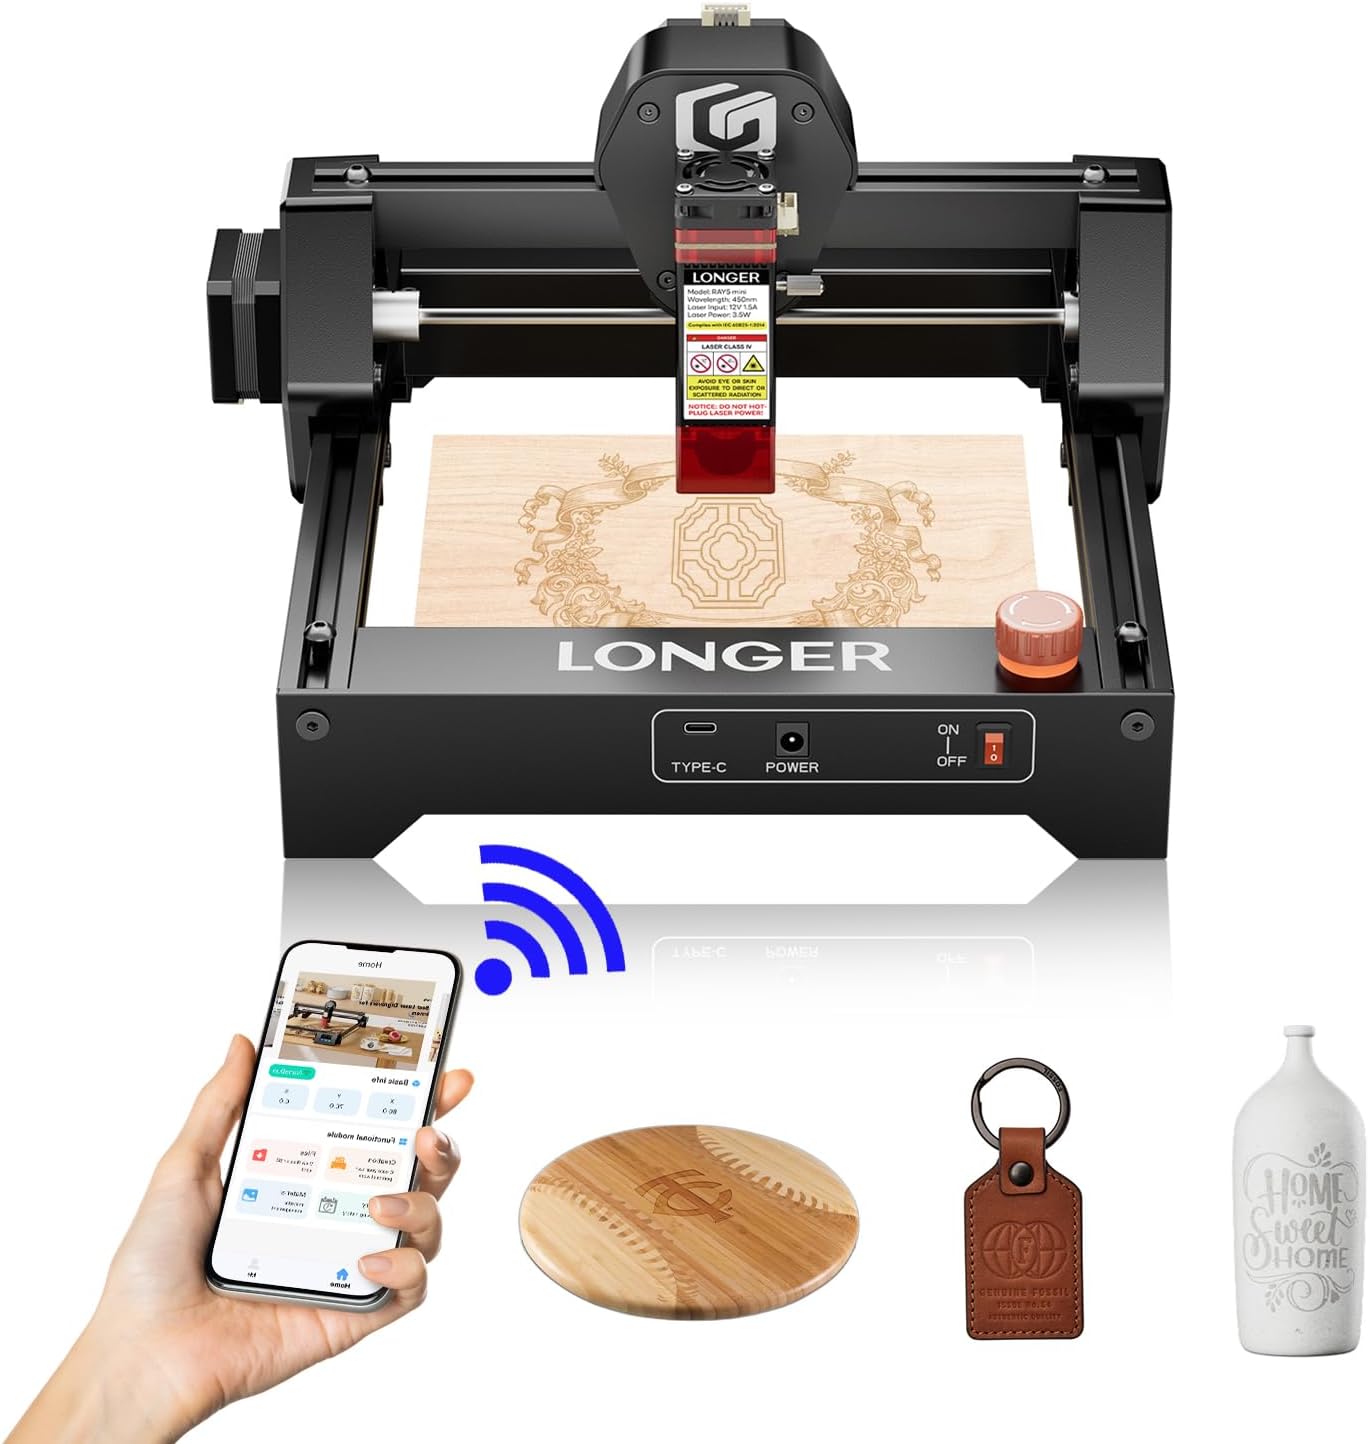
Image: The LONGER Ray5 mini ready for operation, demonstrating its compact size and connectivity options.
4. Иштөө нускамалары
The Ray5 mini offers flexible control options for your engraving and cutting projects.
4.1 Программалык камсыздоону орнотуу жана туташтыруу
- Download and install your preferred software: LaserGRBL (free) or LightBurn (paid). Refer to the software's documentation for installation details.
- USB туташуу: Connect the engraver to your computer via USB. The software should detect the device.
- Wi-Fi/APP Connection: Follow the instructions in the quick start guide or the official Longer website to connect the engraver to your Wi-Fi network and use the mobile application for control.
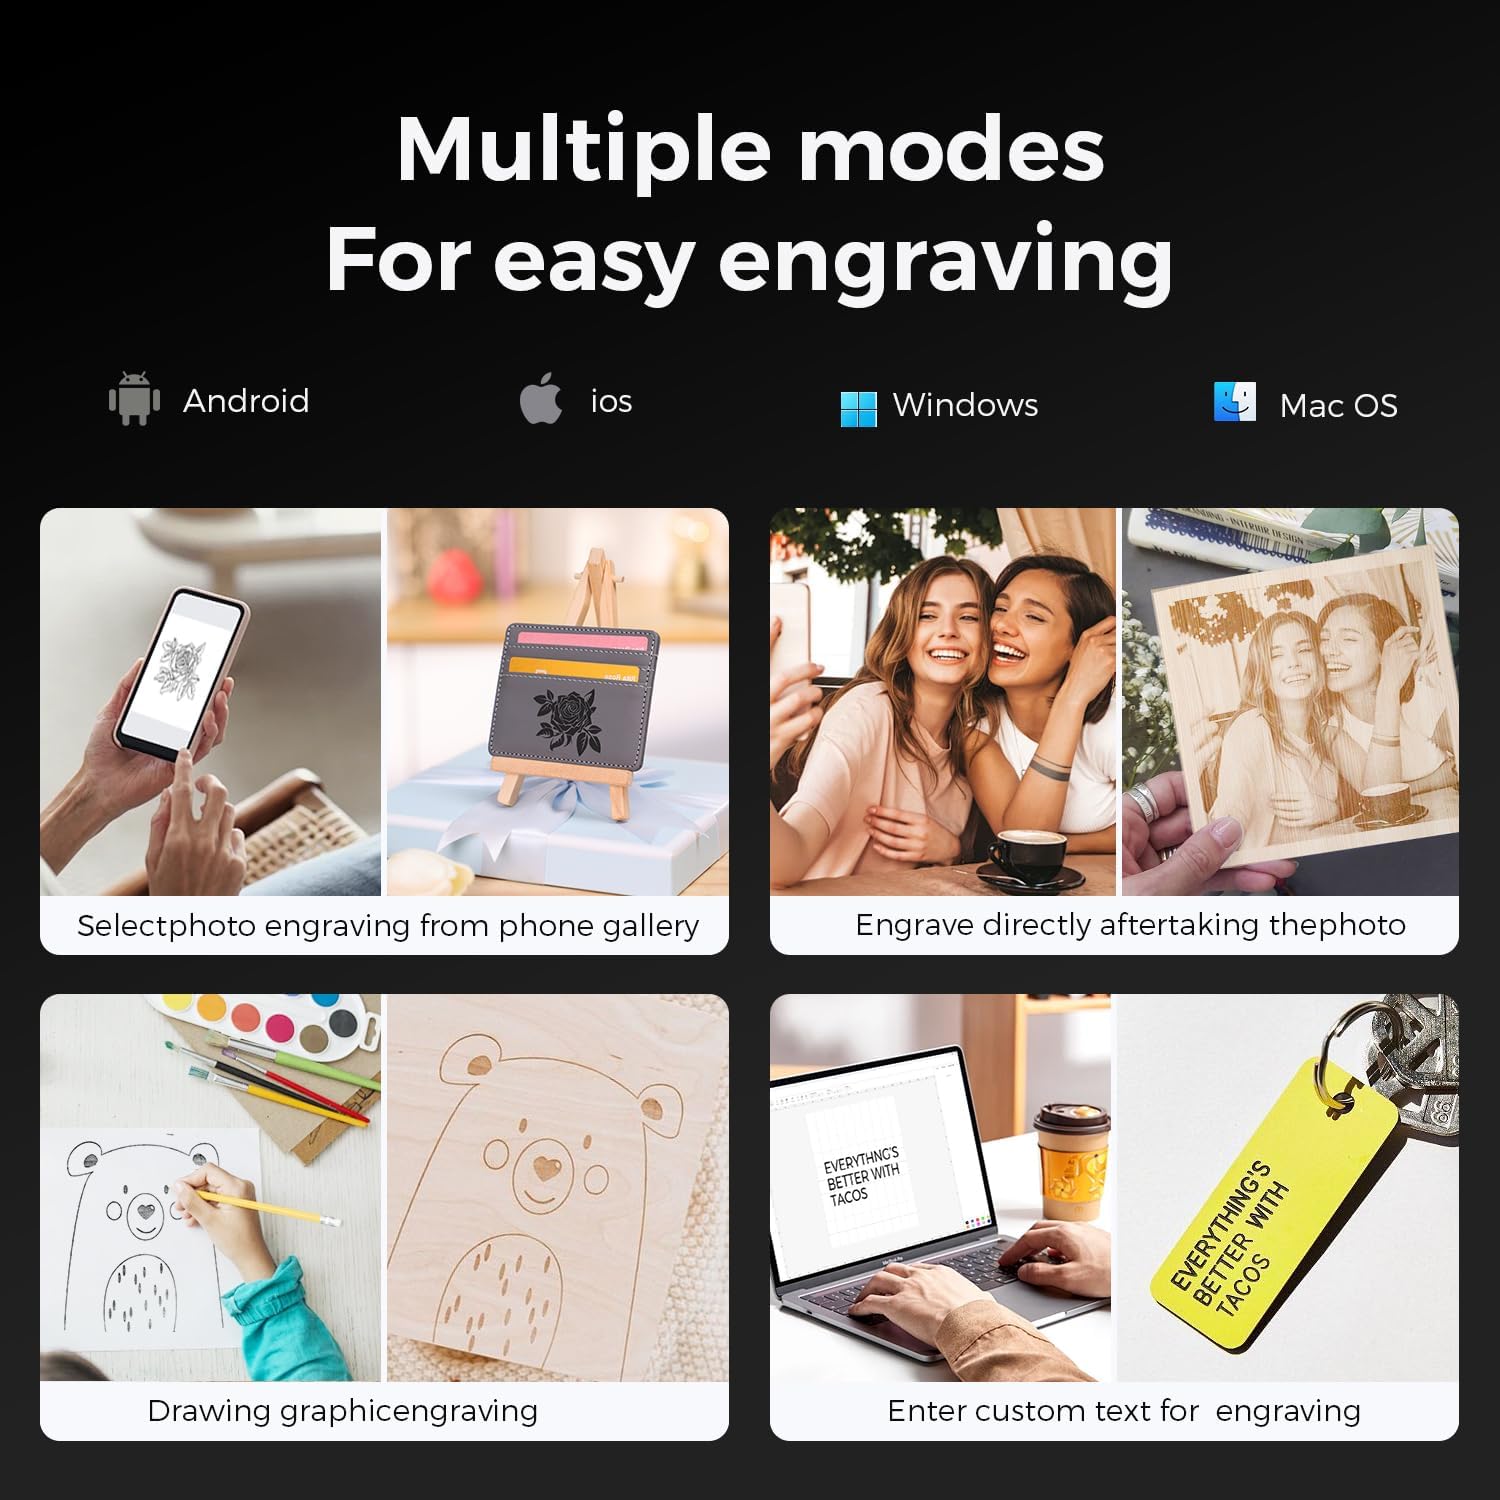
Image: Various engraving modes, including app control, graphic engraving from drawings, and custom text input.
4.2 Гравировка/кесүүгө даярдоо
- Материалды жайгаштыруу: Place the material to be engraved or cut securely on the working surface within the 140x130mm engraving area.
- Фокусту тууралоо: Adjust the laser focus according to the material thickness and type. Consult the quick start guide or software documentation for specific instructions.
- Дизайнды импорттоо: Import or create your design within the chosen software.
- Параметр орнотуулары: Set appropriate laser power, speed, and passes based on the material and desired outcome. Incorrect settings can lead to poor results or material damage.
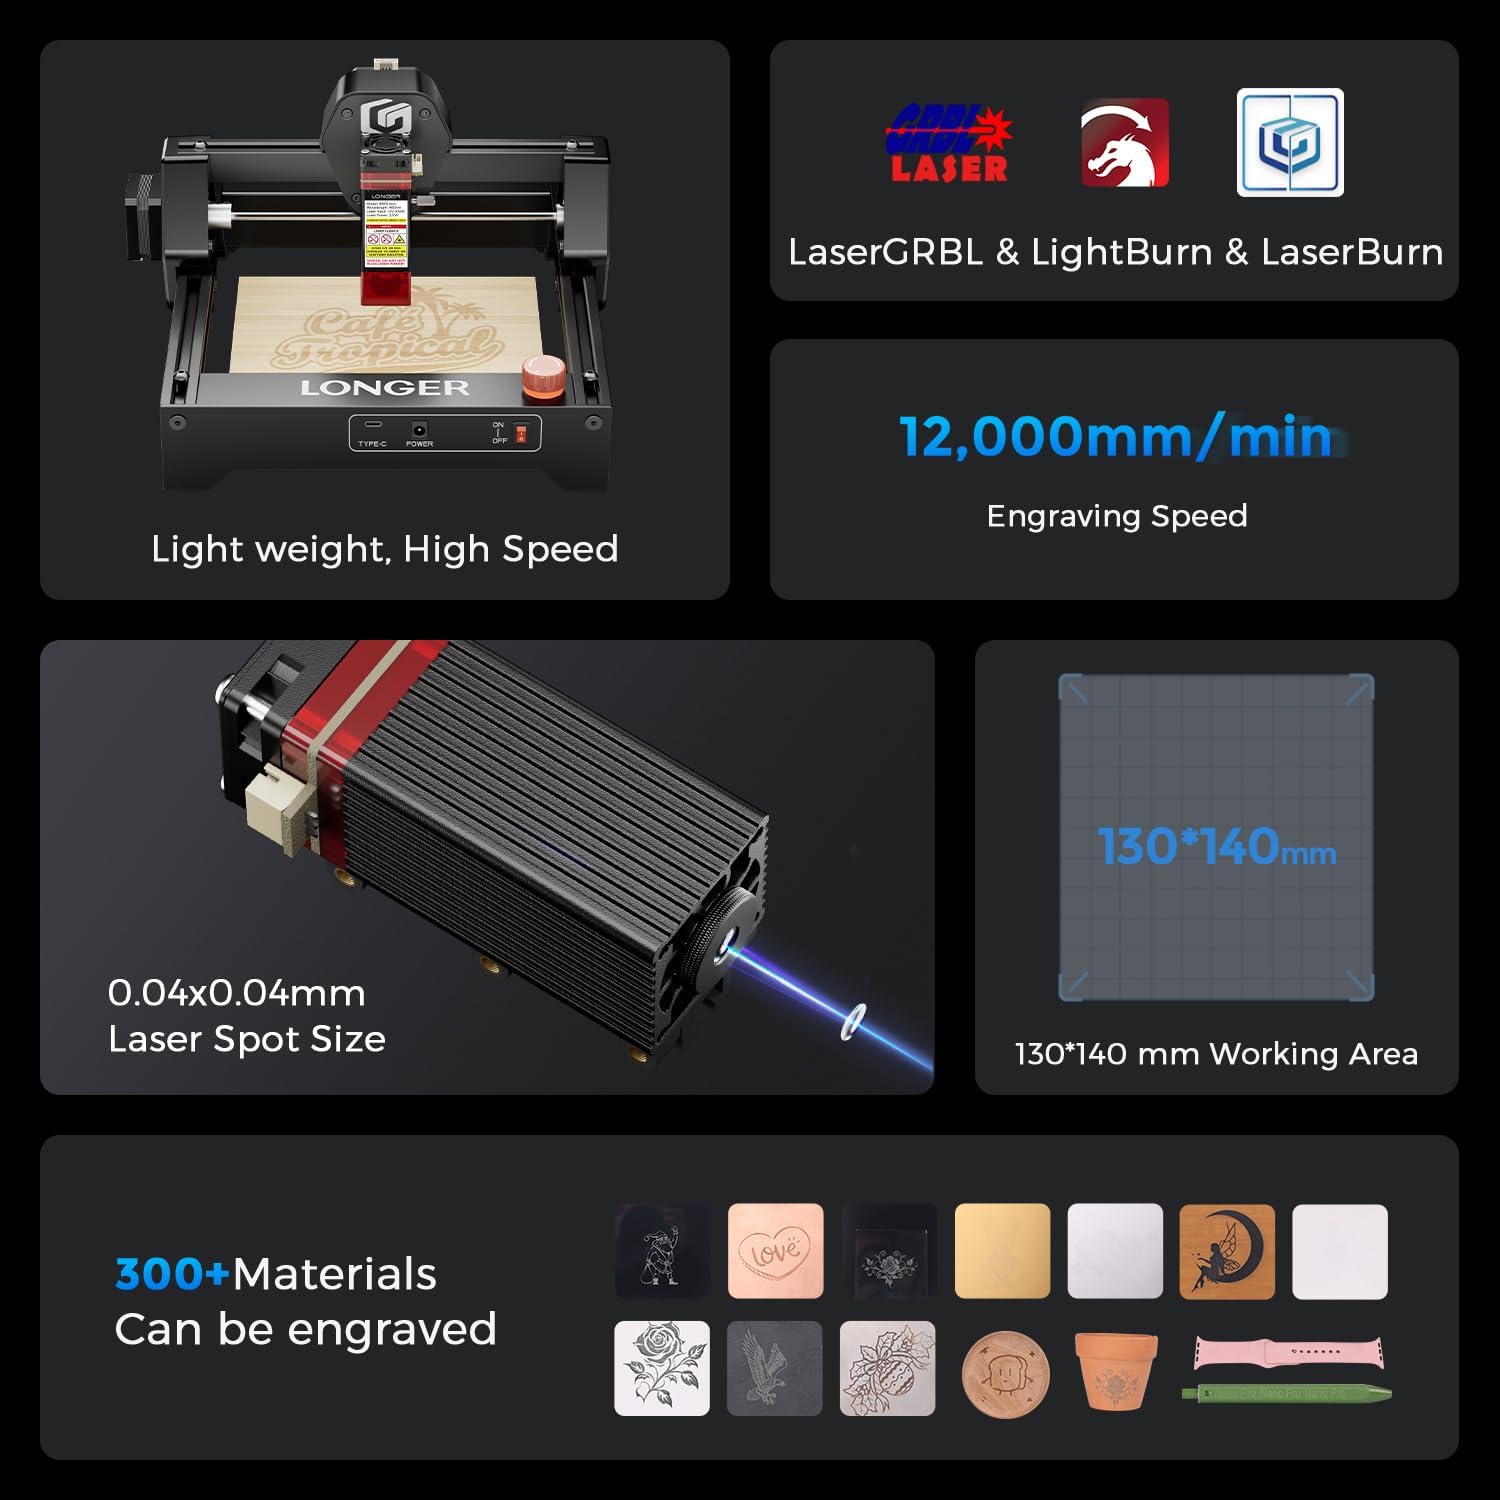
Сүрөт: бүттүview of the Ray5 mini's capabilities, highlighting software support, speed, precision, and material versatility.
4.3 Starting the Operation
- Ensure all safety precautions are in place, including wearing protective glasses.
- Initiate the engraving or cutting process from the software or mobile application.
- Monitor the process closely. If any issues arise, press the emergency stop button.

Сүрөт: Мисamples of various materials and items that can be engraved, such as leather, metal, wood, and glass.
5. Техникалык тейлөө
Үзгүлтүксүз техникалык тейлөө оптималдуу иштөөнү камсыз кылат жана лазердик гравёруңуздун иштөө мөөнөтүн узартат.
- Линзаны тазалоо: Periodically clean the laser lens with a specialized lens cleaning solution and cloth to maintain laser beam quality.
- Чаңды тазалоо: Use compressed air or a soft brush to remove dust and debris from the machine, especially from moving parts and ventilation openings.
- Рельс майлоо: Lightly lubricate the guide rails as recommended by the manufacturer to ensure smooth movement of the laser module.
- Программалык камсыздоонун жаңыртуулары: Check the official Longer webиштин натыйжалуулугун жогорулатуу же жаңы функцияларды кошуу үчүн жеткиликтүү болгон программалык камсыздоонун жаңыртуулары үчүн сайт.
6. Кыйынчылыктарды
Бул бөлүм сиз кабылышы мүмкүн болгон жалпы көйгөйлөрдү карайт.
| Көйгөй | Мүмкүн себеп | Чечим |
|---|---|---|
| Лазер атылбайт | Power not connected; Emergency stop engaged; Software error; Laser module cable loose. | Check power connection; Disengage emergency stop; Restart software/machine; Reconnect laser module cable. |
| Гравюра сапаты начар | Incorrect focus; Wrong power/speed settings; Dirty lens; Material not flat. | Adjust laser focus; Optimize power/speed settings for material; Clean laser lens; Ensure material is flat and secure. |
| Machine not connecting to computer/app | USB cable issue; Wi-Fi connectivity problem; Driver not installed; Software not recognizing device. | Try a different USB port/cable; Check Wi-Fi connection; Install necessary drivers; Restart software and machine. |
| Иш учурунда адаттан тыш үндөр | Loose components; Obstruction in movement path; Worn out parts. | Inspect for loose screws or parts; Clear any obstructions; Contact support if noise persists after inspection. |
7. Техникалык шарттар
| Өзгөчөлүк | Деталь |
|---|---|
| Модел | RAY5 Mini |
| Лазердик күч | 2.5 Вт |
| Гравюра аянты | 140 x 130 мм |
| Гравюра ылдамдыгы | 12,000 мм/мин чейин |
| Лазердик Spot өлчөмү | 0.04 x 0.04 мм |
| Продукциянын өлчөмдөрү | 11.5 x 11.26 x 6.5 дюйм |
| Элемент Салмагы | 5.04 фунт (2.29 килограмм) |
| Байланыш | USB, Wi-Fi, APP, Offline |
| Шайкеш программалык камсыздоо | LaserGRBL, LightBurn |
8. Колдоо жана кепилдик
Longer is committed to providing comprehensive support for your Ray5 mini Laser Engraver.
8.1 Техникалык колдоо
Lifetime technical support is available for all customers. You can reach the support team through multiple channels:
- Live Chat
- Телефон чалуу
- Official Facebook Group
A dedicated technical service team is available to provide responsive assistance.
8.2 Кепилдик маалыматы
Please refer to the official Longer website or the documentation included with your product for detailed warranty terms and conditions. The warranty typically covers manufacturing defects and ensures product reliability.
Сүрөт: An overview of Longer's product range, emphasizing their commitment to quality and innovation.
9. Продукт видеолору
Official product videos can provide visual guidance for setup and operation. Due to limitations in the provided data, specific video links with 'Seller' as 'creator_type' are not available for embedding here. Please visit the official Longer product page or YouTube channel for relevant video tutorials and demonstrations.