
1. Киришүү
This manual provides detailed instructions for the installation, adjustment, and maintenance of your maXpeedingrods Rear Camber Kit. This kit is designed to allow for precise camber adjustment on compatible vehicles, enhancing handling and tire wear management. Please read this manual thoroughly before beginning any work.

Сүрөт 1.1: Бүттүview of the maXpeedingrods Rear Camber Kit, including two adjustable control arms and grease zerk fittings.
2. Продукциянын өзгөчөлүктөрү
- Adjustable Camber: Rear upper camber arms provide an adjustment range of -3 to +3 degrees. This feature is beneficial for correcting negative camber and optimizing vehicle setup for various driving conditions, including track use.
- Туруктуу материал: Constructed from 6061-T6 aluminum alloy, a high-strength, heat-treatable alloy known for its excellent corrosion resistance and weldability. The surface is anodized for enhanced durability and rust prevention.
- Polyurethane Bushings: Pre-installed premium polyurethane bushings contribute to improved vehicle handling and steering response. These bushings are suitable for demanding conditions and heavy-duty applications.
- Grease Zerk Fittings: Equipped with grease zerk fittings for easy lubrication of internal moving parts, extending the kit's lifespan and ensuring smooth operation.

Image 2.1: Illustration of adjustable camber, demonstrating how the kit allows for positive and negative angle adjustments.
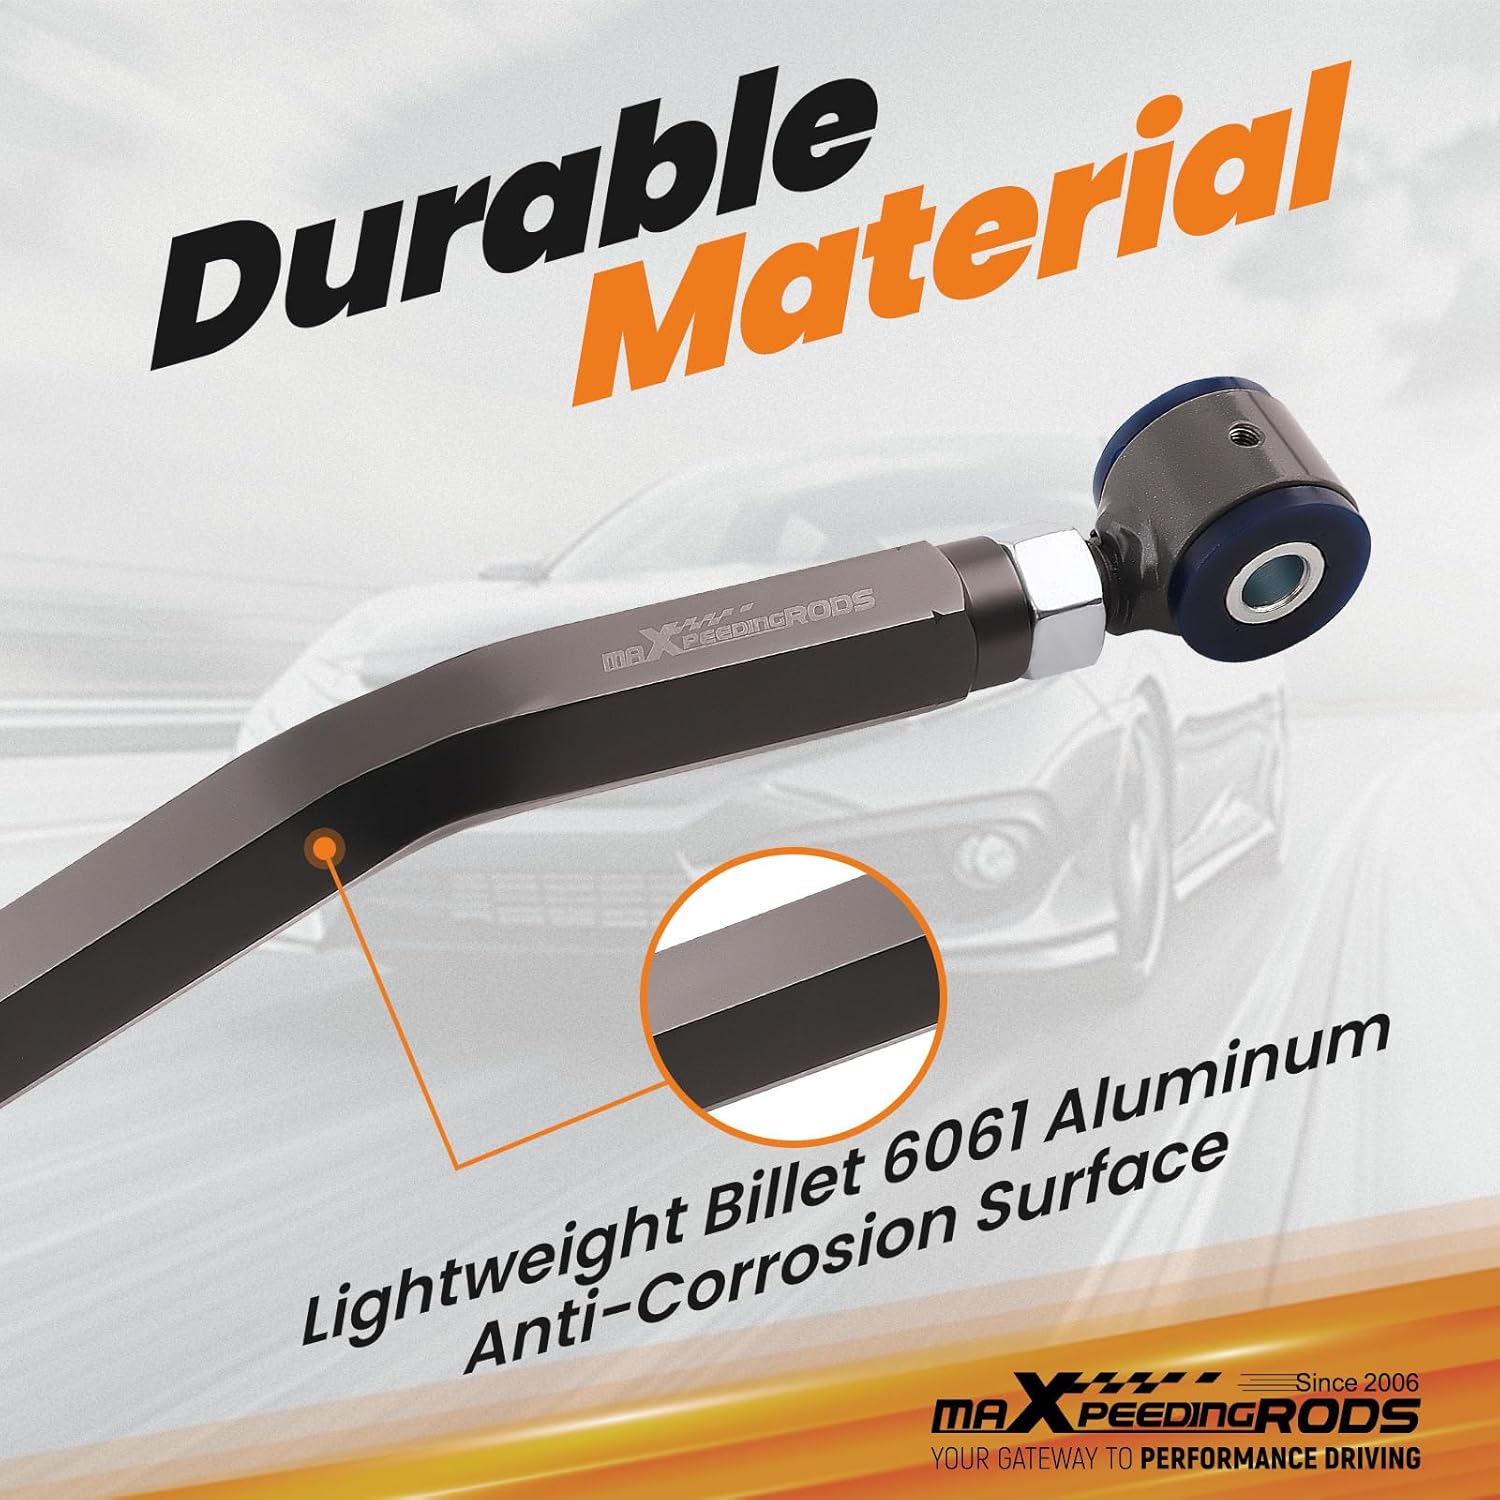
Image 2.2: Detail of the control arm, highlighting the lightweight billet 6061 aluminum construction and anti-corrosion surface.
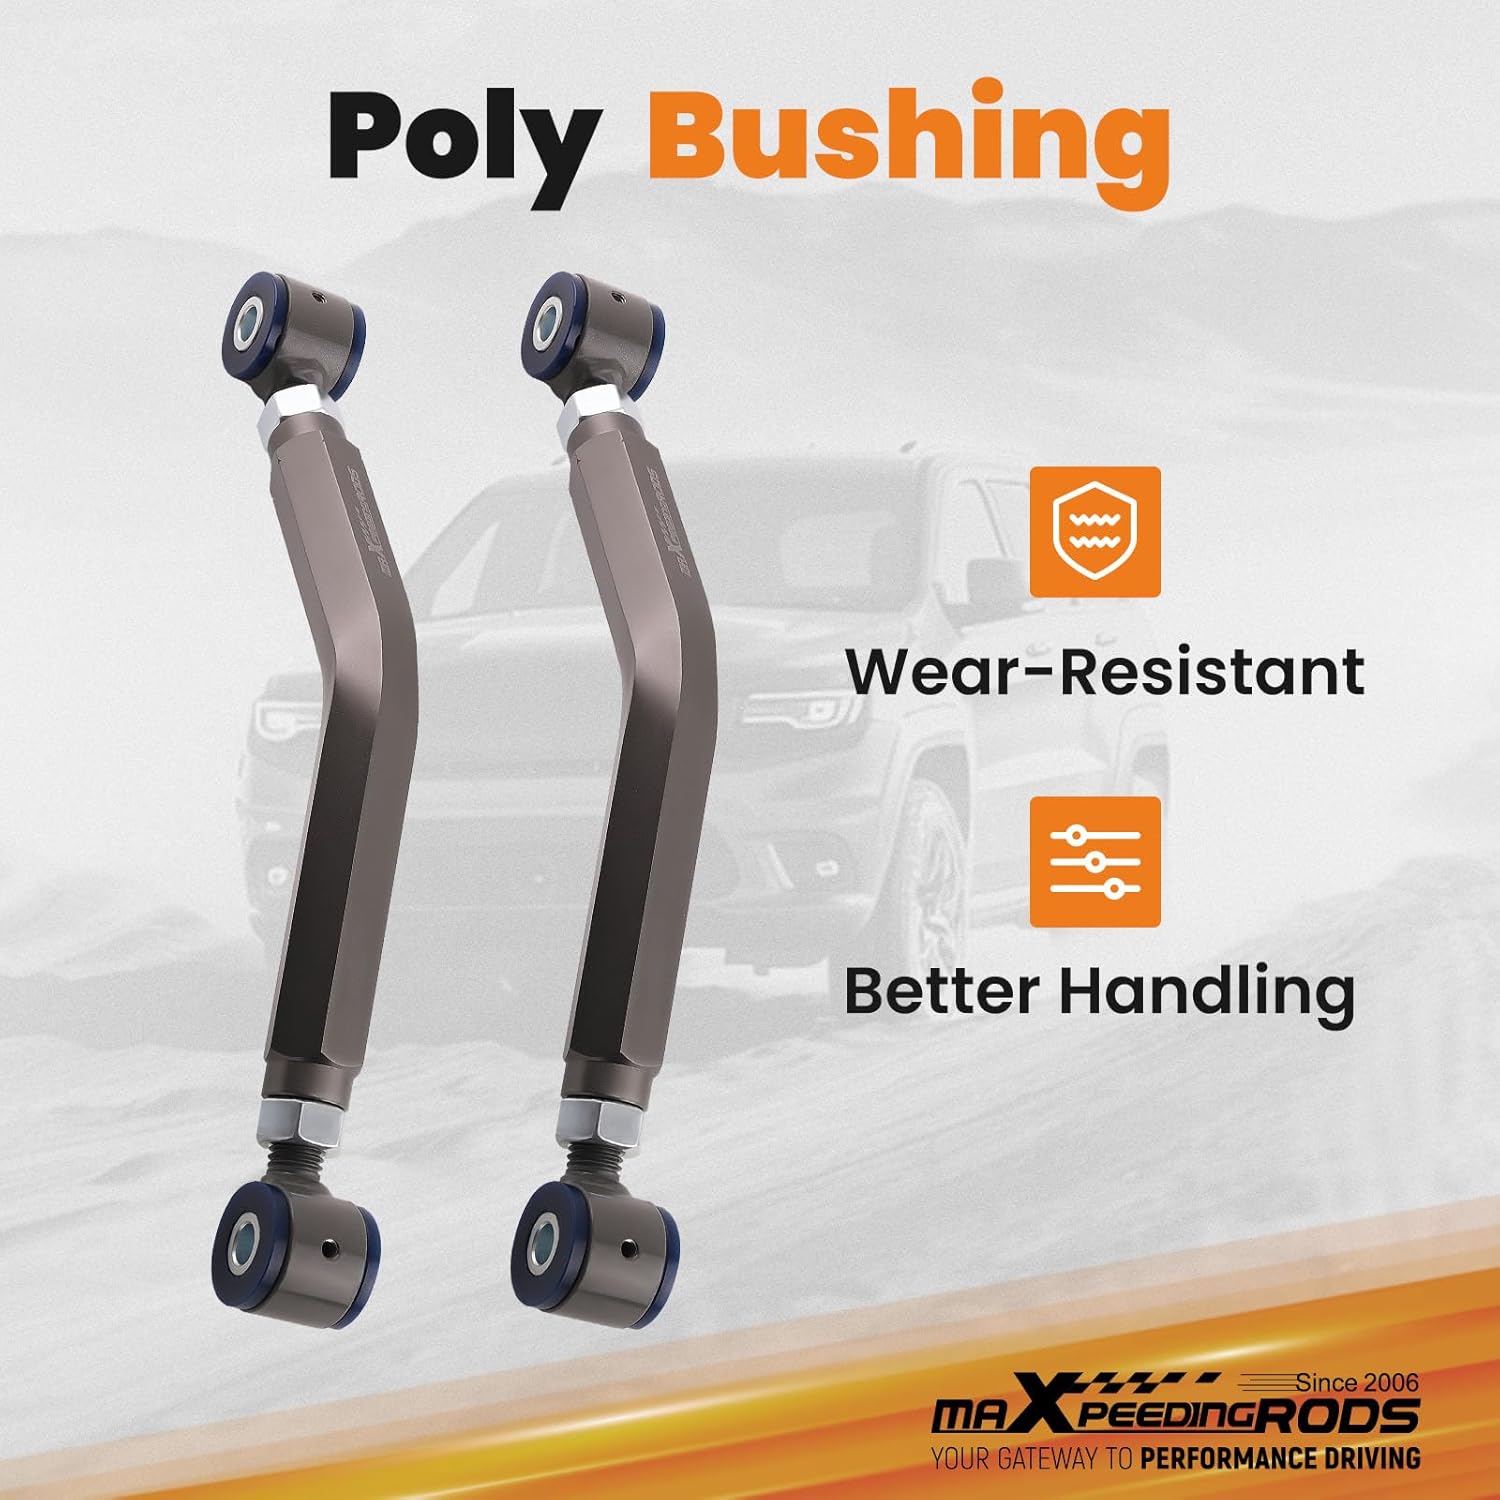
Image 2.3: The control arms featuring pre-installed polyurethane bushings, designed for wear resistance and improved handling.

Image 2.4: A close-up of a grease zerk fitting on the control arm, indicating the lubrication point for maintenance.
3. Унаа шайкештиги
This maXpeedingrods Rear Camber Kit is compatible with the following vehicle model and years:
| Жасаңыз | Модел | Жыл |
|---|---|---|
| Dodge | Заряддагыч | 2006-2023 |

Image 3.1: Visual confirmation of the kit's compatibility with Dodge Charger models from 2006 to 2023.
4. Орнотуу нускамалары (Орнотуу)
Биринчи коопсуздук: Always ensure the vehicle is securely supported on jack stands on a level surface. Wear appropriate personal protective equipment, including safety glasses and gloves. It is recommended that installation be performed by a qualified professional.
- Унаа даярдоо: Park the vehicle on a level surface, engage the parking brake, and block the front wheels. Loosen the rear wheel lug nuts, then raise the rear of the vehicle and support it securely with jack stands. Remove the rear wheels.
- Locate Existing Control Arms: Identify the factory rear upper control arms. Note their orientation and mounting points.
- Remove Factory Control Arms: Carefully unbolt and remove the existing rear upper control arms. You may need to support the suspension components to ease removal. Keep all factory hardware for potential re-use or comparison.
- Install maXpeedingrods Control Arms: Install the new maXpeedingrods adjustable control arms in the same orientation as the factory units. Do not fully tighten the bolts at this stage. Ensure the adjustment mechanism is accessible.
- Баштапкы тууралоо: Adjust the length of the new control arms to approximately match the length of the factory arms. This will provide a starting point for camber adjustment.
- Компоненттерди кайра орнотуу: Reinstall any removed suspension components and the rear wheels. Lower the vehicle to the ground.
- Final Torque and Alignment: With the vehicle's weight on the suspension, fully tighten all mounting bolts to the manufacturer's specified torque values. It is crucial to have a professional wheel alignment performed immediately after installation to set the correct camber and toe angles.
5. Camber Adjustment (Operating)
The maXpeedingrods Rear Camber Kit allows for precise adjustment of the rear wheel camber angle. This adjustment should always be performed by a qualified technician using professional alignment equipment.
- Access Adjustment: With the vehicle on an alignment rack, the technician will access the adjustment points on the control arms.
- Loosen Locking Nuts: Loosen the locking nuts on the adjustable section of the control arm.
- Adjust Camber: Rotate the central body of the control arm to lengthen or shorten it. Lengthening the arm will typically increase positive camber (top of the wheel tilts outward), while shortening it will increase negative camber (top of the wheel tilts inward).
- Мониторду тегиздөө: The technician will monitor the camber reading on the alignment machine while making adjustments.
- Tighten Locking Nuts: Once the desired camber angle is achieved, securely tighten the locking nuts to prevent movement.
- Complete Alignment: After camber is set, ensure a full four-wheel alignment is performed to verify and adjust toe and thrust angle as necessary.
Image 5.1: Visual representation of camber adjustment, illustrating how wheel angle changes with control arm length.
6. Техникалык тейлөө
Regular maintenance ensures the longevity and optimal performance of your maXpeedingrods Rear Camber Kit.
- Майлоо: The polyurethane bushings are equipped with grease zerk fittings. Periodically (e.g., every 5,000-10,000 miles or during routine service), apply a small amount of high-quality polyurethane-compatible grease using a grease gun. Do not over-tighten the grease zerks to prevent damage.
- Текшерүү: Regularly inspect the control arms, bushings, and mounting hardware for any signs of wear, damage, or looseness. Check for cracks, bends, or corrosion. Ensure all bolts are securely tightened.
- Тазалоо: Keep the control arms clean from dirt, salt, and road debris, especially in harsh weather conditions.
Image 6.1: Detail of the grease zerk fitting, indicating the point for routine lubrication to extend component life.
7. Кыйынчылыктарды
If you encounter issues after installing your camber kit, consider the following:
- Дөңгөлөктөрдүн бирдей эмес эскириши: This is often a symptom of incorrect alignment. Ensure a professional wheel alignment has been performed and is within specifications.
- Poor Handling/Steering: Incorrect alignment (camber, toe, or caster) can significantly affect handling. Re-check alignment settings. Also, inspect for loose hardware or damaged bushings.
- Асма системасынан чыккан ызы-чуу: Check all mounting points for proper torque. Inspect bushings for damage or lack of lubrication. Ensure no components are contacting other parts of the vehicle.
- Difficulty Adjusting Camber: Ensure locking nuts are sufficiently loosened. If the adjustment mechanism is seized, it may indicate corrosion or damage.
If problems persist, contact maXpeedingrods customer support for assistance.
8. Продукттун спецификациялары
| Спецификация | Деталь |
|---|---|
| Бренд | maXpeedingrods |
| Модель номери | RI54FP |
| Camber Adjustment Range | +/-3 градус |
| Материал | 6061-T6 алюминий эритмеси |
| Втулкалар | Полиуретан |
| Элемент Салмагы | 6.23 фунт |
| Продукциянын өлчөмдөрү | 16.34 x 6.57 x 4.65 дюйм |
| Шайкеш унаалар | Dodge Charger 2006-2023 |
9. Кепилдик жана Кардарларды колдоо
maXpeedingrods is committed to providing quality products and support.
- Кепилдик: This product comes with a 1-year limited warranty covering quality-related issues from the date of purchase.
- Техникалык колдоо: maXpeedingrods offers lifetime technical support.
- Байланыш: For any questions, technical assistance, or warranty claims, please contact maXpeedingrods customer support.