
1. Киришүү
Thank you for choosing the Radioddity HD-1 Walkie Talkie. This robust and versatile two-way radio is designed for reliable communication in various environments, from construction sites to outdoor adventures. Featuring IP67 waterproofing, dustproof capabilities, and a shock-resistant design, the HD-1 ensures durability and performance. This manual provides essential information for proper setup, operation, and maintenance of your device.
2. Пакеттин мазмуну
Upon opening your Radioddity HD-1 package, please verify that all the following items are included:
- 2 x Radioddity HD-1 Radiotelephones
- 2 x Rechargeable Li-ion Batteries (2400 mAh)
- 1 x заряддоо док
- 2 x Белдик клиптер
- 2 x Lanyards
- 1 х USB-C кубаттоо кабели
- 1 х кубат адаптери

Image: Radioddity HD-1 Walkie Talkie package contents, showing two yellow and black radios, two rechargeable batteries, a dual charging dock, a USB-C cable, a power adapter, two belt clips, and two lanyards.
3. Продукт бүтүп калдыview
3.1 Негизги өзгөчөлүктөрү
- IP67 Суу жана чаң өткөрбөйт: Resists water immersion (30 minutes at 1 meter) and dust particles. Floats if dropped in water.
- Robust & Durable Design: Constructed from resistant PC+TPE material, designed to withstand drops and harsh conditions.
- License-Free PMR: 16 PMR channels and 159 CTCSS/DCS codes for private and secure communications.
- One-Key Group Call: Simplifies team communication.
- Узак мөөнөттүү батарея: 2400 mAh Li-ion battery provides 1-2 days of use and 4-5 days standby.
- Кош кубаттоо параметрлери: Recharge directly via USB-C or using the included charging dock.
- Дирилдөө эскертүүсү: Notifies you of incoming calls even in noisy environments.
- VOX режими: Hands-free communication with 9 sensitivity levels.
- SOS функциясы: Emergency alert feature.
3.2 Компоненттер жана башкаруу элементтери
Familiarize yourself with the main components and controls of your Radioddity HD-1 walkie talkie:
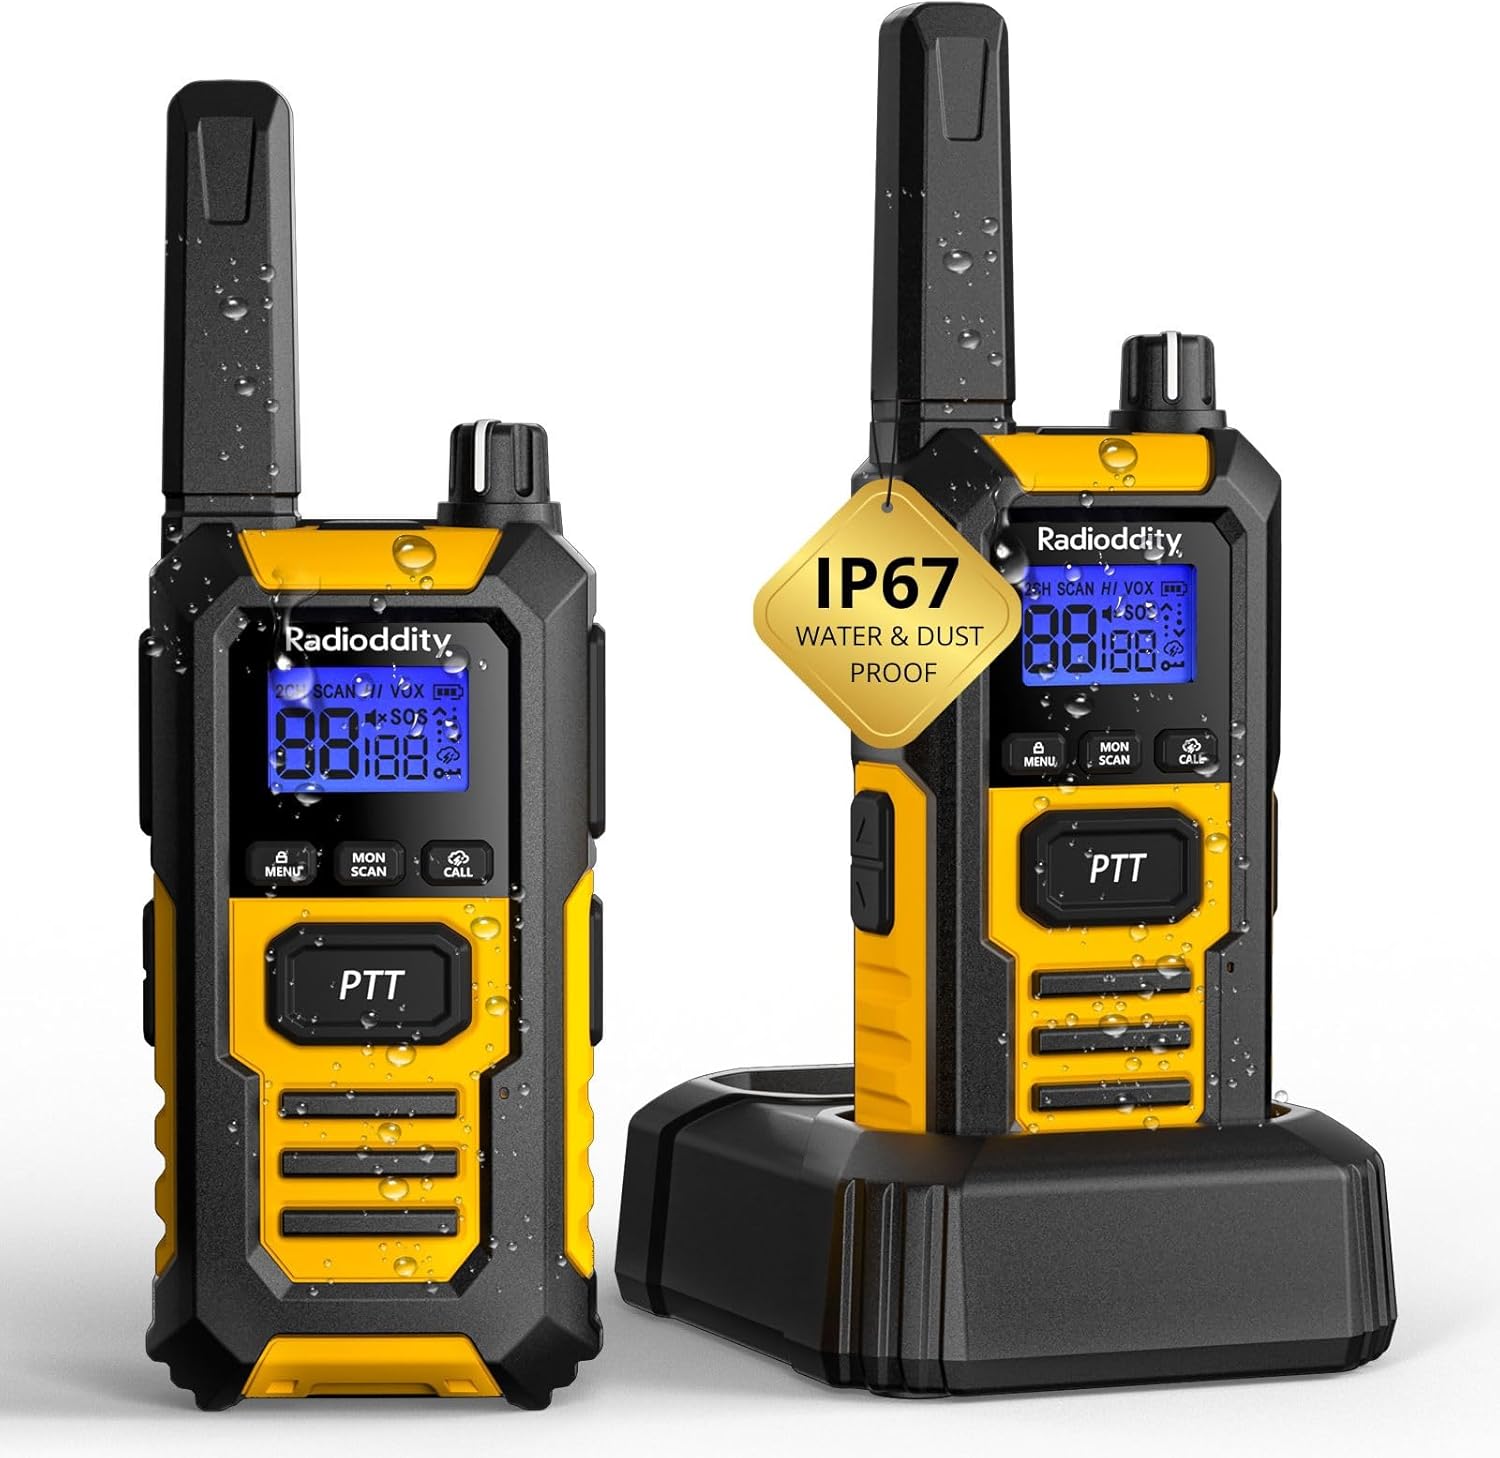
Сүрөт: алдыңкы view of the Radioddity HD-1 Walkie Talkie, highlighting the display, PTT button, menu, scan, call, and lamp buttons, and the speaker grille.
- Антенна: Сигналдарды берүү жана кабыл алуу үчүн.
- Кубат/үн баскычы: Turn clockwise to power on and increase volume; counter-clockwise to decrease volume and power off.
- Канал тандоо баскычы: Rotate to change channels.
- PTT (баскыч менен сүйлөшүү) баскычы: Өтүү үчүн басып туруңуз, кабыл алуу үчүн коё бериңиз.
- Меню баскычы: Accesses the menu for settings adjustments.
- Өйдө/ылдый баскычтары: Меню параметрлерин карап чыгып, маанилерди тууралаңыз.
- Скандоо баскычы: Каналдарды сканерлөөнү баштайт.
- Монитор баскычы: Temporarily disables squelch to listen for weak signals.
- Чалуу баскычы: Sends a call tone to other radios.
- Lamp Баскыч: Activates the LED torch.
- SOS баскычы: Activates the emergency alert.
- USB-C порту: Түз заряддоо үчүн.
- Гарнитура уясы: Тышкы аудио аксессуарларды туташтыруу үчүн.
4. Орнотуу
4.1 Батареяны орнотуу
- Рация өчүрүлгөнүн текшериңиз.
- Радионун артындагы батарея бөлүкчөсүнүн капкагын табыңыз.
- Капкакты ылдый жылдырыңыз жана аны көтөрүңүз.
- Insert the Li-ion battery pack, ensuring the contacts align correctly with the terminals inside the compartment.
- Replace the battery cover and slide it upwards until it clicks into place.
4.2 Батареяны заряддоо
Your Radioddity HD-1 offers two convenient charging methods:
- Кубаттоочу докту колдонуу:
- Кубат адаптерин кубаттоочу докко туташтырыңыз жана аны розеткага сайыңыз.
- Place the walkie talkie (with battery installed) into the charging slot of the dock. Ensure proper contact.
- The charging indicator light on the dock will illuminate (usually red) to show charging is in progress. It will turn green when fully charged.
- USB-C портун колдонуу:
- Open the rubber cover protecting the USB-C port on the side of the radio.
- Connect the USB-C charging cable to the radio and a compatible USB power source (e.g., power adapter, computer USB port).
- The battery icon on the radio's display will indicate charging status.
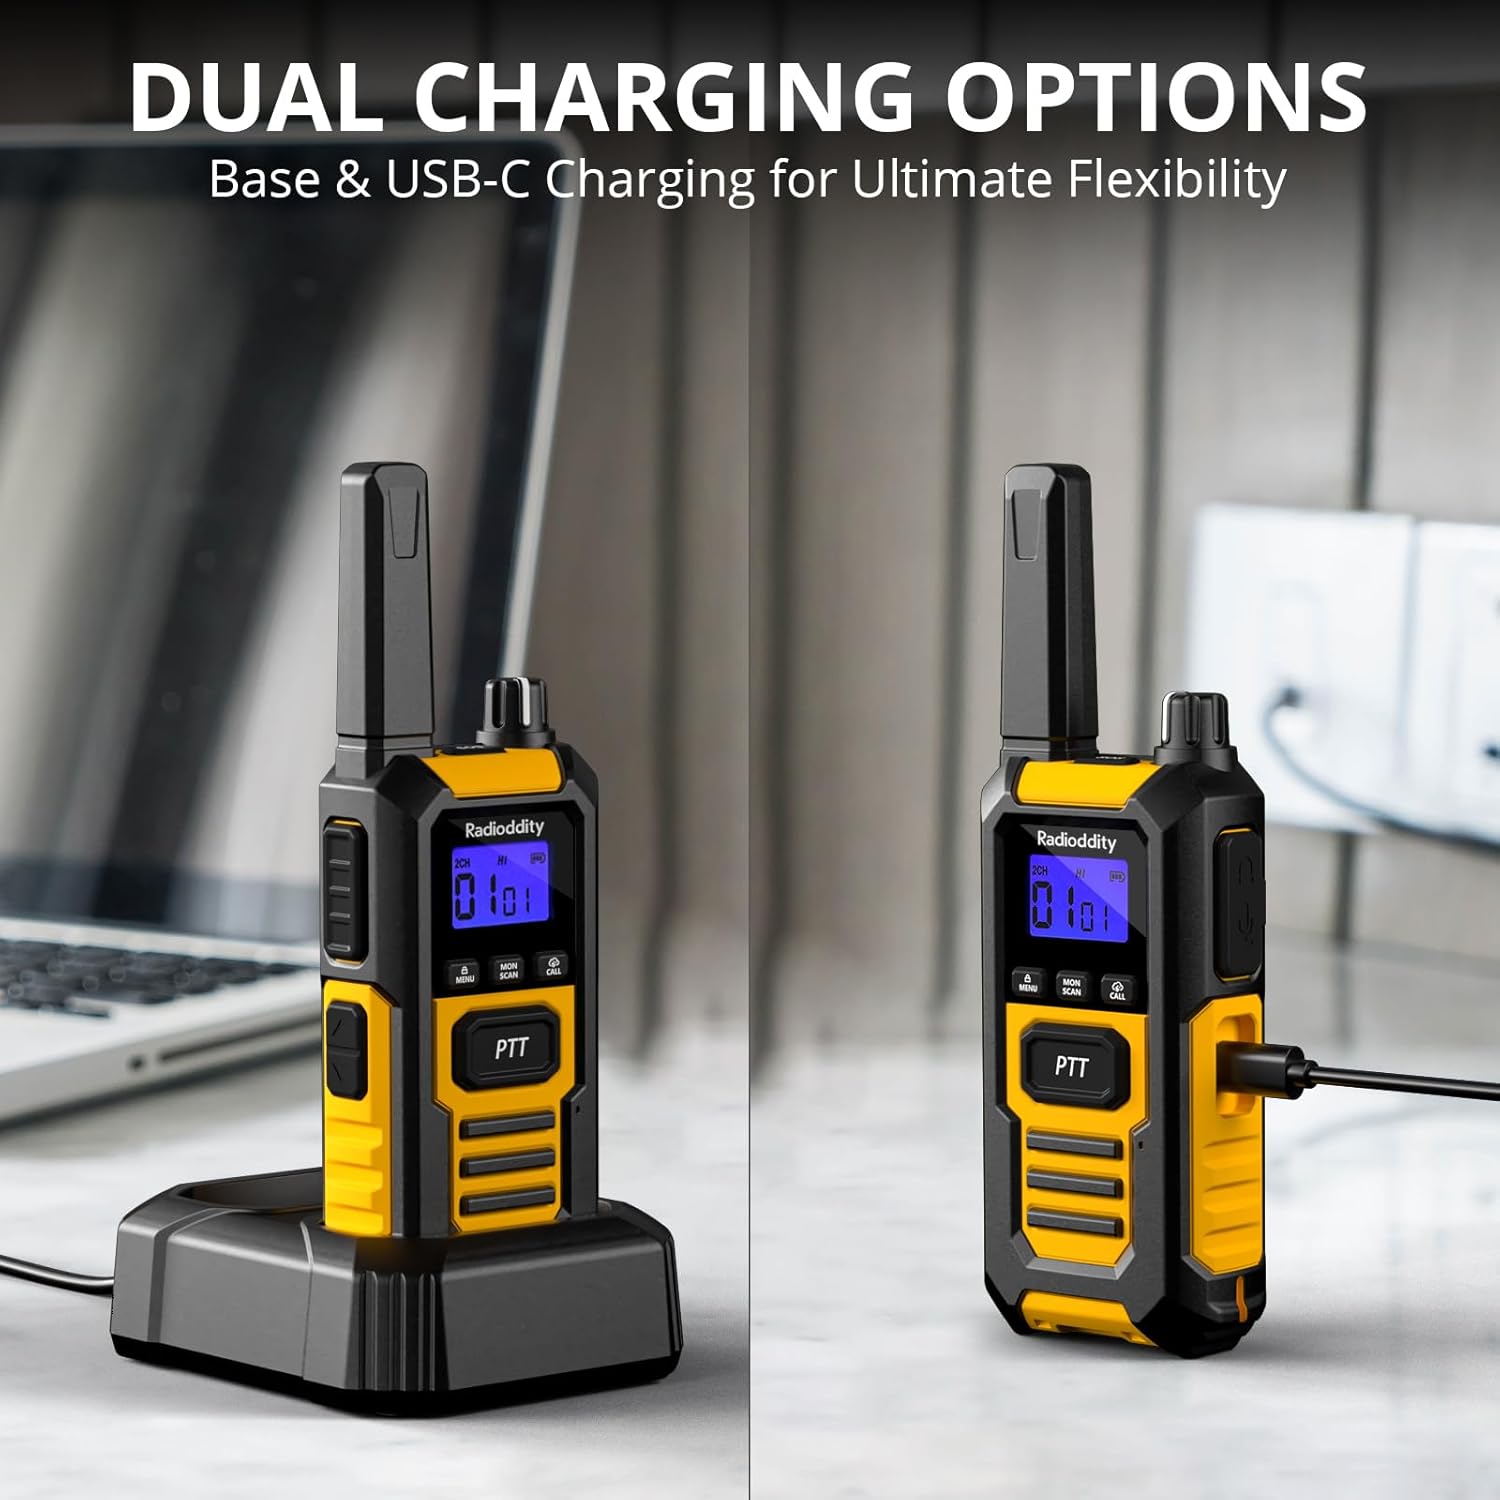
Image: The Radioddity HD-1 Walkie Talkie demonstrating its dual charging capabilities. One radio is placed in a charging dock, while another is shown connected directly via a USB-C cable.
5. Иштөө нускамалары
5.1 Күйгүзүү/өчүрүү жана үндү тууралоо
- Күйгүзүү: Rotate the Power/Volume knob clockwise until you hear a click and the display illuminates.
- Өчүрүү: Rotate the Power/Volume knob counter-clockwise until you hear a click and the display turns off.
- Үндү тууралоо: Once powered on, rotate the Power/Volume knob clockwise to increase volume or counter-clockwise to decrease it.
5.2 Канал тандоо
To communicate with other walkie talkies, ensure all devices are set to the same channel and CTCSS/DCS code (if used).
- Rotate the Channel Selector knob to choose your desired channel (1-16).
- The selected channel number will be displayed on the screen.
5.3 Берүү жана кабыл алуу (PTT)
- Өткөрүш үчүн басып, кармап туруңуз PTT радионун капталындагы баскыч. Микрофонго так сүйлө.
- бошотуңуз PTT button to stop transmitting and return to receive mode.
5.4 VOX (Voice Operated Exchange)
VOX mode allows for hands-free transmission. When activated, the radio will automatically transmit when it detects your voice.
- басыңыз Меню менюга кирүү үчүн баскычты басыңыз.
- Use the Up/Down buttons to navigate to the VOX setting.
- Басыңыз Меню again to select. Use Up/Down to choose a sensitivity level (1-9, with 9 being most sensitive).
- Басыңыз Меню ырастоо жана чыгуу.
5.5 Чалуу обону
Send an audible alert to other radios on the same channel.
- басыңыз Чалуу button to send a pre-set call tone.
5.6 Баскычтарды кулпу
Орнотууларды кокусунан өзгөртүүгө жол бербейт.
- Баскычтопту кулпулоо үчүн басып, кармап туруңуз Меню баскычын дисплейде кулпу сөлөкөтү пайда болгонго чейин басыңыз.
- Кулпуну ачуу үчүн басып, кармап туруңуз Меню кулпу сөлөкөтү жок болмоюнча кайра баскычын басыңыз.
5.7 Скандоо функциясы
Automatically scans active channels to find ongoing conversations.
- басыңыз Скандоо button to activate channel scanning. The radio will cycle through channels until an active one is found.
- Скандоону токтотуу үчүн басыңыз Скандоо кайра баскычын.
5.8 LED шамы
The integrated LED torch provides illumination in low-light conditions.
- басыңыз Lamp button to turn the LED torch on.
- басыңыз Lamp өчүрүү үчүн кайра басыңыз.
5.9 Шашылыш SOS
Activates an audible and visual emergency alert.
- басып, кармап туруңуз SOS button (usually a dedicated orange button on the side) to activate the emergency alert. The radio will emit a loud siren and flash its LED.
- To deactivate, press any button or power cycle the radio.

Image: A Radioddity HD-1 Walkie Talkie with an illuminated red siren icon, indicating the active SOS emergency alert function.
5.10 Топтук чалуу
The one-key group call feature allows for quick communication with pre-defined groups.
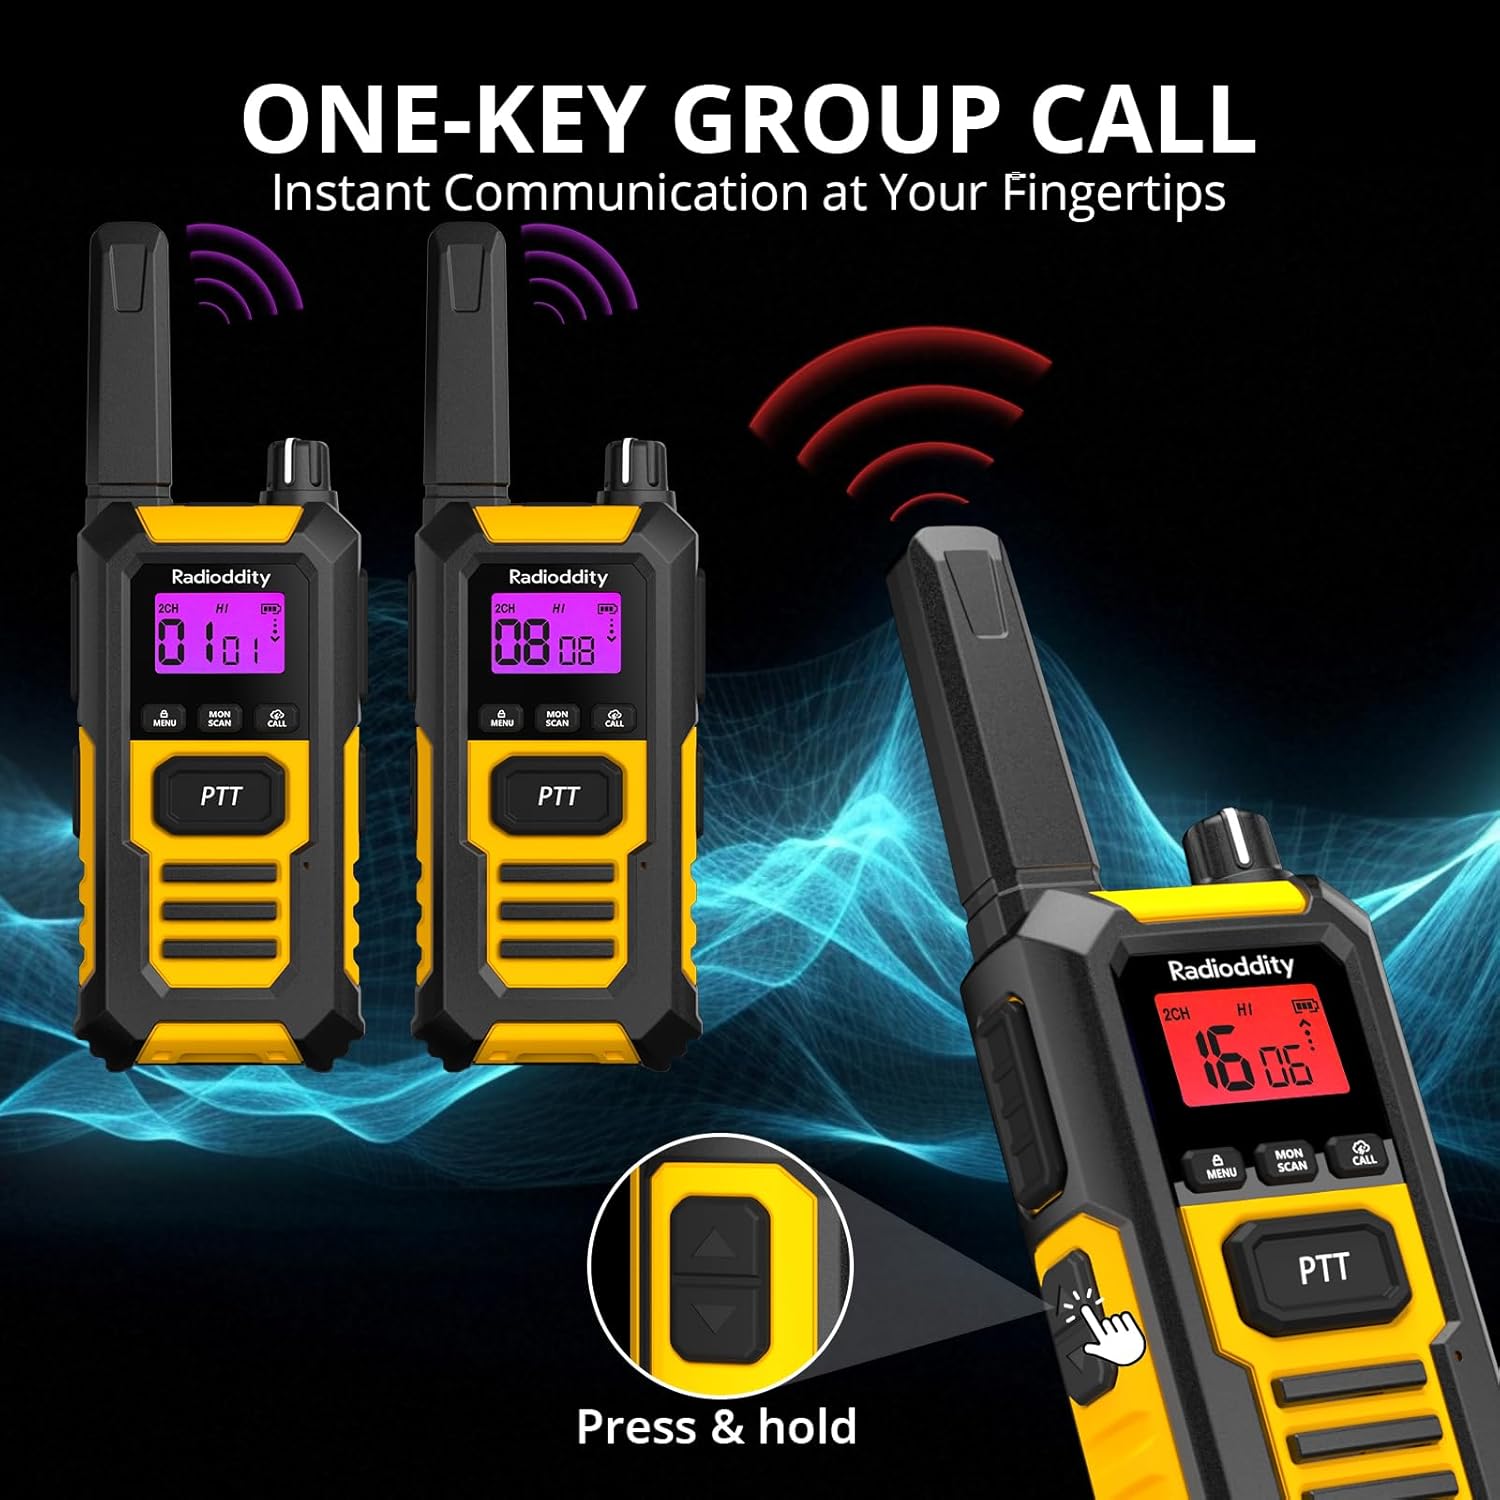
Image: Multiple Radioddity HD-1 Walkie Talkies showing the one-key group call feature, with radio signals emanating from the devices.
6. Техникалык шарттар
| Өзгөчөлүк | Спецификация |
|---|---|
| Модель номери | HD-1 |
| Бренд | Radioioddity |
| Түс | Сары |
| Каналдардын саны | 16 |
| Frequency Spectrum | PMR446 |
| Максималдуу сүйлөшүү диапазону | 3 Kilometers (variable based on terrain) |
| Тtage | 3.7 вольт |
| Сууга туруктуулук деңгээли | IP67 (Суу өткөрбөйт) |
| Батарея түрү | 2400 мАч литий-ион |
| Батареянын орточо иштөө мөөнөтү | 24 Hours (usage), 4-5 Days (standby) |
| Connectivity Protocol | PMR446 |
| Шайкеш түзмөктөр | Other PMR446 radios, standard 2-pin audio accessories |
7. Durability and Resistance
The Radioddity HD-1 is built to endure challenging conditions, undergoing rigorous testing to ensure reliability.
7.1 IP67 Waterproof and Dustproof
The HD-1 is certified IP67, meaning it is fully protected against dust ingress and can withstand immersion in water up to 1 meter for 30 minutes. Its floating design prevents loss during water activities.

Image: Two Radioddity HD-1 Walkie Talkies partially submerged and floating in water, with water droplets around them, illustrating their IP67 waterproof and floating capabilities.
Video: Demonstrates the IP67 waterproof and floating capabilities of a walkie talkie. The device is submerged in water and shown to float, highlighting its resistance to water damage.
7.2 Shockproof and Drop-Resistant
The robust PC+TPE construction ensures the HD-1 can withstand impacts and drops from up to 2 meters, making it ideal for demanding environments.

Image: A Radioddity HD-1 Walkie Talkie standing upright on a rugged, rocky surface, with small rocks scattering around it, emphasizing its shockproof and durable construction.
Video: Shows various durability tests performed on a walkie talkie, including drop tests from 2 meters onto concrete, rotation tests in a drum, temperature resistance tests from -20°C to +60°C, button press endurance tests, and a compression test under a vehicle wheel, demonstrating its robust construction.
Видео: Кыскача алдын ала маалыматview видео шоуcasing the robust and resistant features of rechargeable walkie talkies, highlighting their durability in various conditions.
8. Техникалык тейлөө
- Тазалоо: жумшак колдонуу, damp Радионун сыртын тазалоо үчүн кездеме колдонуңуз. Катуу химиялык заттарды же эриткичтерди колдонбоңуз.
- Батареяга кам көрүү: To maximize battery life, fully charge the battery before first use. Avoid overcharging or completely draining the battery frequently. Store the radio and battery in a cool, dry place when not in use for extended periods.
- Сактагыч: Рацияны кургак, чаңсыз чөйрөдө, өтө жогорку температурадан алыс сактаңыз.
- Суу таасири: After exposure to water, ensure all ports are properly sealed and dry the radio thoroughly before charging or using.
9. Кыйынчылыктарды
| Көйгөй | Мүмкүн себеп | Чечим |
|---|---|---|
| Радио күйбөйт | Төмөн же өлүк батарея; туура эмес орнотулган батарея. | Батареяны заряддоо; батареянын туура орнотулганын текшериңиз. |
| Башка радиолор менен байланышууга болбойт | Different channels/codes; out of range; low battery. | Verify all radios are on the same channel and CTCSS/DCS code; move closer; charge battery. |
| Аудио сапаты начар же статикалык | Weak signal; interference; too far from other radios. | Move to an open area; check for obstructions; adjust squelch level. |
| VOX иштебей жатат | VOX sensitivity too low; VOX disabled. | Increase VOX sensitivity; enable VOX in the menu. |
10. Кепилдик жана колдоо
Radioddity products are designed for reliability and performance. For warranty information, technical support, or service inquiries, please refer to the warranty card included in your package or visit the official Radioddity webсайт. Сатып алганыңыздын далили катары сатып алуу дүмүрчөгүңүздү сактаңыз.