
SPYMINNPOO S869
SPYMINNPOO S869 Electric LCD Display Meter User Manual
Модели: S869
1. Киришүү
This manual provides detailed instructions for the installation, operation, and maintenance of your SPYMINNPOO S869 Electric LCD Display Meter. This display is designed to provide clear and precise information about your electric bike or scooter's performance, including speed, battery status, and other essential data. It is compatible with DC 24V, 36V, and 48V systems and features an SM plug for easy connection.
2. Коопсуздук маалыматы
- Always ensure the power is off before installing or removing the display meter.
- Do not attempt to disassemble or modify the display meter, as this may void the warranty and cause damage.
- Keep the display meter away from extreme temperatures, direct sunlight for prolonged periods, and corrosive substances.
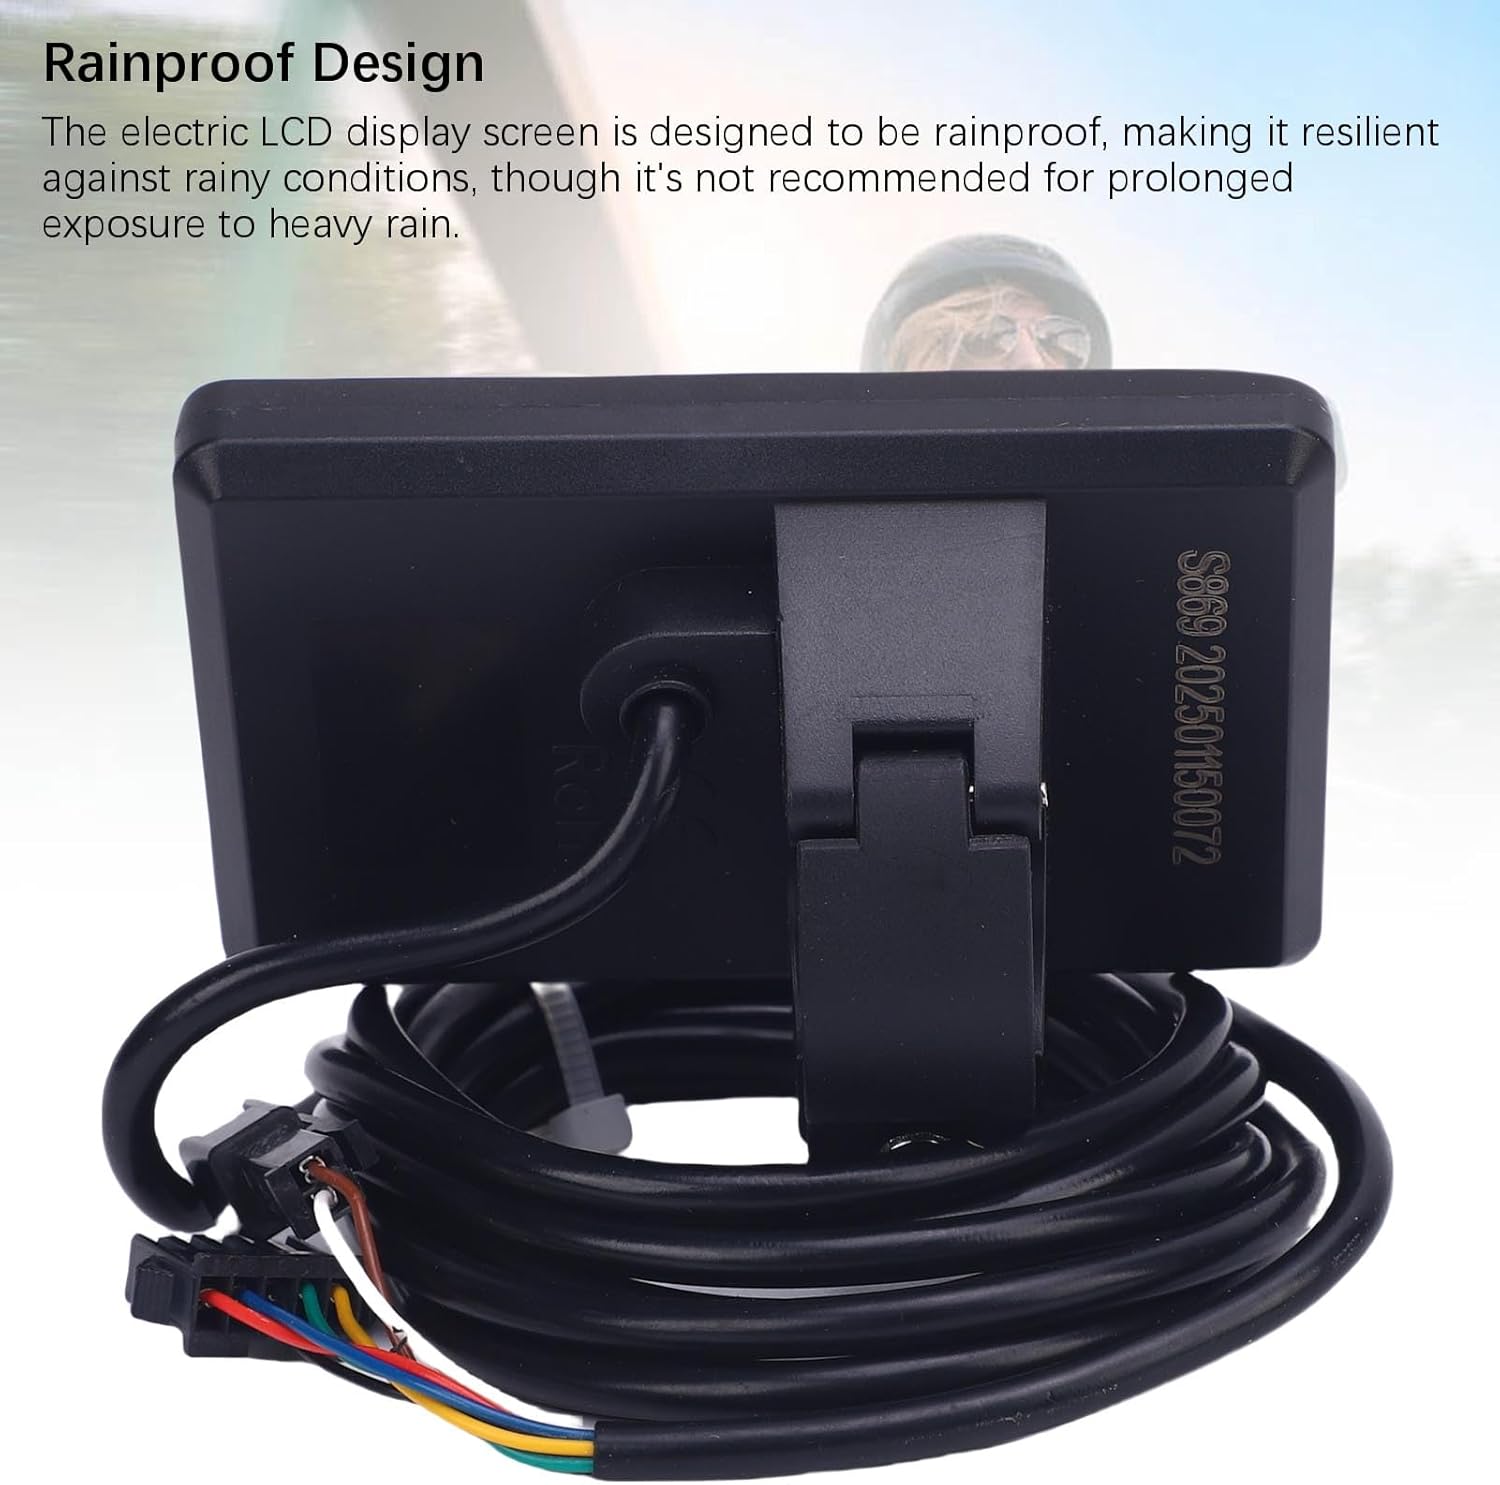
- While the display is designed to be rainproof, prolonged exposure to heavy rain is not recommended.
- Электр зымдарынын бузулушун же кыска туташууларды болтурбоо үчүн бардык туташуулардын бекем орнотулганын текшериңиз.
3. Пакеттин мазмуну
Пакетте бардык буюмдар бар экенин текшериңиз:
- 1 x Electric LCD Display Meter (S869)
- 1 x User Manual
4. Техникалык шарттар
| Өзгөчөлүк | Спецификация |
|---|---|
| Модел | S869 |
| Материал | ABS |
| Продукт өлчөмү (L x W x Y) | Болжол менен 80 x 50 x 14 мм (3.15 x 1.97 x 0.55 дюйм) |
| Suitable Handlebar Diameter | Approx. 22.2 mm (0.87 inches) |
| Тtage Шайкештик | DC 24V, 36V, 48V |
| Туташтыргыч түрү | SM Plug (5-core common plug) |
| Кабелдин узундугу | Approx. 1640 mm (64.56 inches) |
| Элемент Салмагы | Болжол менен 138 грамм |
| Дисплей түрү | High Definition LCD, Backlit |
| Өзгөчөлүктөрү | Speed, Battery Status, PAS Level, Odometer, Smart Chip |
5. Орнотуу жана орнотуу
Follow these steps to properly install your S869 Electric LCD Display Meter:
5.1 Дисплейди орнотуу
- Identify a suitable position on your handlebar (typically near the left grip) that allows for clear visibility and easy access to buttons. The display is designed for 22.2mm handlebars.
- Loosen the screw on the display's mounting bracket.
- Place the display bracket around the handlebar and tighten the screw until the display is securely fixed but can still be adjusted for optimal viewбурч.

5.2 Кабелдерди туташтыруу
- Locate the SM plug cable extending from your S869 display meter.
- Connect this plug to the corresponding SM plug on your electric bike or scooter's controller or wiring harness. Ensure the connection is firm and fully seated.
- Route the cable neatly along the handlebar and frame, securing it with cable ties if necessary, to prevent interference with moving parts.

5.3 Физикалык өлчөмдөр
For reference, the physical dimensions of the S869 display are provided below:

6. Иштөө нускамалары
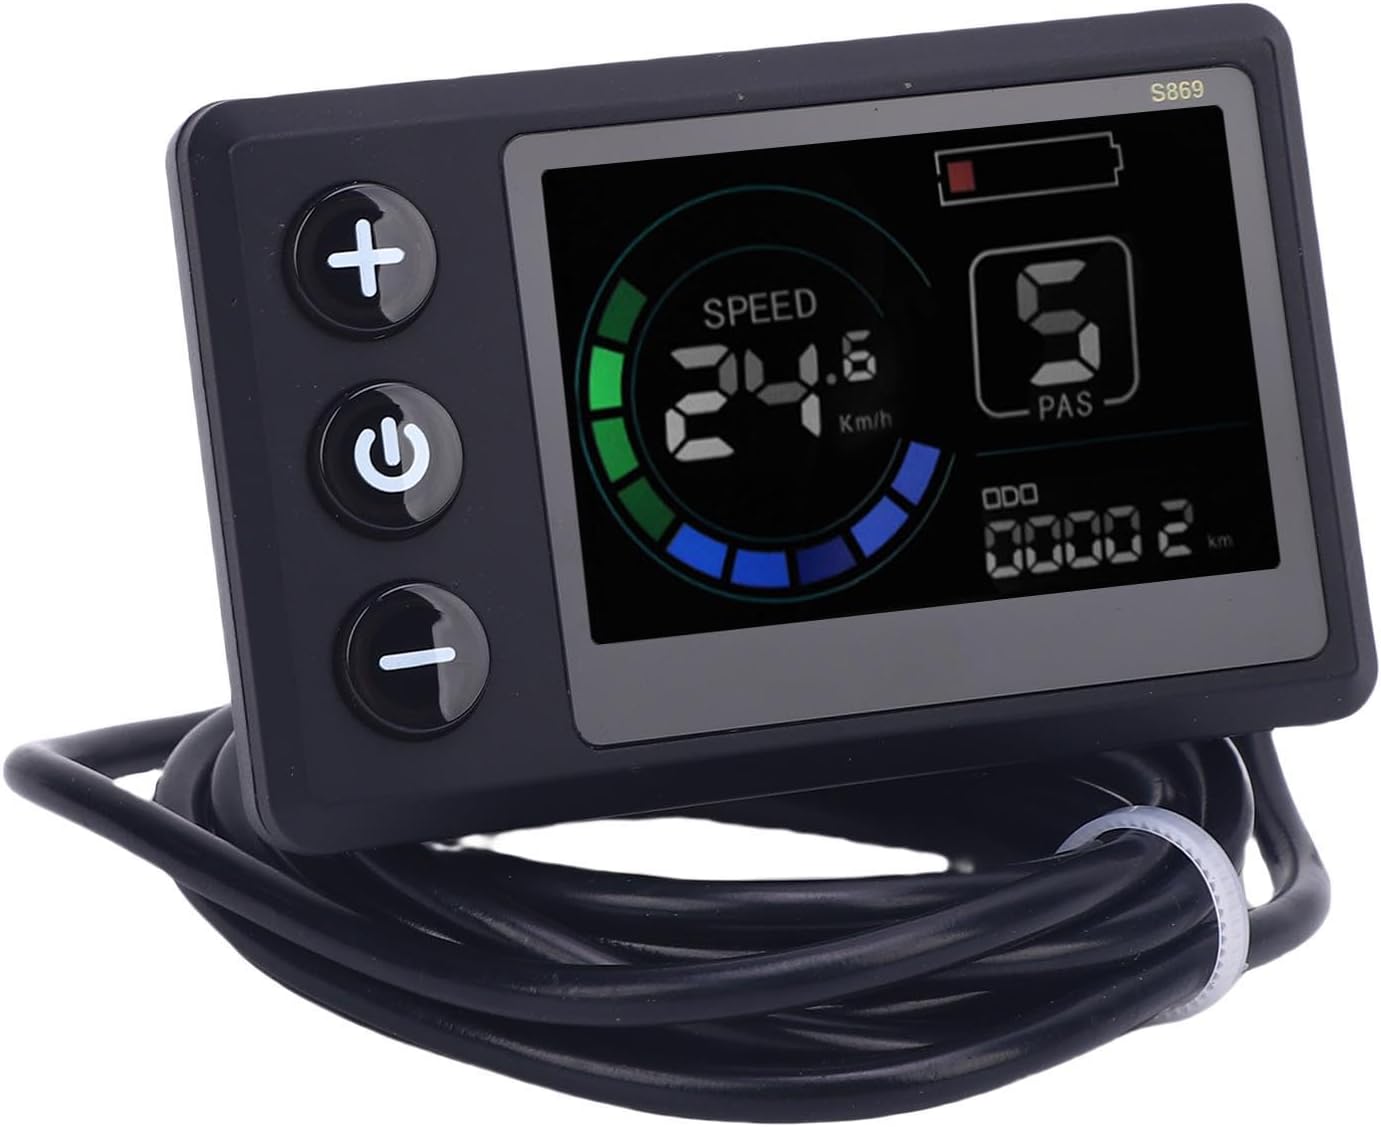
The S869 display provides real-time data and control over your electric bike or scooter. Familiarize yourself with the display interface and button functions.
6.1 Күйгүзүү/өчүрүү
- Күйгүзүү үчүн: басып, кармап туруңуз Кубат баскычы (middle button) for a few seconds until the display illuminates.
- Өчүрүү үчүн: басып, кармап туруңуз Кубат баскычы again for a few seconds until the display turns off.
6.2 Дисплей функциялары
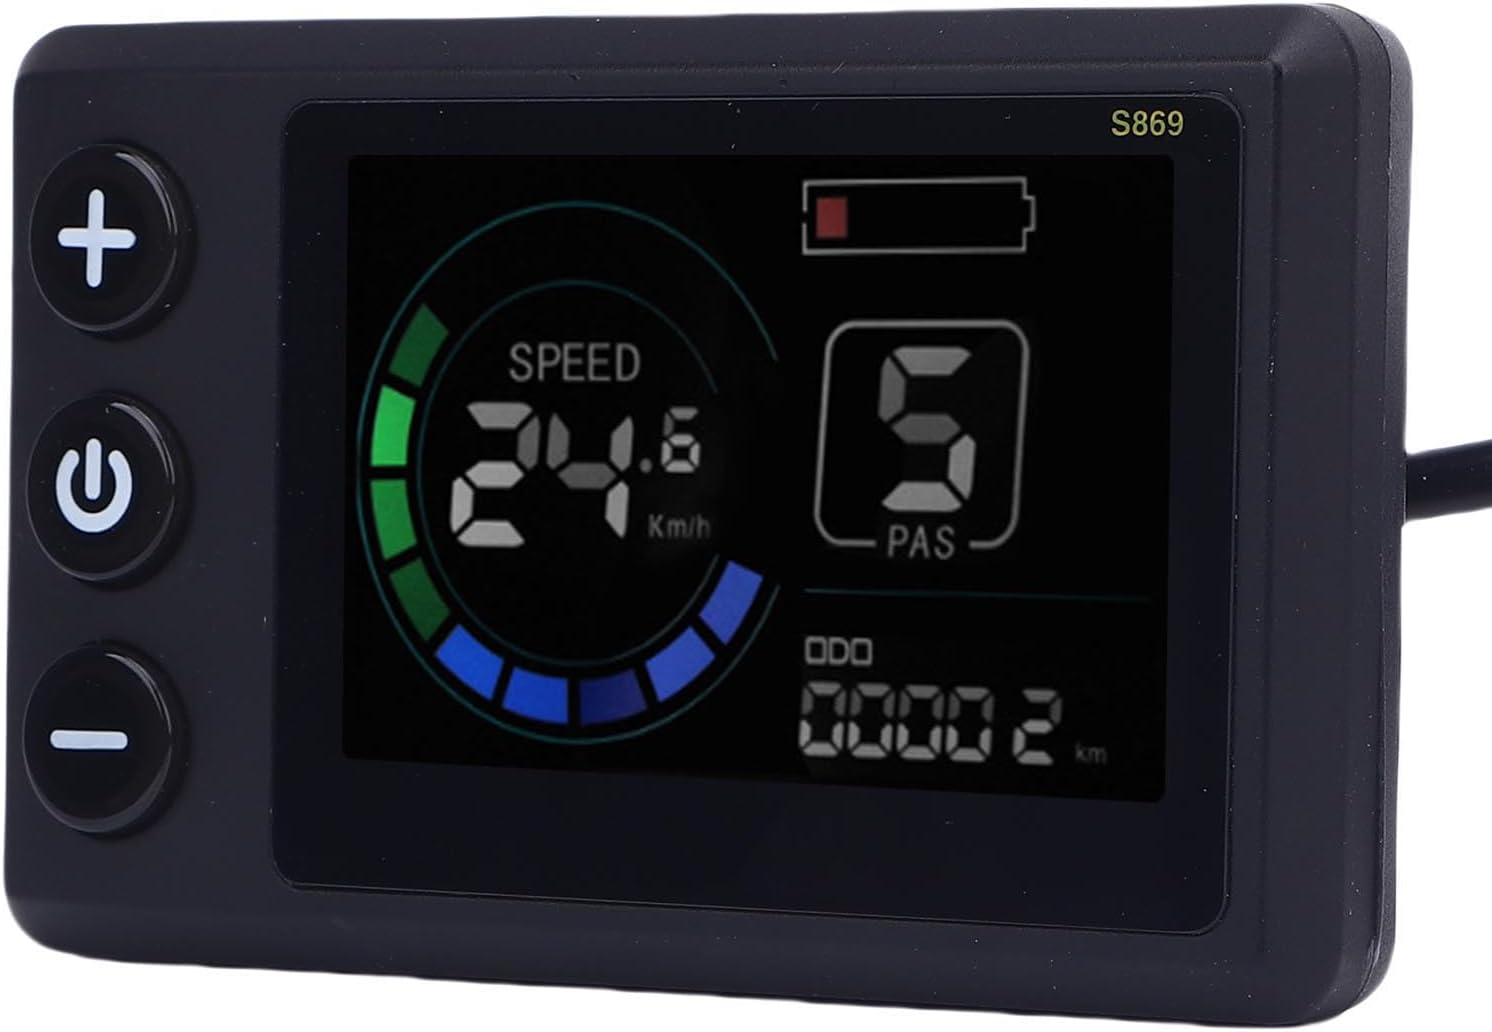
LCD экран төмөнкү маалыматтарды берет:
- Ылдамдыгы: Displays current riding speed (e.g., km/h or mph).
- Батареянын абалы: Indicates the remaining battery charge level.
- PAS деңгээли: Shows the current Pedal Assist System level (e.g., 0-5), controlling the motor's assistance.
- ODO (Одометр): Жалпы басып өткөн жолду көрсөтөт.
- Сапардын аралыгы: (If available) Displays the distance for the current trip.
6.3 Баскыч функциялары
- '+' Button (Top): Typically used to increase the PAS level or navigate upwards in menu settings.
- Кубат баскычы (ортоңку): Used to power the display on/off. A short press may cycle through display modes (e.g., ODO, Trip).
- '-' Button (Bottom): Typically used to decrease the PAS level or navigate downwards in menu settings.
7. Техникалык тейлөө
Proper maintenance ensures the longevity and optimal performance of your S869 display meter.
- Тазалоо: Дисплейдин экранын жана корпусун жумшак менен сүртүңүз, damp кездеме. Абразивдүү тазалоочу каражаттарды, эриткичтерди же катуу химиялык заттарды колдонбоңуз, анткени алар экранга жеasing.
- Суу каршылык: The display features a rainproof design, offering protection against light rain and splashes. However, avoid submerging the device in water or exposing it to high-pressure water jets.
8. Кыйынчылыктарды
If you encounter issues with your S869 display meter, refer to the following table for common problems and solutions:
| Көйгөй | Мүмкүн себеп | Чечим |
|---|---|---|
| Дисплей күйбөйт | Кабель туташуу бош No power from battery Туура эмес дисплей | Check all cable connections, especially the SM plug. Ensure the e-bike/scooter battery is charged and powered on. If connections are secure and power is present, contact support. |
| Тез окуу жок | Speed sensor issue Кабель туташуу бош | Check the speed sensor and its connection to the controller. Verify all display cables are securely connected. |
| Туура эмес маалыматтар көрсөтүлдү | Туура эмес орнотуулар Сенсордун бузулушу | Refer to your e-bike/scooter controller manual for display settings. Check relevant sensors for damage or loose connections. |
| Баскычтар жооп бербейт | Программанын катасы Физикалык зыян | Try powering the display off and on again. Inspect buttons for physical damage or debris. |
9. Кепилдик жана колдоо
9.1 Кепилдик маалыматы
The SPYMINNPOO S869 Electric LCD Display Meter comes with a manufacturer warranty for 90 days from the date of purchase. This warranty covers defects in materials and workmanship under normal use. It does not cover damage caused by misuse, accidents, unauthorized modifications, or improper installation.
9.2 Кардарларды колдоо
For technical assistance, warranty claims, or any questions regarding your SPYMINNPOO S869 Electric LCD Display Meter, please contact your retailer or the manufacturer's customer service. Please have your purchase receipt and product model number (S869) available when contacting support.
Ask a question about this manual
Ask about setup, troubleshooting, compatibility, parts, safety, or missing instructions. Manuals+ will review the question and use this page’s manual context to help answer it.