
ARCCTV P2
ARCCTV 2K Security Camera Outdoor P2 User Manual
Модел: P2
1. Киришүү
This manual provides detailed instructions for the installation, operation, and maintenance of your ARCCTV 2K Security Camera Outdoor P2. Please read this manual thoroughly before using the product to ensure correct usage and optimal performance. Keep this manual for future reference.

Сүрөт 1.1: Алдыңкы view of the ARCCTV 2K Security Camera Outdoor P2.
2. Кутуда эмне бар
Пакетте бардык компоненттер бар экенин текшериңиз:
- Камера корпусу
- 5V1A кубат адаптери
- Mounting Screws (set)
- Screw Positioning Sticker
- Эскертүү чаптамасы
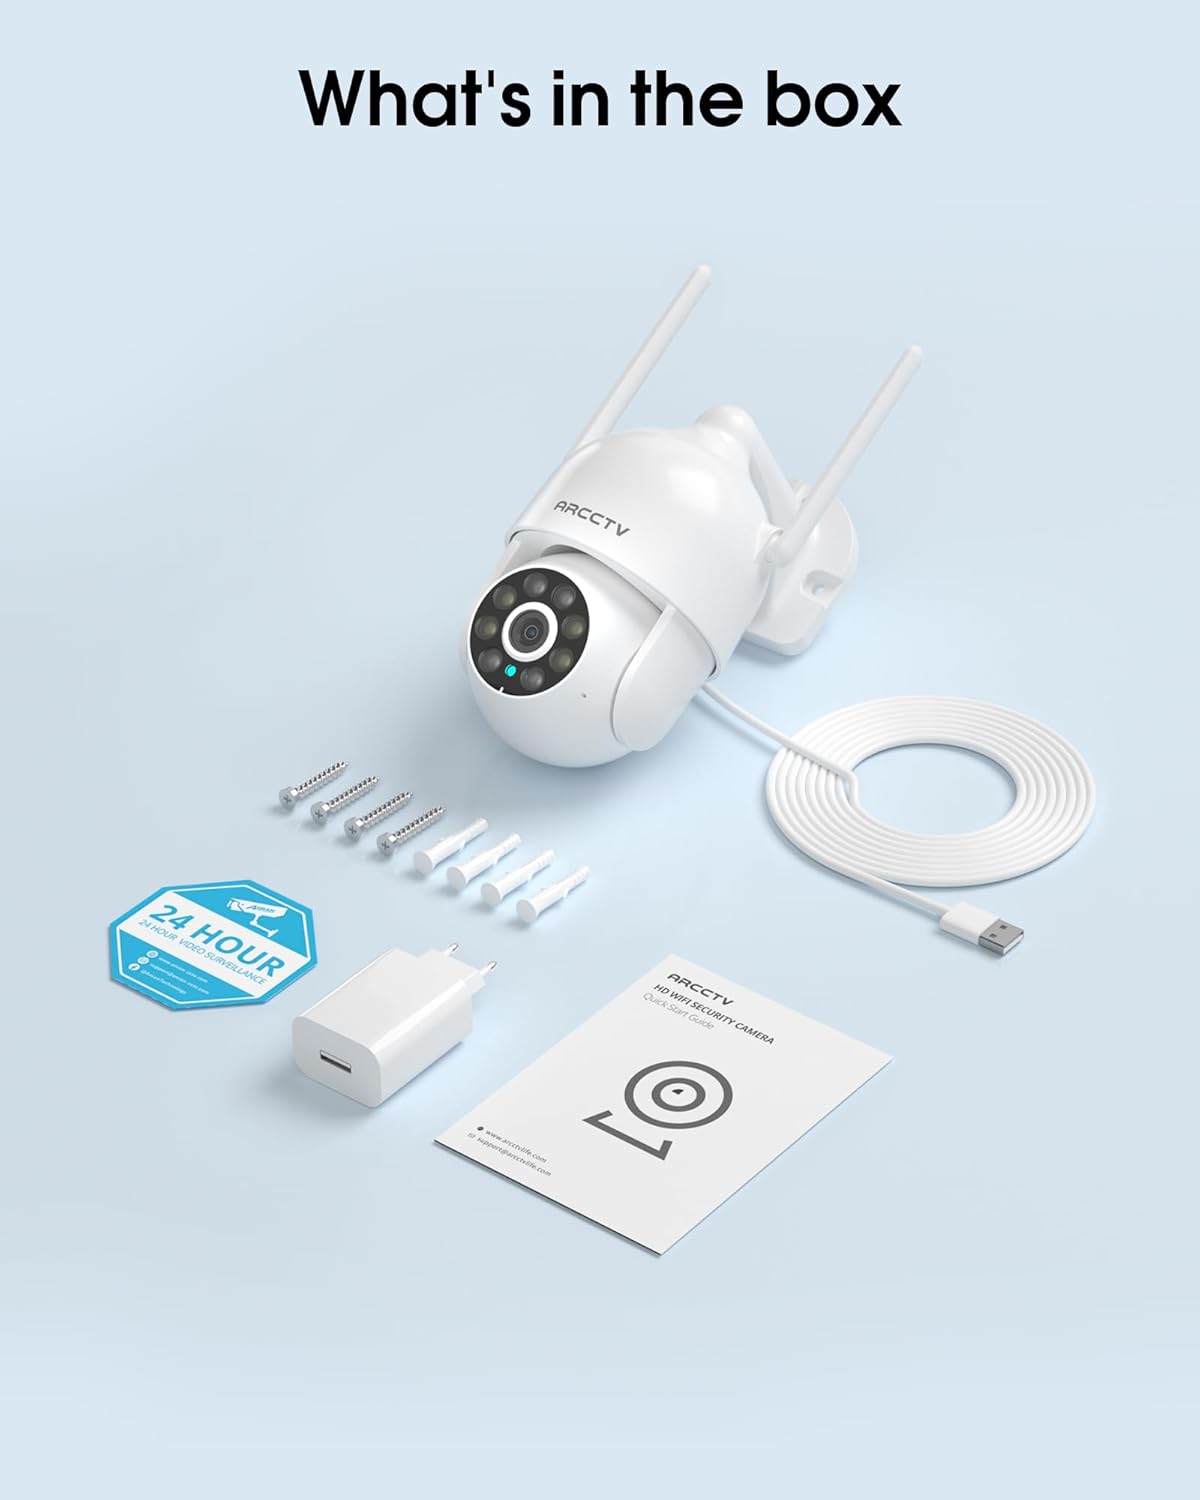
Image 2.1: All items included in the ARCCTV 2K Security Camera package.
3. Продукциянын өзгөчөлүктөрү
- 2K Ultra HD токтому: Provides clear 2304x1296p video.
- Толук түстүү түнкү көрүнүш: Built-in spotlight enables vivid color monitoring in low light.
- 360° Pan-Tilt-Zoom (PTZ): Remotely control 355° horizontal and 90° vertical rotation.
- Кыймылды автоматтык түрдө көзөмөлдөө: Smart AI automatically follows and records detected movement.
- Кош тилкелүү WiFi: Supports both 2.4G and 5G WiFi for stable connectivity.
- Эки тараптуу аудио: Байланыш үчүн орнотулган микрофон жана динамик.
- IP66 аба ырайы: Durable design for outdoor use in various weather conditions (-4°F ~ 122°F).
- Ийкемдүү сактагыч: Supports local microSD card storage (up to 128GB, not included) and optional cloud storage.
- 24/7 жаздыруу: Continuous recording capability with stable power supply.
4. Орнотуу
4.1 Орнотуу
- Жайгашкан жерди тандаңыз: Ачык аба ырайына ылайыктуу жерди тандаңыз view of the area you wish to monitor. Ensure it is within range of your Wi-Fi network and a power outlet.
- Камераны орнотуу: Use the provided screw positioning sticker to mark drill holes. Drill holes, insert wall anchors, and secure the camera body to the wall using the mounting screws.
- Туташуу кубаты: Plug the 5V1A power adapter into the camera and then into a power outlet. The camera will power on and begin its startup sequence.
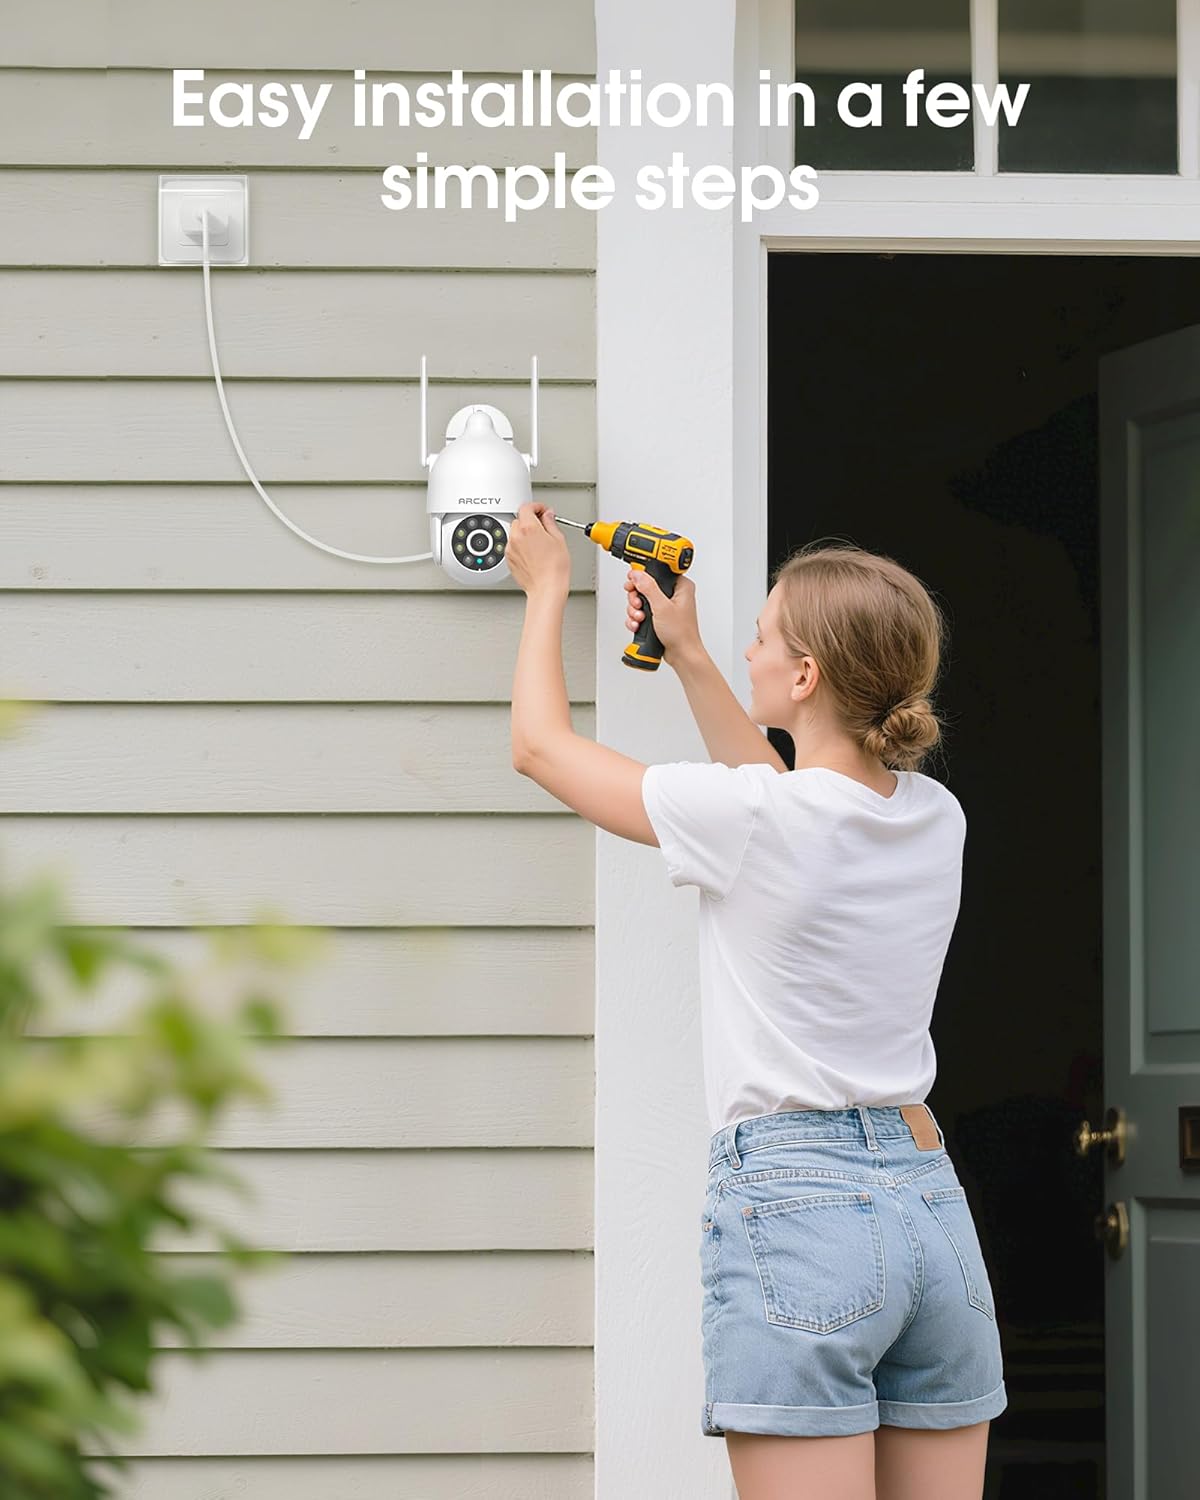
Image 4.1: Illustration of easy camera installation steps.
4.2 Колдонмону жүктөп алуу жана каттоо эсебин түзүү
- Download the official ARCCTV app from your smartphone's app store (iOS or Android).
- Колдонмону ачып, жаңы каттоо эсебин түзүү үчүн экрандагы нускамаларды аткарыңыз же сизде мурунтан эле бар болсо кириңиз.
4.3 Wi-Fi туташуусу
- In the app, tap the "Add Device" or "+" icon.
- Select your camera model and follow the prompts to connect it to your Wi-Fi network. The camera supports both 2.4GHz and 5GHz bands for stable connectivity.
- Орнотуу процессинде смартфонуңуз бир эле Wi-Fi тармагына туташып турганын текшериңиз.
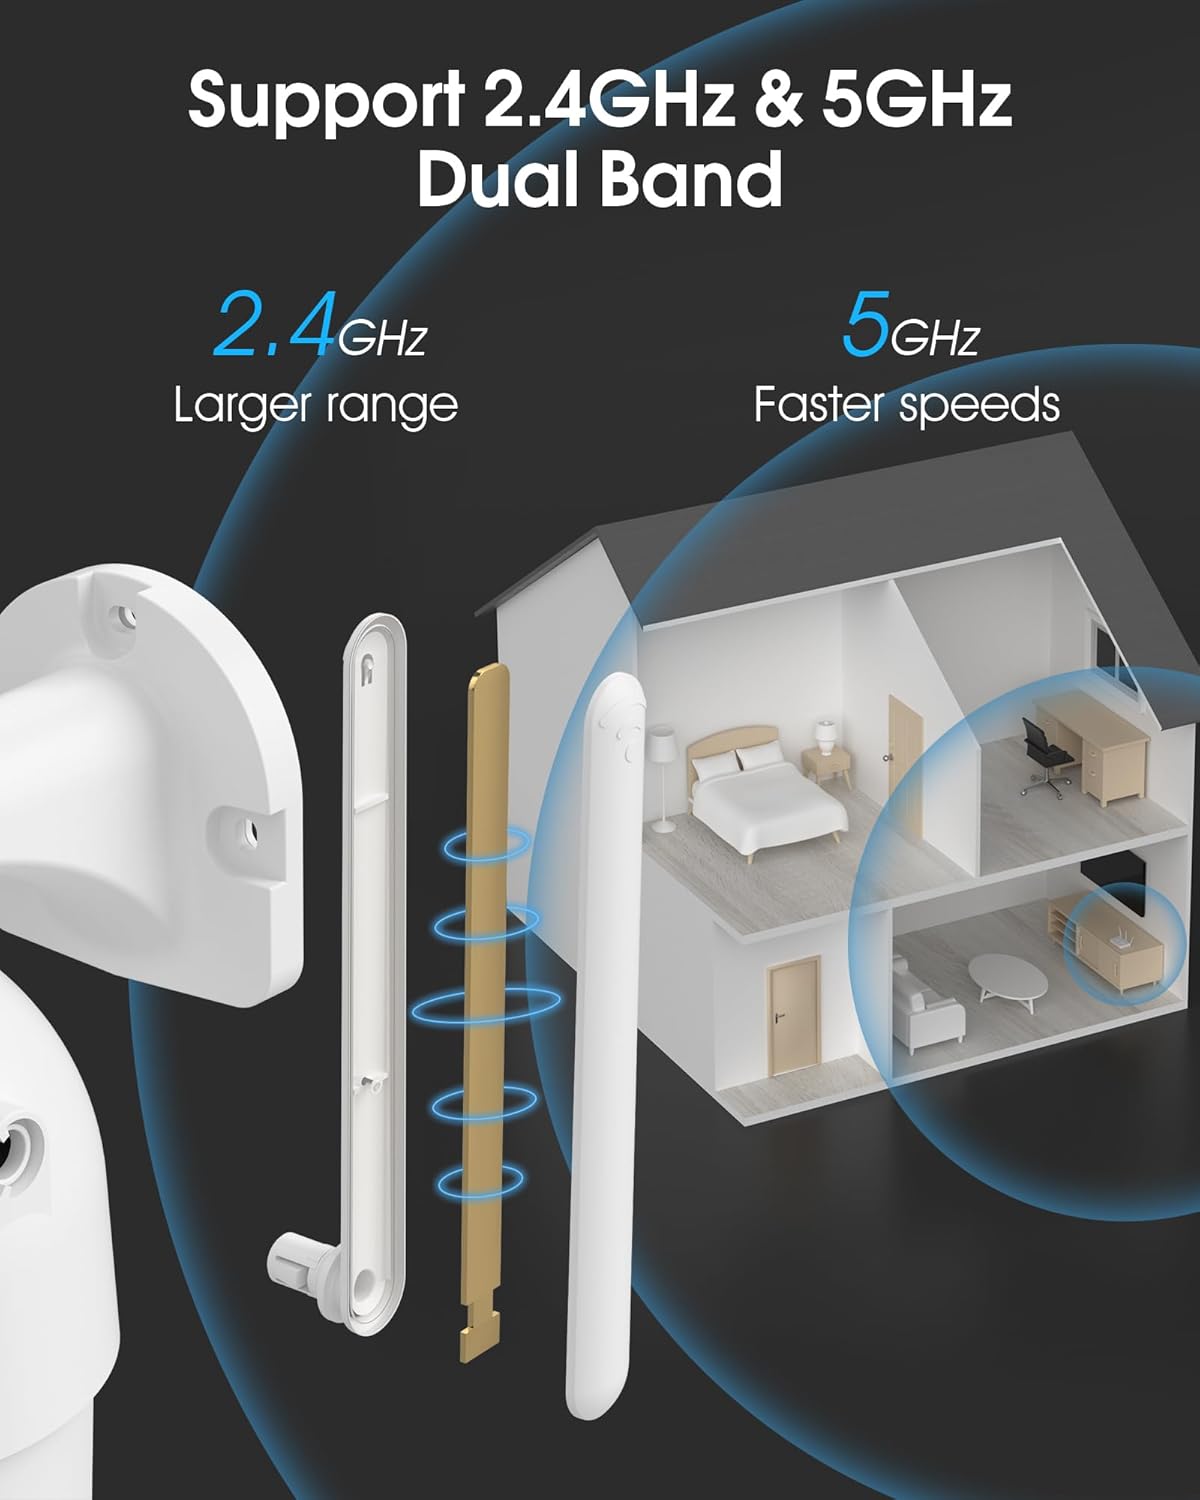
Image 4.2: The camera supports both 2.4GHz (larger range) and 5GHz (faster speeds) Wi-Fi bands.
4.4 MicroSD картасын орнотуу (кошумча)
For local storage, install a microSD card (up to 128GB, not included) into the designated slot on the camera. Ensure the camera is powered off before inserting or removing the card.
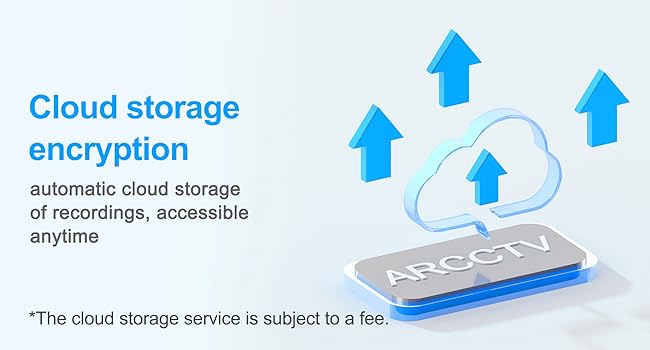
Image 4.3: Location of the microSD card slot on the camera.
5. Камераны иштетүү
5.1 Live View
Open the ARCCTV app and select your camera to view the live feed. You can monitor your property in real-time.
5.2 Pan-Tilt-Zoom (PTZ) башкаруу
Түз эфирде view screen, use the directional controls to rotate the camera horizontally (Pan: 355°) and vertically (Tilt: 90°) to adjust the viewing angle. You can also set preset points for quick navigation.
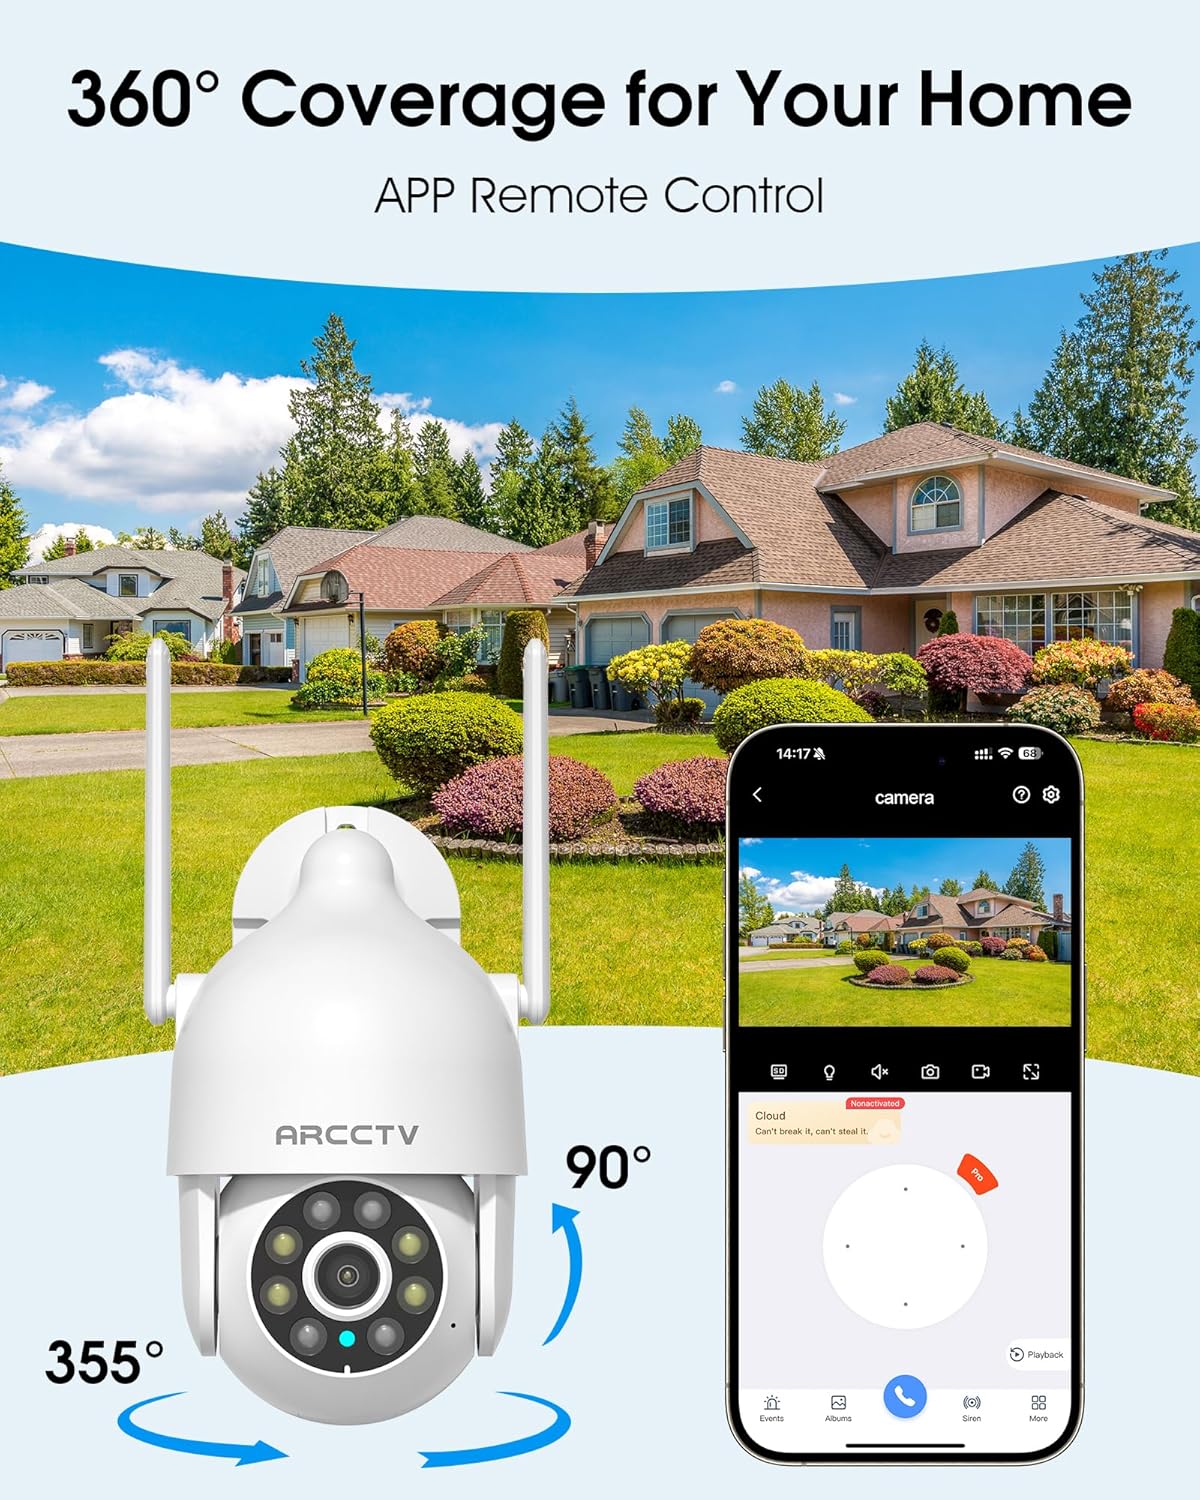
Image 5.1: The camera offers 360° coverage through remote pan and tilt controls.
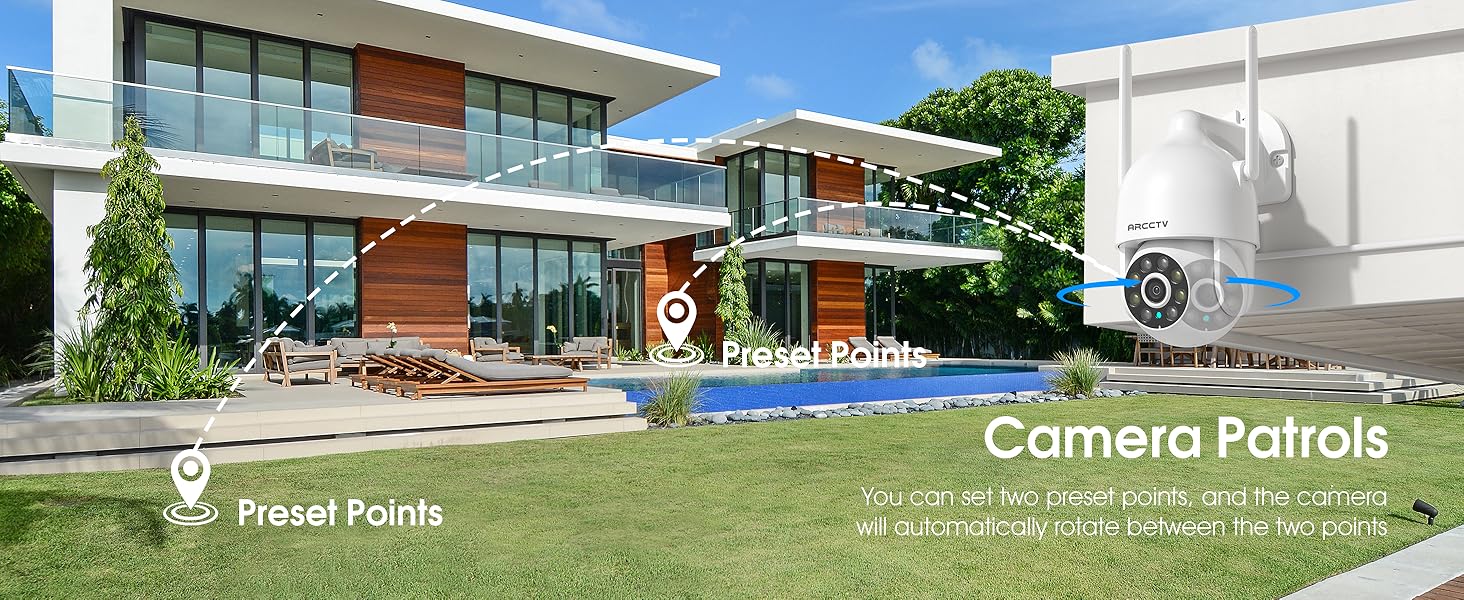
Image 5.2: Setting up camera patrol routes between preset points.
5.3 Motion Tracking and Alerts
The camera features smart AI motion tracking that automatically follows detected movement. You can customize alert zones and receive instant notifications on your smartphone when motion is detected.

Image 5.3: The camera's smart motion tracking feature in action.

Image 5.4: Instant alerts with customizable settings, including spotlight, siren, and two-way audio.
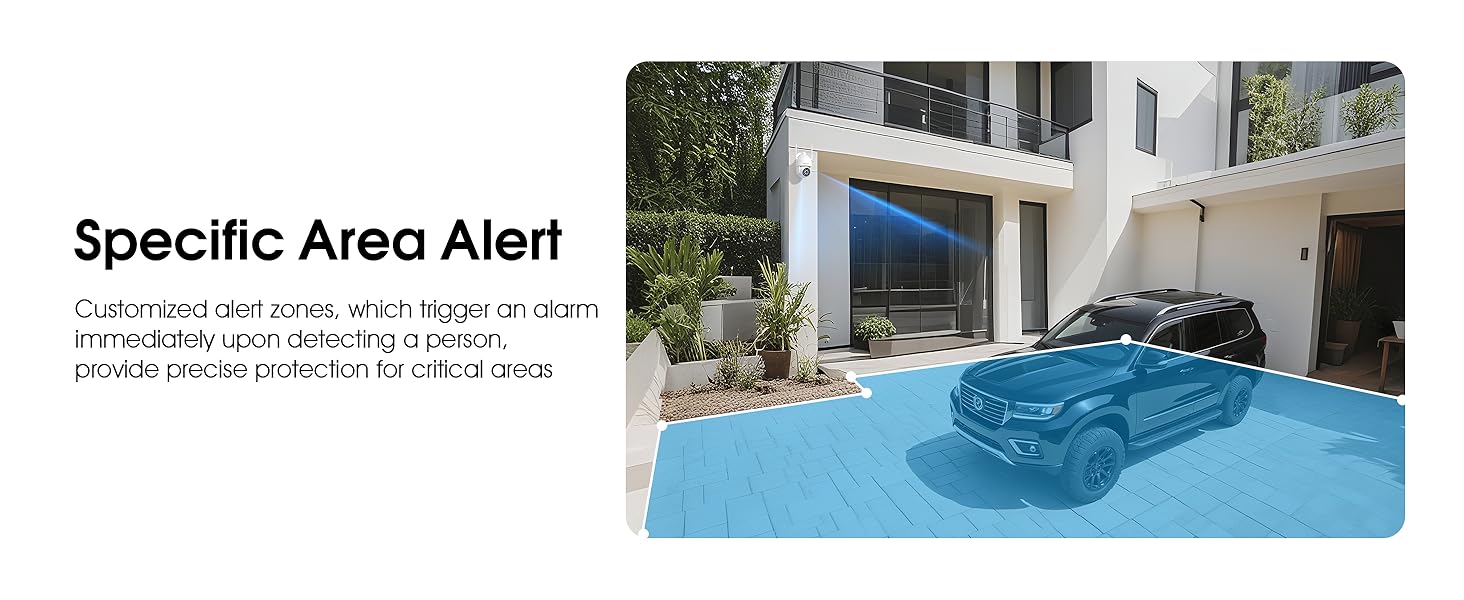
Image 5.5: Setting up specific area alerts for precise protection.
5.4 Түнкү көрүү режимдери
The camera offers both full-color night vision (activated by the built-in spotlight) and infrared night vision for clear monitoring in various low-light conditions.

Image 5.6: Comparison of Color Night Vision and Infrared Night Vision.
5.5 Эки тараптуу аудио
Use the two-way audio feature to communicate with visitors or deter unwanted guests directly through the camera's built-in microphone and speaker.
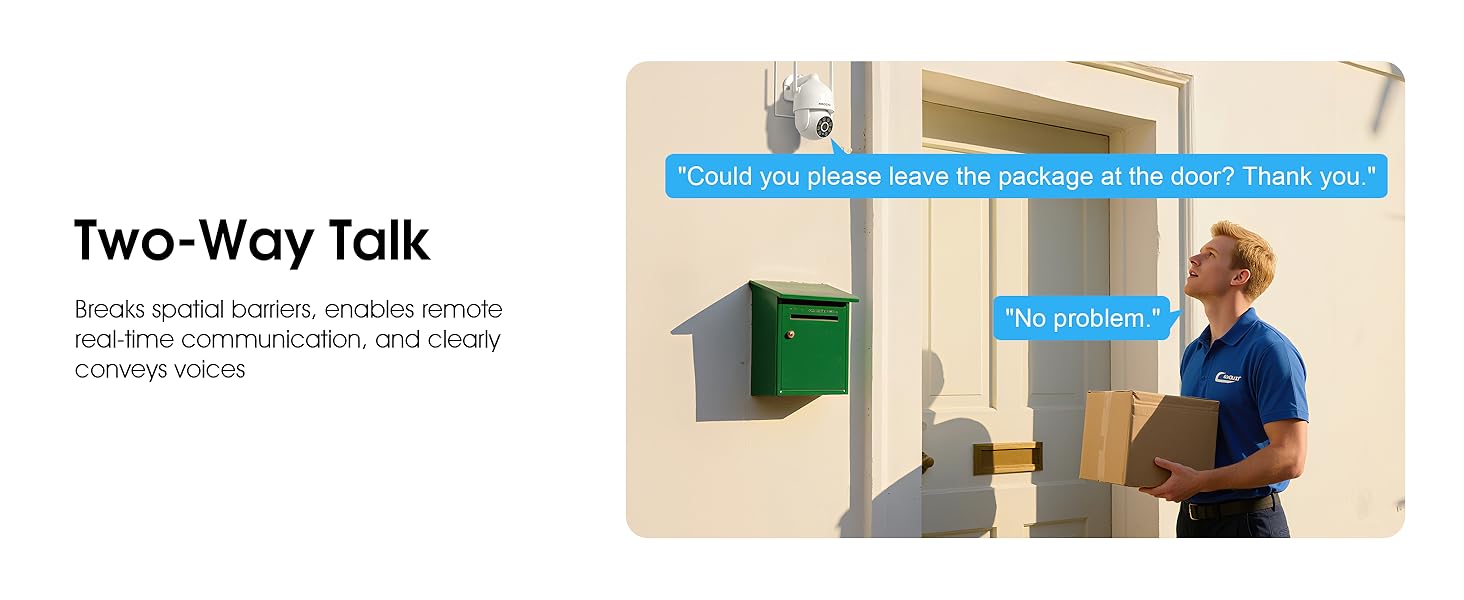
Image 5.7: Utilizing two-way talk for remote communication.
5.6 Жазуу жана ойнотуу
Камера 24/7 үзгүлтүксүз жаздырууну колдойт.tage can be saved to a local microSD card (up to 128GB) or to optional cloud storage. Access recorded videos through the app's playback function.

Image 5.8: The camera provides 24/7 recording capabilities.
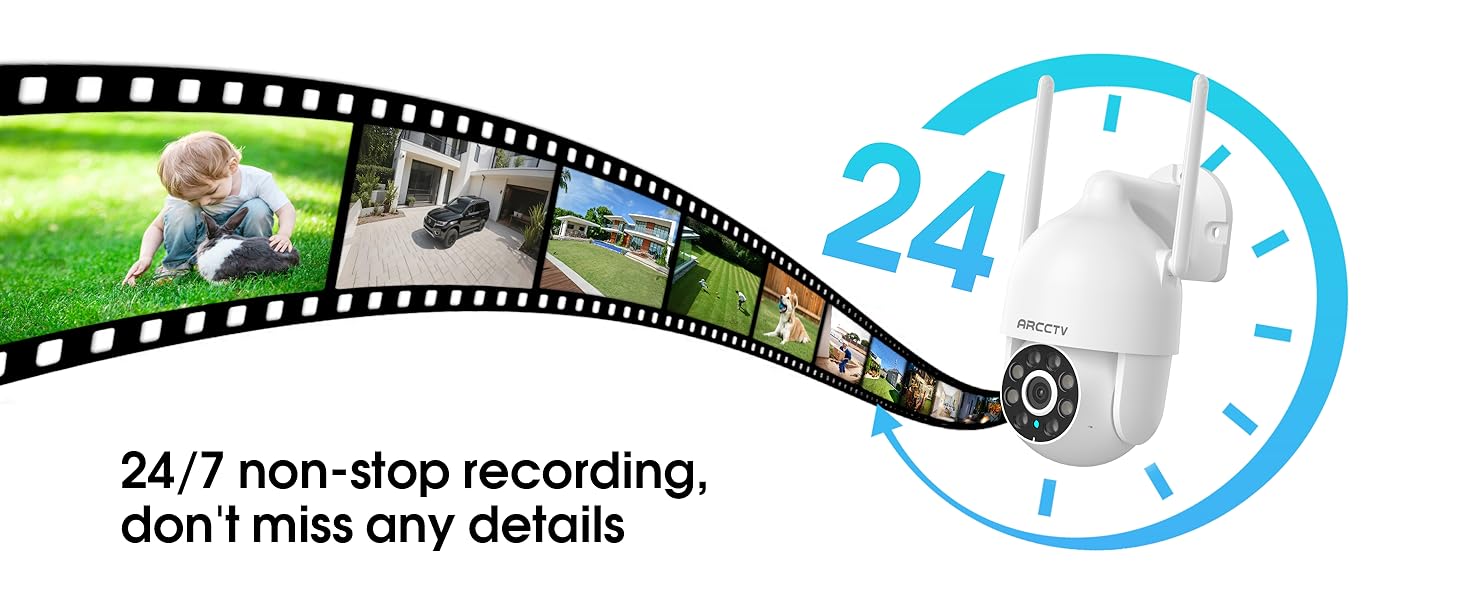
Image 5.9: Continuous 24/7 recording ensures no details are missed.
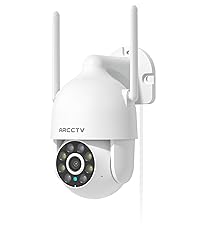
Image 5.10: Cloud storage encryption for secure and accessible recordings (subscription may apply).
5.7 Үй-бүлөлүк бөлүшүү
The app supports multi-member sharing, allowing family members to view the camera feed and collaborate on security monitoring.
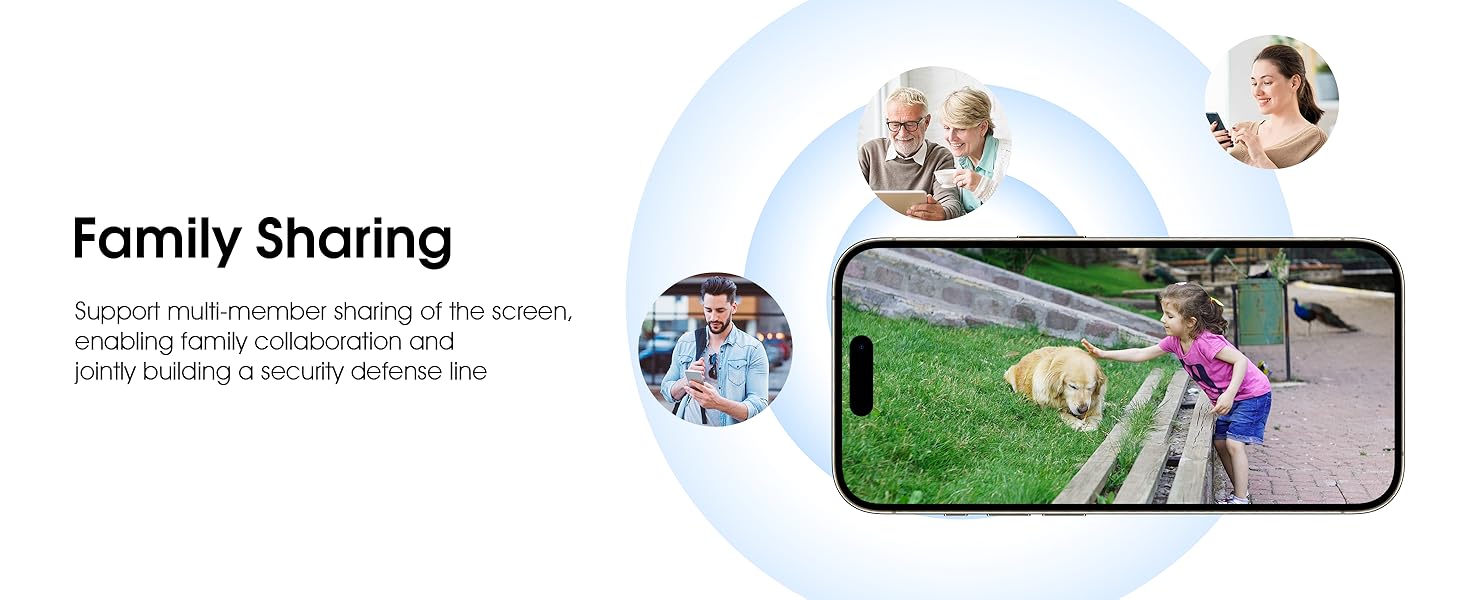
Image 5.11: The family sharing feature allows multiple users to access the camera feed.
5.8 Alexa шайкештиги
The camera is compatible with Alexa, allowing you to check the monitoring screen using voice commands.
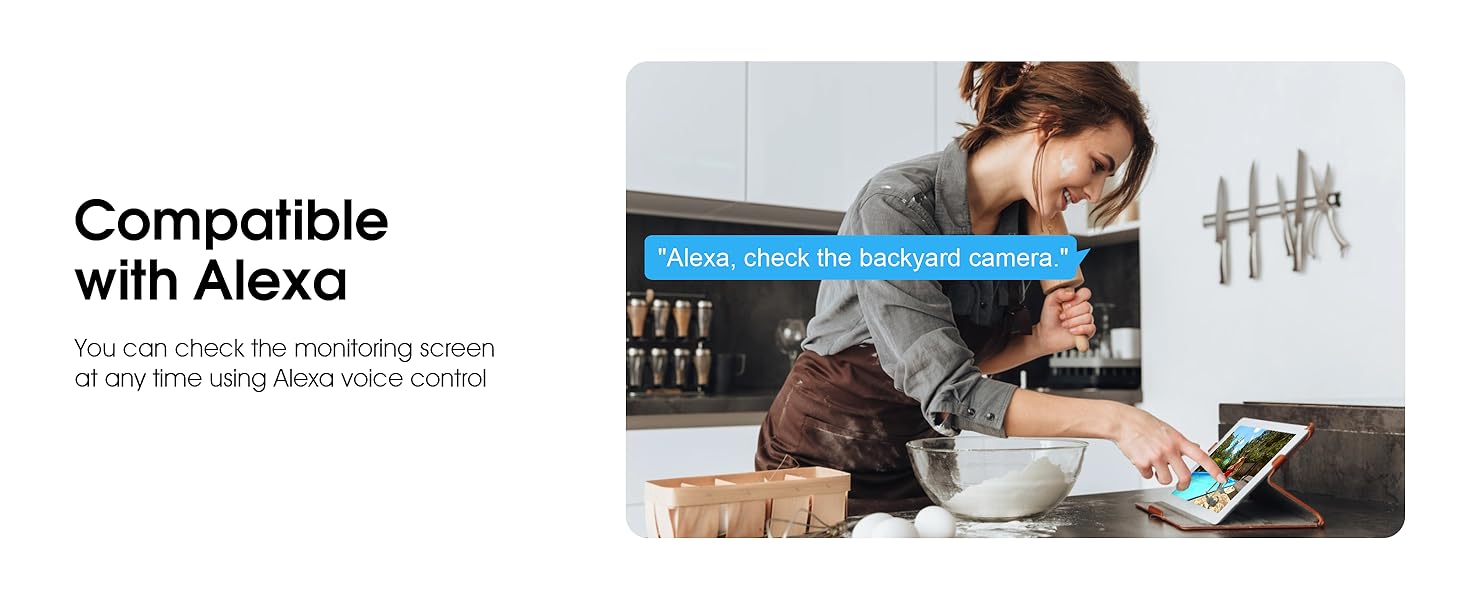
Image 5.12: Voice control via Alexa for convenient monitoring.
6. Техникалык тейлөө
6.1 Камераны тазалоо
Мезгил-мезгили менен камеранын линзасын жана корпусун жумшак, гamp Чаңды жана таштандыларды кетирүү үчүн чүпүрөк колдонуңуз. Катуу химиялык заттарды же абразивдүү тазалоочу каражаттарды колдонбоңуз.
6.2 Микропрограмма жаңыртуулары
Ensure your camera's firmware is up to date for optimal performance and security. Check for updates within the ARCCTV app and follow the instructions to install them.
6.3 Сактагычты башкаруу
If using a microSD card, regularly check its status in the app. Format the card periodically to maintain performance. For cloud storage, manage your subscription and storage space through the app.
7. Кыйынчылыктарды
- Камера Wi-Fiга туташпай жатат:
- Ensure your Wi-Fi network is 2.4GHz or 5GHz and has a strong signal at the camera's location.
- Wi-Fi сырсөзүнүн туура киргизилгендигин текшериңиз.
- Роутериңизди жана камераңызды өчүрүп күйгүзүңүз.
- Сүрөттүн сапаты начар:
- Камера линзасын тазалаңыз.
- Түнкү көрүүнүн оптималдуу иштеши үчүн жетиштүү жарыктандырууну камсыз кылыңыз.
- Интернетке туташуу ылдамдыгын текшериңиз.
- Кыймылды аныктоо иштебей жатат:
- Колдонмонун жөндөөлөрүндө кыймылды аныктоо иштетилгенин текшериңиз.
- Сезгичтик жөндөөлөрүн тууралаңыз.
- Камеранын талаасында эч кандай тоскоолдуктар жок экенин текшериңиз view.
- MicroSD картасына жаздыруу жок:
- Ensure a microSD card is properly inserted and formatted in the app.
- Check if the card is full; consider formatting or replacing it.
- Колдонмодогу жаздыруу жөндөөлөрүн текшериңиз.
8. Техникалык шарттар
| Өзгөчөлүк | Спецификация |
|---|---|
| Модель аты | P2 |
| Ички/тышкы колдонуу | Сыртта |
| Видео тартуунун резолюциясы | 2K (2304x1296p) |
| Байланыш технологиясы | Зымсыз (Wi-Fi) |
| Зымсыз байланыш технологиясы | Wi-Fi (2.4G/5G Dual-Band) |
| Viewбурч | 360 градус (355° панорама, 90° жантаюу) |
| Түнкү көрүү диапазону | 50 Фут |
| Сууга туруктуулук деңгээли | IP66 суу өткөрбөйт |
| Power Source | 5V1A кубат адаптери |
| Флэш эс тутумдун максималдуу өлчөмү | 128 ГБ (MicroSD) |
| Аудио-визуалдык жаздыруу мүмкүнчүлүктөрү | Видео жана аудио |
| Өзгөчө өзгөчөлүк | 2-Way Audio, Motion Tracking, Full Color Night Vision |
| Элементтин өлчөмдөрү L x W x H | 7.8 x 6.6 x 5.3 дюйм |
| Элемент Салмагы | 1.39 фунт |
9. Кепилдик жана колдоо
For warranty information and technical support, please refer to the official ARCCTV website or contact their customer service directly. Contact details are typically provided on the product packaging or within the mobile application.
Ask a question about this manual
Ask about setup, troubleshooting, compatibility, parts, safety, or missing instructions. Manuals+ will review the question and use this page’s manual context to help answer it.