1. Киришүү жана Продукт бүттүview
This manual provides detailed instructions for the installation, operation, and maintenance of your WALI Vertical Dual Monitor Wall Mount, Model 012ARMV-49. This mount is designed to support two monitors in a stacked configuration, optimizing desk space and providing ergonomic viewбурчтар.
The mount supports displays from 17 to 49 inches, with a maximum weight capacity of 44 lbs (20 kg) per arm. It is compatible with VESA 75x75mm and 100x100mm mounting patterns. Key features include flexible tilt, swivel, and height adjustments, along with 360-degree rotation for versatile screen positioning.
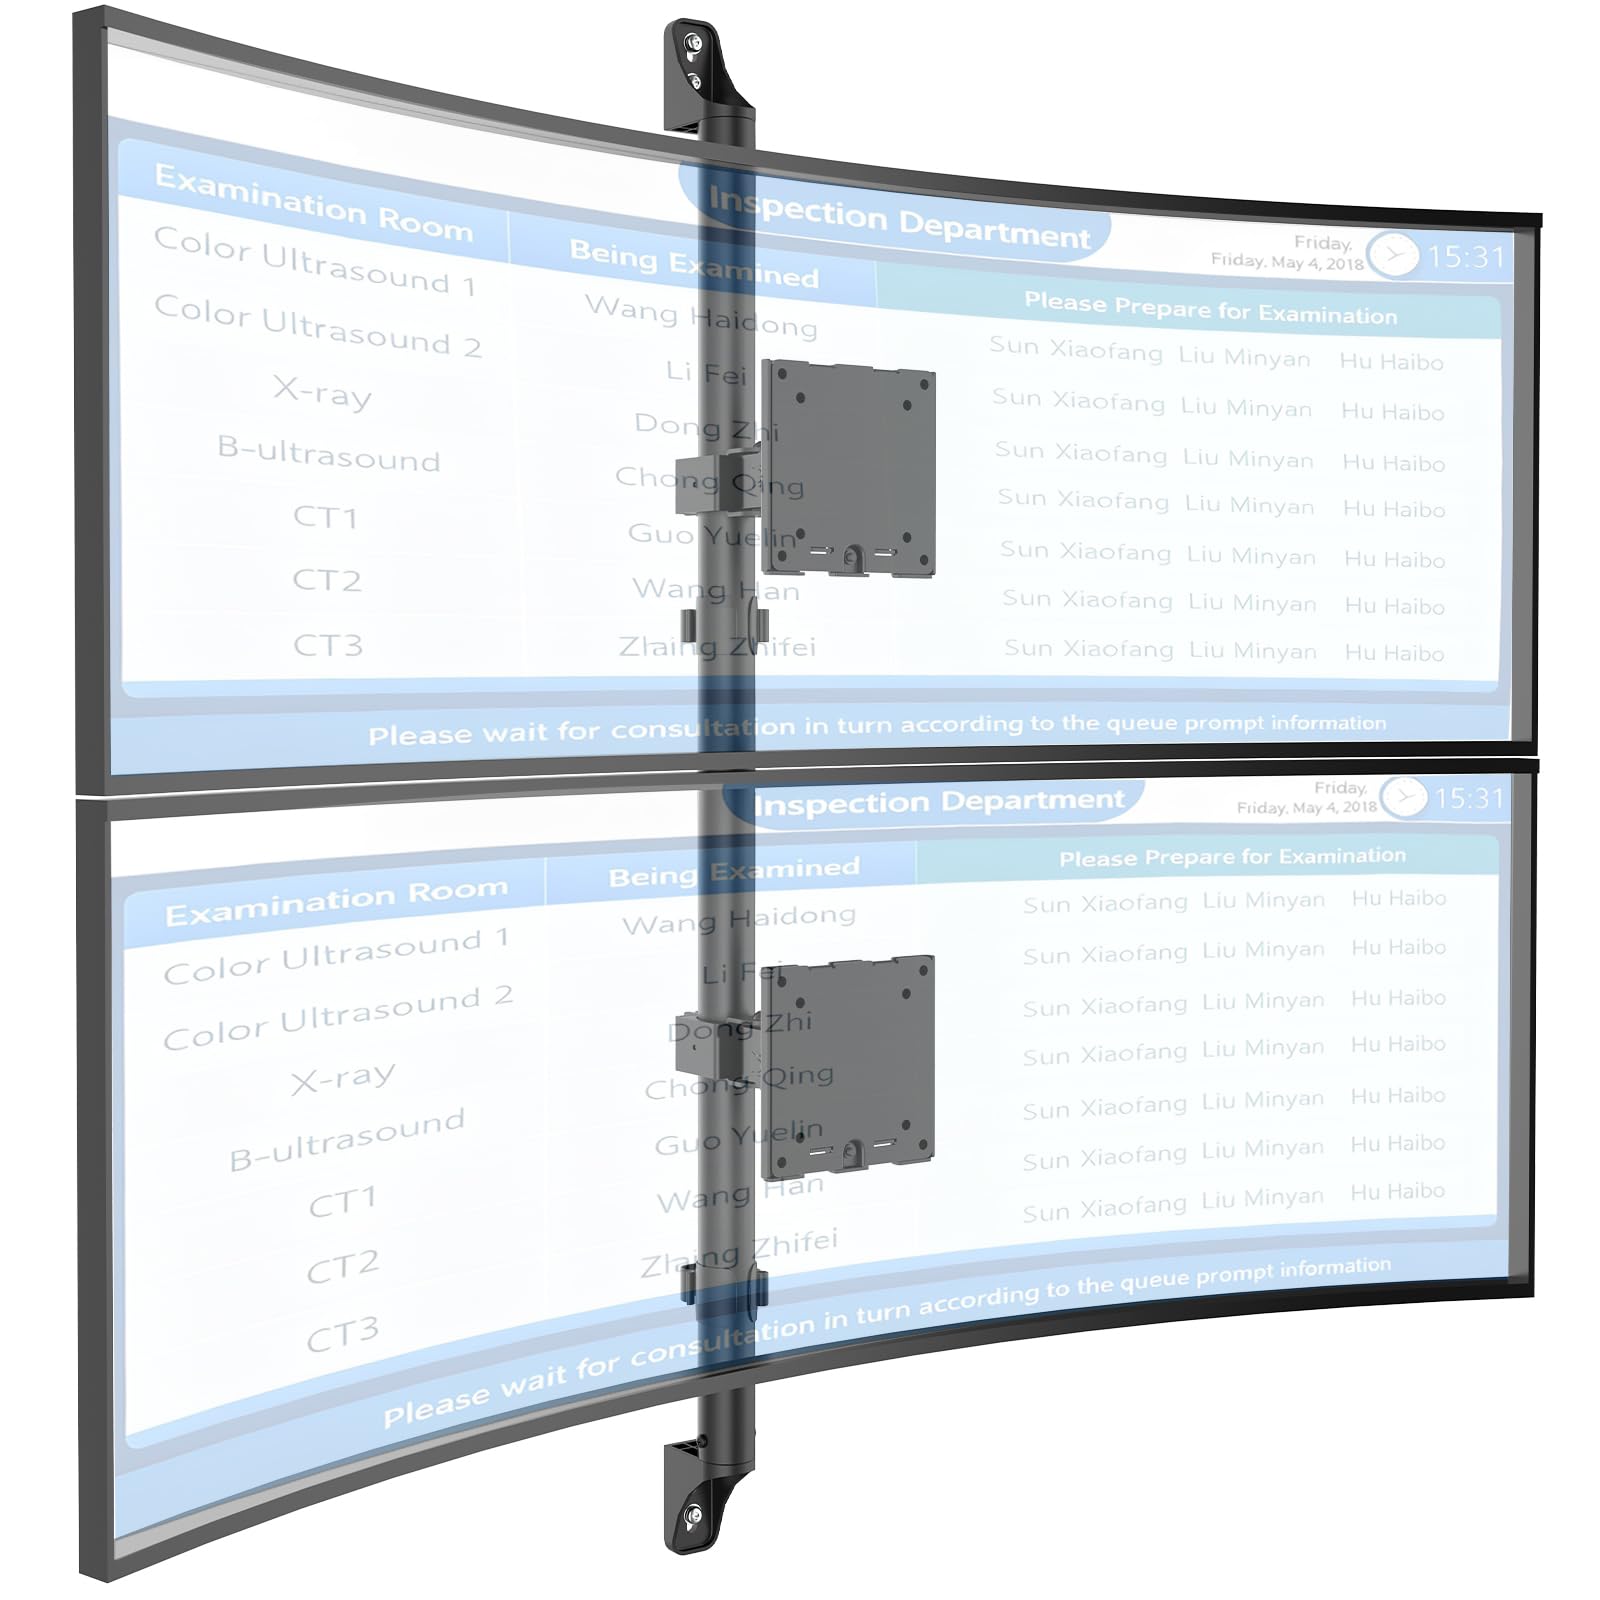
Figure 1: WALI Vertical Dual Monitor Wall Mount with two curved monitors.
2. Коопсуздук маалыматы
Орнотуудан жана колдонуудан мурун бардык көрсөтмөлөрдү окуп чыгып, түшүнүп алыңыз. Муну аткарбасаңыз, денеңизге же мүлкүңүзгө зыян келтирилиши мүмкүн. Бул колдонмону келечекте колдонуу үчүн сактап коюңуз.
- Салмак сыйымдуулугу: Do not exceed the maximum weight capacity of 44 lbs (20 kg) per monitor. Exceeding this limit can result in serious injury or product failure.
- Монитордун өлчөмү: Ensure your monitors are within the supported size range of 17-49 inches.
- VESA шайкештиги: Verify your monitor's VESA mounting pattern (75x75mm or 100x100mm) before installation.
- Дубал түрү: This mount is designed for installation on concrete/brick walls or wooden studs. Do not install on drywall alone.
- Кесиптик орнотуу: Эгерде сиз орнотуу процесси же дубалдын түрү боюнча күмөн санасаңыз, квалификациялуу адиске кайрылыңыз.
- Кыймылдуу бөлүктөр: Кысылып калбашы үчүн, жөндөө учурунда колуңузду жана манжаларыңызды кыймылдуу бөлүктөрдөн алыс кармаңыз.
- Балдар: Майда бөлүктөрүн жана таңгактоочу материалдарды балдардан алыс кармаңыз, анткени алар муунуп калуу коркунучун жаратышы мүмкүн.
3. Пакеттин мазмуну
Verify that all components are present and undamaged. If any parts are missing or damaged, contact WALI customer support.
- 1 x WALI Vertical Dual Monitor Wall Mount (Black)
- Mounting Hardware Kit (includes screws, washers, wall anchors for masonry, and self-tapping screws for wood)
- User Manual
4. Техникалык шарттар
| Өзгөчөлүк | Спецификация |
|---|---|
| Монтаж түрү | Дубалга орнотуу |
| Кыймыл түрү | Артикуляциялоо |
| Бренд | ВАЛИ |
| Материал | Dual aerospace-grade aluminum mounting brackets, High-strength steel pole |
| Түс | Кара |
| Шайкеш түзмөктөр | Монитор, телевизор |
| Максималдуу кыйшаюу бурч | 20 градус |
| Minimum Supported Screen Size | 17 дюйм |
| Maximum Supported Screen Size | 49 дюйм |
| Модель номери | 012ARMV-49 |
| VESA шайкештиги | 75x75мм, 100x100мм |
| Салмак сыйымдуулугу | Ар бир кол үчүн 44 фунт (20 кг). |
5. Орнотуу жана орнотуу
Follow these steps carefully to install your WALI Vertical Dual Monitor Wall Mount.
5.1 Дубалды даярдоо
- Дубал түрүн аныктоо: This mount is suitable for wooden studs, solid concrete walls, and brick walls.
- Locate Studs (for wood walls): Use a stud finder to locate the center of a wooden stud. Mark the drilling locations.
- Бургулоо жерлерин белгилөө: Hold the wall plate against the wall at your desired height and mark the screw holes. Ensure it is level.

Figure 2: Wall compatibility for installation.
5.2 Attaching the Wall Plate
- Бургулоочу тешиктер: Drill pilot holes at the marked locations. The size of the drill bit will depend on your wall type and the provided hardware.
- Коопсуз дубал плитасы: Attach the wall plate to the wall using the appropriate screws and anchors for your wall type. Ensure it is firmly secured.

Figure 3: Securing the wall mount plate.
5.3 Attaching VESA Plates to Monitors
- Remove Original Stand: Carefully remove the original stand from your monitors.
- VESA плитасын тиркөө: Align the VESA plate with the mounting holes on the back of your monitor. Use the provided screws to secure the plate. Ensure the plate is oriented correctly for vertical stacking.
5.4 Mounting Monitors to the Arm
- Slide Arm onto Wall Base: Carefully slide the monitor arm assembly onto the secured wall base.
- Attach Monitors: With assistance, carefully lift each monitor and slide its VESA plate onto the corresponding arm bracket. Ensure it clicks securely into place.
- Secure Monitors: Use the safety screws or clips to prevent accidental dislodgement of the monitors from the arms.

Figure 4: Monitor arm assembly and attachment points.
5.5 Кабелди башкаруу
- Маршруттук кабелдер: Utilize the integrated cable management system to route monitor cables neatly along the arm and down the wall pole.
- Коопсуз кабелдер: Use the provided clips or ties to secure the cables, preventing clutter and ensuring a clean setup.

Figure 5: Integrated cable management system.
6. Колдонуу боюнча нускамалар (Оңдоолор)
The WALI Vertical Dual Monitor Wall Mount offers various adjustments for optimal viewсооронуч.
- Бийиктигин тууралоо: The monitors can be adjusted vertically along the main pole. Loosen the adjustment screws on the arm brackets, slide the monitors to the desired height, and then re-tighten the screws. The maximum height adjustment is 28.74 inches.
- Эңкейүүнү тууралоо: Tilt the monitors up to +50 degrees or down to -20 degrees to reduce glare and find your preferred viewбурч.
- Айланууну жөндөө: Swivel the monitors up to +/-90 degrees horizontally for collaborative work or to adjust the viewбагыт.
- Айлануу: Rotate the monitors 360 degrees to switch between landscape and portrait orientations.

Figure 6: Tilt, Swivel, and Rotation adjustments.

Figure 7: Full motion adjustment range and dimensions.
7. Техникалык тейлөө
Үзгүлтүксүз техникалык тейлөө мониторуңуздун узак мөөнөттүү иштешин жана коопсуз иштешин камсыз кылат.
- Тазалоо: монтажды жумшак менен сүртүңүз, гamp кездеме. Абразивдүү тазалагычтардан же эриткичтерден качыңыз.
- Тыюулугун текшерүү: Мезгил-мезгили менен бардык бурамалар менен байланыштарды текшерип, алардын бекем жана бекемдигин текшерип туруңуз. Керек болсо кайра тартыңыз.
- Зыянды текшерүү: Regularly inspect the mount for any signs of wear, damage, or corrosion. Discontinue use and contact support if any issues are found.
8. Кыйынчылыктарды
If you encounter issues with your WALI Vertical Dual Monitor Wall Mount, refer to the following common problems and solutions:
- Монитор ылдыйлап же позициясын карманбайт:
- Ensure the monitor weight is within the 44 lbs (20 kg) per arm limit.
- Tighten the tension adjustment screws on the arm joints using the included tool.
- Тоо туруксуз сезилет:
- Verify that the wall plate is securely fastened to the wall with appropriate anchors for your wall type.
- Check that all connections between the arm and the VESA plates are tight.
- Монитордун абалын тууралоо кыйынчылыгы:
- Loosen the tension adjustment screws slightly if the movement is too stiff.
- Ensure no cables are obstructing the movement of the arms.
9. Кепилдик жана колдоо
Your WALI Vertical Dual Monitor Wall Mount comes with a 10 жылдык кепилдик, нормалдуу колдонууда материалдардын жана жасалгалоодогу кемчиликтерди жабуу.
For technical assistance, missing parts, or warranty claims, please contact WALI customer support. Our experienced and friendly US-based customer support team is available to assist you 7 days a week.
Байланыш маалыматы: Refer to the WALI webакыркы байланыш маалыматы үчүн сайт же продукт таңгак.