1. Киришүү
This manual provides detailed instructions for the safe and effective use of your OLIGHT Marauder 2 Rechargeable Handheld Flashlight and OLIGHT I3T 2 EOS Pocket EDC Flashlight. Please read this manual thoroughly before operation and retain it for future reference.
2. Продукт бүтүп калдыview
2.1 OLIGHT Marauder 2
The Marauder 2 is a powerful, rechargeable handheld flashlight designed for versatile lighting needs, featuring both spotlight and floodlight capabilities.
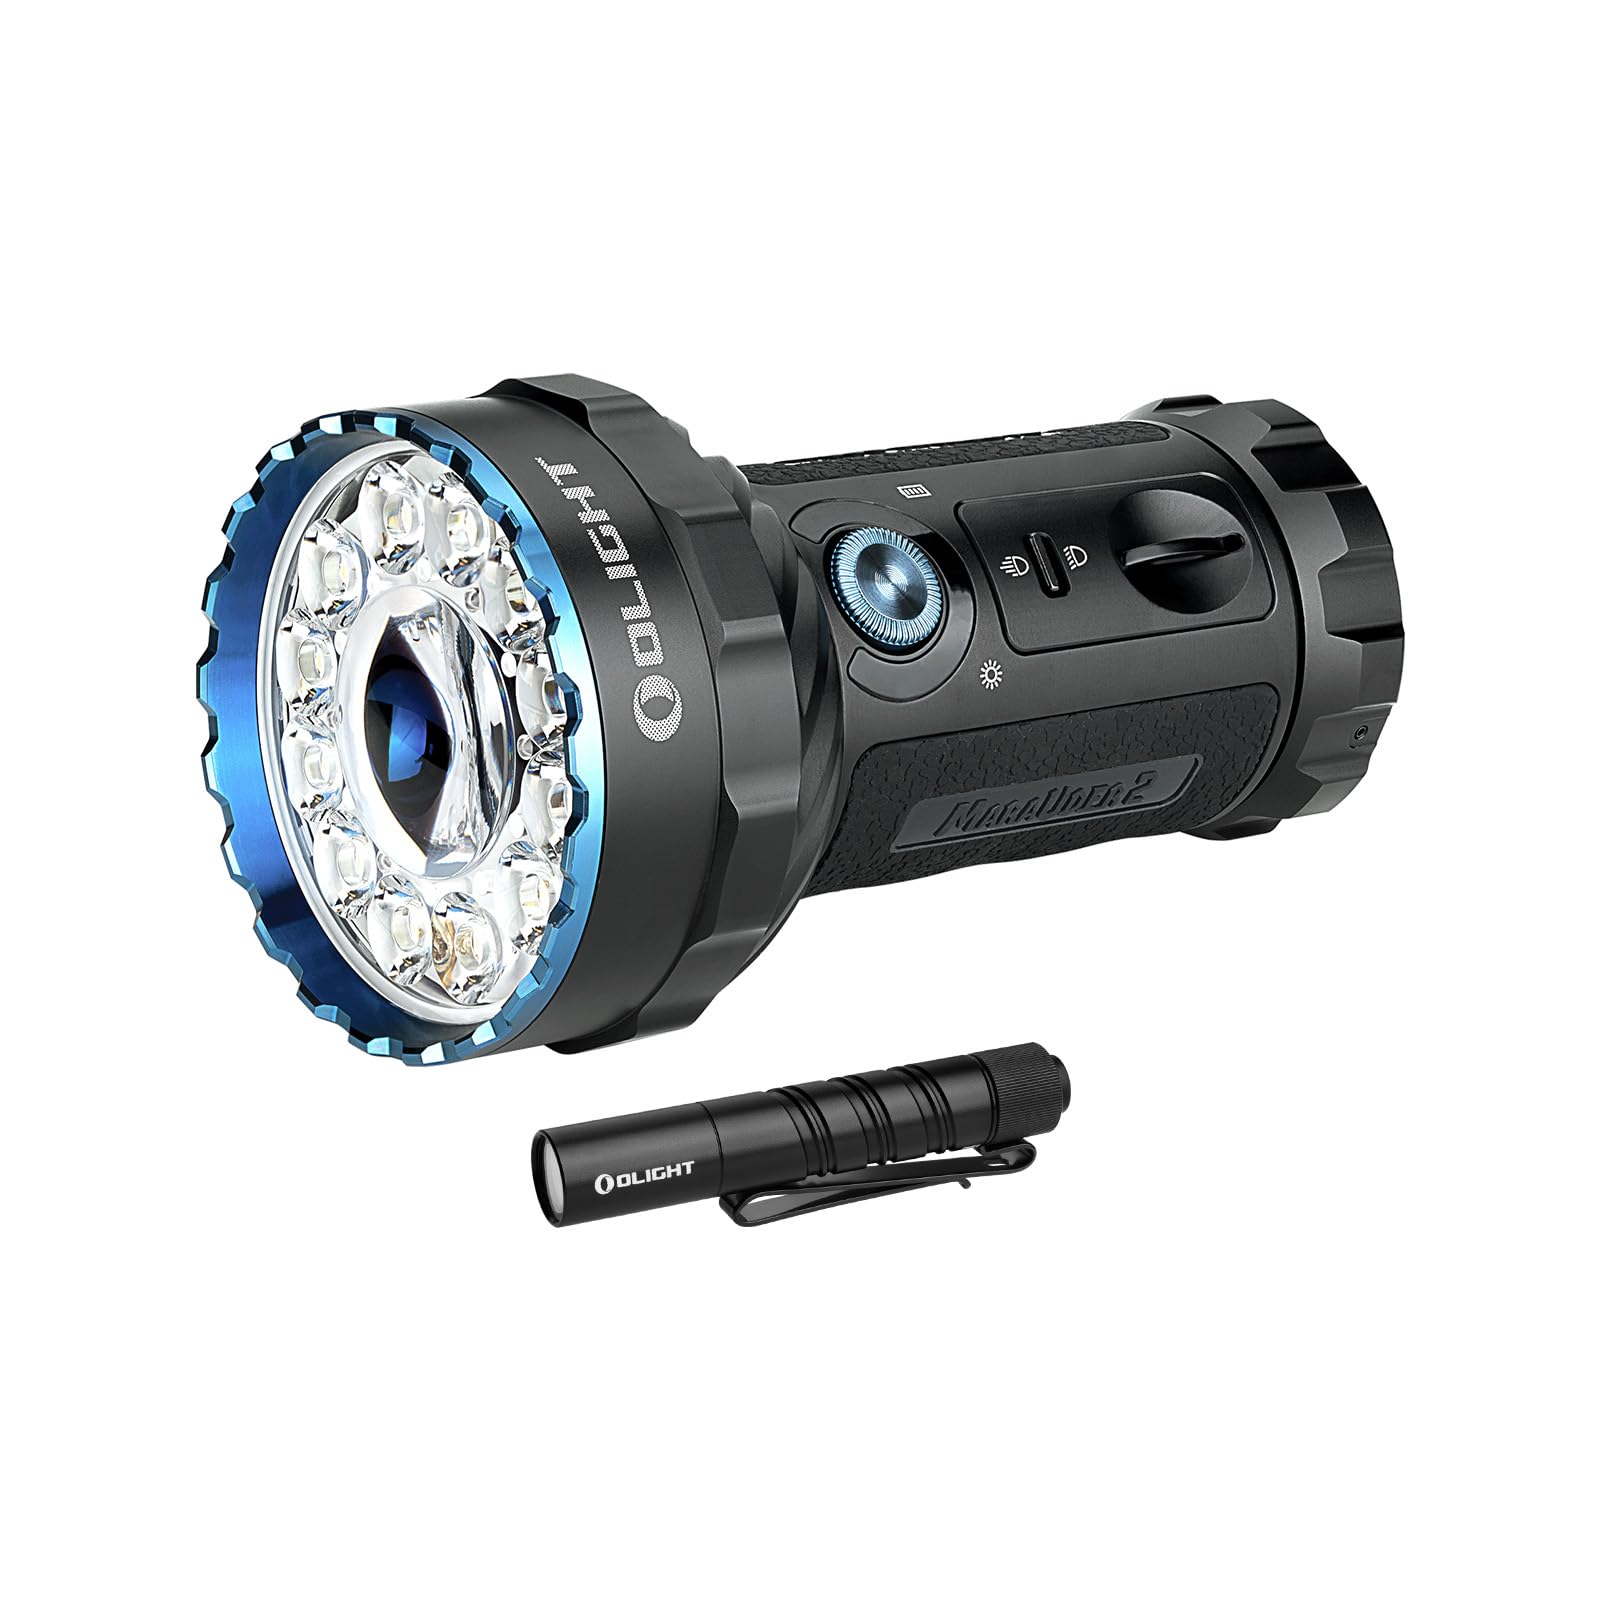
Image: The OLIGHT Marauder 2 flashlight, showcasing its robust design with a large central LED for spotlight and multiple surrounding LEDs for floodlight, along with control switches.

Сүрөт: An overview of the Marauder 2's key features, including its maximum output of 14,000 lumens, 800-meter throw, 59-hour runtime, 1-meter drop test rating, customized rechargeable battery, and IPX8 waterproof rating.
2.2 OLIGHT I3T 2 EOS
The I3T 2 EOS is a compact, pocket-sized EDC (Everyday Carry) flashlight, offering convenient illumination in a small form factor.

Image: The OLIGHT I3T 2 EOS flashlight, a sleek black cylindrical design with a pocket clip, demonstrating its compact size.

Image: Two I3T 2 EOS flashlights, one black and one green, resting on a book, highlighting their small, simple, and strong design with a max output of 200 lumens and 62-meter throw.
3. Орнотуу жана заряддоо
3.1 Marauder 2 Initial Setup and Charging
The Marauder 2 features a built-in 54Wh rechargeable battery pack. Before first use, ensure the flashlight is fully charged.
- Заряддоо: Connect the included charging cable to the charging port. The charging status indicator will provide feedback on the charging process.
- Кулпуну ачуу: The rotary knob switch may be locked to prevent accidental activation. Rotate the knob switch quickly over 90 degrees to unlock it.
3.2 I3T 2 EOS Battery Installation
The I3T 2 EOS is powered by a single AAA battery. It is compatible with both AAA alkaline batteries and rechargeable AAA batteries.

Image: A person holding the I3T 2 EOS flashlight, illustrating its use in a dark environment, with text indicating flexible battery options including AAA alkaline and rechargeable batteries for up to 300 lumens output.
- Кол чырактын куйрук капкагын бурап алыңыз.
- Insert one AAA battery with the positive (+) end facing towards the head of the flashlight.
- Куйрук капкагын кайра бекем буруңуз.
4. Иштөө нускамалары
4.1 Marauder 2 Operation
The Marauder 2 features a dual-button cooperative power system for intuitive control.

Image: A comparison of the Marauder 2's spotlight mode (850 lumens, 800 meters) and floodlight mode (14,000 lumens, 450 meters), showing the distinct beam patterns. Below, an illustration of the toggle switch: flip up for max distance (spotlight) and flip down for max lumens (floodlight).

Image: A close-up of the Marauder 2's control panel, detailing the rotary knob for cycling through 7 brightness levels and the indicator dashboard showing brightness level, charging status, and battery level.
- Режим тандоо: Use the simple toggle switch to select between spotlight (max distance) and floodlight (max lumens) modes.
- Power On/Off & Brightness Adjustment: Use the intuitive rotary knob switch.
- Rotate the knob to turn on the light and cycle through 7 output levels.
- Rotate the knob quickly over 90 degrees to unlock it if it is locked.
- Көрсөткүчтөр: The integrated indicator dashboard provides real-time information on brightness level, charging status, and battery level.
4.2 I3T 2 EOS Operation
The I3T 2 EOS offers dual-output options with a simple tail switch.

Image: A person using the I3T 2 EOS flashlight in a dark outdoor setting, demonstrating the difference between high mode (wide, bright beam) and low mode (focused, less intense beam). An inset diagram shows the flashlight's dimensions (3.5 inches long, 0.59 inches diameter).
- Күйгүзүү/өчүрүү: Кол чыракты күйгүзүү же өчүрүү үчүн куйрук баскычын басыңыз.
- Режим тандоо: The flashlight can be initially powered on in your preferred low or high mode. It offers both constant and momentary-on options.
- Чыгуу: Delivers up to 200 lumens with an AAA alkaline battery, and up to 300 lumens with a rechargeable battery.
5. Техникалык тейлөө
To ensure optimal performance and longevity of your OLIGHT flashlights, follow these maintenance guidelines:
- Тазалоо: Regularly clean the lens and body of the flashlight with a soft, damp cloth. Avoid using abrasive materials or harsh chemicals.
- Жиптер жана O-шакекчелер: For the I3T 2 EOS, periodically lubricate the threads and O-rings with silicone grease to maintain water resistance.
- Батареяга кам көрүү:
- For Marauder 2, ensure regular charging to maintain battery health.
- For I3T 2 EOS, remove the AAA battery if the flashlight will not be used for an extended period to prevent leakage.
- Сактагыч: Store flashlights in a cool, dry place away from direct sunlight and extreme temperatures.
6. Кыйынчылыктарды
If you encounter issues with your OLIGHT flashlights, refer to the following common troubleshooting steps:
- Marauder 2 Overheating/Obstruction Protection: The Marauder 2 is equipped with a thermal sensor, a proximity sensor, and cooling fins. If the flashlight becomes excessively hot or detects an obstruction, its output may automatically reduce to prevent damage. Ensure proper ventilation and clear any obstructions.
- Marauder 2 Rotary Knob Unresponsive: If the rotary knob does not respond, it may be locked. Rotate the knob quickly over 90 degrees to unlock it.
- I3T 2 EOS Not Turning On:
- Батареянын оң (+) учу башка каратылып туура салынганын текшериңиз.
- Арткы капкактын бекем буралып бекитилгенин текшериңиз.
- AAA батареясын жаңысына алмаштырыңыз.
- Кыскартылган жарыктык:
- For Marauder 2, check the battery level indicator and recharge if necessary.
- For I3T 2 EOS, replace the battery or use a fully charged rechargeable AAA battery.
- Ensure the lens is clean and free from debris.
7. Техникалык шарттар
7.1 OLIGHT Marauder 2
| Өзгөчөлүк | Деталь |
|---|---|
| Максималдуу чыгаруу (прожектор) | 14,000 Lumens |
| Max Throw (Spotlight) | 800 метр |
| Батарея | Built-in 54Wh Rechargeable Battery Pack |
| Max Runtime | 59 саатка чейин |
| Коопсуздук өзгөчөлүктөрү | Thermal sensor, Proximity sensor, Cooling fins |
| Control Interface | Toggle switch for mode, Rotary knob for brightness |
| Материал | Металл |
| Түс | Кара |
7.2 OLIGHT I3T 2 EOS
| Өзгөчөлүк | Деталь |
|---|---|
| Максималдуу чыгаруу (Щелочтуу) | 200 Lumens |
| Максималдуу кубаттоо (кайра заряддоого болот) | 300 Lumens |
| Power Source | 1 x AAA Battery (Alkaline or Rechargeable) |
| Операция | Tail switch, Constant and Momentary-on |
| Материал | Металл |
| Түс | Кара |
8. Кепилдик жана колдоо
8.1 Кепилдик маалыматы
OLIGHT камсыз кылат Өмүр бою кепилдик for its products. For specific terms and conditions, please refer to the official OLIGHT webсайтка же кардарларды колдоо менен байланышыңыз.
8.2 Кардарларды колдоо
For any questions, technical assistance, or warranty claims, please contact OLIGHT customer support through their official webпродукт сатылып алынган сайт же сатуучу.
Official OLIGHT Webсайт: www.olightstore.com