
1. Киришүү
Thank you for choosing the Reolink E1 Outdoor S 4K PTZ Security Camera. This manual provides essential information for the safe and efficient use of your camera. Please read it thoroughly before installation and operation, and keep it for future reference.
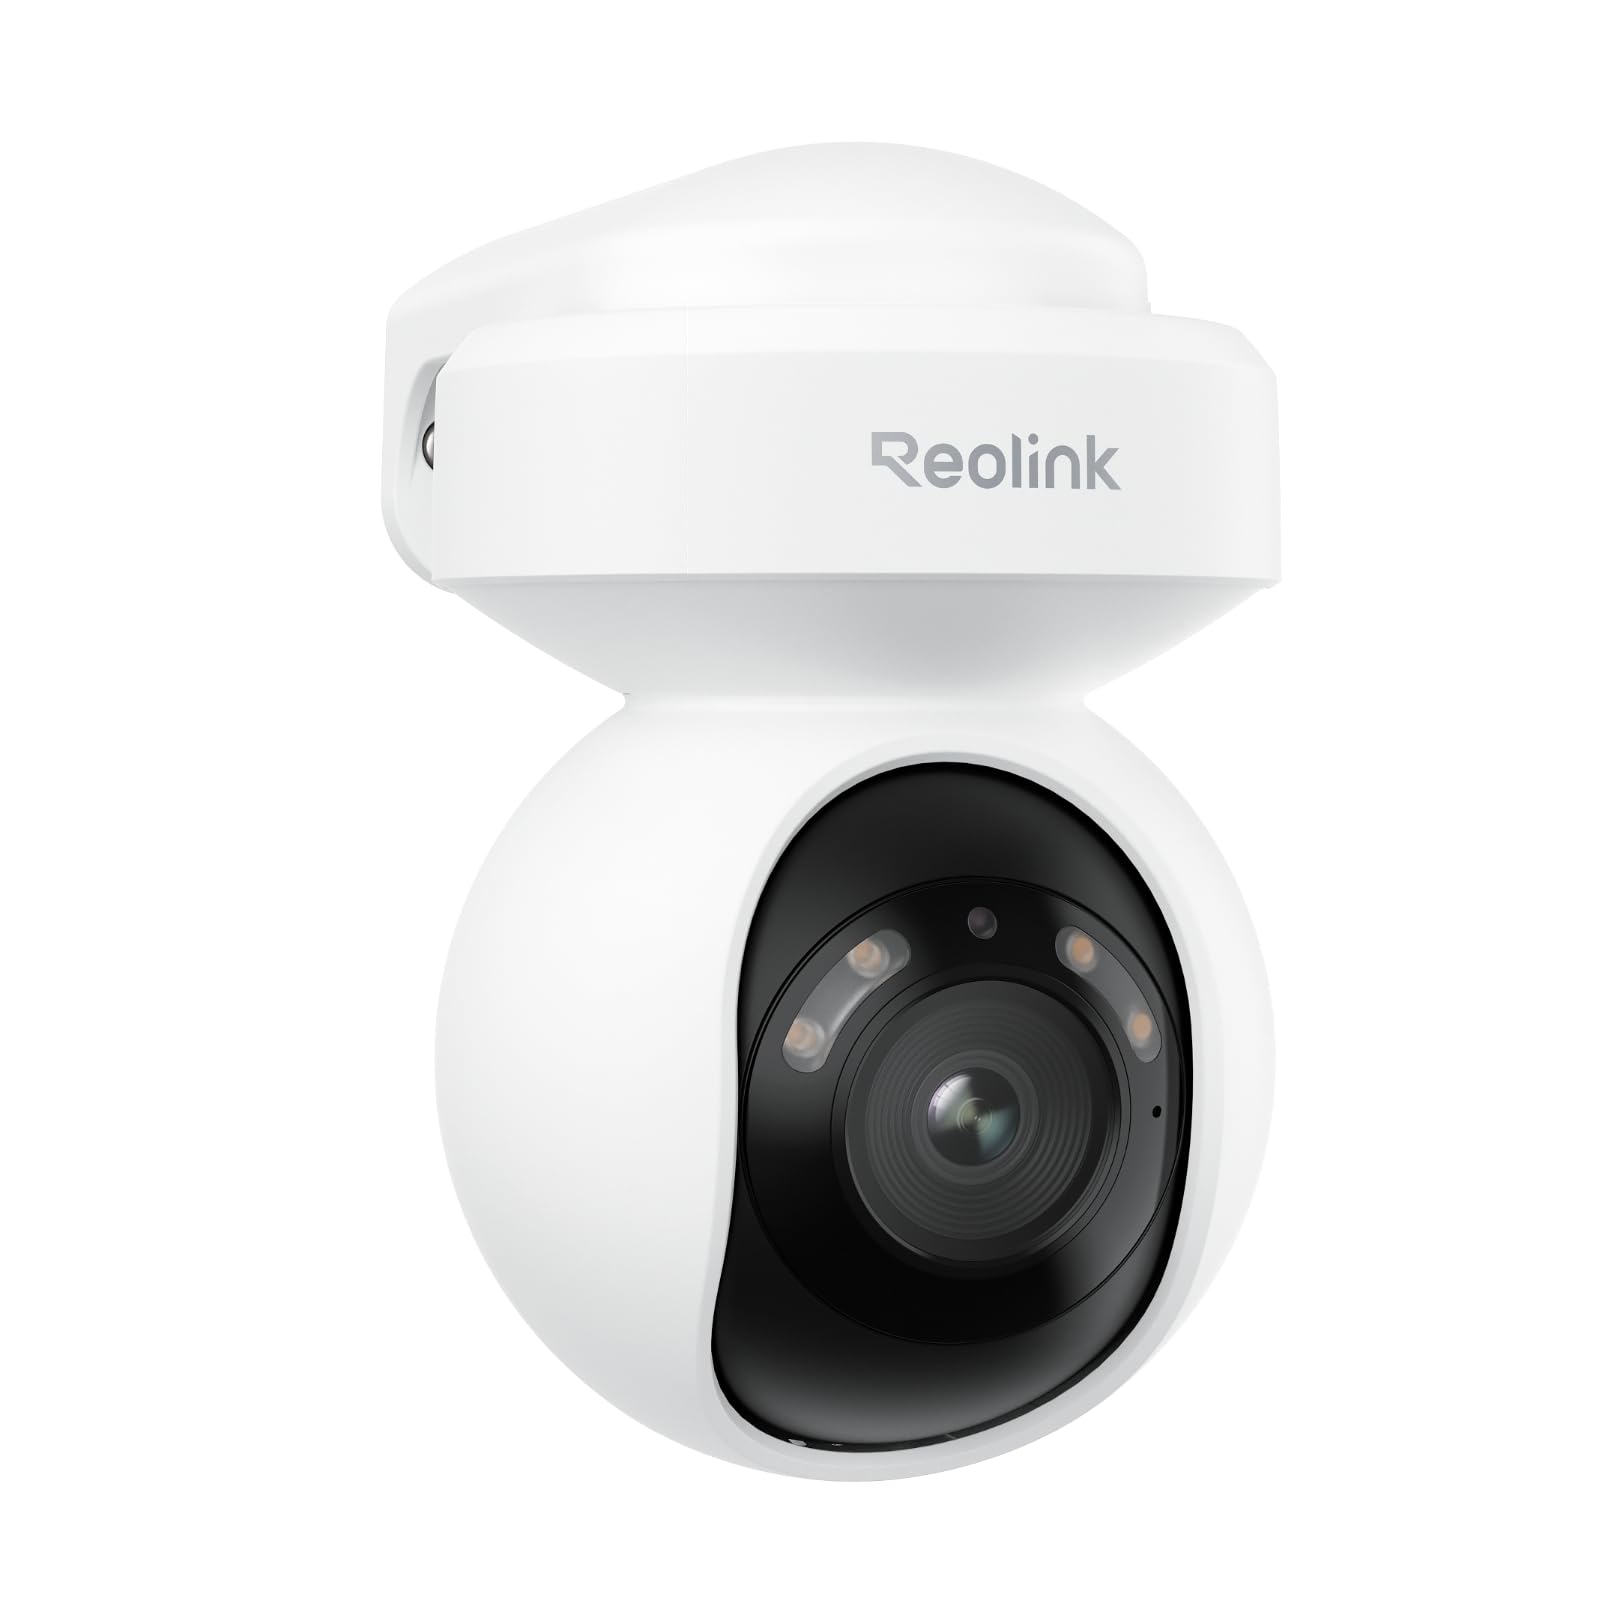
Image 1.1: Reolink E1 Outdoor S Camera Overview
2. Продукт бүтүп калдыview
2.1 Негизги өзгөчөлүктөрү
- Ultra HD 4K Clarity: Captures rich details with 8MP resolution, even in low-light conditions, thanks to its F1.6 large aperture lens.
- Dual-Band Wi-Fi 6 Connectivity: Experience faster and more stable streaming with next-generation Wi-Fi 6, supporting both 2.4GHz for reliable coverage and 5GHz for quicker data transfer.
- Smart Detection (Person/Vehicle/Pet): Advanced AI technology accurately detects people, vehicles, and pets, reducing false alerts. Customizable detection zones and sensitivity are available without monthly subscriptions.
- Two-Way Audio & Integrated Alerts: Built-in spotlights and a siren can be triggered to deter intruders. Receive real-time notifications and emails, and communicate effectively via two-way audio.
- 355° Pan & 50° Tilt with Auto Tracking: Monitor a wide area with flexible pan and tilt capabilities, and automatically track detected objects to keep them in view.
- Түнкү көрүнүш: See vivid details in color even in darkness.
2.2 Пакеттин мазмуну
- Reolink E1 Outdoor S Camera x1
- Power Adapter (12V 1A) with 140cm cable
- 6m (19ft) Power Extension Cable
- 1m (3ft) Network Cable
- Монтаж шаблону
- Монтаждоо бурамалар
- Quick Start Guide
2.3 Камера диаграммасы

Image 2.1: E1 Outdoor S Component Diagram. Labels include microSD card slot (up to 512GB, not included), Aluminum Alloy Casing, Spotlights, Lens, Microphone, Reset Button, Power Cable, Network Cable (for initial setup only, PoE not supported), and IR LED.
3. Орнотуу
3.1 Баштапкы конфигурация
Follow these steps for the initial setup of your Reolink E1 Outdoor S camera:
- Connect the camera to your router using the provided Ethernet cable.
- Download the Reolink App from your device's app store.
- Open the app and follow the on-screen instructions to add your camera and configure Wi-Fi settings.
- Once Wi-Fi is configured and the camera is connected, you may disconnect the Ethernet cable.

Image 3.1: Initial setup process showing connecting the camera to a router, configuring Wi-Fi via the Reolink app, and disconnecting the Ethernet cable.
3.2 Камераны орнотуу
The E1 Outdoor S camera can be mounted on a wall or ceiling. Choose a location that provides the desired viewбурчтуу жана Wi-Fi тармагыңыздын жана розеткаңыздын диапазонунда.
- Use the mounting template to mark screw positions.
- Тешиктерди бургула жана зарыл болсо, дубал анкерлерин салгыла.
- Secure the camera bracket with screws.
- Attach the camera to the bracket and adjust its angle.

Image 3.2: Flexible installation options for the E1 Outdoor S, including wall and ceiling mounting, and its weather-resistant design.
4. Иштөө нускамалары
4.1 Reolink App Usage
The Reolink App is the primary interface for controlling and monitoring your camera. It allows you to view live feeds, adjust settings, and receive alerts.
- Live View: Access real-time video from your camera.
- Ойнотуу: Review foo жазылганtage stored on the microSD card or NVR.
- Орнотуулар: Configure motion detection, night vision, audio, and other camera parameters.
Image 4.1: Remote access to the camera feed via the Reolink app on a smartphone and laptop.
4.2 Панорама, жантайтуу жана чоңойтуу (PTZ)
Use the Reolink App to remotely control the camera's pan (horizontal rotation up to 355°) and tilt (vertical movement up to 50°) functions. The camera also supports digital zoom.

Image 4.2: The camera's auto-tracking feature following a person, illustrating its 355° pan and 50° tilt capabilities.
4.3 Акылдуу аныктоо жана эскертүүлөр
The camera's AI can differentiate between people, vehicles, and pets. Configure detection zones and sensitivity in the app to receive precise alerts.

Image 4.3: The camera's AI detection accurately identifying a person, a vehicle, and a pet in a garden setting.
4.4 Эки тараптуу аудио
Utilize the built-in microphone and speaker for two-way communication. You can speak to visitors or warn off intruders directly through the Reolink App.

Image 4.4: A delivery person interacting with someone via the camera's two-way audio feature.
4.5 Жаздыруу параметрлери
The camera supports local storage via a microSD card (up to 512GB, not included) for continuous or motion-triggered recording. It also supports integration with Network Attached Storage (NAS) and FTP for extended storage solutions.

Image 4.5: The camera's microSD card slot for local storage and options for NAS/FTP integration.
4.6 Түнкү көрүнүш
The E1 Outdoor S features advanced night vision capabilities, including full-color night vision in low-light conditions and traditional black-and-white infrared night vision when light is minimal.

Image 4.6: Comparison showing vibrant color night vision versus standard black and white night vision.
5. Техникалык тейлөө
- Тазалоо: Сүрөттүн сапатын так сактоо үчүн камеранын линзасын жумшак, кургак чүпүрөк менен үзгүлтүксүз тазалап туруңуз. Күчтүү химиялык заттарды колдонбоңуз.
- Программалык камсыздоонун жаңыртуулары: Check for and install firmware updates via the Reolink App to ensure optimal performance and access to new features.
- Экологиялык эске алуулар: Ensure the camera is installed in a location that protects it from extreme weather conditions beyond its IP rating.
6. Кыйынчылыктарды
6.1 Жалпы маселелер жана чечимдер
| Маселе | Мүмкүн себеп | Чечим |
|---|---|---|
| Камера оффлайн/Туташуу мүмкүн эмес | Weak Wi-Fi signal, incorrect Wi-Fi password, network issues. | Ensure camera is within Wi-Fi range. Verify Wi-Fi password. Restart router and camera. Try initial setup with Ethernet cable again. |
| Сүрөттүн сапаты начар | Кир линза, жарык аз, тармактын өткөрүү жөндөмдүүлүгү. | Clean the lens. Ensure adequate lighting for optimal night vision. Check network speed. |
| Жалган кыймыл эскертүүлөрү | High sensitivity, environmental factors (e.g., moving branches). | Adjust motion detection sensitivity and configure detection zones in the Reolink App. |
| SD картага жаздыруу жок | SD card full, faulty, or not inserted correctly. Recording schedule not set. | Check SD card status in the app. Format or replace the SD card. Ensure recording schedule is enabled. |
7. Техникалык шарттар
| Өзгөчөлүк | Деталь |
|---|---|
| Продукт модели | E1 Outdoor S |
| Сүрөт сенсору | 8 Megapixels (4K UHD) |
| Video Format | MP4 |
| Байланыш | Wi-Fi (2.4GHz/5GHz), Wired (Ethernet) |
| Power Source | AC Power (Plug-in) |
| Pan/Tilt диапазону | Пан 355°, Тилт 50° |
| Сактагыч | MicroSD card (up to 512GB), NAS, FTP |
| Аудио | Эки тараптуу аудио |
| Өзгөчөлүктөр | Smart Person/Vehicle/Pet Detection, Auto Tracking, Color Night Vision, Spotlights, Siren |
| Колдонуу чөйрөсү | Сыртта |
| Өлчөмдөр | 9 x 9 x 10 см |
8. Кепилдик жана колдоо
Reolink products come with a limited warranty. For detailed warranty information, please refer to the official Reolink webсайтында же топтомуңузга кирген кепилдик картасында көрсөтүлгөн.
For technical support, troubleshooting assistance, or any product-related inquiries, please visit the official Reolink support page at reolink.com/support. You can also find FAQs, firmware updates, and user forums there.
9. Продукт видеосу бүттүview
Көрүү үчүн бул расмий видеону көрүңүзview of the Reolink E1 Outdoor S camera's features and capabilities.
Video 9.1: Official Reolink E1 Outdoor S Product Overview. This video highlights features such as 4K resolution, Wi-Fi 6 connectivity, 360° coverage with auto-tracking, and smart detection for people, animals, and vehicles.