
1. Киришүү
Thank you for choosing STUDIOFINIX 6.5 Inch Waterproof Marine Speakers. These speakers are designed for high-quality audio reproduction in challenging outdoor and marine environments. Featuring a durable, water-resistant construction and integrated blue LED lighting, they are suitable for boats, RVs, ATVs, UTVs, and golf carts. This manual provides essential information for proper installation, operation, and maintenance to ensure optimal performance and longevity of your speakers.
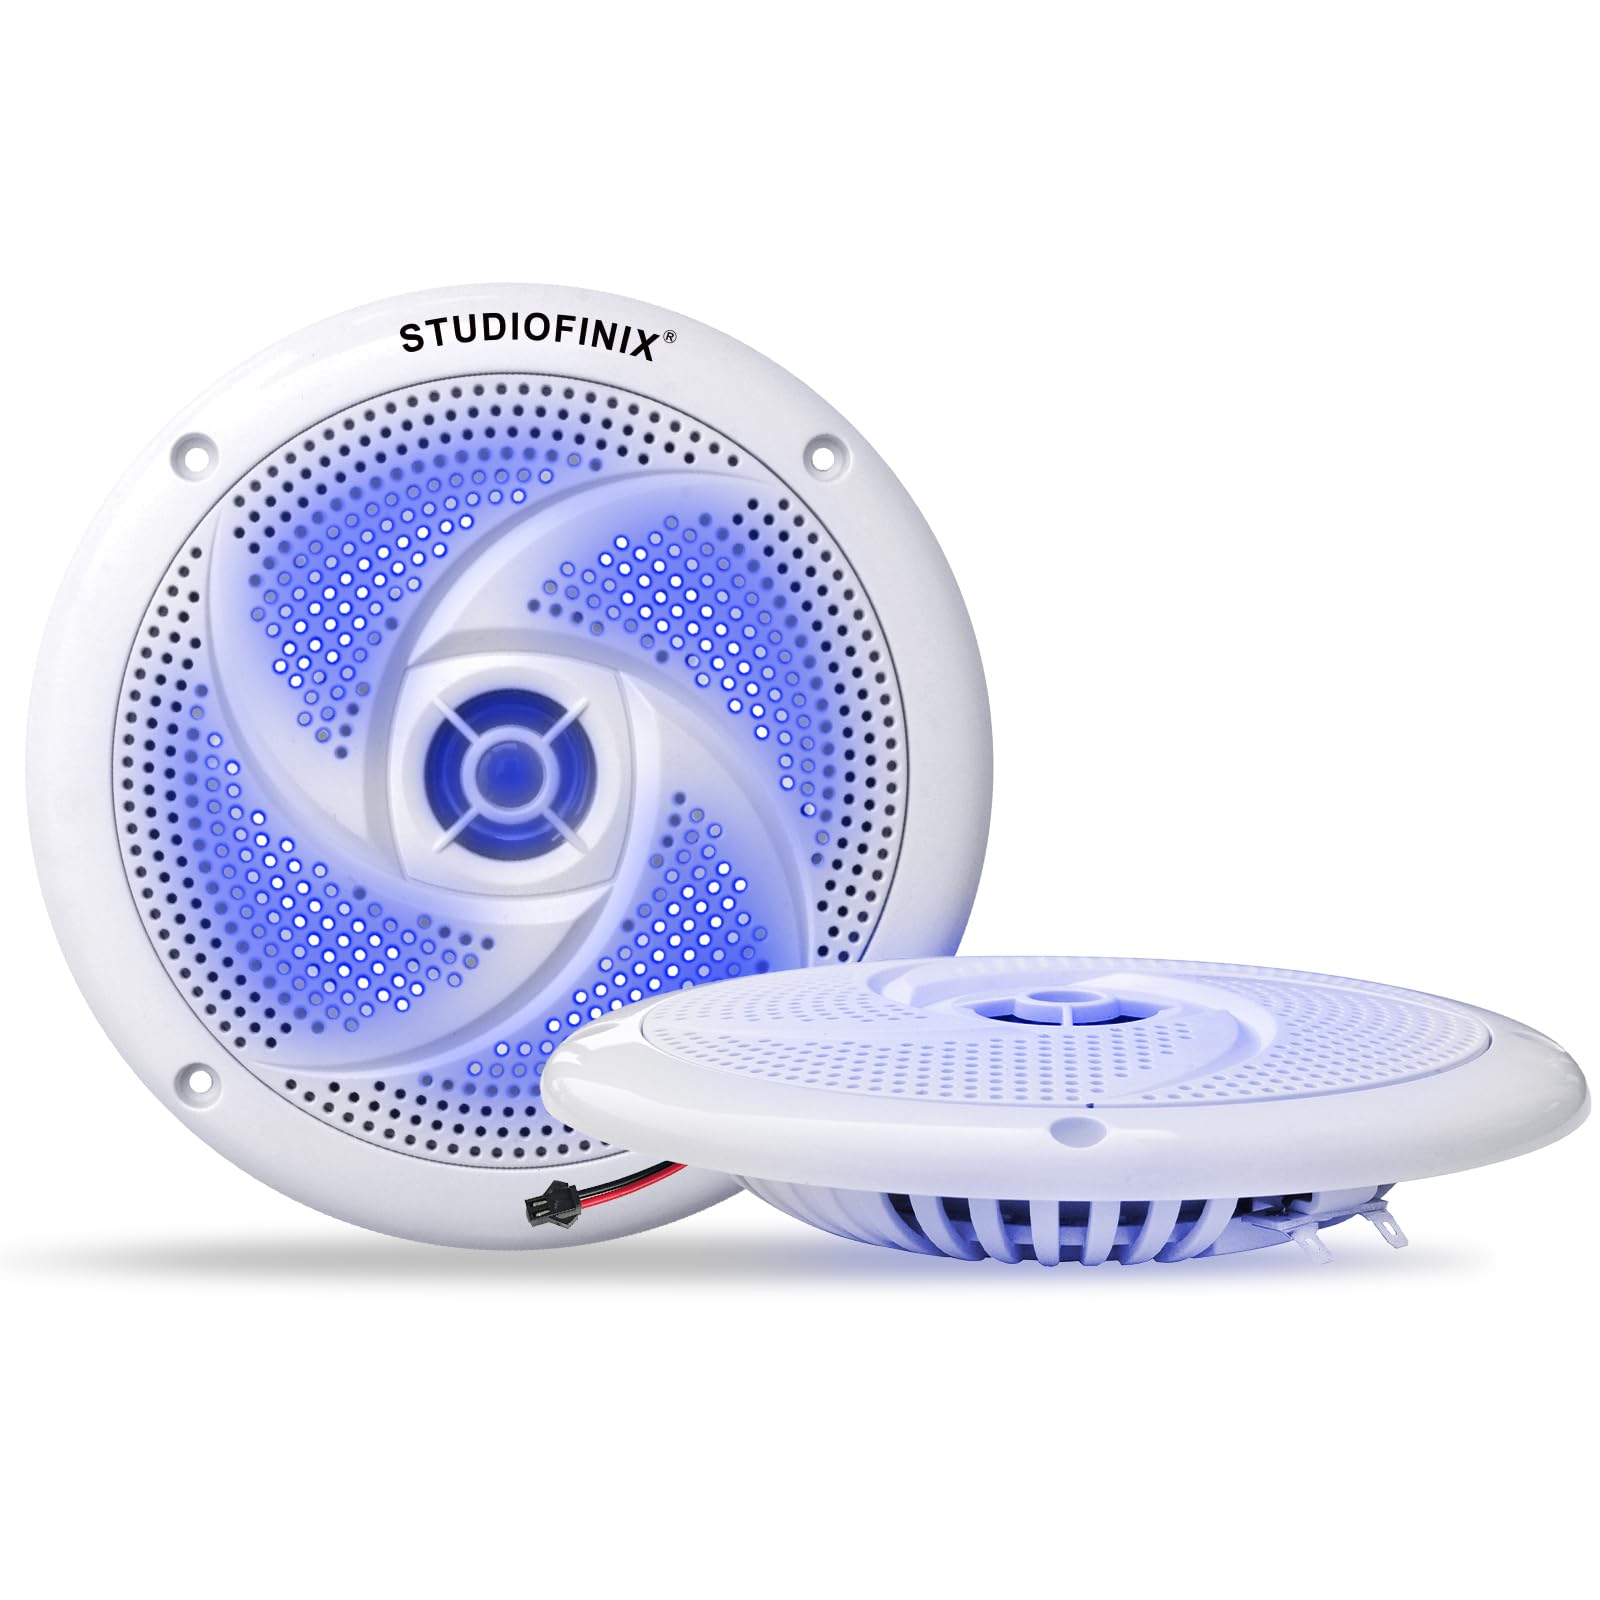
Figure 1.1: STUDIOFINIX 6.5 Inch Waterproof Marine Speaker (White)
2. Коопсуздук маалыматы
- Электр коопсуздугу: Always disconnect power before performing any electrical connections or maintenance. Ensure all wiring is correctly insulated and protected from potential damage. Incorrect wiring can lead to electrical shock or damage to your audio system.
- Суу каршылык: These speakers are IPX6 water-resistant, meaning they can withstand heavy splashes and rain. However, they are not designed for submersion. Avoid direct high-pressure water jets.
- Монтаждоо: Ensure the mounting surface is strong enough to support the speakers and that there are no obstructions behind the mounting location that could be damaged during installation.
- Угуу коргоо: Prolonged exposure to high volume levels can cause hearing damage. Operate the speakers at a comfortable listening level.
- Вентиляция: Ensure adequate ventilation around the speakers to prevent overheating, especially in enclosed spaces.
3. Пакеттин мазмуну
Орнотууну баштоодон мурун пакетте бардык элементтер бар экенин текшериңиз:
- 2 x STUDIOFINIX 6.5 Inch Marine Waterproof Speakers
- 2 x Speaker Cables (approximately 9.8 ft / 3 meters each)
- 2 x LED Light Cables
- 1 х Инструкция (бул документ)

Figure 3.1: Contents included in the product package
4. Техникалык шарттар
| Өзгөчөлүк | Спецификация |
|---|---|
| Модель аты | ST-HMS-X6LT-WH |
| Динамик түрү | 2-Way Full-Range Outdoor Marine Speaker |
| Динамик өлчөмү | 6.5 дюйм |
| RMS күчү | 120 Вт (жуп) |
| Max Power | 240 Вт (жуп) |
| Импеданс | 4 Ом |
| Frequency Response | 60Гц - 18кГц |
| Сууга туруктуулук рейтинги | IPX6 |
| Өзгөчөлүктөр | Built-in Blue LED Lights, UV-Resistant Durability |
| Материал | Акрилонитрил бутадиен стирол (ABS) |
| Байланыш технологиясы | Зымдуу |
| Product Dimensions (Diameter x Depth) | 168mm (6.61 in) x 40mm (1.57 in) |
| Монтаждоо тереңдиги | 23.5мм (0.92 дюйм) |

Figure 4.1: Detailed product dimensions for installation planning
5. Орнотуу жана орнотуу
Proper installation is crucial for the performance and longevity of your marine speakers. Follow these steps carefully:
5.1 Орнотуу ордун пландаштыруу
- Choose a flat, stable surface that can accommodate the speaker's dimensions (refer to Section 4).
- Ensure there is sufficient clearance behind the mounting surface for the speaker's depth and wiring.
- Consider proximity to your audio source and power supply for the LED lights.
- Avoid locations where the speakers might be exposed to direct, continuous high-pressure water spray.
5.2 Спикерлерди орнотуу
- Белгилөө: Carefully mark the center of the desired speaker location. Using the speaker as a template, mark the screw hole positions.
- Cutting the Opening: Cut a circular opening in the mounting surface according to the speaker's cutout diameter (approximately 135mm / 5.31 inches). Use appropriate tools for the material of your mounting surface.
- Drilling Screw Holes: Drill pilot holes for the mounting screws at the marked positions.
- Позициялоо: Place the speaker into the cutout, ensuring the mounting holes align.
- Камсыздоо: Secure the speaker using appropriate marine-grade screws (not included, typically supplied with the vehicle/vessel or purchased separately). Do not overtighten.
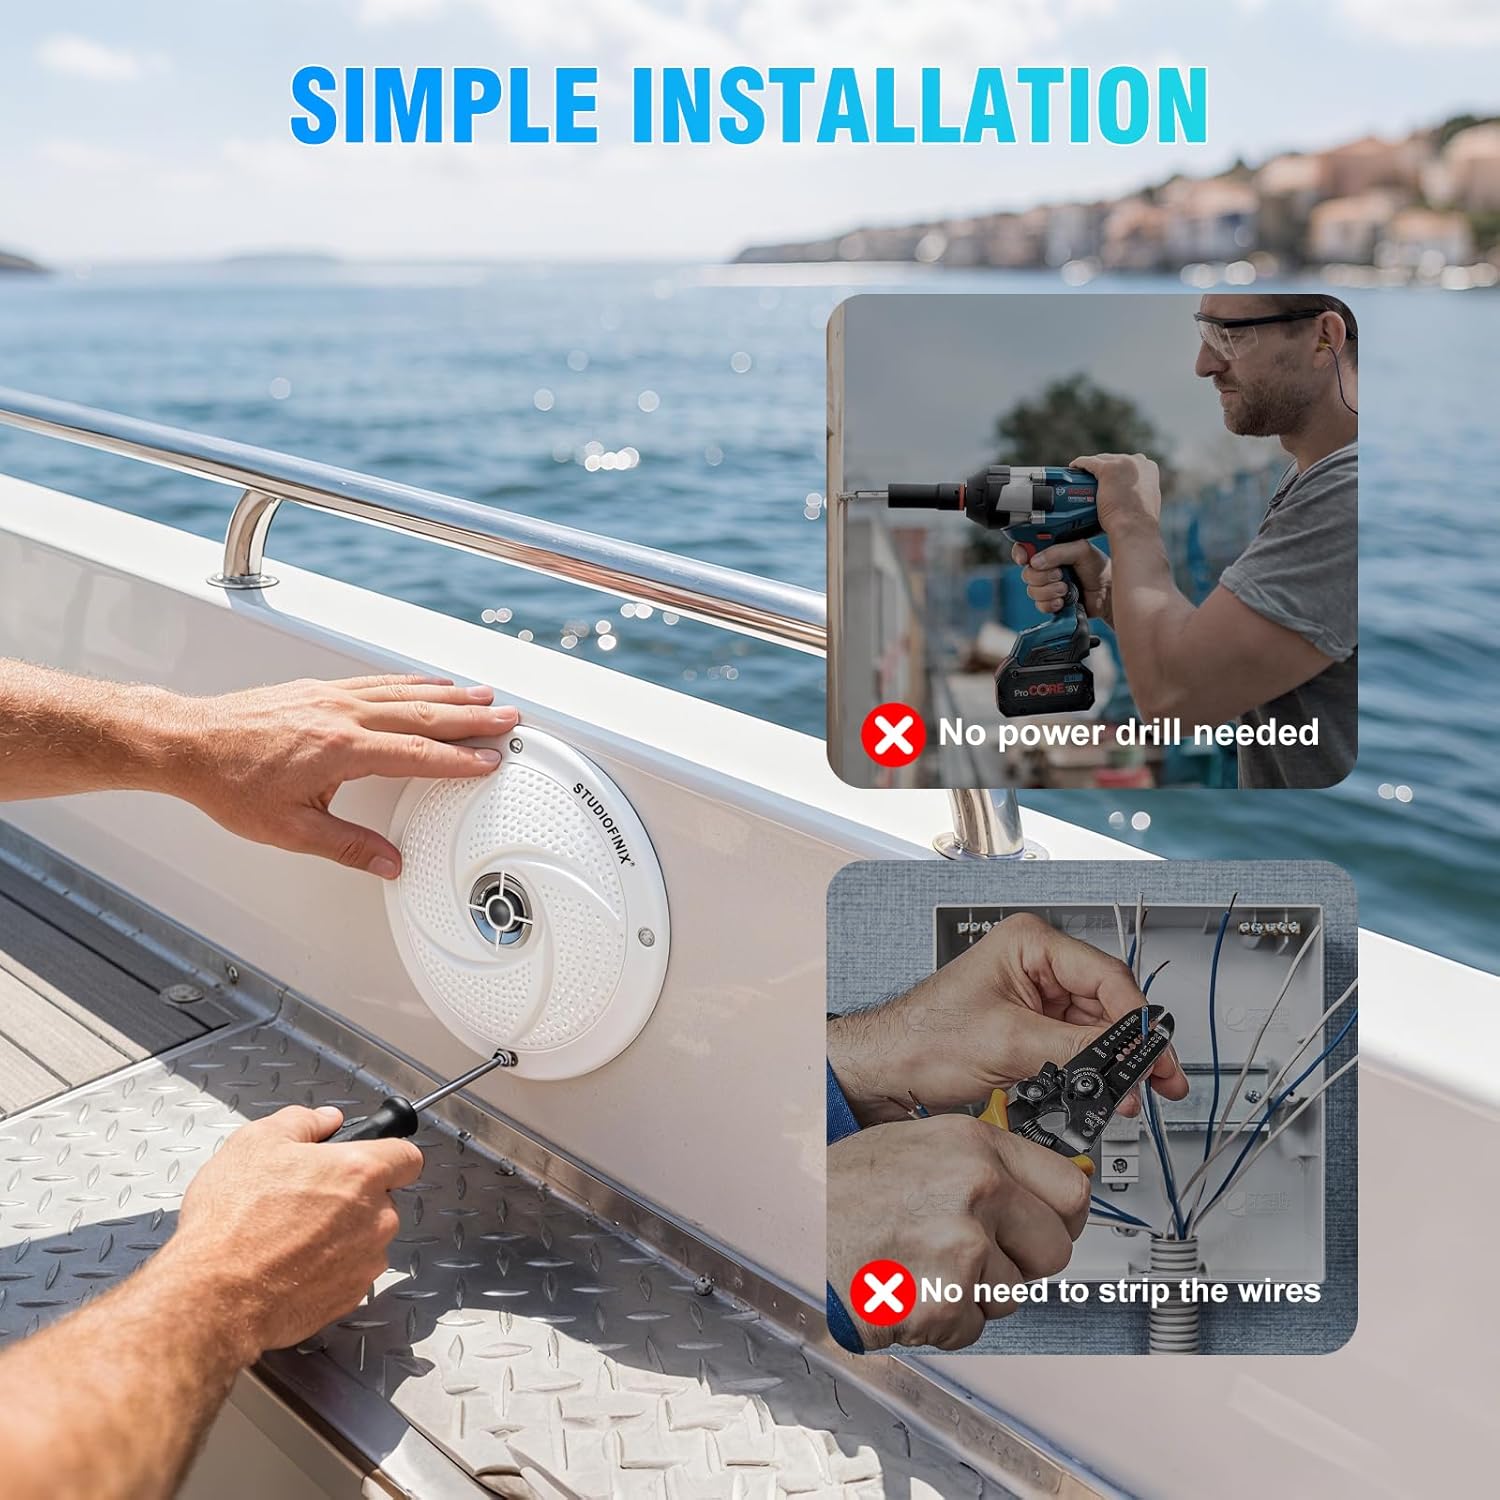
Figure 5.1: Speaker installation process
5.3 Зымдарды туташтыруу
The speakers require two separate connections: one for audio and one for the LED lights.
- Аудио туташуусу: Connect the included speaker cables to your audio amplifier or head unit. Ensure correct polarity (+ to + and - to -) for each speaker. The speaker terminals are typically marked.
- LED жарык туташуу: Connect the included LED light cables to a 12V DC power source. The LED lights require a separate power connection. It is recommended to connect them through a switch (not included) to control their on/off state independently from the audio. Ensure correct polarity for the LED wiring.
- Кабелдик башкаруу: Route all cables securely, away from moving parts, heat sources, and sharp edges. Use cable ties or clamps to prevent loose wiring.

Figure 5.2: Speaker with integrated blue LED lighting
6. Иштөө нускамалары
Once properly installed and wired, operating your STUDIOFINIX marine speakers is straightforward:
- Аудио ойнотуу: Аудиоңузду күйгүзүңүз amplifier or head unit. Select your desired audio source and adjust the volume to a comfortable listening level.
- LED жарыктары: If you have connected the LED light cables to a switch, use the switch to turn the blue LED illumination on or off as desired.
- Үндү көзөмөлдөө: Adjust the volume from your audio source. Avoid operating the speakers at maximum volume for extended periods to prevent distortion and potential damage.

Figure 6.1: Speakers installed in different outdoor applications
7. Техникалык тейлөө
Regular maintenance will help preserve the appearance and performance of your speakers:
- Тазалоо: Clean the speaker grilles and surfaces with a soft, damp cloth. Avoid using harsh chemicals, abrasive cleaners, or solvents, as these can damage the finish and materials.
- Текшерүү: Periodically inspect the speaker grilles, mounting screws, and wiring for any signs of wear, corrosion, or damage. Ensure all connections remain secure.
- Суу таасири: While water-resistant, it is good practice to wipe down the speakers after exposure to saltwater or heavy rain to prevent salt buildup or mineral deposits.

Figure 7.1: Speakers designed for all-weather conditions
8. Кыйынчылыктарды
Эгерде сиз динамиктериңизде көйгөйлөргө туш болсоңуз, төмөнкү көйгөйлөрдү чечүү боюнча көрсөтмөнү караңыз:
| Көйгөй | Мүмкүн себеп | Чечим |
|---|---|---|
| Динамиктерден үн жок |
|
|
| Бурмаланган үн |
|
|
| LED жарыктары иштебейт |
|
|
9. Кепилдик жана колдоо
For warranty information or technical support, please refer to the documentation provided at the time of purchase or contact STUDIOFINIX customer service directly. Keep your purchase receipt as proof of purchase for any warranty claims.
Сиз, адатта, өндүрүүчүнүн расмий байланыш маалыматын таба аласыз webсайт же продукт сатылып алынган сатуучу аркылуу.