
1. Киришүү
Thank you for choosing the Jocca Espresso Coffee Maker Model 2713. This manual provides essential information for the safe and efficient operation, maintenance, and care of your new coffee machine. Please read it thoroughly before first use and keep it for future reference.

Image 1: Jocca Espresso Coffee Maker Model 2713. This image shows the complete coffee maker from the front-right angle, highlighting its compact design and the portafilter with a wooden handle.
2. Коопсуздук нускамалары
- Тазалоодон мурун же колдонулбай турганда шаймандын ар дайым розеткадан суурулганын текшериңиз.
- Шайманды, электр шнурын же сууга же башка суюктукка чөмүлбөңүз.
- Шайманды балдар жетпеген жерде сактаңыз.
- Жерге туташтырылган розеткаларды гана колдонуңуз.
- Электр зымы же сайгычы бузулуп калса, шайманды иштетпеңиз.
- Avoid touching hot surfaces, such as the cup warmer, steam wand, or portafilter, during and immediately after operation. Use handles or knobs.
- Демдөөдөн мурун, суу куюлган бактын тийиштүү деңгээлге чейин толтурулганын текшериңиз.
- Only use the appliance for its intended purpose of making coffee and frothing milk.
3. Продукциянын компоненттери
Familiarize yourself with the parts of your Jocca Espresso Coffee Maker:
- Негизги блок: Houses the heating system and pump.
- Суу багы (1л): Removable for easy filling and cleaning.
- Чөйчөк жылыткыч: Located on top to keep cups warm.
- Башкаруу панели: Illuminated touch buttons for operation.
- Портафильтр: Holds ground coffee or ESE pods. Features a wooden handle.
- Фильтр себеттери: Бир же эки эспрессо үчүн.
- Steam Wand/Frother: Сүттү көбүктүрүү жана ысык сууну чыгаруу үчүн.
- Тамчылатма табак: Оңой тазалоо үчүн алынуучу.
- Өлчөөчү кашык менен Тampэ: Кофенин калдыктарын өлчөө жана тыгыздоо үчүн.

Image 2: Portafilter, measuring spoon, and filter basket. This image displays the portafilter with its wooden handle, a black measuring spoon, and a separate filter basket, which are included accessories.
4. Орнотуу жана биринчи колдонуу
4.1 Пакеттен чыгаруу
Carefully remove all packaging materials. Check that all components listed in Section 3 are present and undamaged. Keep packaging for future storage or transport.
4.2 Алгачкы тазалоо
Before first use, wash the water tank, portafilter, filter baskets, and drip tray with warm soapy water. Rinse thoroughly and dry. Wipe the main unit with a damp кездеме.
4.3 Суу резервуарын толтуруу
Remove the 1-liter water tank from the back of the machine. Fill it with fresh, cold water up to the MAX line. Replace the tank securely.
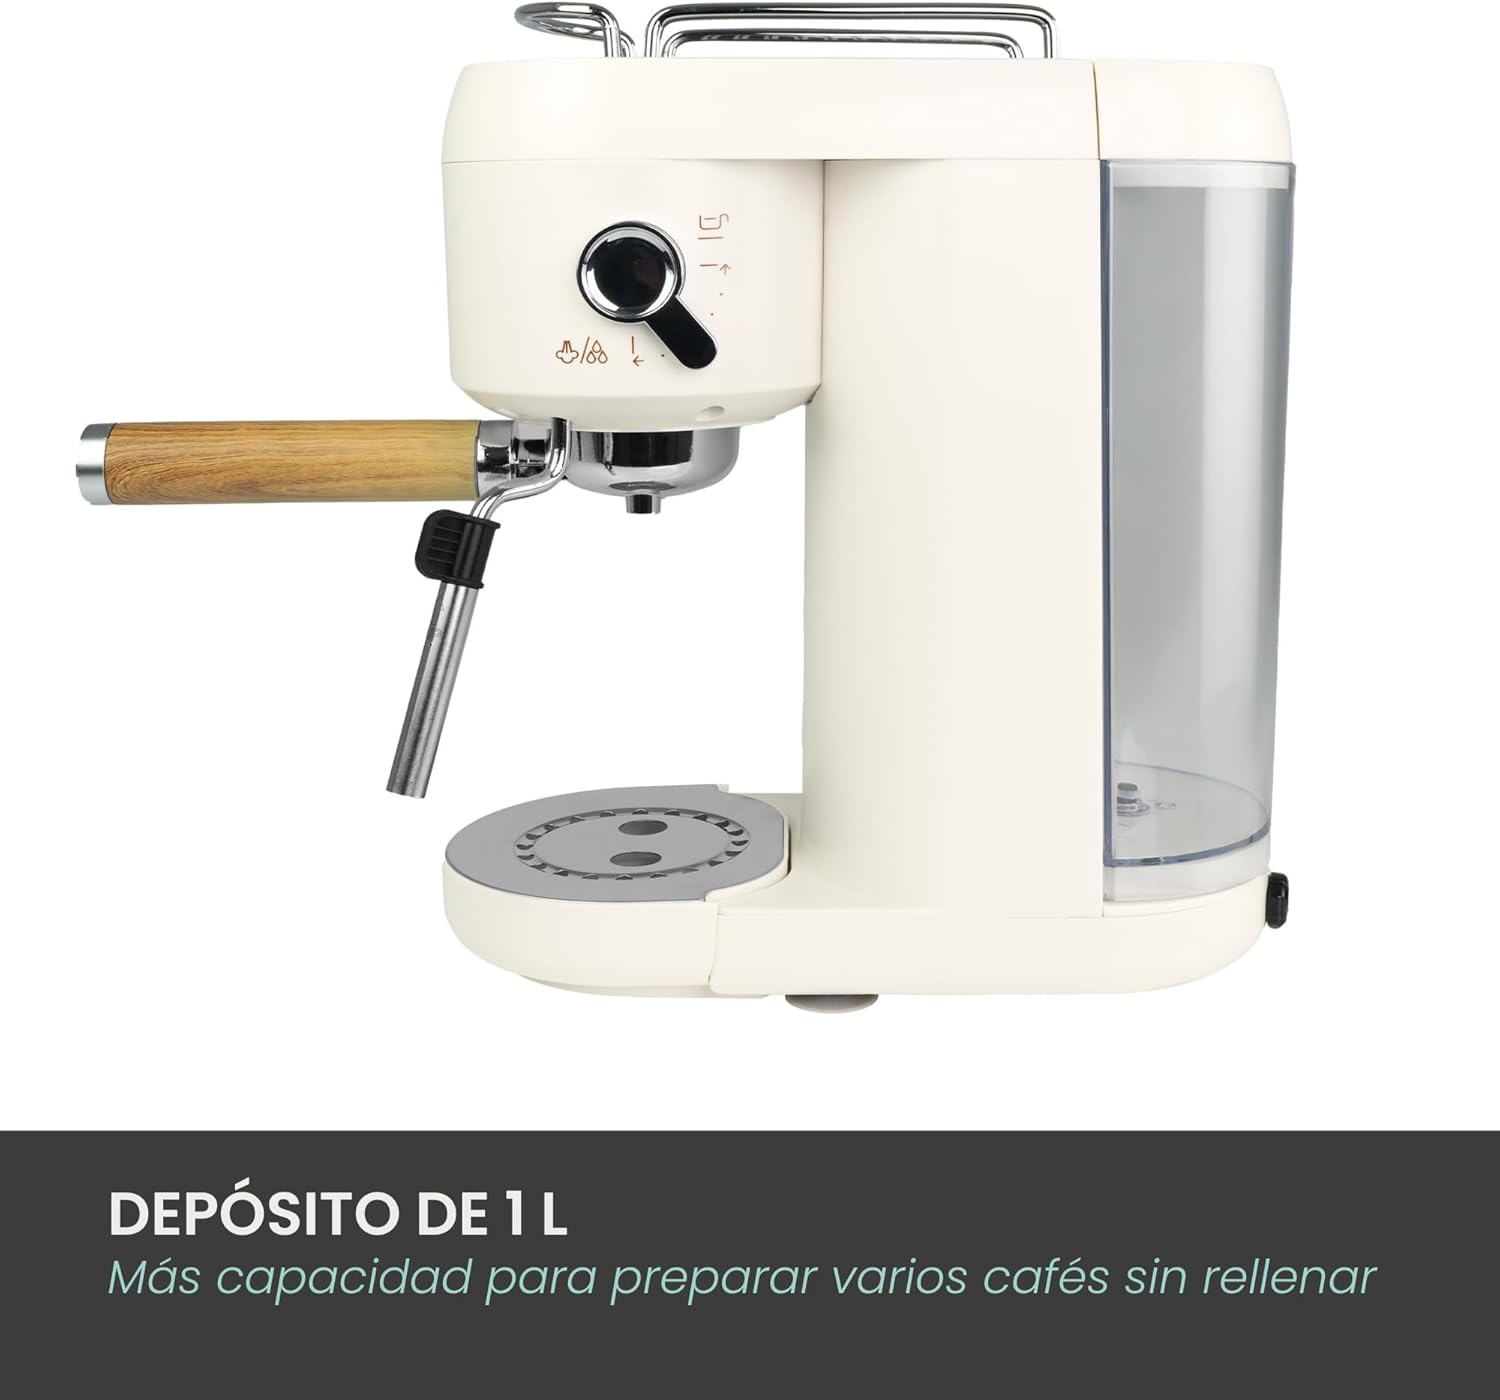
Image 3: Removable 1-liter water tank. This image shows the transparent water tank attached to the side of the coffee maker, indicating its capacity and ease of removal.
4.4 Машинаны праймер менен толтуруу
Plug in the coffee maker. Place a cup under the portafilter and another under the steam wand. Turn the machine on. Once the indicator light stops flashing (indicating preheating is complete), press the single espresso button to run water through the system. Repeat for the steam wand by turning the steam knob. This primes the pump and removes any air from the system.
5. Иштөө нускамалары
5.1 Preheating Cups
Place your espresso cups on the cup warmer located on top of the machine. This helps maintain the coffee's temperature.
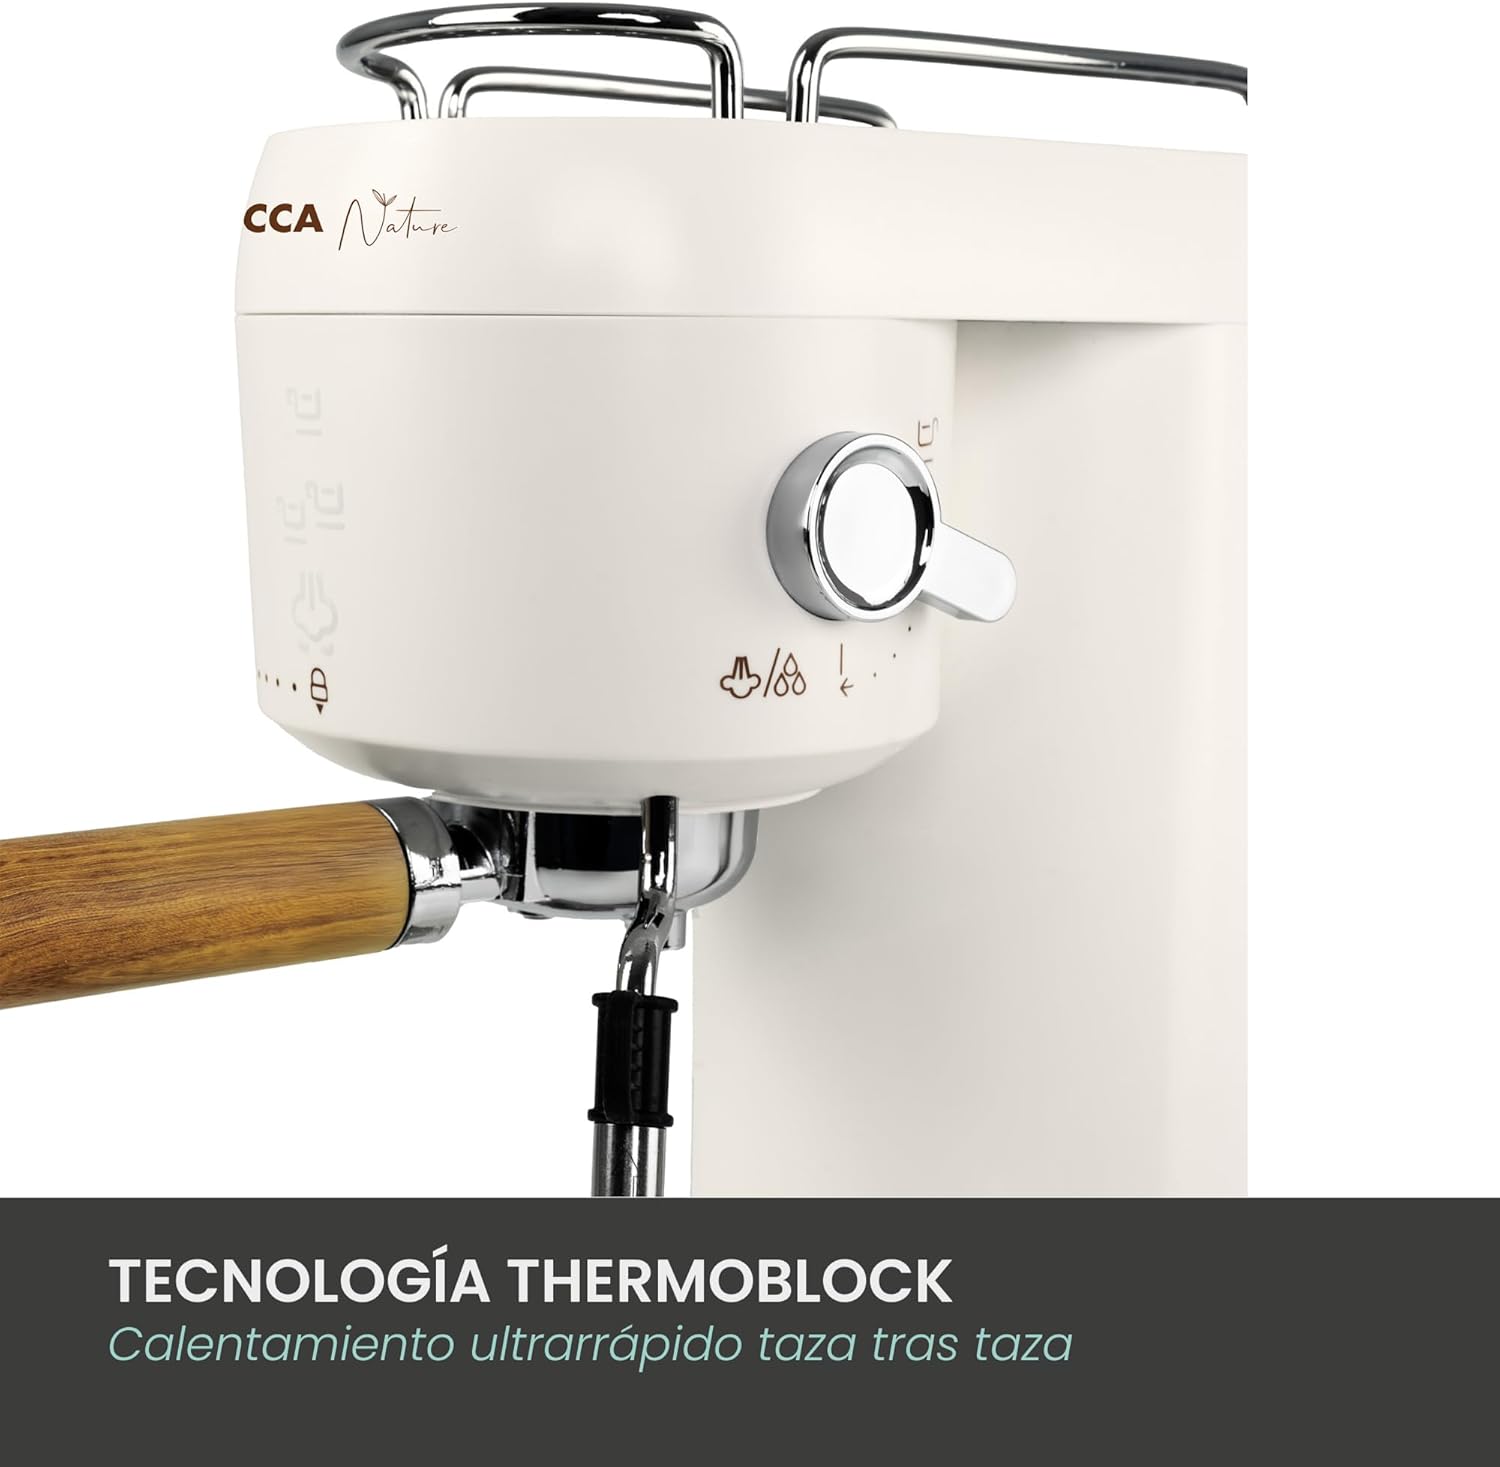
Image 4: Cup warmer feature. This close-up shows the top of the coffee maker with two glass cups placed on the integrated cup warmer, ready for use.
5.2 Эспрессо жасоо
- Кофе даярдоо: Use the measuring spoon to add ground coffee to the appropriate filter basket (single or double). Tamp the coffee firmly with the tamper end of the spoon.
- Portafilter киргизүү: Place the filter basket into the portafilter. Attach the portafilter to the brewing head by aligning it and twisting it firmly to the right.
- Сыра тандоо: Ensure the machine is preheated (indicator light solid). Place your preheated cup(s) under the portafilter. Press the illuminated touch button for a single or double espresso. The machine will automatically brew and stop.

Image 5: Espresso brewing. This image captures the coffee maker actively brewing espresso into a white cup, showcasing бай крема.
5.3 Using the Steam Wand (Milk Frother)
- Сүт даярдоо: Дат баспас болоттон жасалган көбүк салуучу идишке муздак сүт (сүттүү же сүт эмес) үчтөн бир бөлүгүнө чейин толтуруңуз.
- Steamди иштетүү: Press the steam button on the control panel. Wait for the indicator light to become solid, indicating the machine has reached steaming temperature.
- Сүт көбүгү: Submerge the tip of the steam wand just below the surface of the milk. Turn the steam knob to release steam. Move the pitcher up and down to create foam. Once desired texture is achieved, turn off the steam knob and remove the pitcher.
- Таза таякча: Жарнама менен буу таякчасын дароо сүртүңүзamp cloth to prevent milk residue from drying. Briefly turn on the steam again to clear any internal milk.

Image 6: Illuminated touch controls. A close-up of the coffee maker's control panel, showing the illuminated touch buttons for single espresso, double espresso, and steam functions.
5.4 Расмий продукт Video
Video 1: Jocca Espresso Coffee Maker in action. This video demonstrates the key features of the coffee maker, including cup warming, coffee preparation, milk frothing, and highlights its easy-to-clean design.
6. Техникалык тейлөө жана тазалоо
Кофе кайнаткычыңыздын үзгүлтүксүз тазаланышы анын оптималдуу иштешин жана узак мөөнөттүү иштешин камсыздайт.
6.1 Тамчылатуучу табакчаны тазалоо
The drip tray should be emptied and cleaned regularly. Simply slide it out, discard the contents, wash with warm soapy water, rinse, and dry.

Image 7: Removable drip tray. This image shows a close-up of the coffee maker's base with the drip tray removed, emphasizing its easy-to-clean design.
6.2 Cleaning the Portafilter and Filter Baskets
After each use, remove the portafilter and discard the used coffee grounds. Rinse the portafilter and filter basket under running water. For thorough cleaning, use a small brush to remove any coffee residue.
6.3 Суу резервуарын тазалоо
The water tank should be cleaned weekly. Remove it from the machine, wash with warm soapy water, rinse thoroughly, and dry before refilling.
6.4 Тазалоо
Depending on water hardness, descaling should be performed every 2-3 months. Use a commercial descaling solution suitable for coffee machines and follow the manufacturer's instructions. This process removes mineral buildup and ensures optimal machine performance.
7. Кыйынчылыктарды
| Көйгөй | Мүмкүн себеп | Чечим |
|---|---|---|
| Кофе берилбейт | No water in tank; Clogged filter; Machine not primed. | Сууну толтуруу; Таза фильтр; Орнотуу көрсөтмөлөрүнө ылайык машинаны праймер. |
| Кофе өтө алсыз | Insufficient coffee grounds; Coarse grind; Not tampжетиштүү. | Add more coffee; Use finer grind; Tamp бекем. |
| Таяктан буу жок | Steam button not activated; Wand clogged. | Press steam button and wait for preheat; Clean steam wand. |
| Машинадан суу агып жатат | Суу багы туура эмес орнотулган; Тамчылатма табак толду. | Ensure water tank is secure; Empty and clean drip tray. |
8. Техникалык шарттар
- Бренд: Жокка
- Модель номери: 2713
- Түсү: Ак жыгач
- Продукциянын өлчөмдөрү: 32 x 26.5 x 33.6 см
- Салмагы: 2.95 кг
- Өзгөчөлүктөр: Cup warmer, Removable tank, Milk frother
- Сыйымдуулугу: 1 литр
- Кофе кайнаткыч түрү: Эспрессо машинасы
- Материал: Акрилонитрил бутадиен стирол, дат баспас болот
- Стиль: Заманбап
- Атайын колдонуулар: Latte, Cappuccino, Espresso
9. Кепилдик жана колдоо
For warranty information, technical support, or service inquiries, please refer to the warranty card included with your product or contact Jocca customer service directly. Keep your proof of purchase for warranty claims.