1. Киришүү
Thank you for choosing the Lefant M3L Robot Vacuum and Mop. This intelligent cleaning device is designed to simplify your home cleaning routine by efficiently vacuuming and mopping various floor types. Please read this manual thoroughly before using the product to ensure proper operation, maintenance, and safety.
For optimal performance, follow the instructions carefully and keep this manual for future reference.
2. Коопсуздук боюнча маанилүү маалымат
Before using the Lefant M3L, please observe the following safety precautions:
- Бул шайманды 8 жаштан жогорку балдар жана физикалык, сезүү же акыл-эс жөндөмү начар же тажрыйбасы жана билими жок адамдар колдонсо болот, эгерде алар көзөмөлгө алынган же шайманды коопсуз колдонуу боюнча нускама алган болсо жана келтирилген коркунучтарды түшүнсө. .
- Балдар шайман менен ойнобошу үчүн аларды көзөмөлгө алуу керек.
- Тазалоо жана колдонуучу тейлөөнү балдар көзөмөлсүз жасабашы керек.
- Do not use the robot in environments with open flames, flammable materials, or explosive substances.
- Ensure the charging dock is placed on a level surface against a wall, with no obstacles within 1 meter in front and 0.5 meters on either side.
- Роботту же анын электрондук компоненттерин сууга салбаңыз.
- Өндүрүүчү тарабынан берилген түпнуска кубат адаптерин жана кубаттоочу докту гана колдонуңуз.
- Иштетүүдөн мурун, чаташуу же бузулуу коркунучун алдын алуу үчүн, полдон бошоп калган кабелдерди, майда буюмдарды же морт буюмдарды алып салыңыз.
- Do not use the robot to clean liquids, burning objects, or sharp objects.
- Электр зымы бузулган болсо, коркунучту болтурбоо үчүн аны өндүрүүчү, анын тейлөө агенти же ушуга окшогон квалификациялуу адамдар алмаштырышы керек.
3. Пакеттин мазмуну
Please check if all accessories are present and in good condition:
- Lefant M3L Robot Vacuum and Mop
- Заряддоо док
- Кубаттуу адаптер
- контейнери
- Швабра менен суу куюлган бак
- Каптал щеткалары (2 жуп)
- HEPA Filter (1 installed, 1 spare)
- Тазалоо куралы
- User Manual
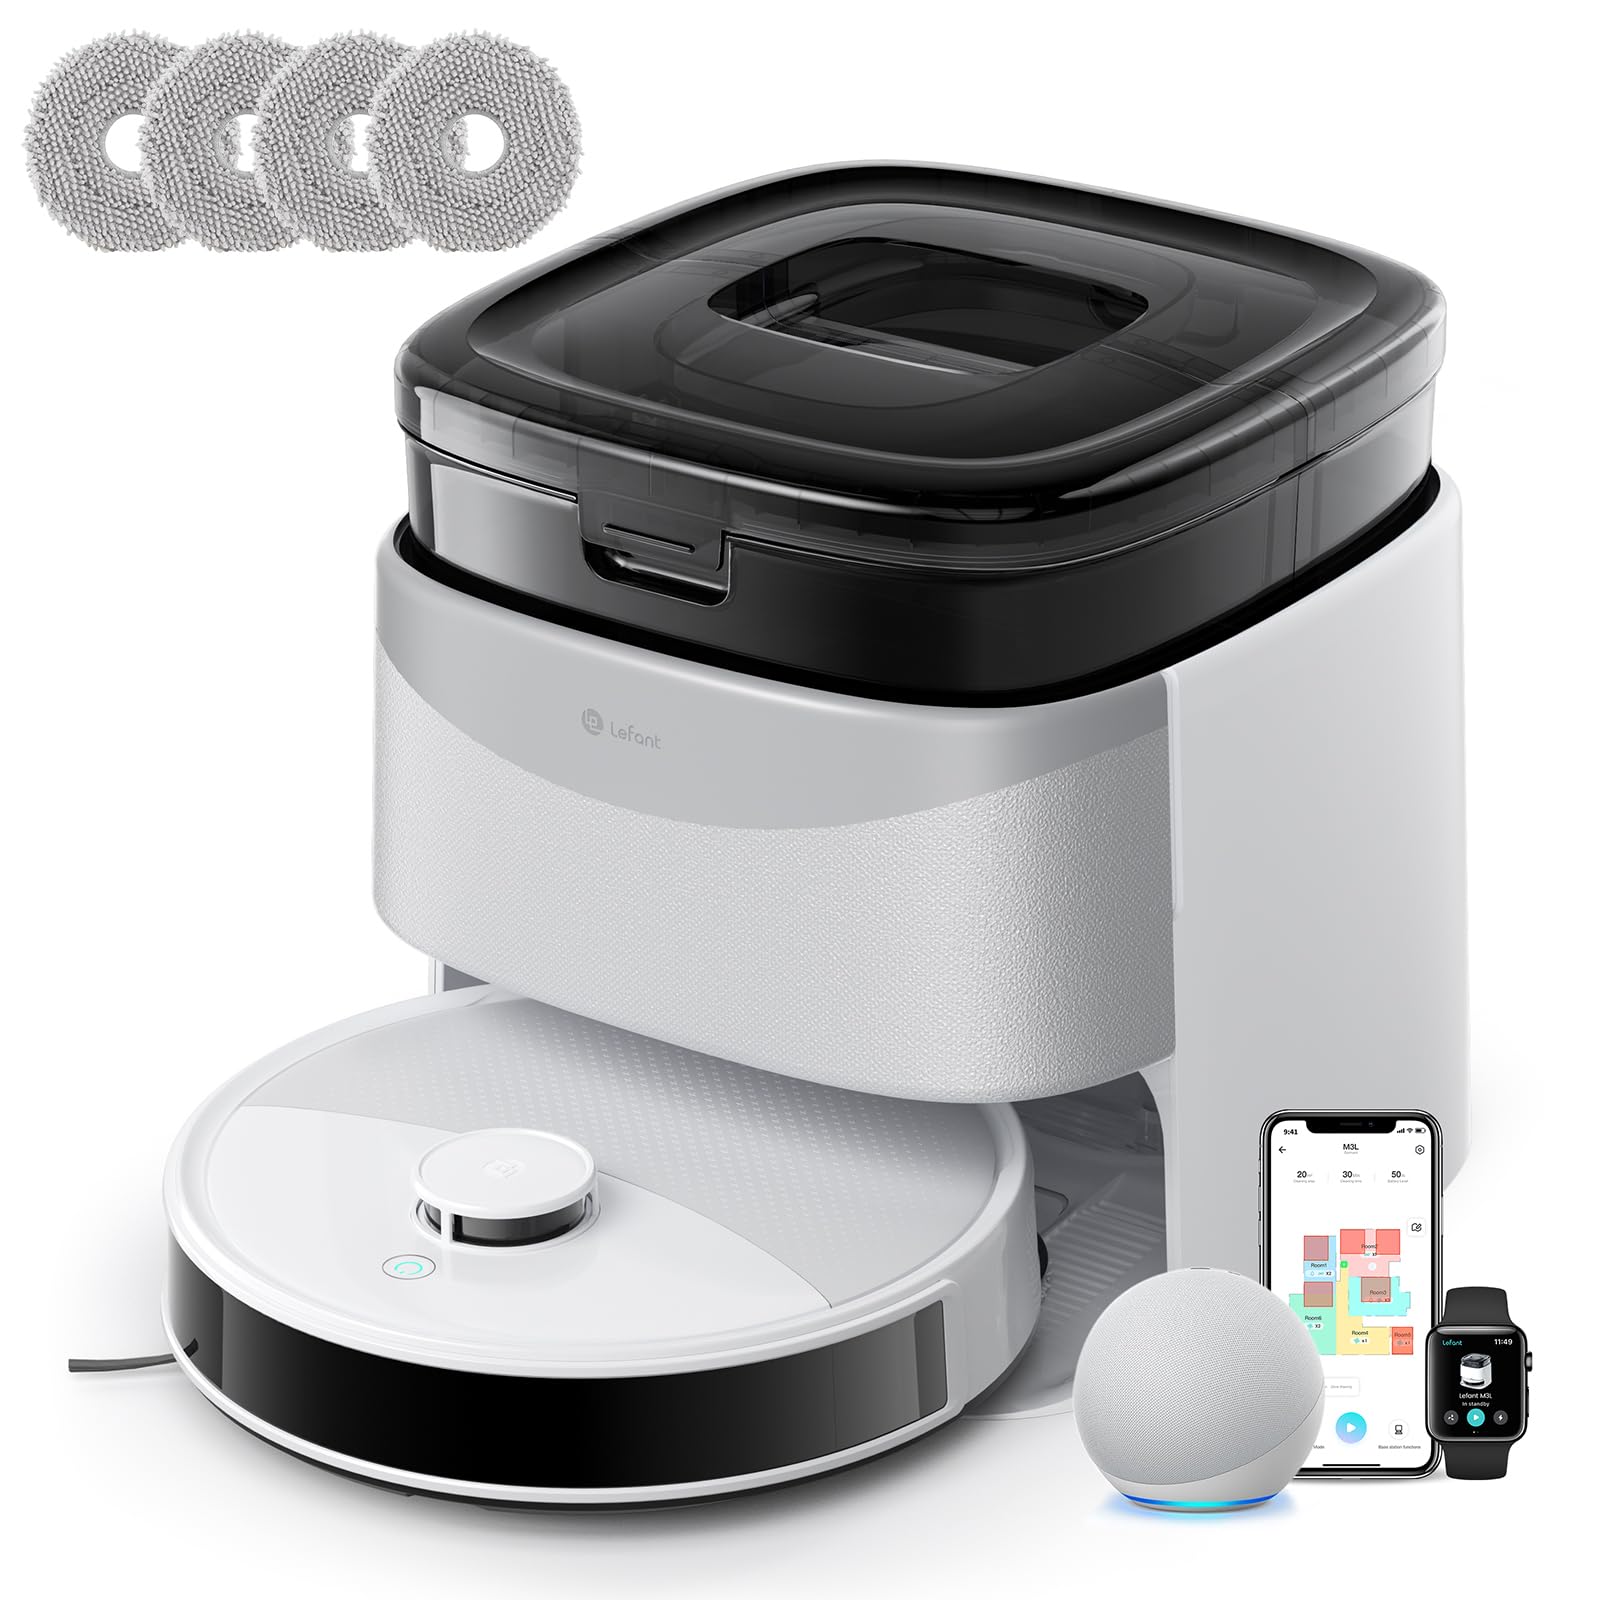
Image 1: Lefant M3L Robot Vacuum and Mop with its included accessories. This image shows the main unit, charging dock, power adapter, dustbin, water tank, mop pad, side brushes, and cleaning tool.
4. Продукт бүтүп калдыview
4.1 Robot Top View
- Кубат/Тазалоо баскычы: Press to start/pause cleaning. Hold to power on/off.
- Индикатор жарыгы: Shows battery status and working mode.
- Таштанды челекти чыгаруу баскычы: Press to remove the dustbin.
4.2 Robot Bottom View
- Каптал щеткалар: Collect dust and debris from edges and corners.
- Айдоо дөңгөлөктөрү: Роботко ар кандай беттерде жылышына уруксат бериңиз.
- Универсал дөңгөлөк: Provides 360-degree movement.
- Заряддоо байланыштары: Connect with the charging dock for power.
- Тамчы сенсорлору: Четтерин аныктап, кулап түшүүнүн алдын алыңыз.
- Негизги щетка: Терең тазалоо үчүн борбордук щетка.
- Water Tank/Mop Pad Slot: Area for attaching the water tank and mop pad.
4.3 Кубаттоочу док
- Заряддоо көрсөткүчү: Заряддоо абалын көрсөтөт.
- Заряддоо байланыштары: Connect with the robot for power.
- Электр порту: Кубат адаптерине туташат.
5. Орнотуу колдонмосу
5.1 Preparing the Robot
- Коргоочу пленкаларды алып салуу: Remove all protective films from the robot and charging dock.
- Каптал щеткаларды орнотуу: Press the side brushes onto the square posts at the bottom of the robot until they click into place. Ensure the 'L' and 'R' marks match.
- Install Dustbin: Open the top cover of the robot and insert the dustbin until it locks securely.

Image 2: Illustration of attaching the side brushes to the underside of the robot. Align the brush with the corresponding post and push until it clicks.
5.2 Positioning the Charging Dock
- Заряддоочу докту дубалга каршы катуу, тегиз бетке коюңуз.
- Ensure there are no obstacles within 1 meter (3 feet) in front of the dock and 0.5 meters (1.5 feet) on either side.
- Connect the power adapter to the charging dock and plug it into a wall outlet. The indicator light on the dock will illuminate.

Image 3: Diagram showing the recommended clear space around the charging dock for optimal robot navigation.
5.3 Алгачкы заряддоо
Place the robot onto the charging dock, ensuring the charging contacts on the robot align with those on the dock. The robot's indicator light will pulse during charging and turn solid when fully charged. For first-time use, charge the robot for at least 6 hours.
5.4 Lefant тиркемесине туташуу
- Download the "Lefant" app from the App Store (iOS) or Google Play Store (Android).
- Каттоо эсебин жана кирүү.
- Tap "+" to add a device and select your Lefant M3L model.
- Follow the in-app instructions to connect the robot to your home Wi-Fi network (2.4GHz only).
- Once connected, you can control the robot, set schedules, and monitor cleaning status via the app.
6. Иштөө нускамалары
6.1 Тазалоо циклин баштоо
- Кол менен баштоо: Press the Power/Clean button on the robot once. The robot will automatically start cleaning in Auto mode.
- Колдонмону башкаруу: Open the Lefant app, select your M3L robot, and tap "Start Cleaning".
- Үн менен башкаруу: If integrated with a smart assistant (e.g., Alexa, Google Assistant), use voice commands like "Alexa, ask Lefant to start cleaning."
6.2 Тазалоону тындыруу/Улантуу
Press the Power/Clean button on the robot or use the app to pause a cleaning cycle. Press again to resume.
6.3 Заряддоо докуна кайтуу
The robot will automatically return to the charging dock when its battery is low or when a cleaning cycle is complete. You can also send it back manually via the app.
6.4 Шыпыргы функциясын колдонуу
- Сууну толтуруу: Open the water tank cover and fill it with clean water. Do not use cleaning solutions that are not approved by Lefant.
- Attach Mop Pad: Securely attach the mop pad to the bottom of the water tank.
- Суу резервуар орнотуу: Slide the filled water tank into the designated slot at the back of the robot until it clicks.
- Start a cleaning cycle. The robot will now vacuum and mop simultaneously.

Image 4: Steps for filling the water tank and attaching the mop pad before inserting it into the robot.
Эскертүү: Remove the water tank before charging the robot or if it will be inactive for an extended period.
6.5 Cleaning Modes (via App)
- Автоматтык тазалоо: Робот акылдуу навигациялап, бүт үйүңүздү тазалайт.
- Таза так: Белгилүү бир аймакты катуураак тазалайт.
- Edge Clean: Дубалдарды жана эмеректердин четтерин тазалайт.
- Пландалган тазалоо: Роботту автоматтык түрдө тазалоо үчүн атайын убакыттарды коюңуз.
7. Техникалык тейлөө
Үзгүлтүксүз техникалык тейлөө оптималдуу иштешин камсыздайт жана робот чаң соргучуңуздун иштөө мөөнөтүн узартат.
7.1 Cleaning the Dustbin and Filter (After each use)
- Таштанды урнасын чыгаруу баскычын басып, таштанды челектерин чыгарыңыз.
- Таштанды челектин капкагын ачып, анын ичиндегисин таштанды челекке төгүңүз.
- Remove the HEPA filter and sponge filter. Tap them gently to remove dust. Do not wash the HEPA filter with water.
- Rinse the dustbin with water (ensure it's completely dry before reinstallation).
- Фильтрлерди жана таштанды челекти кайра чогултуп, андан кийин роботко кайра салыңыз.

Image 5: Visual guide on how to remove, empty, and clean the dustbin and its filters.
7.2 Cleaning the Side Brushes (Weekly)
Remove the side brushes by pulling them upwards. Use the cleaning tool to remove any hair or debris tangled around them. Rinse with water if necessary and allow to air dry completely before reattaching.
7.3 Cleaning the Water Tank and Mop Pad (After each mopping session)
Empty any remaining water from the tank. Remove the mop pad and wash it by hand or machine. Allow both to air dry completely before storage or next use.
7.4 Cleaning Sensors and Charging Contacts (Monthly)
Wipe the drop sensors (on the bottom of the robot) and the charging contacts (on the robot and charging dock) with a clean, dry cloth. This ensures proper navigation and charging.

Сүрөт 6: Жакын пландан view of the robot's underside, highlighting the locations of the drop sensors and charging contacts for cleaning.
8. Кыйынчылыктарды
| Көйгөй | Мүмкүн себеп | Чечим |
|---|---|---|
| Робот күйбөйт. | Батареянын аздыгы; Кубат өчүрүү. | Charge the robot; Ensure the main power switch (usually on the side/bottom) is ON. |
| Робот заряддай албайт. | Charging contacts dirty; Dock not powered; Robot not properly aligned. | Clean charging contacts; Check power adapter connection; Manually place robot on dock. |
| Робот бат-баттан тыгылып калат. | Too many obstacles; Loose cables; High thresholds. | Clear the cleaning area; Use virtual boundaries if available; Block off problematic areas. |
| Начар тазалоо көрсөткүчү. | Dustbin full; Filters clogged; Side brushes worn. | Empty dustbin; Clean/replace filters; Clean/replace side brushes. |
| Чыпкалоо функциясы иштебейт. | Water tank empty; Mop pad dirty/dry; Water outlet clogged. | Fill water tank; Clean/wet mop pad; Check water tank for blockages. |
| Колдонмого туташуу маселелери. | Incorrect Wi-Fi password; Router too far; 5GHz Wi-Fi used. | Ensure 2.4GHz Wi-Fi; Re-enter password; Move robot closer to router; Restart router/robot. |
9. Техникалык шарттар
| Өзгөчөлүк | Деталь |
|---|---|
| Модель аты | M3L |
| Бренд | Лефант |
| Өлчөмдөрү (L x W x Y) | 32L x 32l x 9.7H centimeters |
| Элемент Салмагы | 9.7 килограмм |
| Батарея түрү | Литий-ион |
| Чыпка түрү | HEPA |
| Башкаруу түрү | Колдонмо башкаруу, Үн башкаруу |
| Өзгөчөлүктөр | Dry and Wet Cleaning, Carpet Cleaning |
| Сунушталган бет | Hard floors, Wood floors, Tiles, Carpets |
| Форма фактору | Тегерек |
| Power Source | Батарея менен иштейт |
| Камтылган компоненттер | Швабранын башы, суу багы |
10. Кепилдик жана Кардарларды колдоо
Lefant products come with a standard manufacturer's warranty. For detailed warranty terms and conditions, please refer to the warranty card included in your package or visit the official Lefant webсайт.
If you encounter any issues or have questions regarding your Lefant M3L Robot Vacuum and Mop, please contact Lefant Customer Support. You can usually find contact information (email, phone, or online chat) on the official Lefant website or through the Lefant app.
Please have your model number (M3L) and purchase information ready when contacting support.