1. Киришүү
This manual provides essential information for setting up, operating, maintaining, and troubleshooting your Auusda 16-inch FHD Laptop T161N. Please read this manual thoroughly before using your device to ensure proper function and longevity.
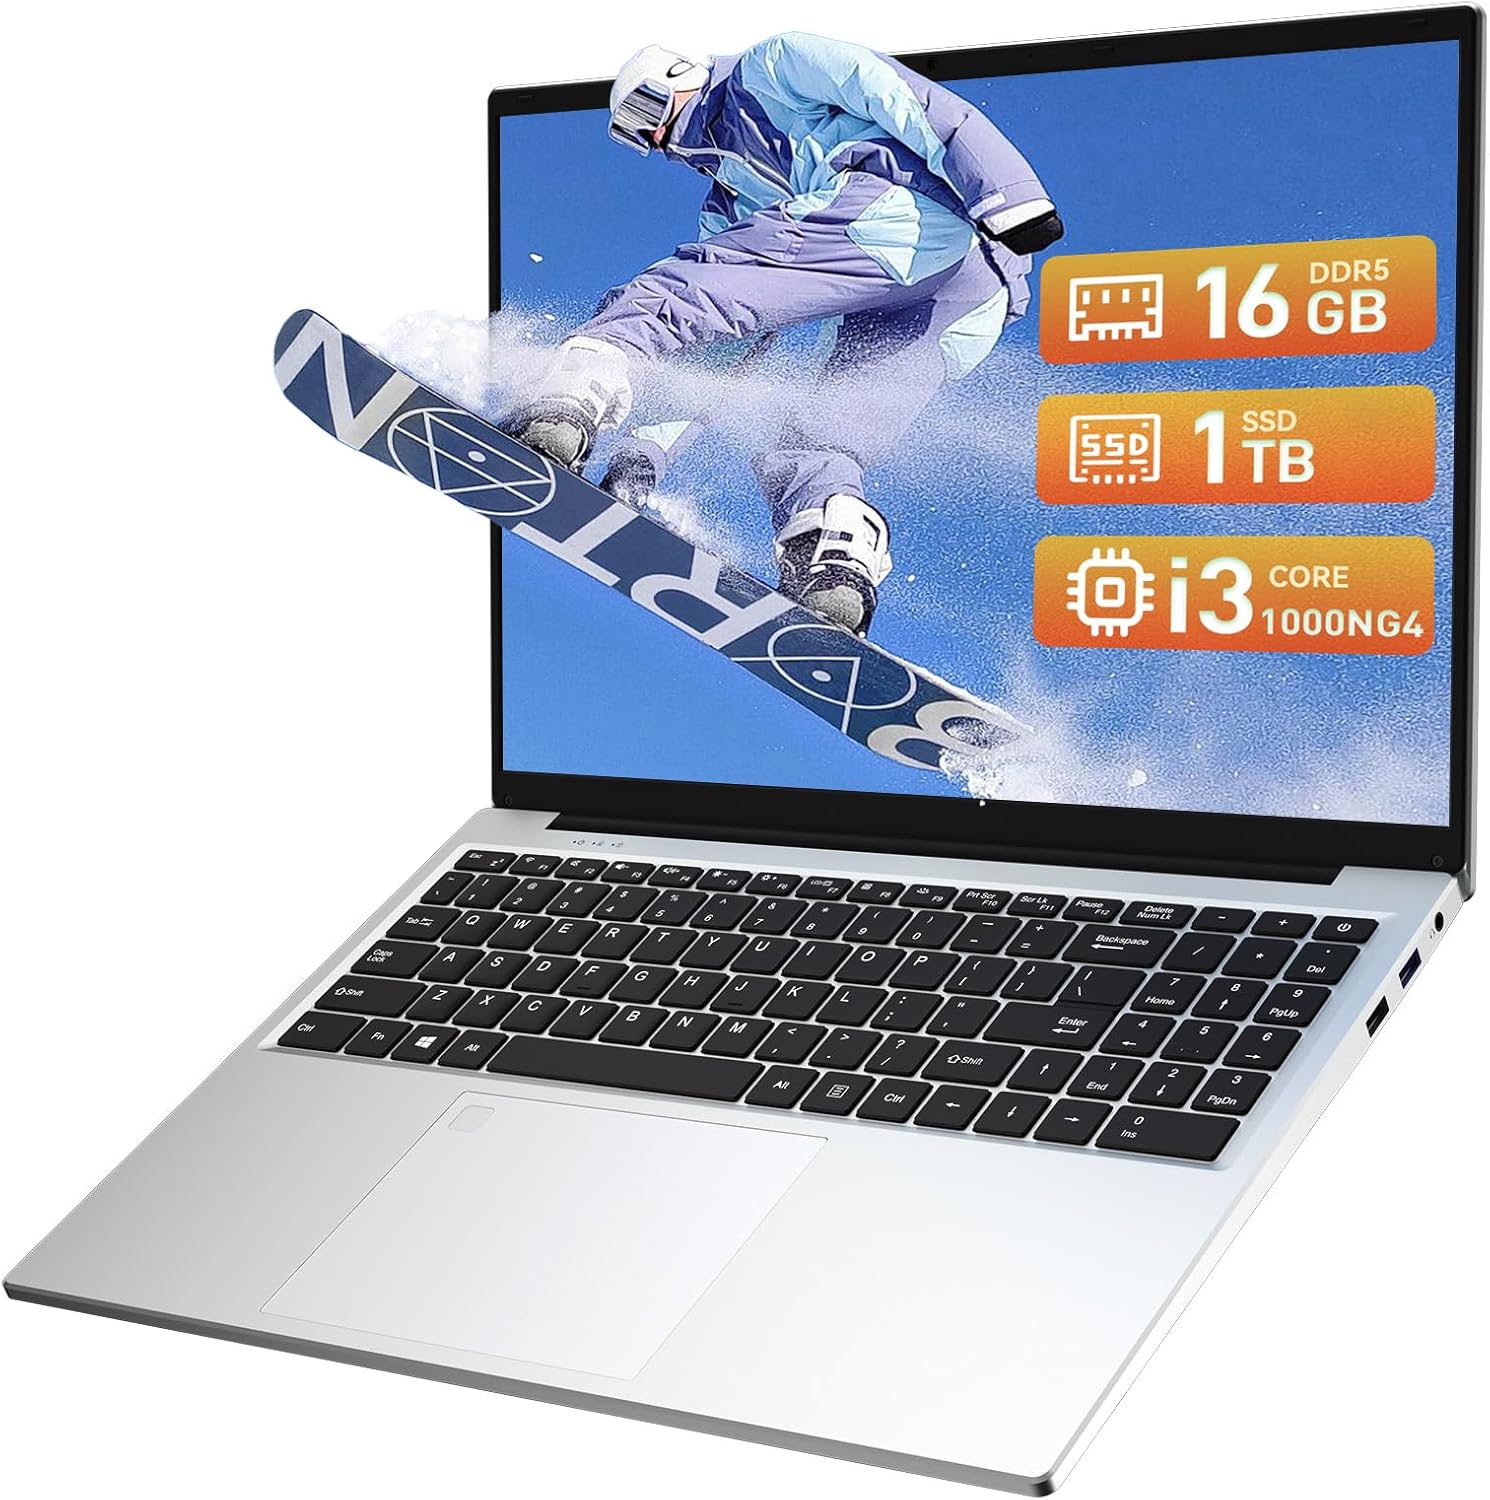
Image: The Auusda 16-inch FHD Laptop T161N, showcasing its sleek design and screen.
2. Кутуда эмне бар
Upon opening your Auusda T161N laptop package, verify that all the following items are included:
- Auusda 16-inch FHD Laptop T161N
- Кубат адаптери/заряддагыч
- Көрсөтмө (бул документ)
- Keyboard Cover

Image: A visual representation of the items included in the Auusda T161N laptop packaging.
3. Продукт бүтүп калдыview
3.1 Негизги өзгөчөлүктөрү
- Дисплей: 16-inch Full HD (1920x1080) IPS screen with 180° viewбурч.
- Процессор: Intel Core i3-1000NG4 (up to 3.2GHz).
- Эстутум: 16 ГБ DDR4 RAM.
- Сактагыч: 1TB PCIe SSD.
- Байланыш: Wi-Fi 6, Bluetooth 5.3.
- Коопсуздук: Fingerprint Reader.
- Киргизүү: Backlit Keyboard.
- Операция системасы: Windows 11 Pro.
3.2 Порттор жана туташтыргычтар
The Auusda T161N laptop is equipped with various ports for versatile connectivity:
- USB 3.0 порттору (x2)
- Full-Function Type-C Port (x1) - Supports data transfer, screen mirroring, and charging.
- USB 2.0 порту (x1)
- Mini HDMI Port (x1)
- 3.5mm Standard Headphone Jack (x1)
- Microphone Input (shared with headphone jack)
- Заряддоо порту

Image: A detailed diagram illustrating the location and type of ports on the Auusda T161N laptop.
3.3 Визуалдык кошумчаview
Видео: Бүттүview of the Auusda 16-inch FHD Laptop T161N, demonstrating its design and key features.
4. Орнотуу
4.1 Алгачкы заряддоо
- Ноутбуктун кубаттоо портуна кубат адаптерин туташтырыңыз.
- Кубат адаптерин розеткага сайыңыз.
- Алгачкы колдонуудан мурун, же батарейка индикатору жетиштүү зарядды көрсөткөнгө чейин ноутбукту жок дегенде 30 мүнөт кубаттоого уруксат бериңиз.
4.2 Powering On and Initial Windows Setup
- Ноутбукту күйгүзүү үчүн клавиатурада жайгашкан кубат баскычын басыңыз.
- Windows 11 Pro орнотуу процессин аяктоо үчүн экрандагы көрсөтмөлөрдү аткарыңыз. Буга аймакты, тилди тандоо, Wi-Fi тармагына туташуу жана колдонуучу аккаунтун түзүү кирет.
- Ensure you have an active internet connection for Windows updates and driver installations during the setup.
5. Иштөө нускамалары
5.1 Keyboard Functions (Fn + Function Keys)
The laptop features a full-size keyboard with dedicated function keys that can be accessed by pressing the Fn баскычын тиешелүү функциялык баскыч менен айкалышта (F1-F12).
- Арткы жарык клавиатура: Басыңыз Fn + F9 to cycle through 2 brightness levels. Pressing it a third time turns the backlight off.
- Num Lock: Басыңыз Fn + Num Lk to toggle the numeric keypad on or off.
- Үндү көзөмөлдөө: Колдонуу Fn + Speaker keys (F1-F3) to mute, decrease, or increase volume.
- Жарыктыкты көзөмөлдөө: Колдонуу Fn + Sun keys (F4-F5) to decrease or increase screen brightness.

Image: A visual guide to using the Fn (Function) keys on the Auusda T161N keyboard for various controls.
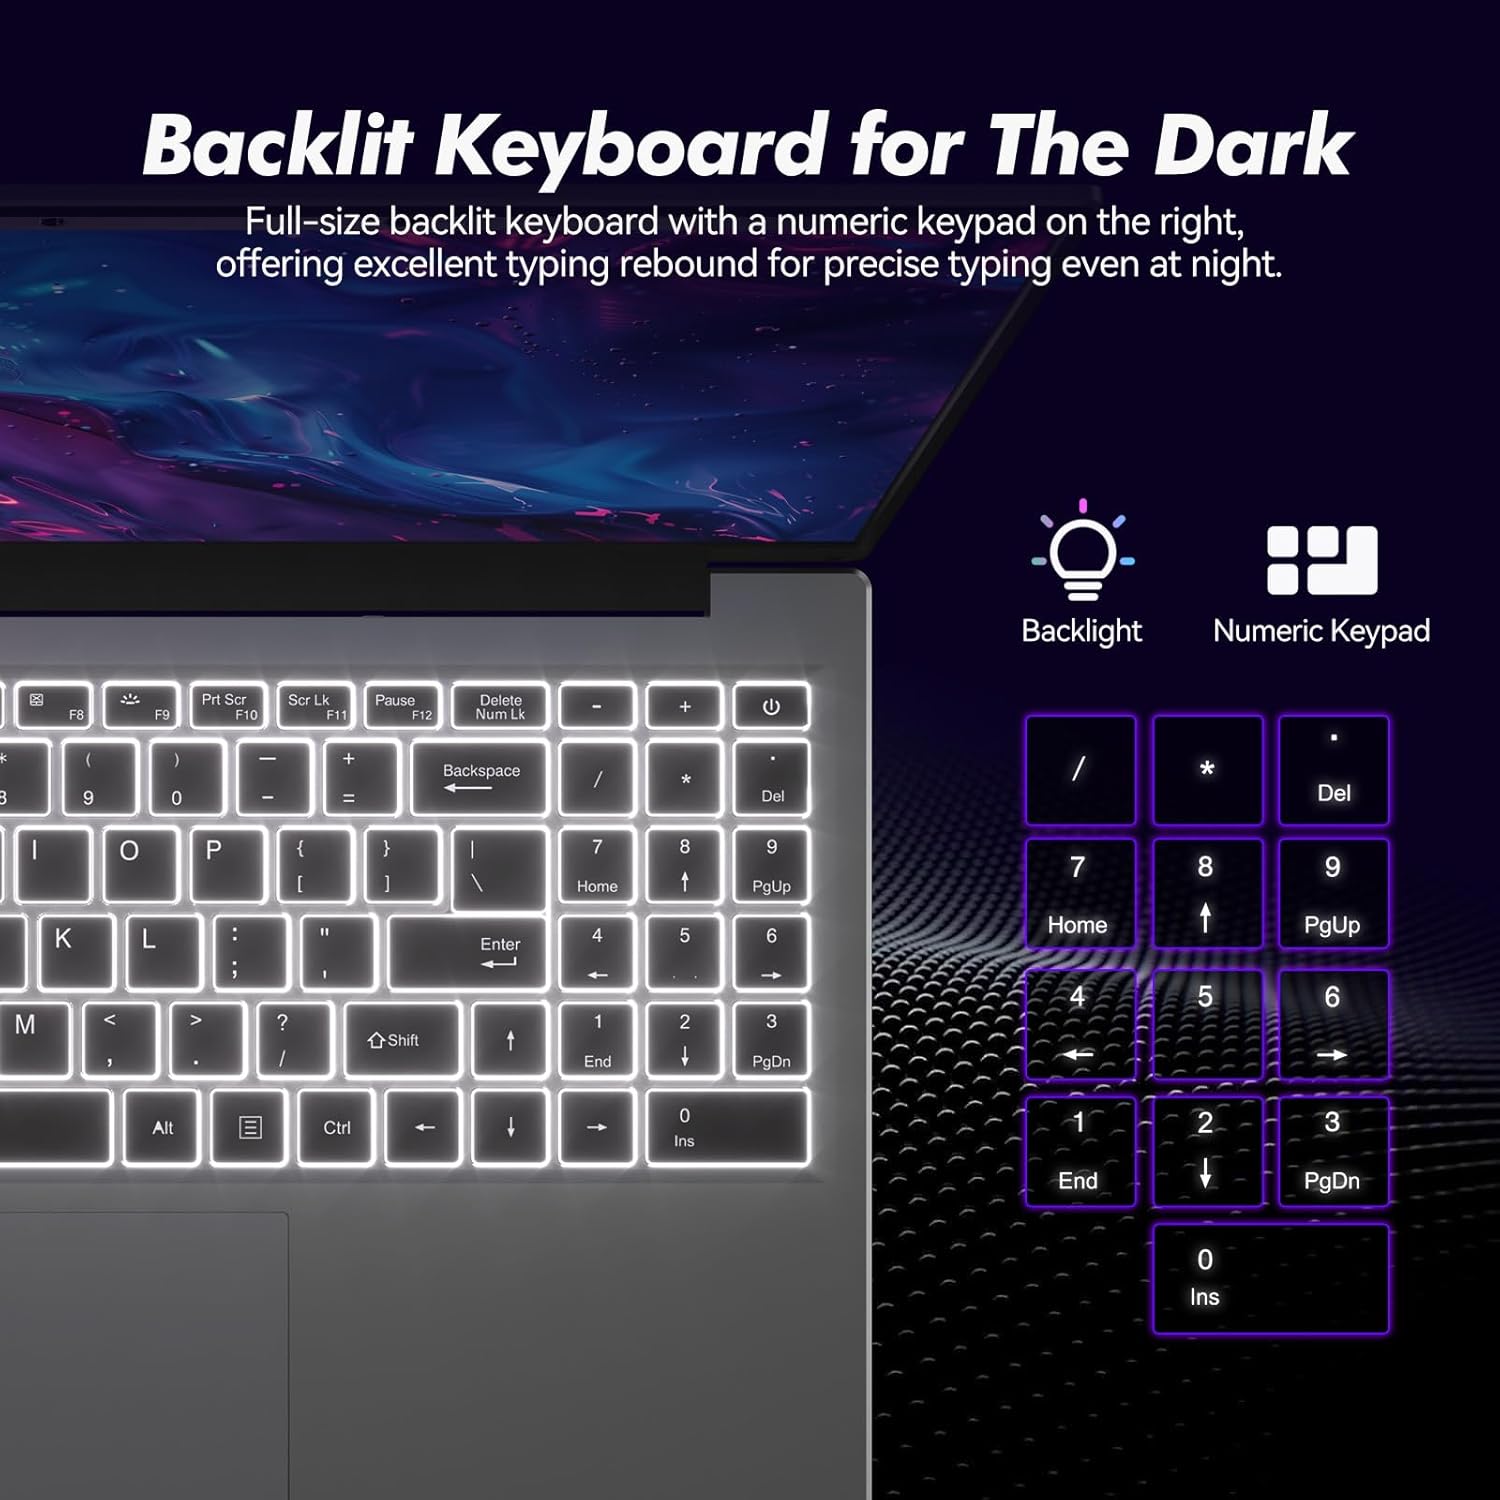
Сүрөт: Жакын план view of the backlit keyboard and numeric keypad, highlighting their functionality.
5.2 Манжа изин окугуч
The integrated fingerprint reader provides a secure and fast way to unlock your laptop. To set up fingerprint recognition:
- Windows Орнотуулары > Каттоо эсептери > Кирүү параметрлери бөлүмүнө өтүңүз.
- Under 'Windows Hello Fingerprint', click 'Set up'.
- Follow the on-screen prompts to register your fingerprint.
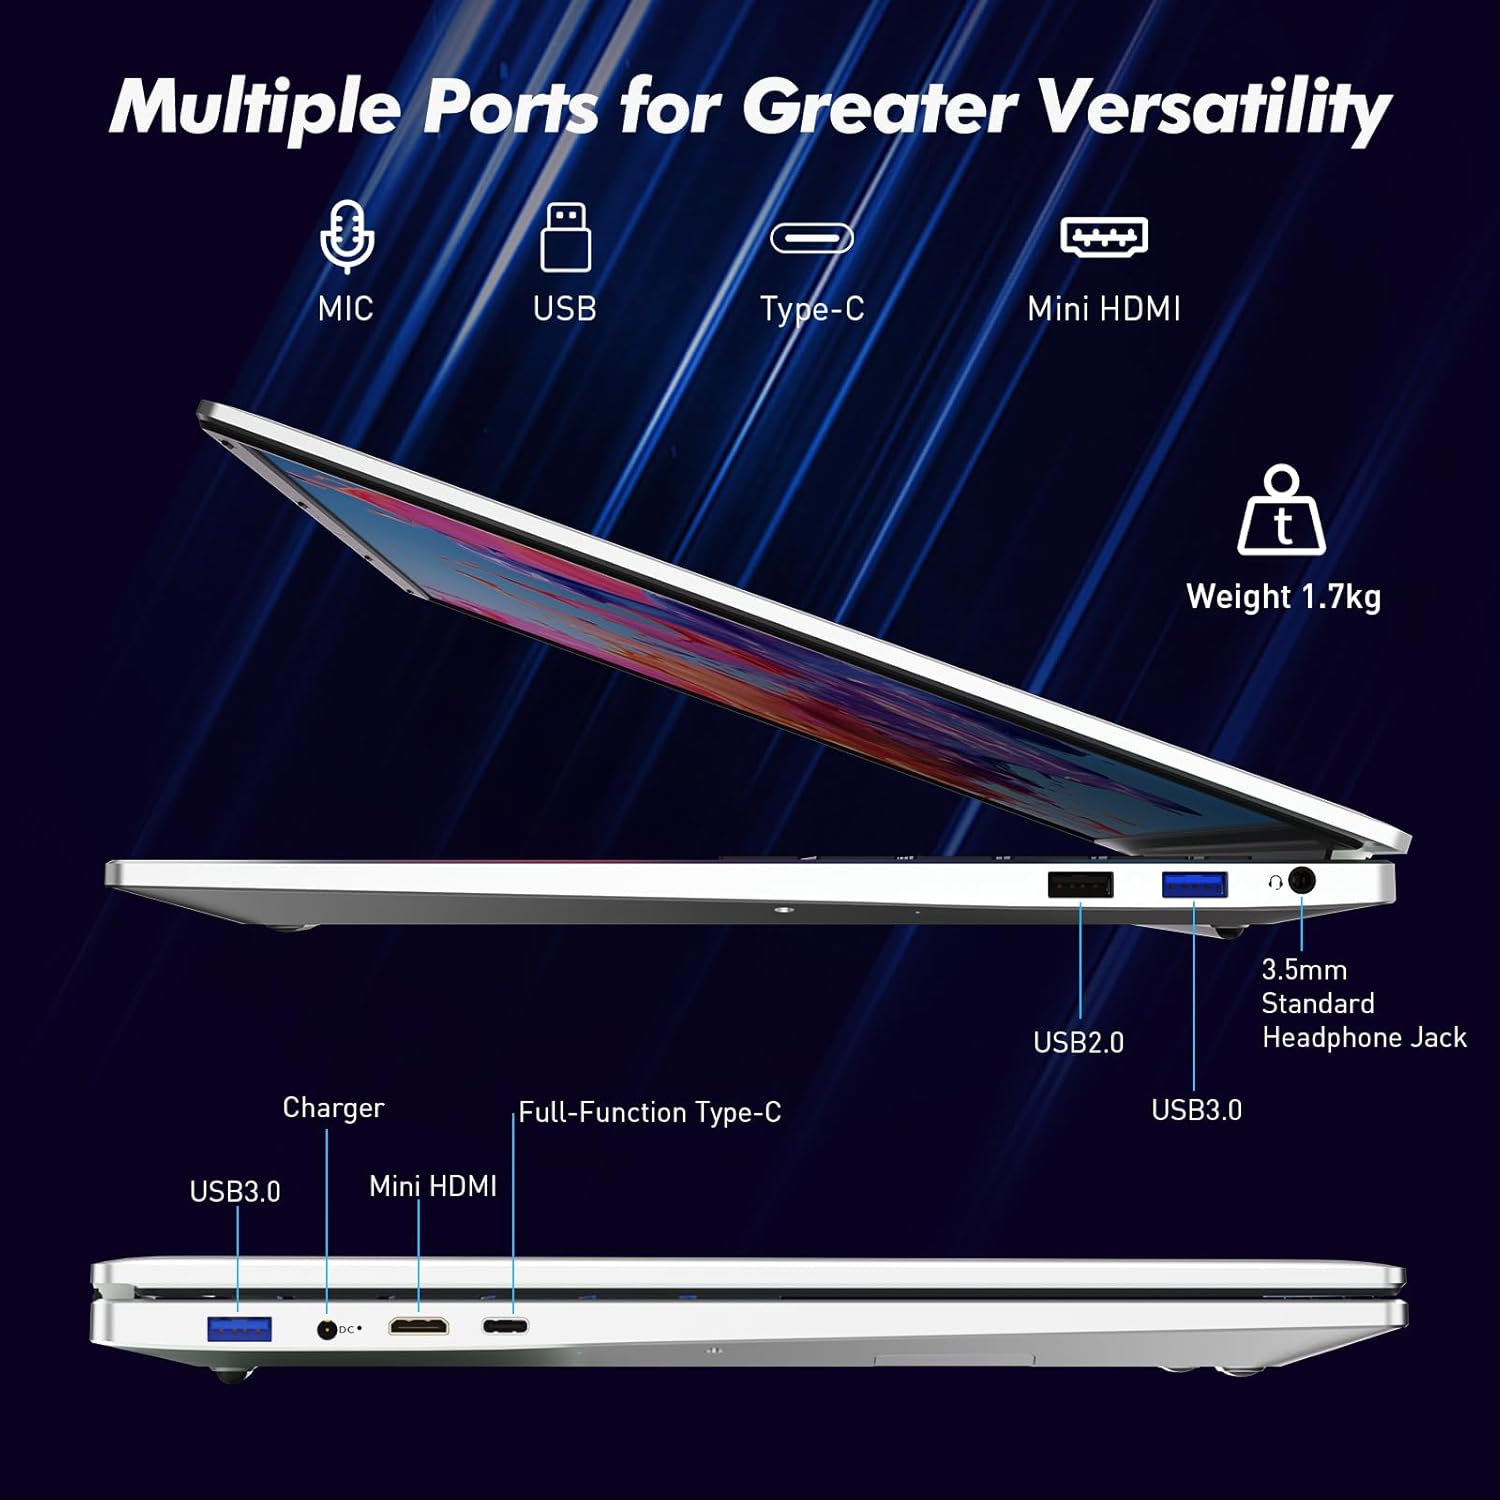
Image: A visual representation of the fingerprint reader location and its quick unlock capability.
5.3 Type-C Connectivity
The full-function Type-C port offers versatile connectivity options:
- Маалыматтарды өткөрүү: Connect compatible devices for high-speed data exchange.
- Экранды чагылдыруу: Output video to an external display using a compatible Type-C to HDMI/DisplayPort adapter (sold separately).
- Заряддоо: Charge the laptop using a compatible Type-C power delivery charger.
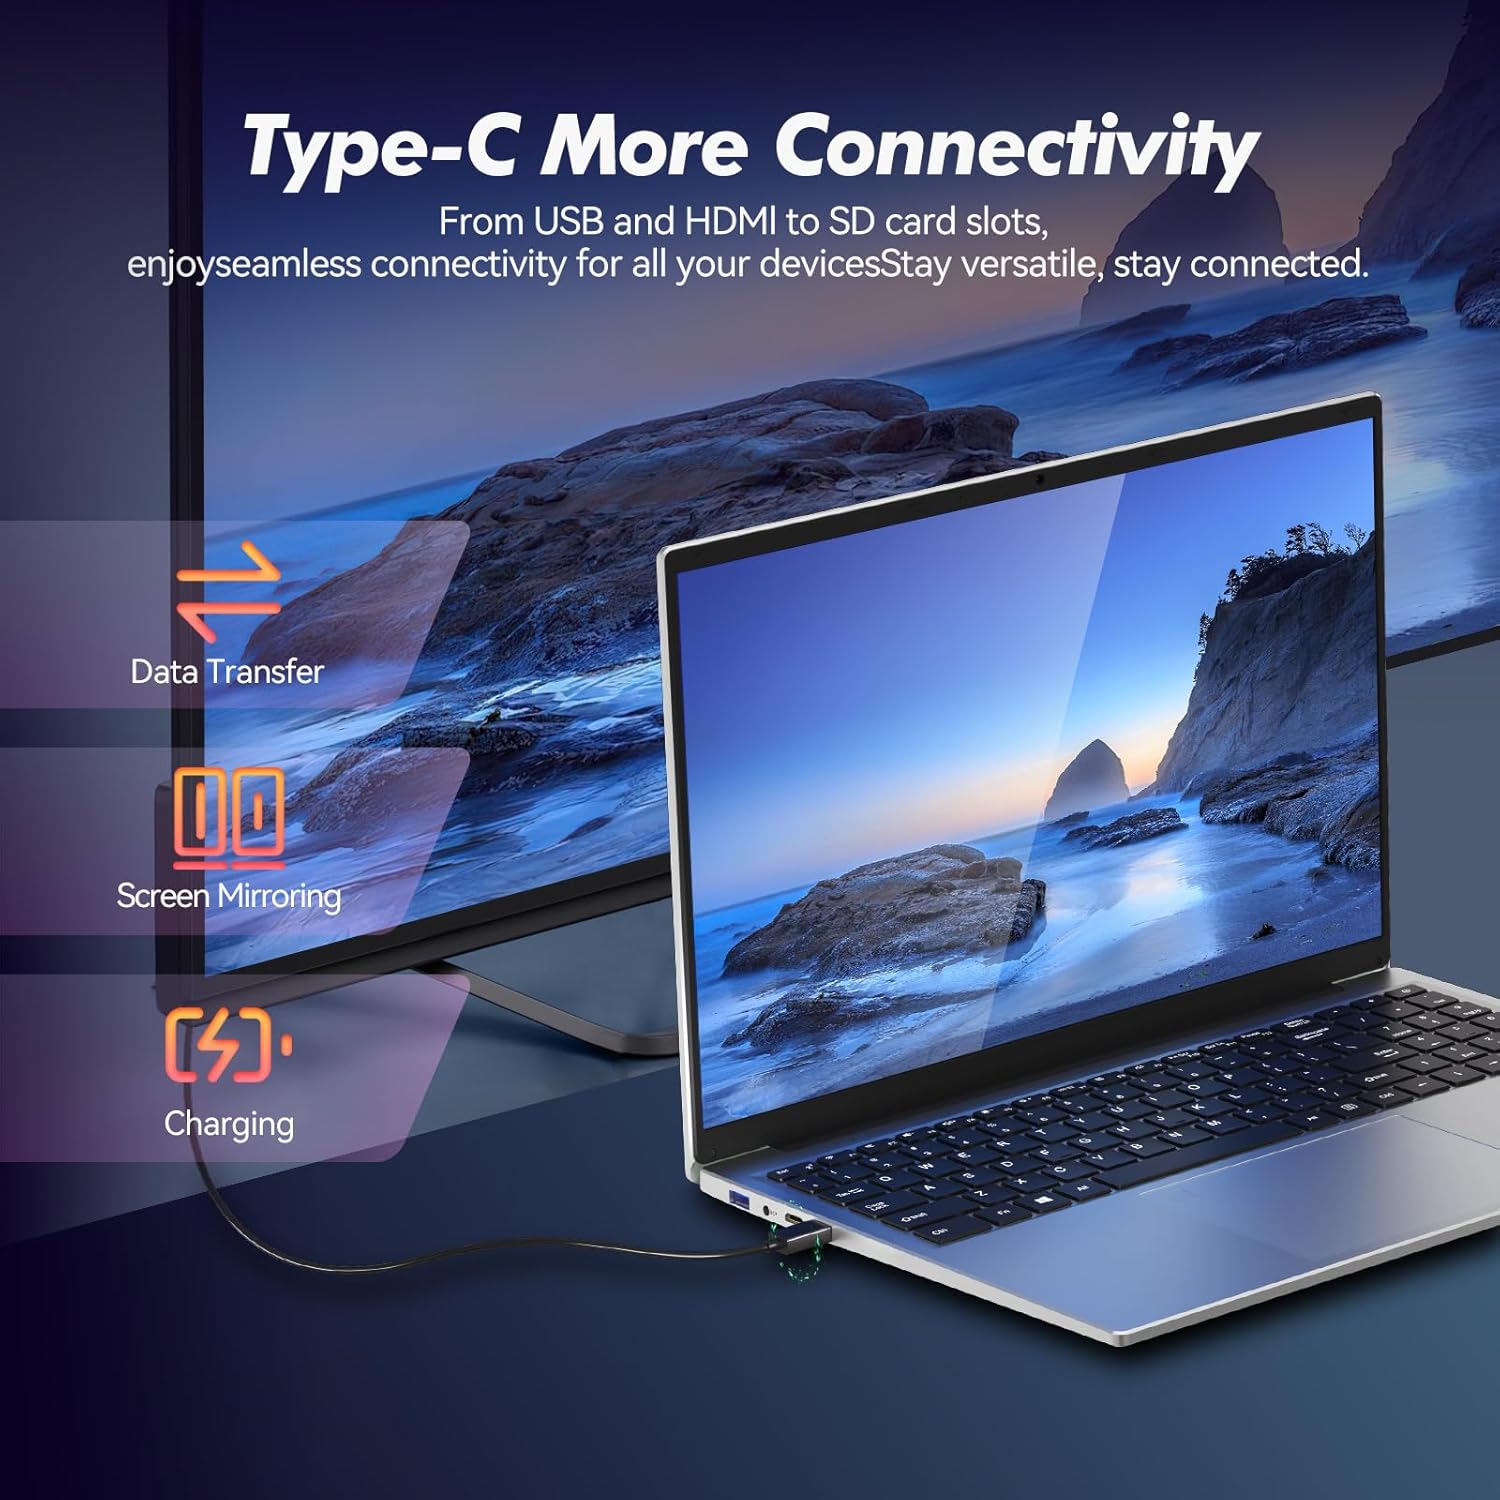
Image: Illustrates the multi-functional capabilities of the Type-C port, including data transfer, screen mirroring, and charging.
5.4 Wi-Fi 6 and Bluetooth 5.3
The laptop supports Wi-Fi 6 for faster and more stable wireless internet connections and Bluetooth 5.3 for connecting wireless peripherals.
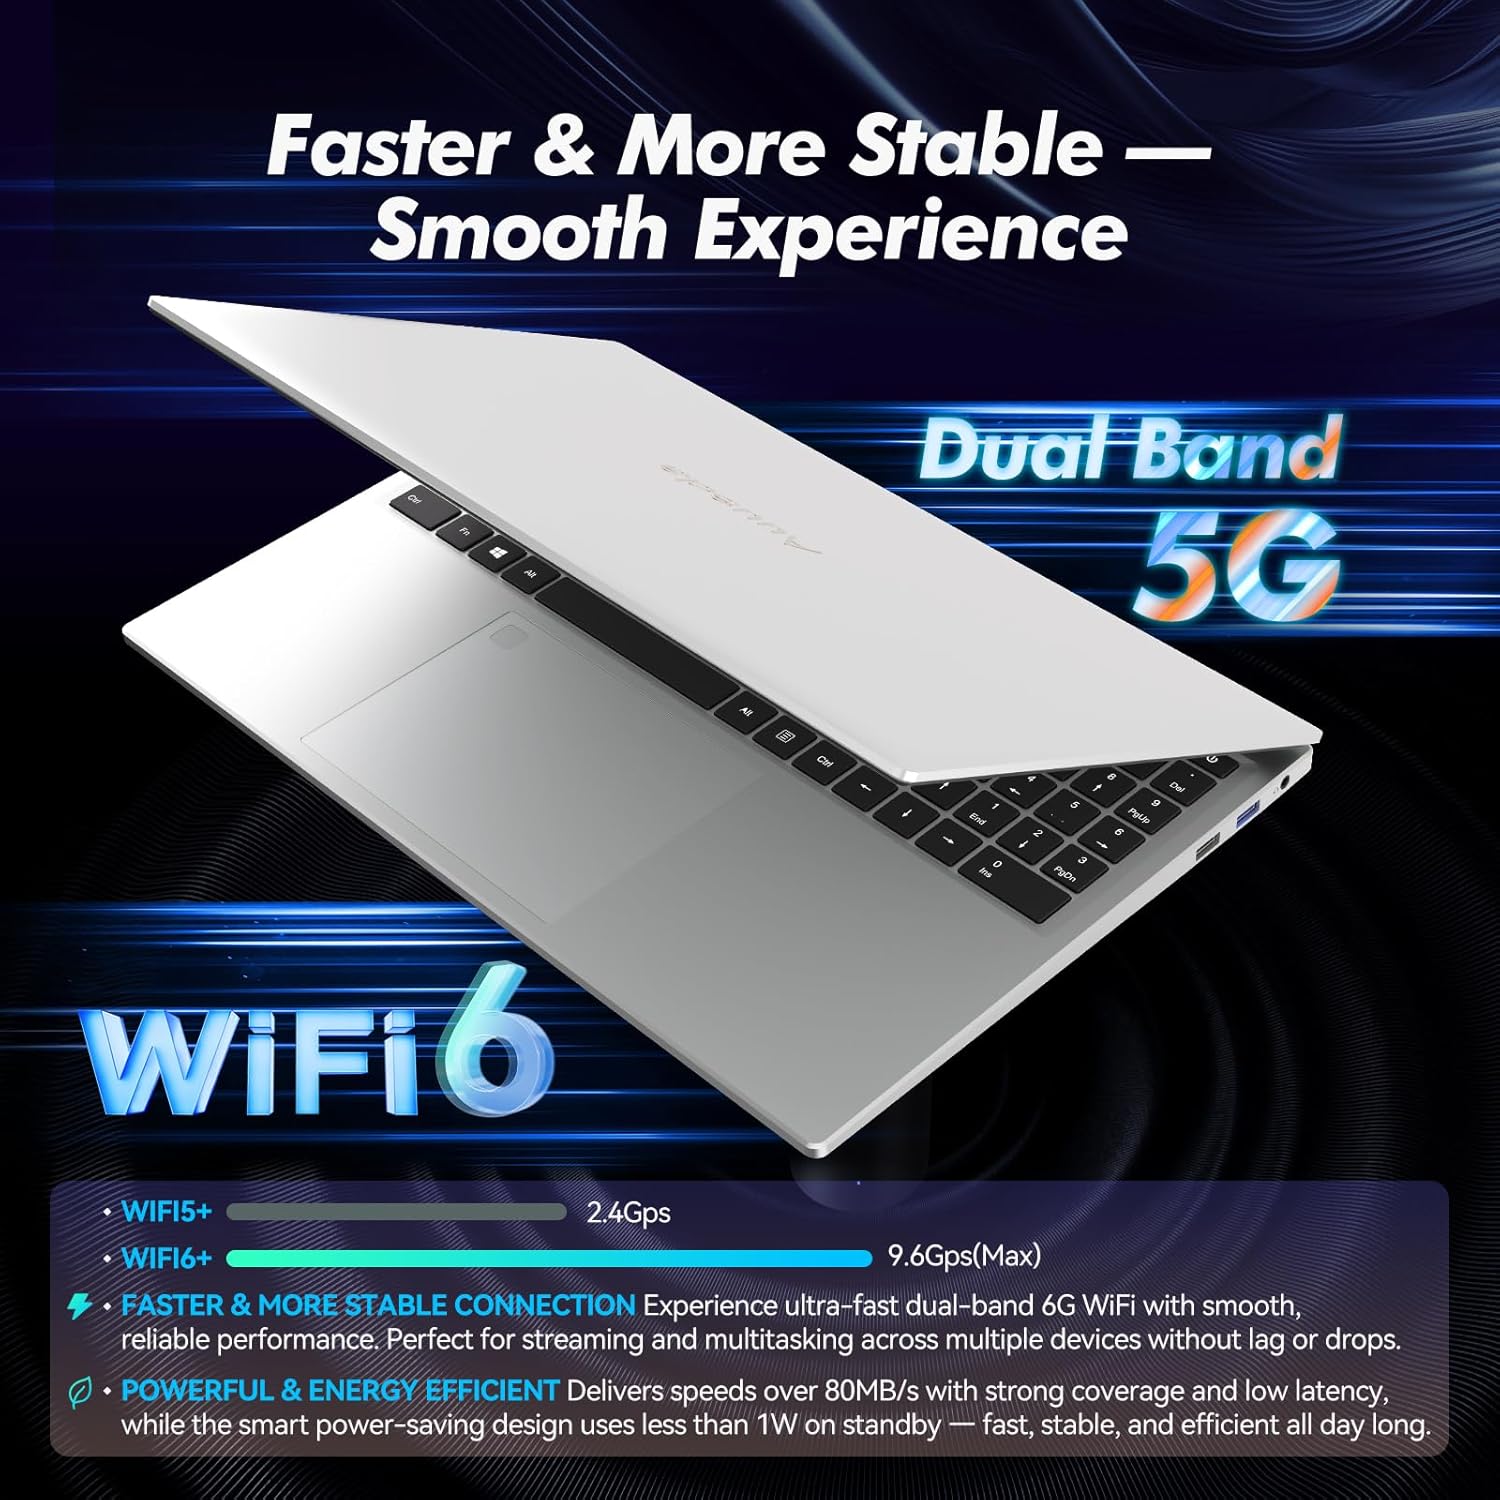
Image: Highlights the advanced wireless connectivity of the laptop, including Wi-Fi 6 and Dual Band 5G support.
6. Техникалык шарттар
Below are the detailed technical specifications for the Auusda 16-inch FHD Laptop T161N:
| Өзгөчөлүк | Спецификация |
|---|---|
| Модель номери | T161N |
| Screen Size | 16 дюйм |
| Screen Resolution | 1920 x 1080 пиксел (FHD) |
| Процессор | Intel Core i3-1000NG4 (1.09 GHz, up to 3.2 GHz) |
| RAM | 16 ГБ DDR4 SDRAM |
| Катуу диск | 1 TB SSD (PCIe) |
| Графикалык сопроцессор | Iris Plus Graphics G4 48EUs (Integrated) |
| Операция системасы | Windows 11 Pro |
| Зымсыз түрү | 802.11ax (Wi-Fi 6), Bluetooth 5.3 |
| USB 3.0 порттору | 2 |
| USB 2.0 порттору | 1 |
| Элемент Салмагы | 5.21 фунт |
| Продукциянын өлчөмдөрү | 14.17 x 10.83 x 0.71 дюйм |
| Түс | Silver |
| Батареялар | 1 12V батарейка (киргизилген) |
7. Техникалык тейлөө
Regular maintenance helps ensure the optimal performance and longevity of your laptop.
7.1 Тазалоо
- Экранды жана сырткы беттерди тазалоо үчүн жумшак, мамыксыз чүпүрөктү колдонуңуз. Өжөр тактар үчүн бир аз сүртүңүзampкездемени суу же экранды коргоочу тазалоочу каражат менен сүртүңүз.
- Ноутбукка түз суюктук чачуудан алыс болуңуз.
- Клавиатура баскычтары менен желдетүү торлорунан чаңды тазалоо үчүн кысылган абаны колдонуңуз.
7.2 Программалык камсыздоо жаңыртуулары
- Regularly check for and install Windows updates to ensure system stability and security. Go to Settings > Windows Update.
- Keep your drivers updated. Windows Update typically handles this, but you may occasionally need to check the Auusda support webатайын драйвер жаңыртуулары үчүн сайт.
7.3 Батареяга кам көрүү
- Батареяны бат-баттан толук кубаттап калуудан алыс болуңуз.
- Ноутбукту узак убакыт бою колдонбосо, салкын, кургак жерде сактаңыз.
8. Кыйынчылыктарды
Бул бөлүмдө ноутбукуңузда кездешүүчү жалпы көйгөйлөр каралат.
8.1 Ноутбук күйбөйт
- Кубат адаптери ноутбукка да, иштеген электр розеткасына да бекем туташып турганын текшериңиз.
- Башка аспапка сайып, розетка иштеп жатканын текшериңиз.
- Эгерде батарейка толугу менен түгөнгөн болсо, кайра күйгүзүүдөн мурун, аны жок дегенде 15-30 мүнөт заряддап коюңуз.
8.2 Wi-Fi туташуу маселелери
- Check if Wi-Fi is enabled in Windows settings (Settings > Network & internet > Wi-Fi).
- Роутериңизди жана модемиңизди өчүрүп күйгүзүңүз.
- Wi-Fi тармагыңыздын диапазонунда экениңизди текшериңиз.
- Update your Wi-Fi drivers if necessary.
8.3 Баскычтоп же сенсордук панел жооп бербей жатат
- Ноутбукту кайра иштетиңиз.
- Check for any physical obstructions or debris under the keys or on the touchpad.
- Ensure the touchpad has not been accidentally disabled (some laptops have a function key or a setting to toggle the touchpad).
For further assistance, refer to the support section below.
9. Кепилдик жана колдоо
Auusda provides customer support and warranty services for its products.
9.1 Кепилдик маалыматы
Auusda laptops typically come with a two-year after-sales service period. Please retain your proof of purchase for warranty claims.
9.2 Кардарларды колдоо
If you encounter issues or require technical assistance, please contact Auusda customer support:
- Электрондук почта колдоо: Send your order number and a video demonstrating the problem to Auusda.ltd@gmail.com.
- Amazon сатып алуучу эсеби: Log in to your Amazon buyer account, find your order, and click "Get Help" or "Ask questions" for direct support.