
1. Киришүү
Сатып алганыңыз үчүн рахматasing the DEPSTECH DS620-TL Triple Lens Endoscope Camera. This device is designed for visual inspection in hard-to-reach areas, featuring a 1080P triple-lens camera, a 5-inch IPS monitor, and an IP67 waterproof semi-rigid cable. This manual provides essential information for safe and effective use of your endoscope camera.
2. Продукт бүтүп калдыview
2.1 Негизги өзгөчөлүктөрү
- 1080P Triple Lens Camera: Equipped with three cameras (front, side B, side C) for multi-angle inspection.
- 5-inch IPS Monitor: Provides clear, real-time images with excellent color reproduction.
- IP67 суу өткөрбөй турган зонд: The 7.9mm diameter semi-rigid cable is waterproof, suitable for wet environments.
- Жөнгө салынуучу LED жарыктары: Features 8+1+1 high-brightness LED chips with adjustable intensity for optimal illumination.
- 5M Semi-Rigid Cable: Offers flexibility and durability for navigating various spaces.
- Кайра заряддалуучу батарея: Built-in battery provides approximately 2-3 hours of continuous operation.
2.2 Пакеттин мазмуну
Пакетте бардык буюмдар бар экенин текшериңиз:
- DEPSTECH DS620-TL Endoscope Camera
- C түрүндөгү кубаттоочу кабель
- Hook and Magnet Attachments
- Storage Drawstring Bag
- User Manual

Сүрөт 2.2: Камтылган аксессуарлар жана негизги блок.
3. Коопсуздук маалыматы
- Аппаратты күйүүчү же жарылуучу газдары бар чөйрөдө колдонбоңуз.
- Аппаратты күчтүү электромагниттик талаалардан алыс кармаңыз.
- Камера объективине күчтүү жарык булактарынын түздөн-түз таасирин тийгизбеңиз.
- Түзмөктү бөлүктөргө бөлүүгө же өзгөртүүгө аракет кылбаңыз. Оңдоо иштерин ыйгарым укуктуу кызматкерлер гана жүргүзүшү керек.
- Ensure the device is fully charged before use to avoid interruptions during inspection.
- Clean the probe and lens after each use, especially after contact with liquids or corrosive substances.
4. Орнотуу
4.1 Аппаратты заряддоо
Connect the provided Type-C charging cable to the device's charging port and a suitable USB power adapter (not included). The charging indicator will show the charging status. A full charge typically takes 2-3 hours.
4.2 Микро SD картаны салуу
To save photos and videos, a Micro SD card (Class 10/Class 10 or higher, 8-32GB) is required (not included). Locate the Micro SD card slot on the side of the monitor unit and insert the card until it clicks into place.
4.3 Аксессуарларды тиркөө
The endoscope comes with hook and magnet attachments. These can be screwed onto the tip of the camera probe for retrieving small objects or maneuvering in tight spaces.

Figure 4.3: Magnet and hook attachments for the probe.
5. Иштөө нускамалары
5.1 Күйгүзүү/өчүрүү
Press and hold the power button (usually located on the side or front panel) for a few seconds to turn the device on. The screen will display the DEPSTECH logo. To power off, press and hold the power button again.

Figure 5.1: Monitor button layout and functions.
5.2 Switching Lenses
The DS620-TL features a triple-lens system. Press the lens switch button (often labeled with a camera icon or 'M') to cycle between Front Camera A, Side Camera B, and Side Camera C. This allows for comprehensive viewing without repositioning the probe.

Figure 5.2: Triple lens camera detail.
5.3 LED жарыктыгын жөндөө
Use the up/down arrow buttons on the monitor to adjust the brightness of the LED lights on the camera probe. There are multiple levels of brightness to suit different inspection environments.
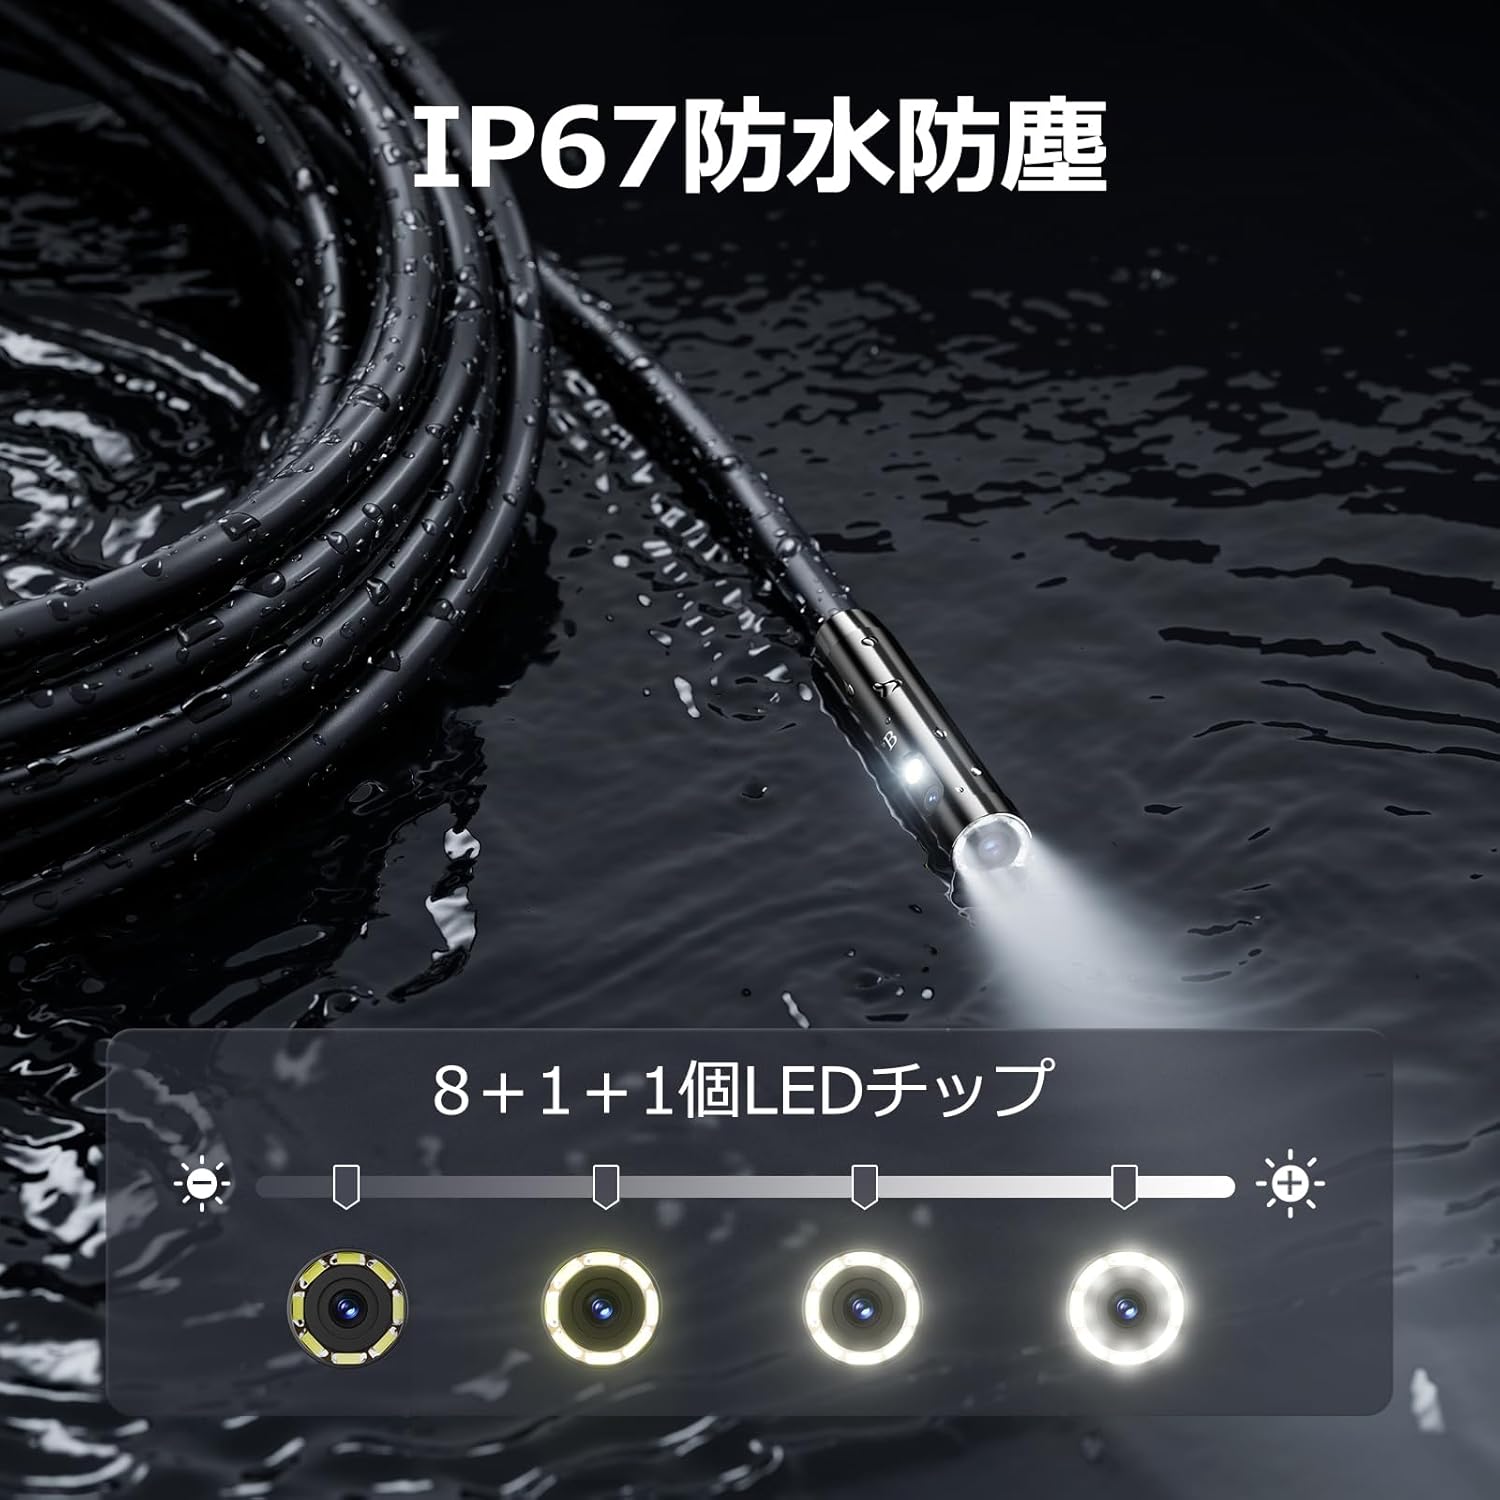
5.3-сүрөт: Жөнгө салынуучу LED жарыгы бар IP67 суу өткөрбөгөн зонд.
5.4 Сүрөткө тартуу жана видеого тартуу
Press the photo/video button (usually a camera icon) to capture a still image. To record video, press and hold the photo/video button; press again to stop recording. Ensure a Micro SD card is inserted to save your media.

Figure 5.4: Monitor interface for photo and video capture.
5.5 Экранды айландыруу
Press the screen rotation button (often a circular arrow icon) to rotate the image on the monitor by 180 degrees. This is useful when the probe is in an inverted position.
5.6 Практикалык колдонулуштар
The DS620-TL is suitable for various tasks including home appliance maintenance, pipe inspection, wall wiring checks, and automotive repairs.

Figure 5.6: Various inspection scenarios for the endoscope.
5.7 Продукциянын демонстрациялык видеосу
Video 5.7: A demonstration of the DEPSTECH DS620-TL endoscope camera in use, showcasing анын өзгөчөлүктөрү жана колдонмолору.
6. Техникалык тейлөө
6.1 Зондду жана линзаны тазалоо
After each use, especially in dirty or wet conditions, gently wipe the camera probe and lens with a soft, dry cloth. For stubborn dirt, a slightly damp кездемени колдонсо болот, андан кийин кургатыңыз. Абразивдүү тазалоочу каражаттарды же эриткичтерди колдонбоңуз.
6.2 Сактоо
Store the endoscope camera in a cool, dry place, away from direct sunlight and extreme temperatures. Use the provided drawstring bag for protection. Ensure the cable is coiled neatly without sharp bends.
6.3 Батареяга кам көрүү
To prolong battery life, avoid fully discharging the device frequently. If storing for an extended period, charge the battery to approximately 50% every three months.
7. Кыйынчылыктарды
7.1 Экранда сүрөт жок
- Түзмөктүн күйгүзүлгөнүн жана толук заряддалганын текшериңиз.
- Check if the camera cable is securely connected to the monitor unit.
- Текшерүү аймагында жетиштүү жарыкты камсыз кылуу үчүн LED жарыгын тууралаңыз.
7.2 Сүрөттөрдү/видеолорду жаздырууга болбойт
- Verify that a compatible Micro SD card (Class 10/Class 10 or higher, 8-32GB) is inserted correctly.
- Micro SD картасында жетиштүү бош орун бар же жок экенин текшериңиз.
- Ensure the Micro SD card is not locked (read-only).
- Try formatting the Micro SD card (this will erase all data).
7.3 Түзмөк кубатталбай жатат
- Ensure the Type-C charging cable is properly connected to both the device and the power source.
- Try using a different USB power adapter or charging cable.
- Заряддоо портунда таштанды же зыяндын бар-жоктугун текшериңиз.
If you encounter issues not listed here or if the problem persists, please contact DEPSTECH customer support.
8. Техникалык шарттар
| Өзгөчөлүк | Спецификация |
|---|---|
| Бренд | DEPSTECH |
| Модель аты | DS620TL-JP |
| Түс | Кара |
| Суу өткөрбөйт деңгээл | IP67 |
| Медиа түрү | SD Memory Card (8-32GB, Class 10/Class 10 or higher recommended) |
| File Формат | MP4, MOV, AVI, JPEG, RAW |
| Видео тартуу форматы | MP4 |
| Viewтапкыч түрү | IPS |
| Сенсор түрү | CMOS |
| Сүрөт сенсорунун чечилиши | 2.1 депутат |
| Фокус функциясы | Fixed Focus |
| Автофокус | Жок |
| Батареянын орточо иштөө мөөнөтү | 2 саат |
| Камтылган компоненттер | Type-C Cable, Attachments, Storage Drawstring Bag |
| Өндүрүүчүнүн Кепилдиги | 2 жыл |
| Келип чыккан өлкө | Кытай |
9. Кепилдик жана колдоо
9.1 Өндүрүүчүнүн Кепилдиги
The DEPSTECH DS620-TL comes with a 24-month manufacturer warranty. Your order number serves as proof of purchase for warranty claims.
9.2 Кардарларды колдоо
For any inquiries, technical assistance, or warranty claims, please contact our dedicated support team:
- Электрондук почта: support@depstech.com
- Жооп убактысы: We aim to respond to all inquiries within 24 hours. For requests submitted on weekends or holidays, a response will be provided on the next business day.

Figure 9.2: DEPSTECH support details.