
Introduction
Сатып алганыңыз үчүн рахматasing the Donner HHCB-12 Electronic Drum Hi-Hat Pad with Stand. This product is designed to enhance your electronic drumming experience by providing a realistic hi-hat feel with a dedicated stand. This manual provides essential information for the proper setup, operation, and maintenance of your new hi-hat pad and stand. Please read this manual thoroughly before use to ensure optimal performance and longevity of the product.
Маанилүү коопсуздук маалыматы
- Always place the hi-hat stand on a stable, level surface to prevent tipping.
- Ensure all screws and clamps are securely tightened before playing to prevent components from shifting or falling.
- Продукцияны суудан, нымдан жана экстремалдык температурадан алыс кармаңыз.
- Продукцияны бөлүктөргө бөлүүгө же өзгөртүүгө аракет кылбаңыз. Бардык тейлөө иштерин квалификациялуу адистерге тапшырыңыз.
- Тумчугуп калуу коркунучун болтурбоо үчүн кичинекей бөлүктөрүн балдар жетпеген жерде сактаңыз.
- Use only the power adapter specified for your electronic drum module, if applicable, when connecting the hi-hat pad.
Пакеттин мазмуну
Төмөнкү нерселердин баары пакетиңизге камтылганын текшериңиз:
- Donner HHCB-12 Electronic Hi-Hat Pad (12-inch)
- Хай-Хат стенди
- Hi-Hat Clutch
- Туташуу кабели
- Колдонуучунун Колдонмосу (бул документ)
Орнотуу нускамалары
Follow these steps to assemble and set up your Donner HHCB-12 Hi-Hat Pad and Stand:
1. Assemble the Hi-Hat Stand
- Unfold the tripod base of the hi-hat stand and ensure it is stable.
- Extend the lower tube of the stand to your desired height and secure it with the wing nut.
- Insert the upper tube into the lower tube. Do not tighten yet.
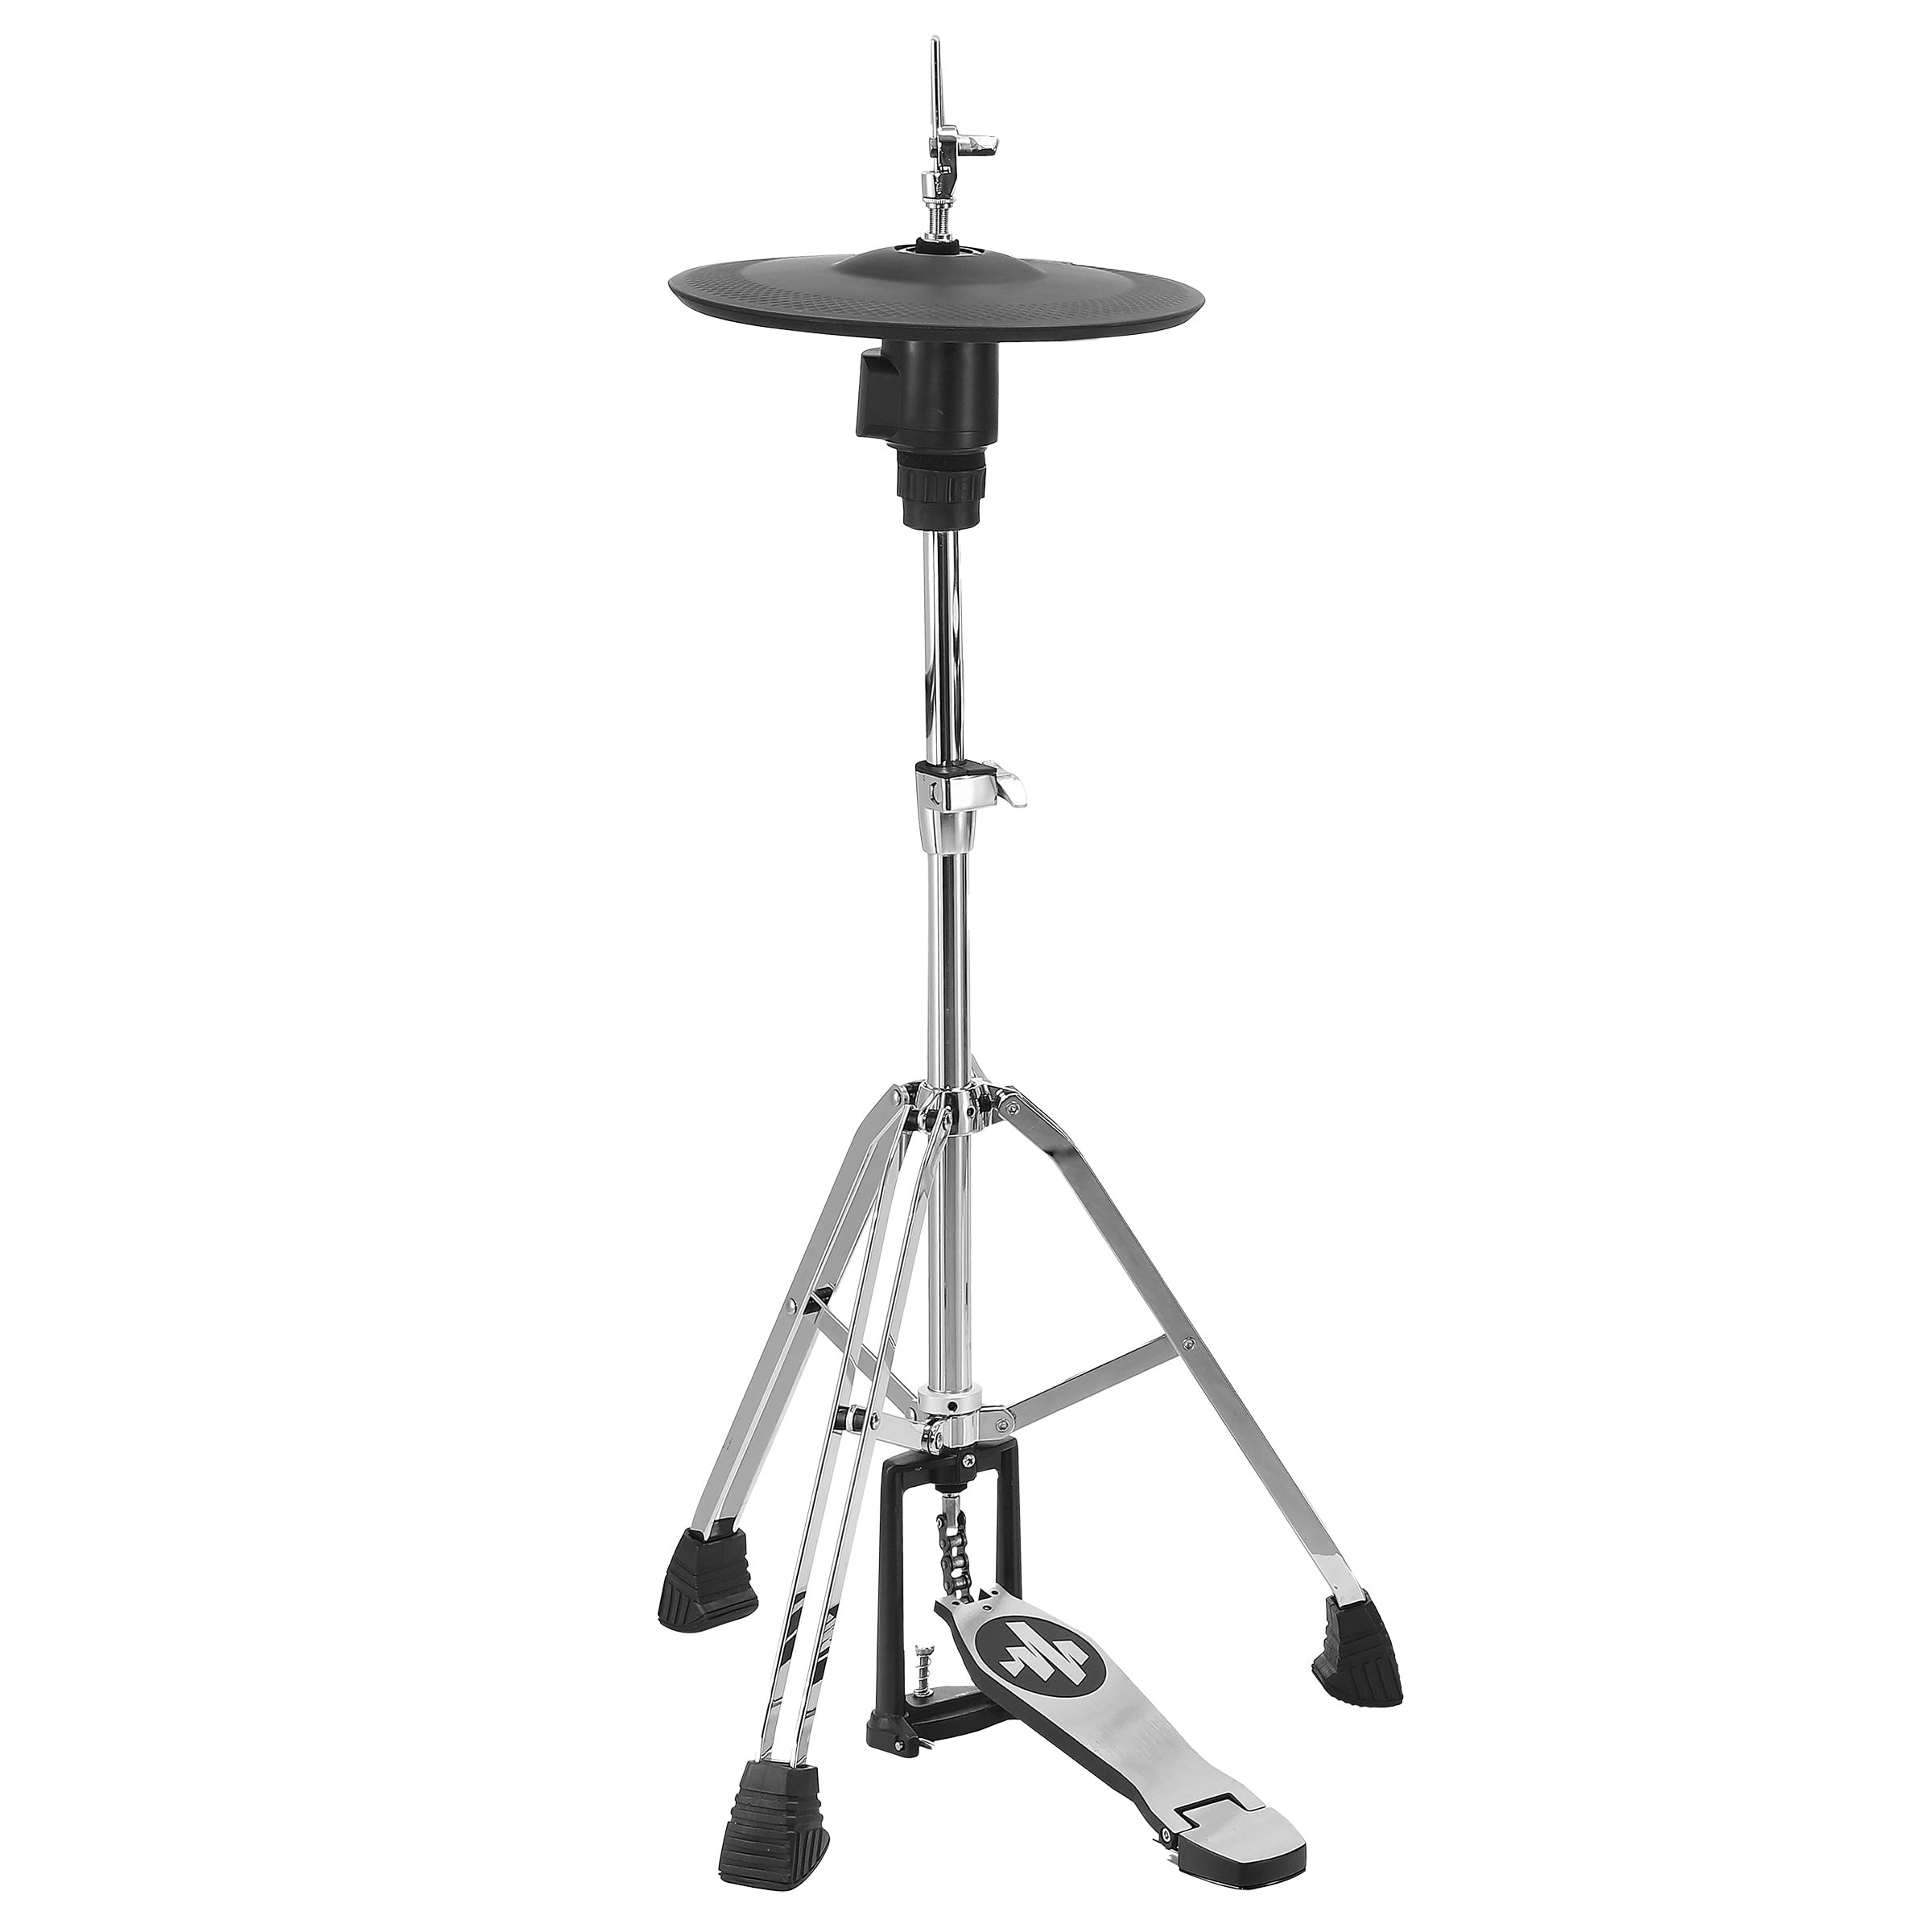
Image: The Donner HHCB-12 Electronic Hi-Hat Pad mounted on its stand, ready for connection to an electronic drum module. The stand features a sturdy tripod base and a foot pedal.
2. Attach the Hi-Hat Pad
- Place the bottom hi-hat pad onto the stand's clutch rod.
- Attach the hi-hat clutch to the top hi-hat pad. Ensure the clutch is securely fastened to the pad.
- Slide the top hi-hat pad (with clutch) onto the stand's rod, above the bottom pad. Adjust the height and angle for comfortable playing.
- Tighten the wing nut on the upper tube to secure the hi-hat pads at the desired height.

Сүрөт: деталдуу view of the Donner HHCB-12 electronic hi-hat pad, showing its black surface and the chrome stand components. The hi-hat clutch mechanism is visible, securing the pad to the stand rod.
3. Connect to Electronic Drum Module
- Locate the hi-hat input on your electronic drum module. This is typically labeled "HH" or "Hi-Hat".
- Connect one end of the provided connection cable to the output jack on the hi-hat pad.
- Connect the other end of the cable to the hi-hat input on your drum module.
- Power on your electronic drum module and select the appropriate hi-hat settings according to your module's manual.
Иштөө нускамалары
The Donner HHCB-12 Hi-Hat Pad is designed to replicate the feel and response of an acoustic hi-hat. Its operation is straightforward once connected to your electronic drum module.
- Hi-Hat ачуу: Strike the pad when the foot pedal is not pressed down.
- Жабык Hi-Hat: Strike the pad while pressing the foot pedal down completely.
- Foot Splash/Chick: Press the foot pedal down quickly without striking the pad to produce a "chick" sound, or release it quickly for a "splash" sound, depending on your module's settings.
- Жарым ачык Hi-Hat: Partially press the foot pedal down and strike the pad. The sensitivity and sound variation for half-open states can usually be adjusted in your drum module's settings.
For detailed sound adjustments and sensitivity calibration, refer to the user manual of your specific electronic drum module.
Техникалык тейлөө жана кам көрүү
- Тазалоо: Wipe the hi-hat pad and stand with a soft, dry cloth. For stubborn dirt, a slightly damp кездеме, андан кийин кургак чүпүрөк колдонсо болот. Абразивдүү тазалагычтардан же эриткичтерден качыңыз.
- Сактагыч: When not in use for extended periods, store the hi-hat pad and stand in a clean, dry environment, away from direct sunlight and extreme temperatures.
- Текшерүүлөр: Periodically check all screws, nuts, and clamps for tightness. Re-tighten as necessary to ensure stability and prevent wear.
- Кабельге кам көрүү: Туташуу кабелин өтө ийип же кыйшайтып албаңыз. Бузуп албаш үчүн аны тыкан сактаңыз.
Проблемаларды чечүү
| Көйгөй | Мүмкүн себеп | Чечим |
|---|---|---|
| No sound from hi-hat pad. |
|
|
| Hi-hat sound is always open or always closed. |
|
|
| Pad feels unstable or wobbly. |
|
|
Техникалык шарттар
| Модел: | HHCB-12 |
| Түрү: | Electronic Hi-Hat Pad with Stand |
| Көлөмдүн өлчөмү: | 12 дюйм |
| Шайкештик: | Compatible with most electronic drum modules (check module specifications for input requirements) |
| Камтылган аксессуарлар: | Hi-Hat Stand, Hi-Hat Clutch, Connection Cable |
Кепилдик жана колдоо
Donner products are designed for reliability and performance. For information regarding warranty coverage, technical support, or service, please refer to the warranty card included with your product or visit the official Donner webсайт.
Donner Official Webсайт: www.donnerdeal.com
When contacting support, please have your product model (HHCB-12) and purchase date available.