Introduction
This manual provides detailed instructions for the installation, operation, and maintenance of your DB DRIVE A3 2250.5 Okur Series A3 Class AB 1000 Watt 5-Channel Ampкөтөргүч. Туура колдонууну камсыз кылуу жана түзмөккө же унааңыздын аудио системасына зыян келтирбөө үчүн, орнотуудан же иштетүүдөн мурун ушул колдонмону кылдаттык менен окуп чыгыңыз.
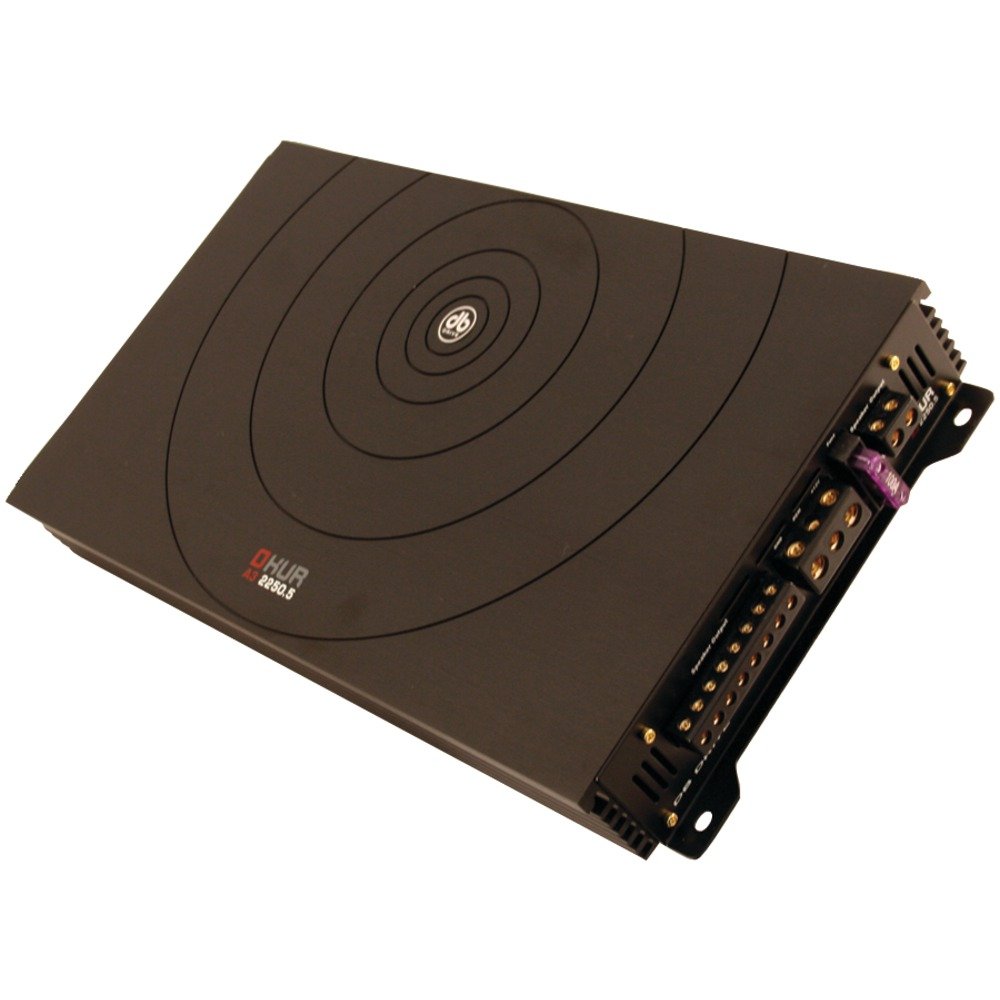
Image: DB DRIVE A3 2250.5 Okur Series A3 Class AB 1000 Watt 5-Channel Ampкөтөргүч. Бул сүрөттө көрсөтүлгөн amplifier's top view, highlighting its compact design and branding.
Коопсуздук маалыматы
Жарааттарды же зыяндарды болтурбоо үчүн ар дайым төмөнкү коопсуздук чараларын сактаңыз:
- Disconnect the vehicle's battery negative terminal before making any power connections.
- Ensure all wiring is properly routed and secured to prevent pinching or short circuits.
- Орнотуу бөлүмүндө көрсөтүлгөндөй, электр жана жерге туташтыруу үчүн тиешелүү өлчөөчү зымдарды колдонуңуз.
- орнотуу ampысып кетүүнүн алдын алуу үчүн желдеткичти жетиштүү деңгээлде орнотулган жерге коюңуз.
- Орнотуудан качыңыз amplifier in areas exposed to moisture or excessive vibration.
- Эгерде сиз орнотуу процессинин кайсы бир бөлүгү боюнча күмөн санасаңыз, кесипкөй унаа аудио орнотуучусуна кайрылыңыз.
Орнотуу жана орнотуу
1. Таңгактан чыгаруу жана текшерүү
Кылдаттык менен алып салуу amplifier from its packaging. Inspect the unit for any signs of damage that may have occurred during shipping. Contact your dealer immediately if any damage is found.
2. монтаждоо Ampөмүрлүү
Choose a mounting location that is dry, well-ventilated, and secure. Common locations include under a seat, in the trunk, or behind a panel. Ensure there is sufficient airflow around the amplifier's heatsink.
- жардамы менен монтаждоо тешиктерин белгилеңиз ampшаблон катары көтөргүч.
- Drill pilot holes if necessary, being careful not to damage any vehicle components.
- камсыз кылуу ampмонтаждоо бурамалар менен көтөргүч.
3. Зымдарды туташтыруу
Proper wiring is crucial for performance and safety. Refer to the following guidelines:
- Кубат (BATT+): Connect a heavy-gauge wire (e.g., 4 AWG or 8 AWG depending on total power) directly from the positive terminal of the vehicle's battery. Install an inline fuse holder within 18 inches (45 cm) of the battery.
- Жер (GND): Connect a heavy-gauge wire of the same size as the power wire to a clean, unpainted metal surface of the vehicle's chassis. Ensure a solid, low-resistance connection.
- Алыстан (REM): Connect a smaller gauge wire (e.g., 18 AWG) from the amplifier's remote terminal to the remote output of your head unit. This turns the ampкөтөргүчтү башкы блок менен күйгүзүү жана өчүрүү.
- RCA киргизүү: RCA кабелдерин башкы блоктун алдын ала туташтыргычынан туташтырыңызamp чыгарат amplifier's RCA input jacks. Ensure correct channel matching (Front L/R, Rear L/R, Sub).
- Speaker Outputs: Connect speaker wires from the amplifier's speaker terminals to your speakers. Observe correct polarity (+ to + and - to -). This is a 5-channel amplifier, typically 4 channels for full-range speakers and 1 channel for a subwoofer.
4. Gain, Crossover, and Bass Boost Settings
These settings allow you to fine-tune the amplifier's output to match your audio system and preferences.
- Башкаруу: Adjust the gain to match the output voltage of your head unit. Start with the gain at minimum, then slowly increase it until you hear distortion, then back off slightly. This is not a volume control.
- Crossover (LPF/HPF):
- Төмөн өтүү чыпкасы (LPF): For the subwoofer channel, set the LPF to allow only low frequencies to pass (e.g., 80-120 Hz).
- Жогорку өтүүчү чыпка (HPF): For the full-range channels, set the HPF to block low frequencies from reaching your main speakers (e.g., 80-100 Hz) to prevent distortion and improve sound clarity.
- Bass Boost: Use the bass boost sparingly. Excessive bass boost can lead to distortion and speaker damage. Adjust to taste, ensuring sound remains clear.
Иштөө нускамалары
Once installed and configured, the amplifier will power on automatically with your head unit via the remote turn-on wire. Adjust volume and tone controls primarily from your head unit. The amplifier's settings (gain, crossover) are set during installation and generally do not require frequent adjustment.
Техникалык тейлөө
The DB DRIVE A3 2250.5 ampкөтөргүч минималдуу тейлөөнү талап кылат.
- Тазалоо: Мезгил-мезгили менен аарчып туруңуз ampЧаңды кетирүү үчүн желдеткичтин сыртын жумшак, кургак чүпүрөк менен сүртүңүз. Катуу химиялык заттарды же абразивдүү тазалоочу каражаттарды колдонбоңуз.
- Текшерүү: Occasionally check all wiring connections to ensure they are secure and free from corrosion. Ensure the amplifier's ventilation fins are not obstructed.
Проблемаларды чечүү
Эгер сиз менен көйгөйлөр пайда болсо amplifier, төмөнкү жалпы көйгөйлөрдү жана чечимдерди карагыла:
| Көйгөй | Мүмкүн себеп | Чечим |
|---|---|---|
| Кубат жок / Ampкөтөргүч күйбөйт |
|
|
| Үн чыгышы жок |
|
|
| Distorted Sound |
|
|
| Ampкөтөргүч ысып кетүү (коргоо режими) |
|
|
Техникалык шарттар
| Өзгөчөлүк | Деталь |
|---|---|
| Модель номери | A3 2250.5 |
| Максималдуу кубаттуулук чыгаруу | 1000 Ватт |
| Каналдар | 5-Channel (4 stereo, 1 mono for subwoofer) |
| Ampжашоо класс | AB классы |
| Компоненттер | Audiophile Grade |
| Өлчөмдөрү (L x W x Y) | 53.59 x 30.48 x 10.92 см |
| Салмагы | 6.53 кг |
| Жылуулук башкаруу | DRIVESINK (Okur Series A3 feature) |
Кепилдик жана колдоо
DB Drive products are designed for reliability and performance. This product is covered by a limited warranty. Please refer to the warranty card included with your product or visit the official DB Drive webдеталдуу кепилдик шарттары жана шарттары үчүн сайт.
For technical support, service, or warranty claims, please contact your authorized DB Drive dealer or visit the DB Drive official webбайланыш маалыматы жана колдоо булактары үчүн сайт.


