Introduction
Welcome to the user manual for your SINGER 3116 Simple 18 Stitch Sewing Machine. This machine is designed for ease of use, making it ideal for new sewers while offering features that enhance your sewing experience. It includes 18 built-in stitches, an automatic needle threader, and a fully automatic one-step buttonhole. Please read this manual thoroughly before operating your machine to ensure safe and efficient use.
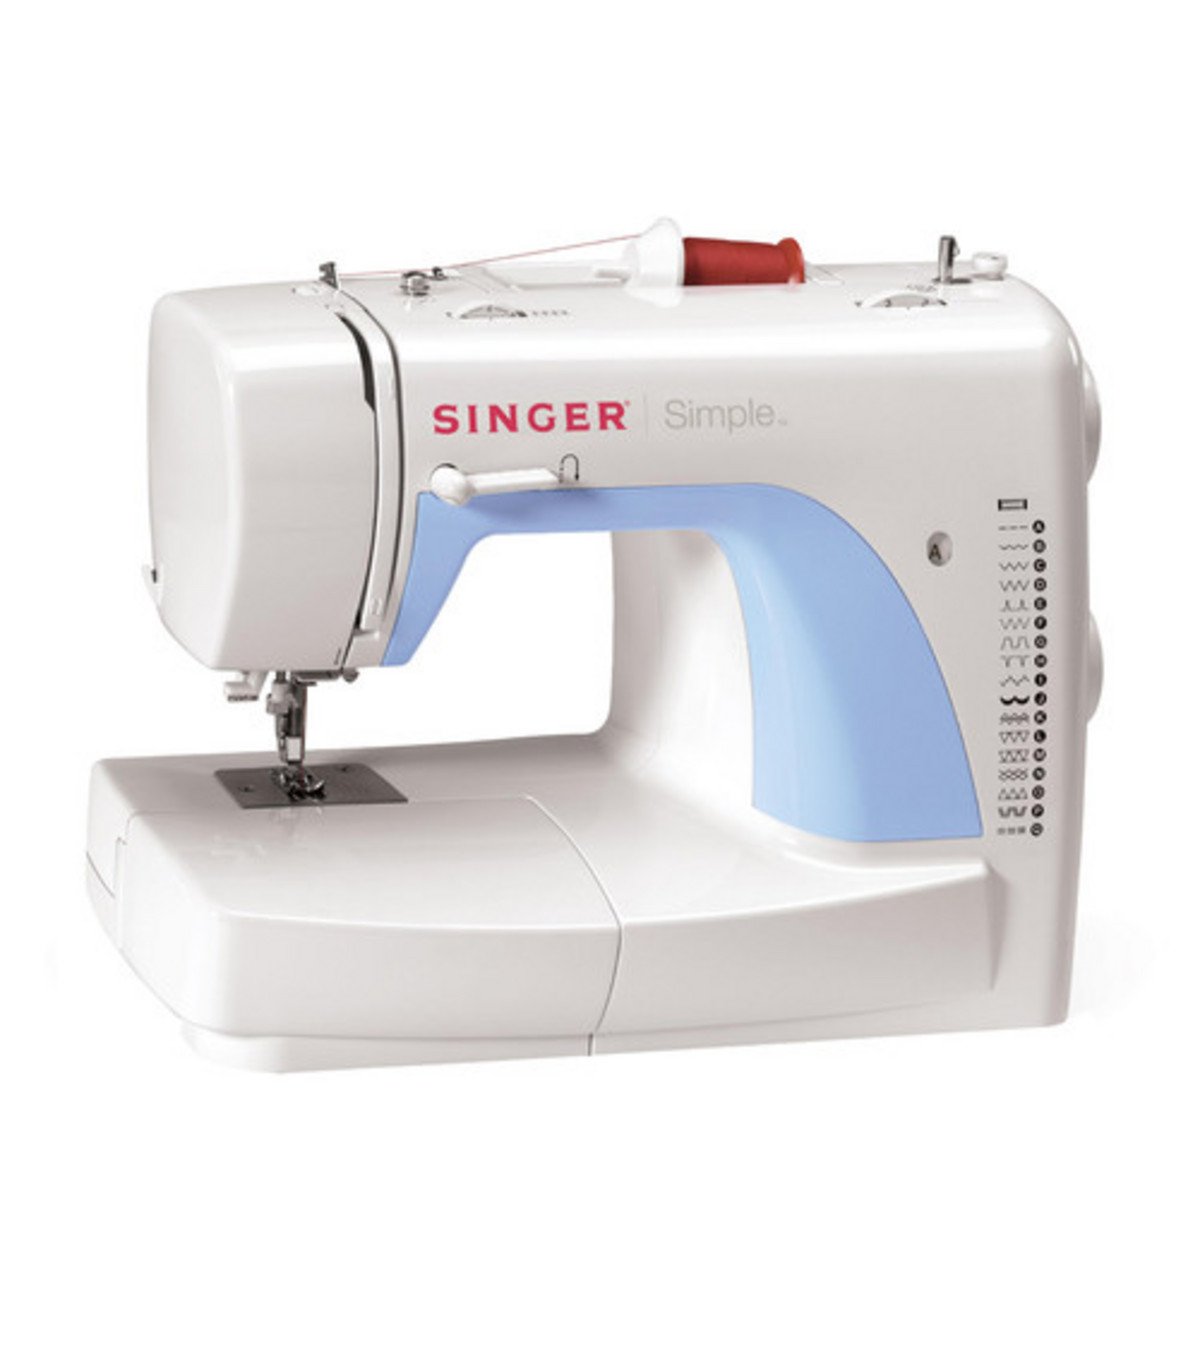
1-сүрөт: SINGER 3116 Simple 18 Stitch Sewing Machine. This image displays the front view of the sewing machine, highlighting its compact design and stitch selection dial.
Жайгашуу
1. Пакеттен чыгаруу жана жайгаштыруу
Carefully remove the machine from its packaging. Place the machine on a stable, flat surface. Ensure there is adequate lighting and space for your sewing projects.
2. Power Connection
- Машинанын сайгычын машинанын электр розеткасына сайыңыз.
- Электр шнурын ылайыктуу электр розеткасына туташтырыңыз.
- The machine is designed for corded electric operation.
3. Катушканы ороо
- Спулдун төөнөгүчтүн үстүнө жиптин катушкасын коюңуз.
- Жипти үстүнкү жиптин багыттоочусу аркылуу жана катушка оромунун тарткыч дискинин айланасынан өткөрүңүз.
- Place an empty Class 15 bobbin onto the bobbin winder spindle.
- Жипти катушканын айланасына кол менен бир нече жолу ороп коюңуз.
- Орап оруучу шпиндельди оңго түртүңүз.
- Press the foot controller gently to start winding. The machine will stop automatically when the bobbin is full.
- Жипти кесип, катушка спиралынын шпинделин солго кайтарыңыз.
4. Катушканы салуу
- Бобин капкагын ачыңыз.
- Жиптин туура багытта (көбүнчө саат жебесине каршы) жайылышын камсыз кылуу менен, оролгон бобинди бобин кутусуна киргизиңиз.
- Жипти тартуу пружинасы аркылуу өткөрүп, жип багыттагычына киргизиңиз.
- Бобин капкагын жабыңыз.
5. Үстүнкү жипти жип менен өткөрүү
- Кол дөңгөлөктүн жардамы менен ийнени эң бийик абалга көтөрүңүз.
- Спулдун төөнөгүчтүн үстүнө жиптин катушкасын коюңуз.
- Жипти үстүнкү жип жетектөөчүсү аркылуу өткөрүңүз.
- Bring the thread down through the right threading channel.
- Loop the thread up through the left threading channel and over the take-up lever.
- Bring the thread down through the needle bar thread guide.
- Use the automatic needle threader (refer to the "Automatic Needle Threader" section for detailed instructions) or manually thread the needle from front to back.
- Ийненин көзүнөн болжол менен 6 дюйм жипти тартыңыз.
Иштөө нускамалары
1. Тигүүнү тандоо
Turn the stitch selector dial to choose one of the 18 built-in stitches. The machine offers basic, stretch, and decorative stitches. Refer to the stitch chart on the machine for visual guidance.
2. Basic Sewing
- Кездемеңизди басуучу буттун астына коюңуз.
- Басуу бутунун рычагын түшүрүңүз.
- Gently press the foot controller to start sewing. The sewing speed is controlled by the pressure applied to the foot controller.
- To reverse stitch, press and hold the reverse lever/button.
- When finished, raise the needle to its highest position, lift the presser foot, and remove the fabric. Cut the threads using the thread cutter.
3. Автоматтык ийне жип өткөргүч
The automatic needle threader simplifies threading the needle. Ensure the needle is in its highest position. Lower the threader mechanism, hook the thread, and release. The thread will be pulled through the needle eye.
4. One-Step Buttonhole
- Бир баскычтуу тешиги бар бутту бекитиңиз.
- Колдонгуңуз келген баскычты топчу тешигинин бутунун кармагычына салыңыз.
- Select the buttonhole stitch on the dial.
- Lower the presser foot and begin sewing. The machine will automatically sew the buttonhole to the correct size.
Техникалык тейлөө
1. Машинаны тазалоо
- Тазалоодон мурун ар дайым машинаны розеткадан ажыратыңыз.
- Ийненин пластинасын жана катушка кутучасын алып салыңыз.
- Берилген кичинекей щетканы (же жумшак щетканы) колдонуп, тоют берүүчү иттердин жана катушканын аймагынан жүн менен чаңды кетириңиз.
- Машинанын сыртын жумшак, кургак чүпүрөк менен сүртүңүз. Суюк тазалоочу каражаттарды колдонбоңуз.
2. Ийне алмаштыруу
- Replace the needle regularly, especially if it becomes bent, dull, or if you notice skipped stitches.
- Ийне клинасын бошотуңузamp screw, remove the old needle, and insert a new one with the flat side facing the back of the machine.
- Ийне clamp коопсуз бураңыз.
Проблемаларды чечүү
| Көйгөй | Мүмкүн себеп | Чечим |
|---|---|---|
| Машина иштебей жатат | Power cord not connected; machine switched off. | Ensure power cord is securely plugged in; turn on the power switch. |
| Өткөрүлгөн тигиштер | Incorrect needle; bent needle; improper threading. | Replace needle with the correct type and size; re-thread the machine correctly. |
| Жиптин үзүлүшү | Improper threading; tension too tight; poor quality thread; bent needle. | Re-thread machine; adjust tension; use good quality thread; replace needle. |
| Кездеме азыктанбайт | Feed dogs lowered; lint accumulation. | Raise feed dogs; clean feed dog area. |
| Looped stitches (bottom) | Upper thread not correctly threaded through tension discs. | Re-thread the upper thread, ensuring it is seated correctly in the tension discs with the presser foot raised. |
Техникалык шарттар
- Модел: SINGER 3116CL Simple
- Тигүүлөрдүн саны: 18 Built-in Stitches (Basic, Stretch, Decorative)
- Топчу тешиктин түрү: 1-Step (Unistyle)
- Bobbin Class: 15
- Thread Delivery: Горизонталдуу
- Жөнгө салынуучу басым: Ооба
- Аксессуар сактагычы: Камтылган
- Продукциянын өлчөмдөрү: 18.2 x 10.5 x 13.8 дюйм
- Элемент Салмагы: 3 фунт
- Кубат булагы: Электр зымдары
- Материал: Пластик
- Түсү: Ак
- UPC: 037431881069
Кепилдик жана колдоо
For specific warranty information, please refer to the warranty card included with your product or visit the official SINGER website. For technical support, replacement parts, or service inquiries, please contact SINGER customer service. Keep your purchase receipt as proof of purchase for warranty claims.
Өндүрүүчү: Ырчы


