1. Киришүү
Сатып алганыңыз үчүн рахматasing the Atlanta 1669/19 Quartz Alarm Clock. This digital alarm clock features a silent movement, a light sensor for automatic display illumination, and a snooze function. This manual provides detailed instructions for setup, operation, and maintenance to ensure optimal performance and longevity of your device.
2. Коопсуздук маалыматы
- Аппаратты суудан жана жогорку нымдуулуктан алыс кармаңыз.
- Avoid exposing the clock to direct sunlight or extreme temperatures.
- Саатты өз алдынча бөлүүгө же оңдоого аракет кылбаңыз. Квалификациялуу тейлөө кызматкерлерине кайрылыңыз.
- Колдонулган батарейкаларды жергиликтүү эрежелерге ылайык таштаңыз.
- Эски жана жаңы батарейкаларды же ар кандай типтеги батареяларды аралаштырбаңыз.
3. Пакеттин мазмуну
- Atlanta 1669/19 Quartz Alarm Clock Unit
- Колдонуучунун Колдонмосу (бул документ)
Эскертүү: Батареялар камтылган эмес жана өзүнчө сатып алынышы керек.
4. Продукт бүтүп калдыview
The Atlanta 1669/19 features a clear digital display, intuitive controls, and a light sensor for enhanced visibility in low-light conditions.
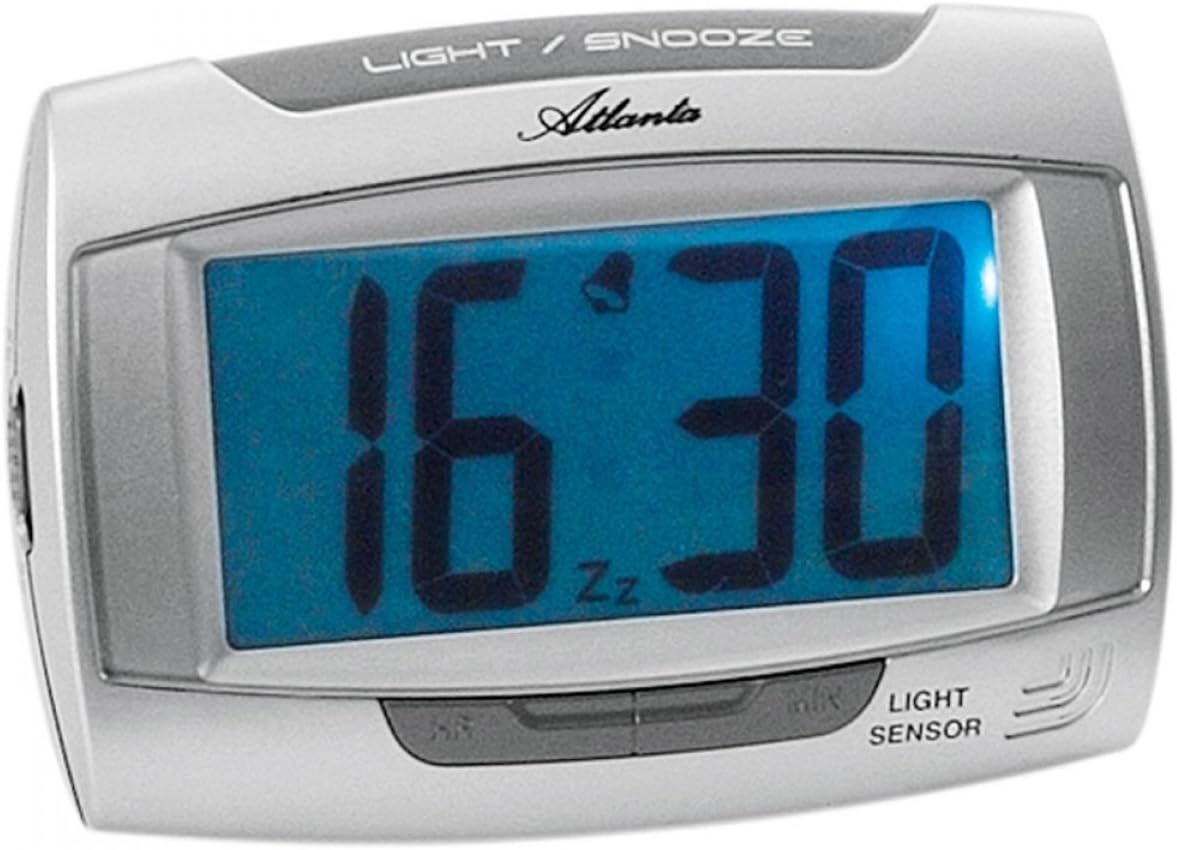
1-сүрөт: Фронт view of the Atlanta 1669/19 Quartz Alarm Clock. The clock features a large digital display, a "LIGHT / SNOOZE" button at the top, and a "LIGHT SENSOR" indicator at the bottom right. The display shows the time 16:30, with an alarm bell icon and 'Zz' indicating snooze functionality.
Негизги компоненттер:
- Санариптик дисплей: Убакытты жана ойготкучтун абалын көрсөтөт.
- LIGHT / SNOOZE Button: Activates temporary backlight and snooze function.
- Жарык сенсору: Automatically illuminates the display in dark environments.
- Control Buttons (Rear/Side): Убакытты жана ойготкучту коюу үчүн.
- Батарея бөлүмү (арткы): Holds the required batteries.
5. Орнотуу
5.1. Батареяны орнотуу
- Ойготкуч сааттын артындагы батарея бөлүкчөсүнүн капкагын табыңыз.
- Капкакты жылдырып же көтөрүү менен алып салыңыз.
- Insert the required batteries (typically 1x AA, refer to compartment markings) ensuring correct polarity (+ and -).
- Батарея бөлүкчөсүнүн капкагын бекем орнотуңуз.
5.2. Баштапкы убакытты орнотуу
Upon battery installation, the display will typically show a default time. You will need to set the current time.
- Locate the time setting buttons, usually labeled "SET", "HOUR", and "MINUTE" or similar, on the back or side of the clock.
- Press the "SET" button (or equivalent) to enter time setting mode. The hour digits may start flashing.
- Use the "HOUR" button to adjust the hour.
- Press "SET" again to move to minute setting. The minute digits may start flashing.
- Use the "MINUTE" button to adjust the minutes.
- Press "SET" one more time to confirm and exit time setting mode.
6. Иштөө нускамалары
6.1. Ойготкучту орнотуу
- Locate the alarm setting buttons, typically labeled "ALARM SET", "ALARM HOUR", and "ALARM MINUTE" or similar.
- Press the "ALARM SET" button to enter alarm setting mode. The alarm hour digits may flash.
- Use the "ALARM HOUR" button to adjust the desired alarm hour.
- Press "ALARM SET" again to move to alarm minute setting. The alarm minute digits may flash.
- Use the "ALARM MINUTE" button to adjust the desired alarm minutes.
- Press "ALARM SET" one more time to confirm and exit alarm setting mode.
6.2. Ойготкучту иштетүү/өчүрүү
There is usually a switch or button to turn the alarm on or off. Look for a switch labeled "ALARM ON/OFF" or an alarm icon button. When the alarm is active, an alarm icon (e.g., a bell) will typically appear on the display.
6.3. Тындырма функциясы
When the alarm sounds, press the large "LIGHT / SNOOZE" button located on the top of the clock. This will temporarily silence the alarm, and it will sound again after a few minutes (typically 5-9 minutes). The "Zz" icon on the display indicates that the snooze function is active.
6.4. Light Sensor and Display Backlight
- Automatic Backlight (Light Sensor): The clock is equipped with a light sensor. When enabled, the display will automatically illuminate with a soft, constant light in dark environments, making it easy to read the time at night without pressing any buttons. Look for a switch or button labeled "SENSOR ON/OFF" or similar to enable or disable this feature.
- Убактылуу арткы жарык: To briefly illuminate the display in any lighting condition, press the "LIGHT / SNOOZE" button on the top of the clock. The backlight will stay on for a few seconds and then turn off automatically.
7. Техникалык тейлөө
- Тазалоо: Саатты жумшак, кургак чүпүрөк менен сүртүңүз. Абразивдүү тазалоочу каражаттарды же эриткичтерди колдонбоңуз, анткени алар сааттын пластигин бузушу мүмкүн.asing же дисплей.
- Батареяны алмаштыруу: When the display dims or the clock stops functioning correctly, it is time to replace the batteries. Follow the battery installation steps in Section 5.1.
- Сактагыч: If the clock will not be used for an extended period, remove the batteries to prevent leakage and damage.
8. Кыйынчылыктарды
| Көйгөй | Мүмкүн себеп | Чечим |
|---|---|---|
| Сааттын дисплейи бош же күңүрт. | Төмөн же өлүп калган батарейкалар; туура эмес батарея орнотуу. | Туура полярдуулукту камсыз кылуу менен батарейкаларды жаңысына алмаштырыңыз. |
| Ойготкуч угулбайт. | Alarm is not activated; alarm time is incorrect; low batteries. | Ensure alarm is switched ON (bell icon visible); verify alarm time setting; replace batteries. |
| Automatic backlight not working. | Light sensor feature is disabled; insufficient darkness. | Ensure the light sensor switch is ON; test in a completely dark room. |
| Убакыт туура эмес. | Time was not set correctly; batteries were removed/replaced. | Reset the current time following Section 5.2. |
9. Техникалык шарттар
| Модел | 1669/19 |
| Бренд | Атланта |
| Иштөө режими | Санарип |
| Өзгөчөлүктөр | Alarm, Lighting (Light Sensor) |
| Материал | Пластик |
| Frame Material | Пластик |
| Монтаж түрү | Стол үстү |
| Түс | Blue (display), Silver-coloured (case) |
| Батареялар талап кылынат | Yes (Type not specified, typically AA or AAA for such clocks) |
| Батареялар камтылган | Жок |
| Өлчөмдөрү (болжол менен) | 11 x 7 см |
10. Кепилдик жана колдоо
Кепилдик маалыматы же техникалык колдоо үчүн, сатып алуу учурунда берилген документтерди караңыз же сатуучуга кайрылыңыз. Ар кандай кепилдик дооматтары үчүн сатып алганыңыздын далилин сактаңыз.


