1. Киришүү
The LawMate RD-10 is a professional-grade portable counter-surveillance device designed to detect various hidden threats. It enables users to perform fast sweeps for RF bugs transmitting in the 20MHz to 6GHz frequency range, including transmitting cell phones, GPS tracking devices, video/audio bugs, and digital Wi-Fi signals. Additionally, it features a blink scanner and viewfinder for detecting hidden cameras, whether they are on or off, wired or wireless. The device also includes sensitivity adjustment for precise location pinpointing.
2. Коопсуздук маалыматы
- Аппаратты экстремалдык температурага же тике күн нуруна калтырбаңыз.
- Keep the device dry; avoid contact with water or other liquids.
- Аппаратты ажыратууга же өзгөртүүгө аракет кылбаңыз, анткени бул кепилдикти жокко чыгарат жана зыян келтириши мүмкүн.
- Use only the provided charging cable to prevent damage to the device.
- Балдар жетпеген жерде сактаңыз.
3. Пакеттин мазмуну
- LawMate RD-10 Detector Unit
- USB-C заряддоо кабели
- RF антеннасы
- Magnetic Field Detection Probe
- User Manual
4. Продукт бүтүп калдыview
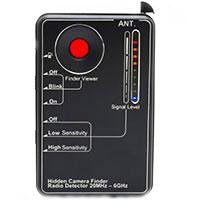
Image: LawMate RD-10 Detector with accessories.
Башкаруу каражаттары жана көрсөткүчтөр:
- Күйгүзүү/өчүрүү: Button to activate/deactivate the device.
- Режим баскычы: Cycles through different detection modes (RF, Vibration, Camera Lens Detection).
- Сезимталдыкты жөндөө: Controls the detection range and precision.
- Кол чырак: Provides illumination for dark areas.
- Заряддоо порту: Ички батареяны кайра заряддоо үчүн USB-C порту.
- LED көрсөткүчтөрү: Visual display of signal strength and mode status.
5. Орнотуу
5.1. Аппаратты заряддоо
Before first use, fully charge the RD-10 detector. Connect the provided USB-C charging cable to the device's charging port and plug the other end into a compatible USB power source. The charging indicator will show the charging status.
5.2. Аксессуарларды тиркөө
- RF антенна: For optimal RF signal detection, screw the RF antenna securely into its designated port on the device.
- Magnetic Field Detection Probe: For magnetic field detection, attach the flexible probe to its port. This probe is useful for reaching confined spaces.
6. Иштөө нускамалары
6.1. Күйгүзүү / Өчүрүү
Press and hold the Power On/Off button on the side of the device until the LED indicators light up. To power off, press and hold the same button again.
6.2. RF Signal Detection (Wireless Devices)

Image: LawMate RD-10 detecting RF signals with the antenna attached.
- Ensure the RF antenna is attached.
- Press the Mode button until the RF detection mode is active (indicated by specific LEDs).
- Adjust the Sensitivity knob to an appropriate level. Start with a lower sensitivity and gradually increase it.
- Slowly scan the area where you suspect wireless devices. The device will emit beeps and/or vibrate, and LED indicators will light up, increasing in intensity as you approach a signal source (20MHz to 6GHz frequency range).
Video: Demonstration of RF signal detection using the K68+ detector, showing how it reacts to wireless signals.
6.3. Hidden Camera Lens Detection

Image: LawMate RD-10 with infrared lights activated for hidden camera detection.
- Press the Mode button until the camera lens detection mode is active (infrared lights on the back will illuminate).
- Look through the device's viewfinder while slowly scanning the area. Hidden camera lenses will appear as bright red reflective dots.
- Adjust the intensity of the infrared lights if needed for better visibility.
6.4. Magnetic Field Detection (GPS Trackers)
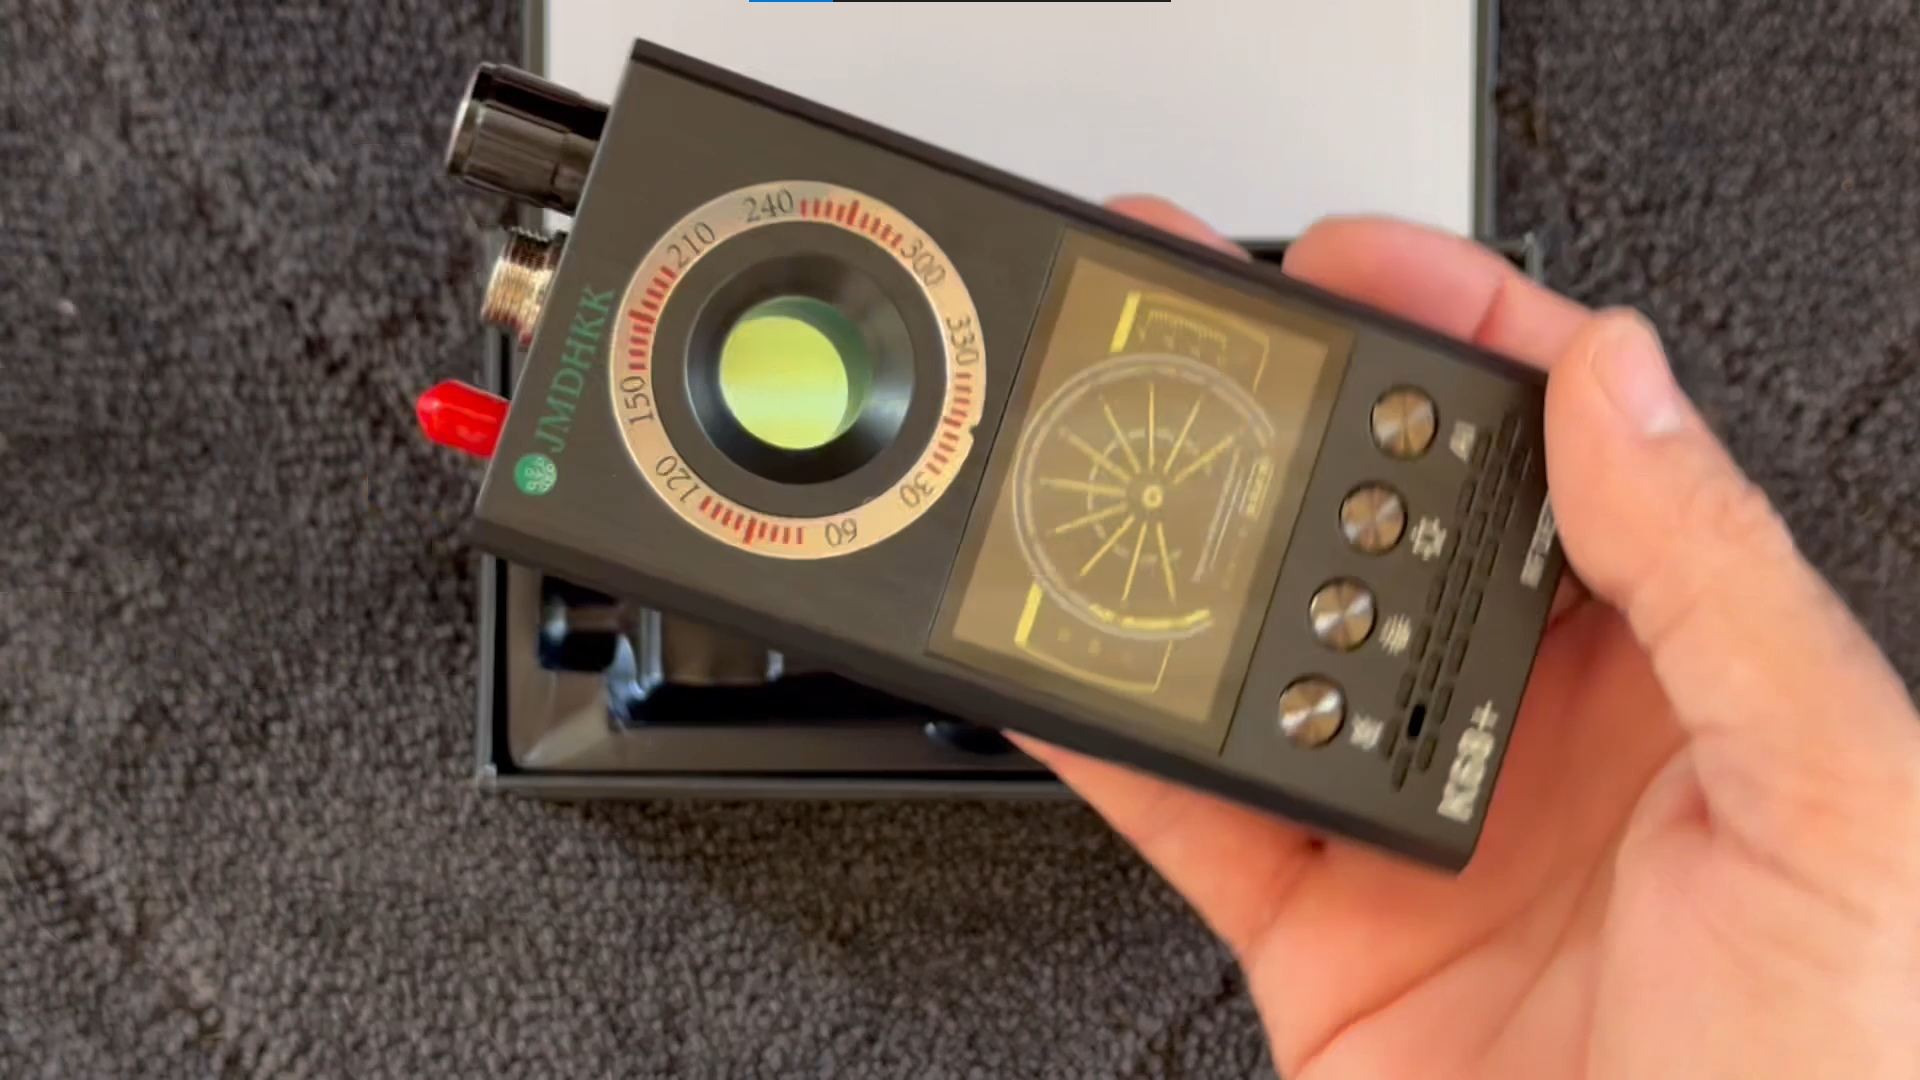
Image: LawMate RD-10 with the flexible magnetic field detection probe attached.
- Attach the magnetic field detection probe to the device.
- Press the Mode button to activate the magnetic field detection mode.
- Slowly move the probe along surfaces, under furniture, or inside vehicles where GPS trackers or other magnetic devices might be hidden. The device will alert you upon detecting a magnetic field.
6.5. Alert Modes
The RD-10 offers multiple alert modes to suit your environment:
- Үн сигнализациясы: The device will emit beeping sounds when a signal is detected.
- Дирилдөө режими: For discreet detection, the device will vibrate when a signal is found.
- LED көрсөткүчтөрү: Visual bars on the device indicate signal strength, allowing for precise localization.
7. Техникалык тейлөө
- Тазалоо: Аппаратты тазалоо үчүн жумшак, кургак чүпүрөктү колдонуңуз. Абразивдүү тазалагычтарды же эриткичтерди колдонбоңуз.
- Сактагыч: Аппаратты колдонбогондо түз күн тийбеген жана өтө температурадан алыс салкын, кургак жерде сактаңыз.
- Батареяга кам көрүү: For optimal battery life, avoid fully discharging the device frequently. Recharge it regularly.
8. Кыйынчылыктарды
- Түзмөк күйбөй жатат: Түзмөктүн толук заряддалганын текшериңиз. Эгерде көйгөй чечилбесе, колдоо кызматына кайрылыңыз.
- False alarms in RF mode: Reduce the sensitivity level. Many common electronic devices emit RF signals, so adjust sensitivity to pinpoint suspicious sources.
- Difficulty detecting wired cameras: The RF detection mode is primarily for wireless signals. For wired cameras, use the hidden camera lens detection mode (infrared lights) to visually identify the lens.
- No detection of known devices: Ensure the correct mode is selected and sensitivity is adjusted appropriately. Check for obstructions or interference.
9. Техникалык шарттар
| Өзгөчөлүк | Деталь |
|---|---|
| Продукциянын өлчөмдөрү | 3"L x 1.75"W x 0.5"H |
| Элемент Салмагы | 4.8 унция |
| Колдоого алынган жыштык тилкелери | 20 МГцден 6 ГГцке чейин |
| Power Source | Батарея менен иштейт (2 AAA батарейкасы камтылган) |
| Дисплей түрү | LCD |
| Заряддоо убактысы | 2.5 саат |
| Жумуш убактысы | 25 саат |
10. Кепилдик жана колдоо
The LawMate RD-10 Portable RF and Hidden Camera Detector comes with a standard manufacturer's warranty. For specific warranty details and to register your product, please refer to the documentation included in your package or visit the official Lawmate webсайт.
For technical support, troubleshooting assistance, or any product-related inquiries, please contact Lawmate customer service. Contact information can typically be found in your user manual or on the product packaging.


