Introduction
This manual provides detailed instructions for the safe and proper installation, operation, and maintenance of your Progress Lighting Inspire Collection 9-Light Off-White Linen Shade Traditional Chandelier in Brushed Nickel. Please read all instructions carefully before beginning installation and retain this manual for future reference.
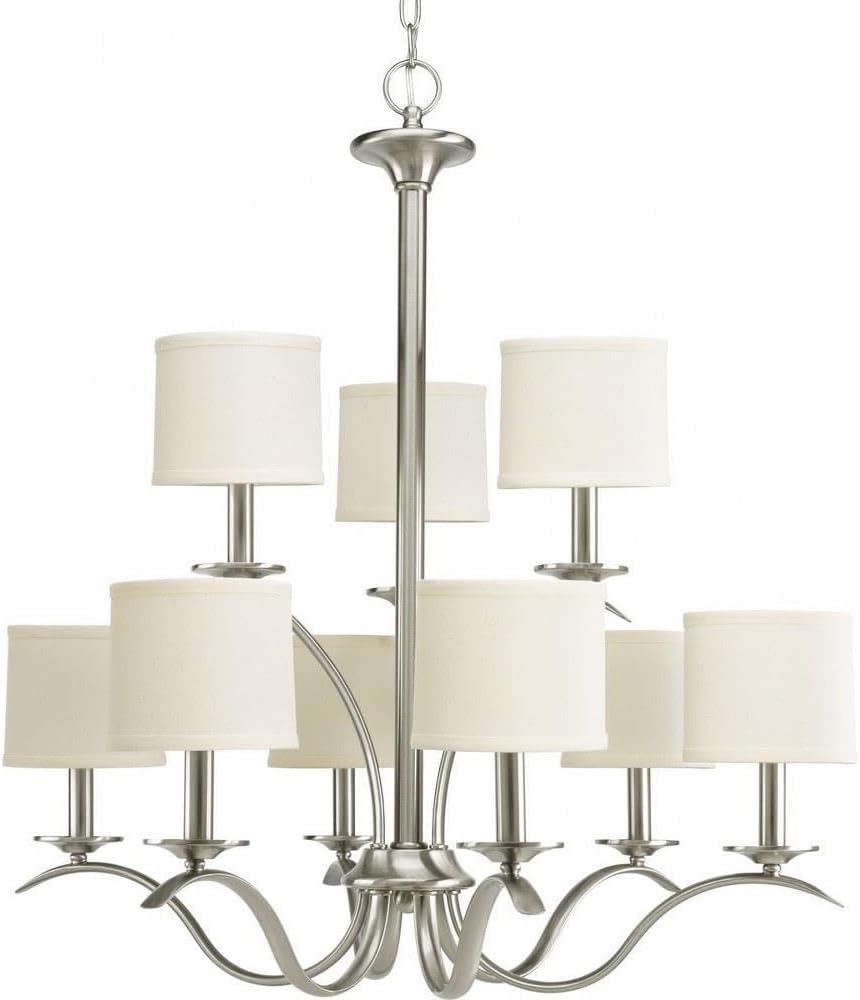
Image: The Inspire Collection 9-Light Chandelier featuring a brushed nickel finish and off-white linen shades.
Коопсуздук маалыматы
ЭСКЕРТҮҮ: To reduce the risk of fire, electric shock, or personal injury, always turn off the main power supply at the circuit breaker before installation, removal, or servicing. This product requires professional installation. Always consult a qualified electrician if you are unsure about the installation process.
Сунуш 65 Эскертүү: Бул продукт Калифорния штатында рак жана тубаса кемтик же башка репродуктивдүү зыян келтирүүчү химиялык заттарды камтышы мүмкүн. Колдон кийин колду жуу.
- Ensure all electrical connections are in accordance with local codes and ordinances.
- Белгиленген лампочканын түрүн жана ватты гана колдонуңузtagысып кетүүдөн качуу үчүн.
- Do not hang anything from the fixture.
Пакеттин мазмуну
Орнотууну баштоодон мурун бардык компоненттер бар экендигин текшериңиз:
- Люстра арматурасын чогултуу
- 9 Off-white linen shades
- Ceiling chain (6 feet of 9 gauge chain supplied)
- Электр зымдары
- Mounting hardware (may require additional screws not included)
- Орнотуу баракчасы
Орнотуу & Орнотуу
Professional installation is recommended for this chandelier. Follow these general steps, referring to the included installation sheet for specific details.
1. Орнотууга даярданыңыз
- Автоматтык өчүргүчтөн электр кубатын өчүрүңүз.
- Жабдууларды жана компоненттерди кылдаттык менен алып салыңыз.
- Determine the desired hanging height. For an 8-foot ceiling, the bottom of the chandelier should be 30-36 inches above a dining table. For higher ceilings, divide the vertical space into thirds and position the chandelier two-thirds of the distance from the floor, ensuring at least 7 feet of clearance from the floor in areas where people walk underneath.
2. Арматураны орнотуңуз
- Монтаждык кронштейнди шыптагы бириктиргич кутуга бекитиңиз.
- Adjust the chain length as needed. The supplied chain is 6 feet long.
- Thread the electrical wires through the chain and canopy.
3. Электрдик байланыштар
- Connect the fixture's ground wire to the ground wire from the junction box.
- Connect the fixture's 'white or identified' wire (often with ridges) to the white (neutral) wire from the junction box.
- Connect the fixture's 'plain or black' wire to the black (hot) wire from the junction box.
- Бардык байланыштарды зым гайкалар жана электр скотч менен бекитиңиз.
4. Жыйынтыктоочу жыйын
- Чатырды шыпка бекитиңиз.
- Install 9 candelabra-shaped bulbs (E26 base, maximum 60 watts each). Note: Only candelabra-shaped bulbs can be used with the shades.
- Attach the off-white linen shades to each light socket.
- Автоматтык өчүргүчтөгү кубаттуулукту калыбына келтириңиз.
Визуалдык орнотуу колдонмосу
Видео: толугураакview of chandelier installation by Progress Lighting, demonstrating key steps and considerations for proper setup.
Продукциянын өлчөмдөрү

Image: Dimensional drawing of the chandelier, indicating a width of 29.38 inches and a height of 31 inches.
Иштөө нускамалары
Once properly installed, your chandelier can be operated using a standard wall switch. If your electrical setup includes a dimmer switch, ensure it is compatible with incandescent bulbs for optimal performance.
The fixture's switch type is listed as 'Pull Chain' in some specifications, however, the primary control is typically via a wall switch for chandeliers of this design. Please refer to your specific home wiring and switch setup.
Техникалык тейлөө
Тазалоо
- Тазалоодон мурун ар дайым электр кубатын өчүрүңүз.
- Аппаратты жумшак, кургак чүпүрөк менен сүртүңүз.
- Абразивдүү тазалоочу каражаттарды же эриткичтерди колдонбоңуз, анткени алар бетке зыян келтириши мүмкүн.
- The linen shades can be gently dusted or spot cleaned with a damp зарыл болсо, кездеме.
Лампаны алмаштыруу
- Алмаштыруудан мурун электр энергиясы өчүрүлгөнүн жана лампалар муздаганын текшериңиз.
- Unscrew old bulbs and screw in new E26 candelabra-shaped bulbs.
- Максималдуу ваттан ашпаңызtagбир лампага 60 ватт.
Проблемаларды чечүү
If your chandelier is not functioning correctly, refer to the following common issues:
- Жарык жок: Check the circuit breaker, ensure bulbs are securely screwed in, and verify all electrical connections are tight.
- Жаркылдаган жарыктар: Ensure bulbs are fully tightened. If using a dimmer, confirm it is compatible with the bulb type and that the bulbs are dimmable.
- Loose Fixture: Re-check mounting hardware and ensure it is securely fastened to the ceiling junction box.
Эгерде көйгөйлөр чечилбесе, квалификациялуу электрикке кайрылыңыз.
Техникалык шарттар
| Бренд | Прогресс Lighting |
| Модель аты | Inspire |
| Бөлүмдүн номери | P4638-09 |
| Түс | Brushed Nickel |
| Материал | Эритме болот |
| Көлөкө материалы | Зыгыр |
| Стиль | Өткөөл |
| Жарык берүүчү форма | Люстра |
| Продукциянын өлчөмдөрү | 29.38"L x 29.38"W x 31"H |
| Элемент Салмагы | 15 фунт |
| Жарык булактарынын саны | 9 |
| Лампанын базасы | E26 |
| Ватtage | 60 ватт (бир лампочка) |
| Тtage | 120 вольт |
| Ички/тышкы колдонуу | Indoor |
| Өзгөчө өзгөчөлүк | UL тизмеленген |
Кепилдик маалымат
Бул Progress Lighting продуктусу төмөнкүлөр менен камтылган: 1 жылдык Чектелген Кепилдик. This warranty guarantees your complete satisfaction with your purchase and includes professional after-sales customer service support. Please retain your proof of purchase for warranty claims.
Кардарларды колдоо
For further assistance, technical support, or warranty inquiries, please visit the official Progress Lighting website or contact their customer service department. Refer to the packaging or the Progress Lighting webучурдагы байланыш маалыматы үчүн сайт.


