SMD Distortion Detector DD-1 User Manual
Model: DD-1
1. Киришүү
The SMD Distortion Detector DD-1 is an essential tool for audio enthusiasts and professional installers. Its primary function is to accurately set the gain of audio amplifiers and other processors to match the source unit's output level. This ensures a clean, undistorted audio signal, maximizing system performance and protecting your equipment from damage caused by clipping.
The DD-1's circuitry is 100% analog, providing reliable and precise distortion detection. It is designed to operate across a wide range of input signals, making it versatile for various audio applications.
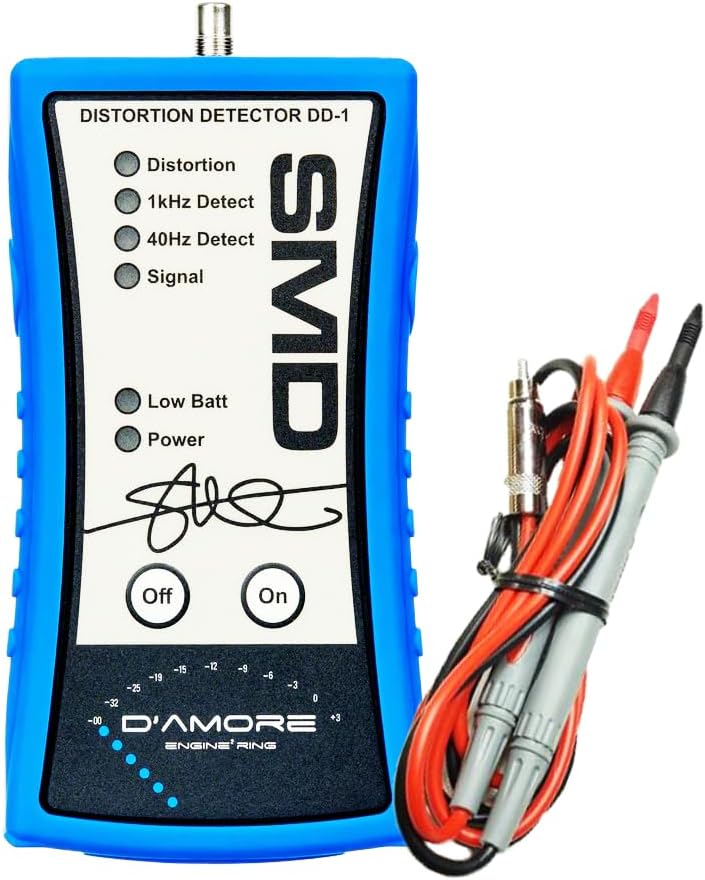
Figure 1.1: The SMD Distortion Detector DD-1 with included test leads.
2. Коопсуздук маалыматы
Please read all safety instructions before using the SMD DD-1. Failure to follow these instructions may result in electric shock, fire, or damage to the device or connected equipment.
- Аппаратты сууга же ашыкча нымдуулукка дуушар кылбаңыз.
- в ачпагылаasing of the DD-1. There are no user-serviceable parts inside.
- Ensure all connections are secure before applying power to audio equipment.
- Use only the provided test leads or compatible replacements.
- Always disconnect power from audio equipment before making or changing connections.
- Балдар жетпеген жерде сактаңыз.
3. Пакеттин мазмуну
Төмөндө тизмеленген нерселердин баары пакетиңизде бар экенин текшериңиз:
- SMD Distortion Detector DD-1 Unit
- Test Leads (RCA to bare wire)
- Колдонуучунун колдонмосу
- DD-1 Test Tone Disc (CD)
- 1 D Battery (pre-installed or included separately)

Figure 3.1: All components included in the SMD DD-1 package.
4. Орнотуу
Follow these steps to prepare your DD-1 for operation:
- Батарея орнотуу: The DD-1 requires one D battery. The battery compartment is located on the back of the unit. Ensure the battery is inserted with the correct polarity.

4.1-сүрөт: Арткы view of the DD-1, indicating the battery compartment.
- Сыноо өткөргүчтөрүн туташтыруу: Connect the provided test leads to the input jack on the top of the DD-1 unit. The RCA connector from the test leads plugs into the DD-1. The bare wire ends of the test leads will connect to the speaker output terminals of your ampөмүр же процессор.

Figure 4.2: Proper connection of test leads to the DD-1 unit.
- Prepare Test Tones: Insert the included DD-1 Test Tone Disc into your source unit (e.g., car stereo CD player). This disc contains specific test tones (e.g., 1kHz, 40Hz) required for accurate gain setting.
5. Иштөө нускамалары
The SMD DD-1 simplifies the process of setting amplifier gains and detecting distortion. Here's how to use it:
5.1. Understanding the Indicators
The DD-1 features several LED indicators and a level meter:
- Distortion LED: Illuminates when harmonic distortion exceeds 1.0%. This is your primary indicator for clipping.
- 1kHz Detect LED: Illuminates when a 1kHz test tone is detected.
- 40Hz Detect LED: Illuminates when a 40Hz test tone is detected.
- Сигнал LED: Illuminates when an audio signal of at least 750 mVrms is present.
- Low Batt LED: Батарея кубаты толгондо күйөтtage is low and needs replacement.
- Power LED: Illuminates when the unit is turned on.

5.1-сүрөт: Детальдуу view of the DD-1's LED indicators.
The D'Amore Engineering level indicators at the bottom provide a visual representation of the signal level, ranging from -32dB to +3dB.
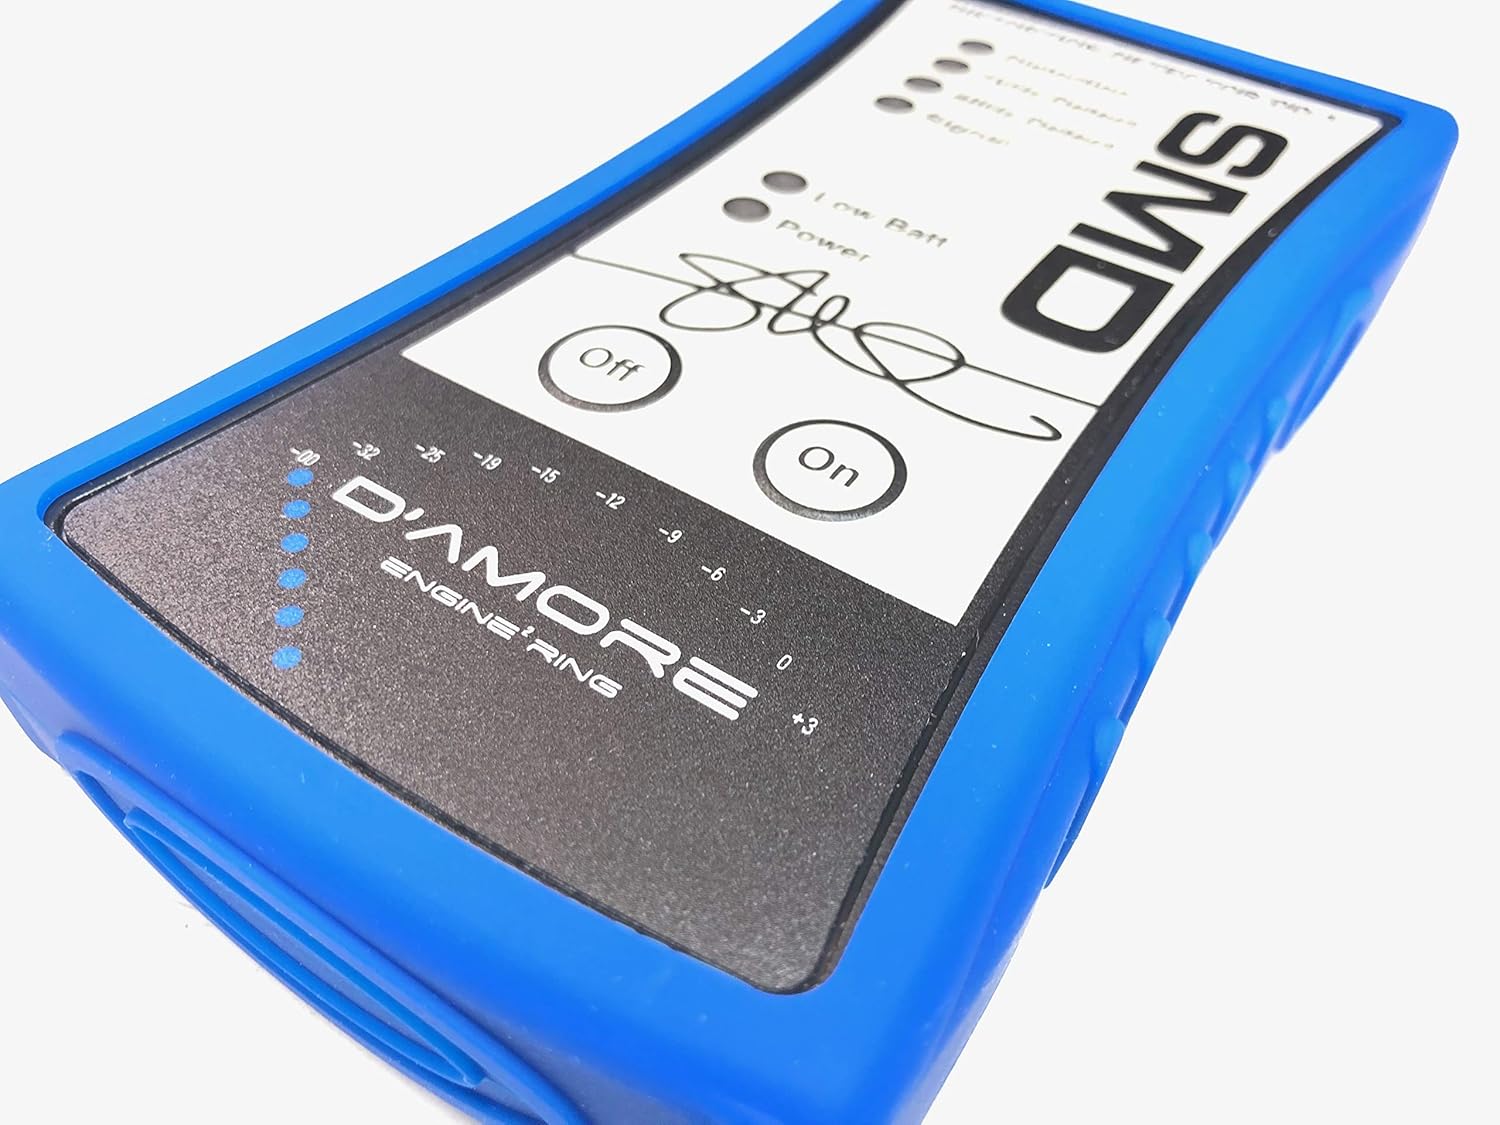
Figure 5.2: The D'Amore Engineering signal level meter.
5.2. Gain Setting Procedure
This procedure outlines the general steps for setting amplifier gains using the DD-1. Refer to your amplifier's manual for specific gain adjustment methods.
- Disconnect Speakers: For safety and accurate measurement, disconnect your speakers from the ampжашоонун натыйжалары.
- Connect DD-1: Connect the DD-1's test leads to the amplifier's speaker output terminals (positive to positive, negative to negative).
- Turn On DD-1: Press the "On" button on the DD-1. The "Power" LED should illuminate.
- Set Source Unit Volume: Play the appropriate test tone from the DD-1 Test Tone Disc (e.g., 1kHz for full-range, 40Hz for subwoofers). Increase your source unit's volume to its maximum clean output level. This is typically 75-80% of the maximum volume, but the DD-1 will help you find the exact point.
- Тууралоо Ampкөтөрүүчү пайда: Slowly increase the gain control on your amplifier. Observe the "Distortion" LED on the DD-1.
- Find Clean Signal: As you increase the gain, the "Signal" LED should be on. Continue increasing the gain until the "Distortion" LED just begins to flicker or illuminate steadily.
- Set Gain Point: Once the "Distortion" LED illuminates, slightly decrease the amplifier gain until the "Distortion" LED turns off. This is your maximum clean gain setting.
- Repeat for Other Channels: If you have a multi-channel amplifier, repeat this process for each channel or pair of channels.
- Disconnect DD-1 and Reconnect Speakers: Once all gains are set, turn off the DD-1, disconnect it from the amplifier, and reconnect your speakers.
The DD-1's operating range of input signal is 1.2 Vrms to 125 Vrms, allowing it to be used with amplifiers producing up to 15,000 watts at 1 ohm.
6. Техникалык тейлөө
The SMD DD-1 is designed for durability and requires minimal maintenance.
- Тазалоо: Агрегатты жумшак, кургак чүпүрөк менен сүртүңүз. Абразивдүү тазалагычтарды же эриткичтерди колдонбоңуз.
- Батареяны алмаштыруу: When the "Low Batt" LED illuminates, replace the D battery promptly to ensure accurate readings.
- Сактагыч: Store the DD-1 in a cool, dry place away from direct sunlight and extreme temperatures.
7. Кыйынчылыктарды
| Көйгөй | Мүмкүн себеп | Чечим |
|---|---|---|
| DD-1 does not power on. | Өлүк же туура эмес орнотулган батарея. | Check battery polarity; replace D battery. |
| "Signal" LED does not illuminate. | No audio signal from amplifier; incorrect connections; signal too low. | камсыз кылуу amplifier is on and playing test tone; check test lead connections; increase source unit volume. |
| "Distortion" LED is always on. | Excessive distortion in the signal; ampкөтөргүчтүн күчөткүчү өтө жогору. | Азайтуу amplifier gain until the LED turns off. Ensure source unit is not clipping. |
| 1kHz/40Hz Detect LEDs not lighting up. | Incorrect test tone being played; tone not detected. | Ensure the correct frequency test tone is playing from the source unit. |
8. Техникалык шарттар
| Бренд | SMD |
| Модел | DD-1 |
| Power Source | Battery Powered (1 D battery included) |
| Distortion Detection Trigger Level | > 1.0% Harmonic Distortion |
| Operating Range of Input Signal | 1.2 Vrms - 125 Vrms |
| Signal Present LED Trigger Voltage | 750 мВрмс |
| Элемент Салмагы | 9.6 унция (0.6 фунт) |
| Продукциянын өлчөмдөрү (L x W x Y) | 10 x 6.25 x 2 дюйм |
| UPC | 610370312315, 713057261644 |
| Өндүрүүчү | SMD / D'amore Engineering |
9. Кепилдик жана колдоо
For warranty information and technical support regarding your SMD Distortion Detector DD-1, please refer to the official SMD / D'amore Engineering website or contact their customer service directly. Specific warranty terms may vary and are typically provided with the product at the time of purchase.
Жаңыртууларды жана колдоону алуу үчүн, эгер мүмкүн болсо, продуктуңузду каттоодон өткөрүү сунушталат.


